

Alexander Grabovetskiy, woodcarver, School of Woodcarving · Published 2024
How do you carve a leaf when there is very little wood left?
Quick answer: Carving a leaf on a thin spot of the board is spending a small, known amount of wood where it shows most. My grape leaf had about 1/8 inch (3 mm) where it was thinnest and six millimeters or so on the other side, so I kept the bulge it already had, made small concaves and went slowly.
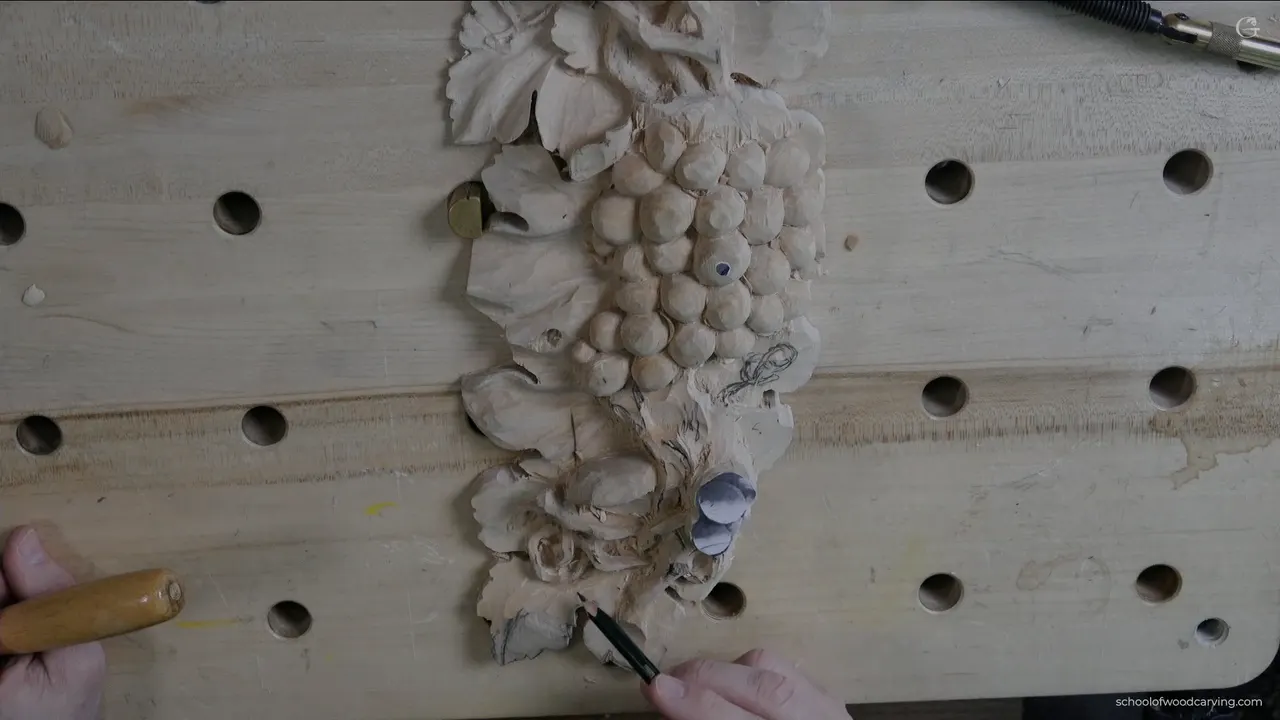
Carving a leaf with very little wood left is shaping inside a small budget and spending it where the shadow needs it. When you are relief carving leaves, the wood under each one decides how far you can push it. On my grape leaf I had only 1/8 inch or so (about 3 mm) at one spot, much more right next to it, and about a quarter inch, about six millimeters, on the other side.
This is the first part of lesson 5 of my grape onlay, a relief carved on its own board. Beside the leaf, the cluster of vines still looked like a bunch of worms, about four millimeters (5/32 in) wide. They come down later to about two, maybe a millimeter and a half (about 1/16 in). Before any of that refining I had to concentrate on the leaf itself, because the leaf is really important here.
Ever looked down at a half carved leaf and seen how thin the board has gotten under it? Still want that leaf to bulge and roll? Then find out what you have before you go deeper, and go really carefully.
Below is where I pushed this leaf, where I held back, which tool did each job, and what I said on other pieces when the wood ran short.
Six things I did on the thin leaf
- Before shaping, I looked at what was left, very little in one place and more elsewhere on the leaf.
- The central line already bulged, so I kept it.
- Slow passes on the thin side.
- Each eye got a small concave from a number 7, kept small on purpose.
- No final clean pass yet.
- Under the vine I stopped digging where my bulge was in the way, and at the point of the eye I still had about one-eighth inch (about 3 mm).
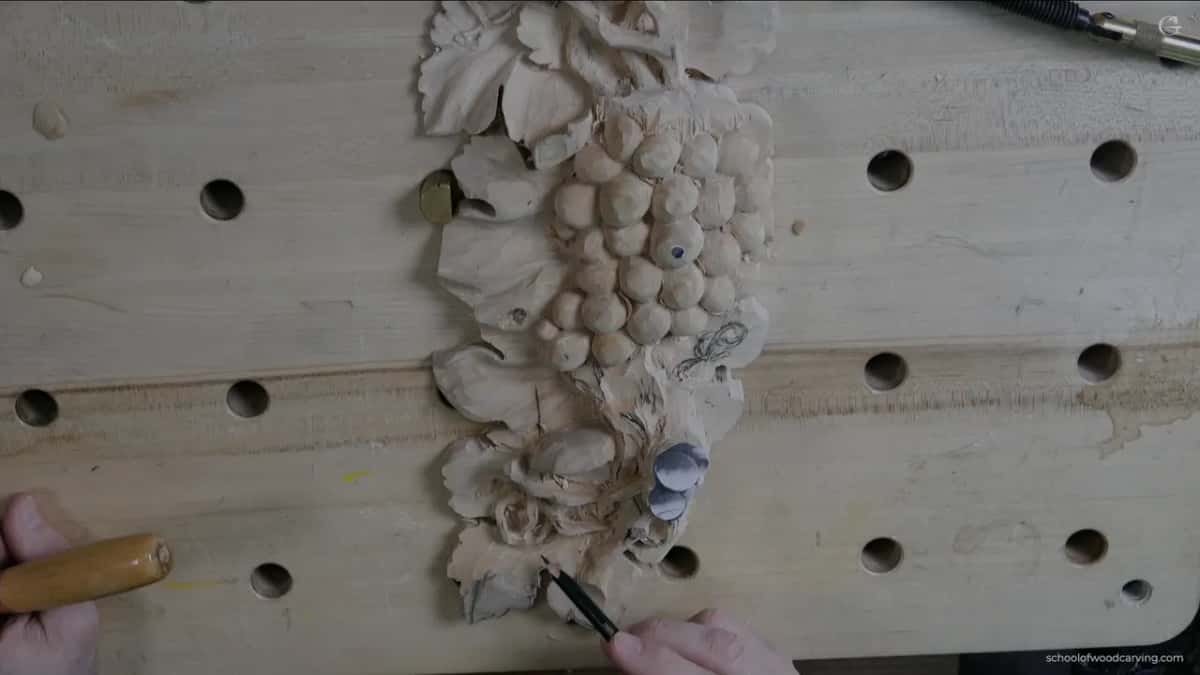
How much wood did this grape leaf have left?
Very little, and it was uneven. The grape leaf has, supposedly, five lobes running off a central line, if you can make them out on camera. One place was the thinnest, while right next to it the wood stood much higher, and on the other side there was about a quarter inch.
I said it straight. I'm not going to be able to do too much right here, but I'm able to do something right there. And this leaf will have lots of different movements.
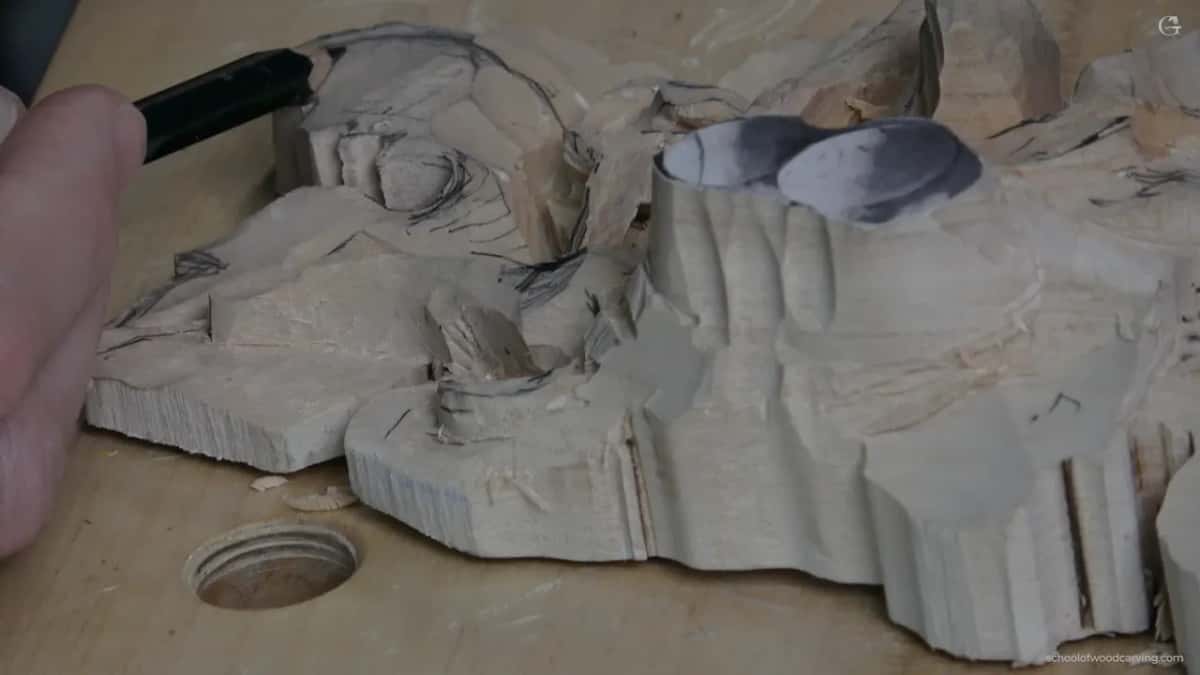
One honest thing. I forgot to turn my camera on for a moment while I started to shape it, so a little of the early work happened off the video.
Why keep the bulge the leaf already has?
I did not want to lose the overall shape of it. So I took advantage of the natural movement I had. The central line was already bulging, and I asked myself why not use it.
It bulges in the middle, the way you saw from the side, and I let the center part bulge too, slightly, slightly. The plan was to roll it toward my left, and maybe later there would be some concave movement with those lifts. You can do a lot of stuff.
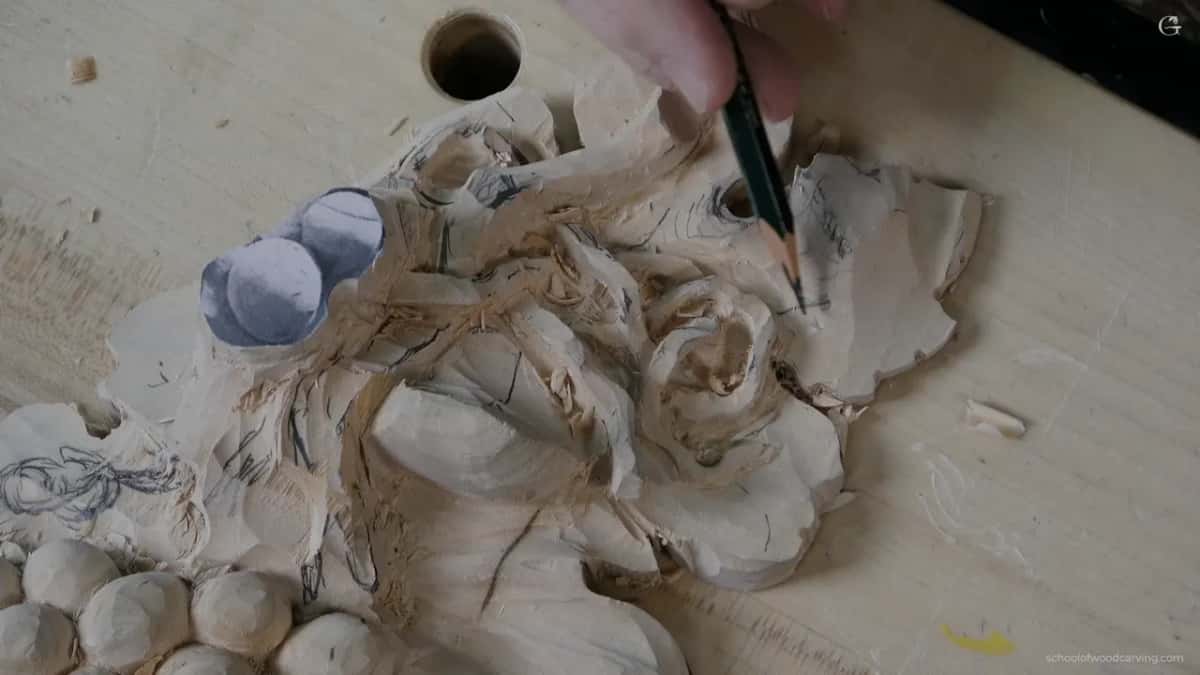
For that first shaping I picked up the same tool I used on the grapes, a number 5 about 12 millimeters, a little smaller than half an inch. That gouge did the shaping on the grapes first, and here it pre-shaped the leaf the way I wanted to see it.
I also planned a small flip backward at the tip. Not big, just a small, small flip, a little detail that is going to look nice. And I wanted to fix the end slightly, so the point feels like it rolls and then goes the opposite way.
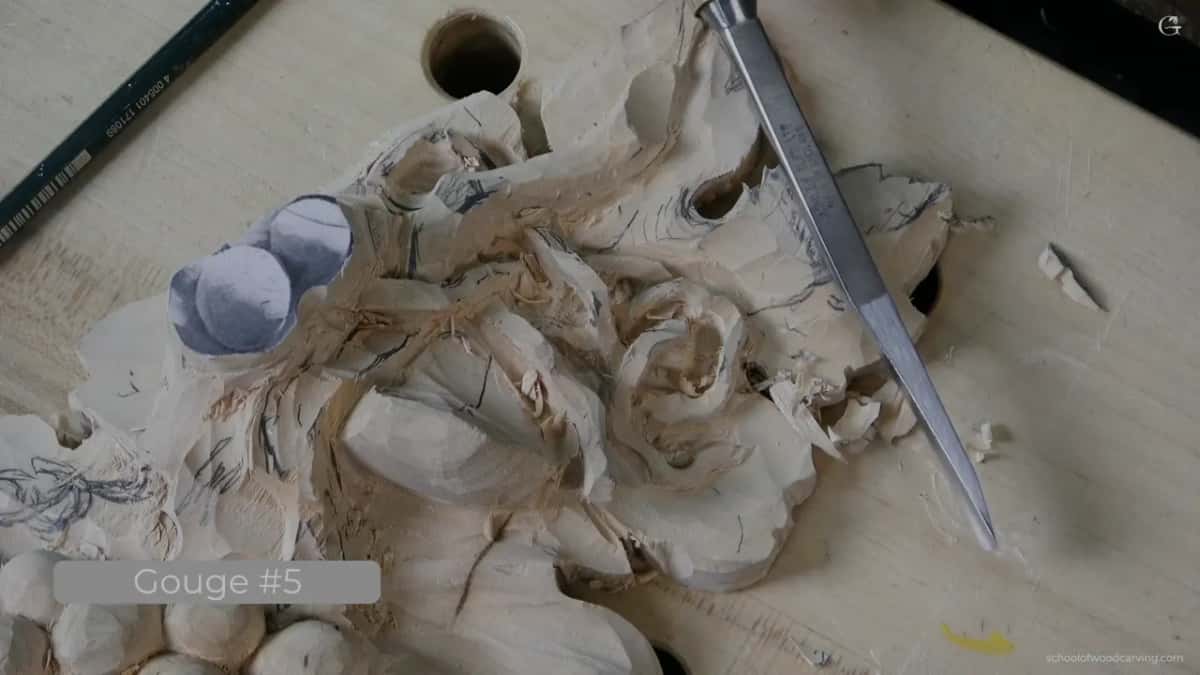
Where does a thin leaf still go up?
At the eyes. Wherever two lobes come close to each other you get an eye, the same as on an acanthus leaf, and wherever you see a lobe, a separation or a subdivision, you are supposed to have one. Where you see an eye, you are supposed to have a raised area. Supposedly. It all depends. In some kind of Italian Florence style Baroque, I said, they sometimes just reverse that, and the spot is concave instead of convex. I followed the logic here and kept it raised, and the two ridges on either side of each eye go up as well.
To lift them I made a concave right at that point with a number 7, 14 mm (about 9/16 in). Not too big. I didn't want too big a hollow, but I wanted to make sure you can see it.
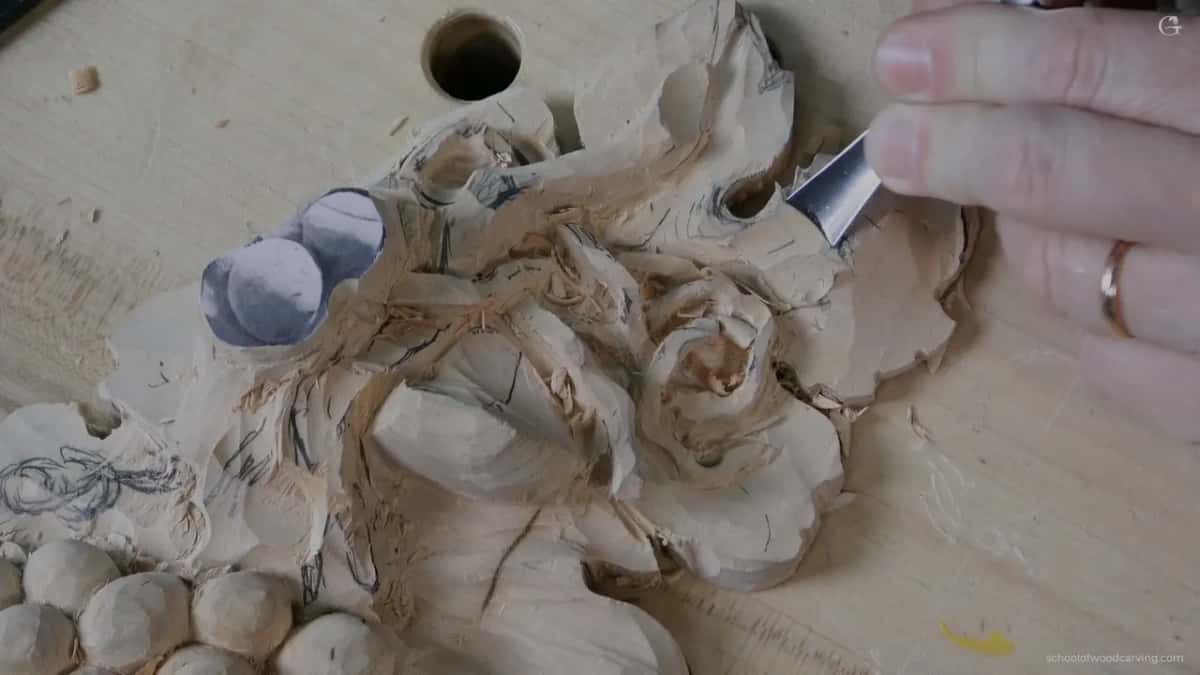
So one part stays slightly raised, the other side slightly raised too, and the rest of it gets blended. A little later I could point at it on camera: you probably see how it's bulging. That's what I'm after.
How careful do you have to be on the thin side?
Really careful. A number 11, 4 mm, started the hollow, which later gets blended to almost nothing. But I needed to stay mindful, since that side had only an eighth of an inch or so (3 mm), and it called for real care.
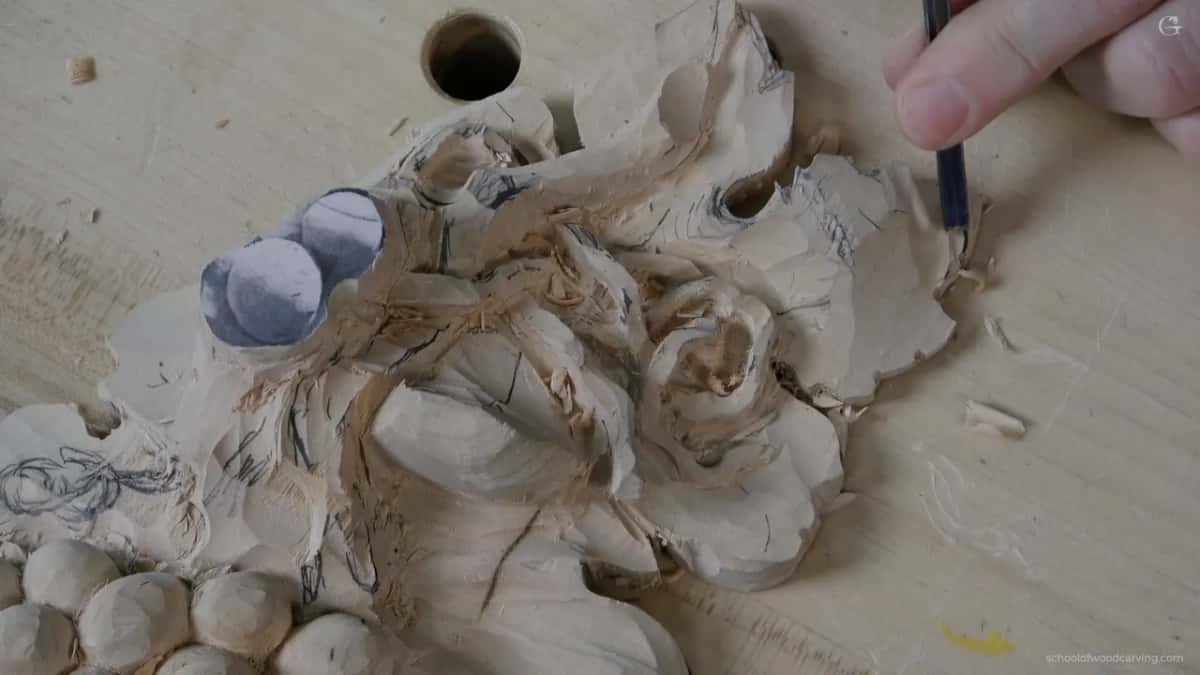
Watch the grain, too. Going along it, I can catch it and break it, so several short passes work better for me than one long one. Sometimes I also had to go against the grain, only because of where the camera sat. Please forgive me, I said. Even if you don't see it, try to understand what I'm doing.
Why hold back the clean pass?
The wood I leave now is the wood I clean with later. That first pass was not the final, final one, and that was on purpose, because I wanted to make sure I had plenty of material to clean up a little later.
Even after the number 5 went over it again, I called it just a preliminary cleanup, since the parts around it still had work coming. It did not look like much. It was not big. But once the undercutting starts, you'll see what a huge difference it makes. More concaves on the inside were coming too, for even more variation, just a little later.
One spot did get a really good, clean pass early: the edge where a stem lies right on top of the leaf.
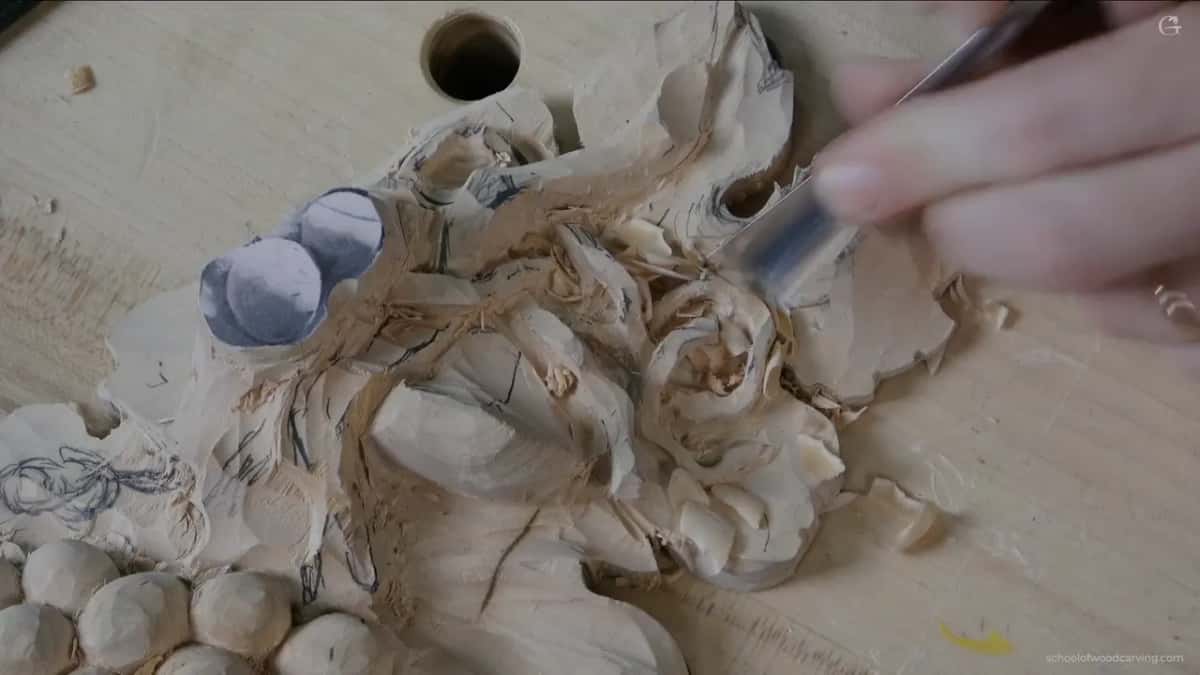
I put the same idea in numbers in lesson 10 of this course. Outlining one section, I was leaving roughly 1/8 of an inch for now, and I said I can always make it less, about three millimeters, two millimeters. That will be okay. Near the end of lesson 5 I kept one part somewhat thick for the same reason. I can always make it thinner a little bit.
Which tools fit a leaf with so little wood?
I went bigger on this leaf to blend and smaller and smaller to dig. The 12 mm number 5 blended first. After that I said maybe a slightly bigger tool is what I need, and took the big one, a number 5 about one inch (25 mm) wide. It gives a much better, smoother pass and better blending.
| Tool | Job | Wood |
|---|---|---|
| #5 gouge, 12 mm | pre-shaped the leaf the way I wanted | center of the leaf |
| Veiner #11, 4 mm | opened the hollow in small, careful passes | the thin eighth side |
| Gouge #7, 14 mm | made a small concave beside each eye | where two lobes meet |
| #5, one inch wide | gave me a smoother pass, better blending | over the leaf surface |
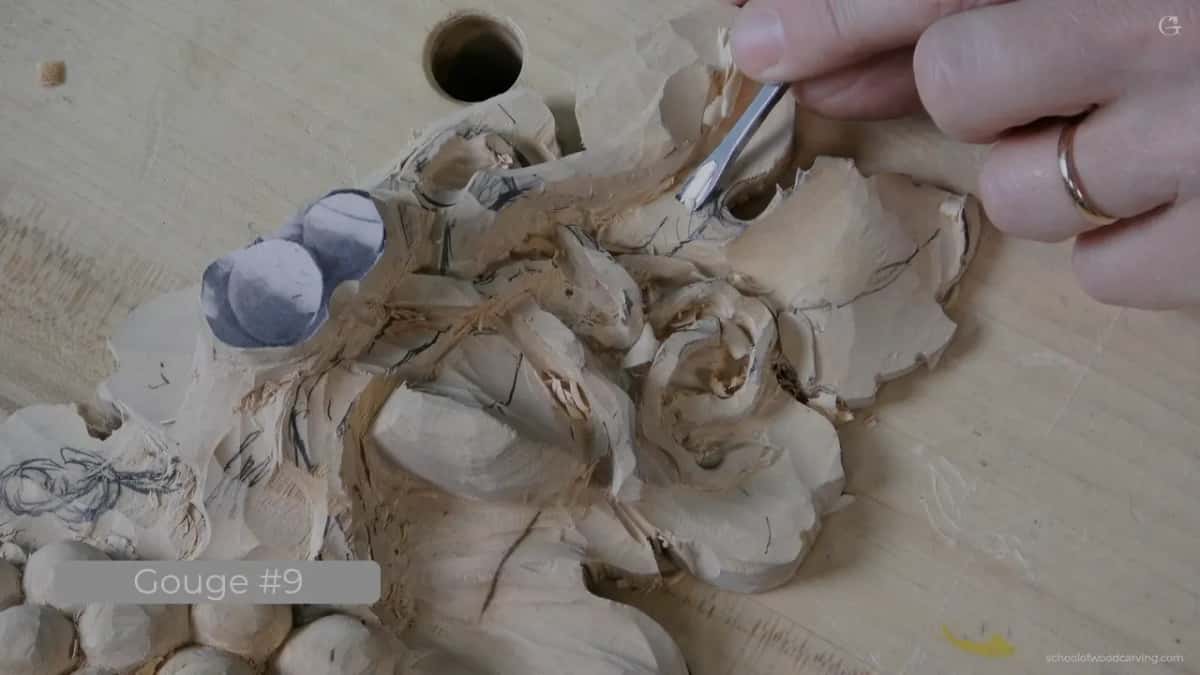
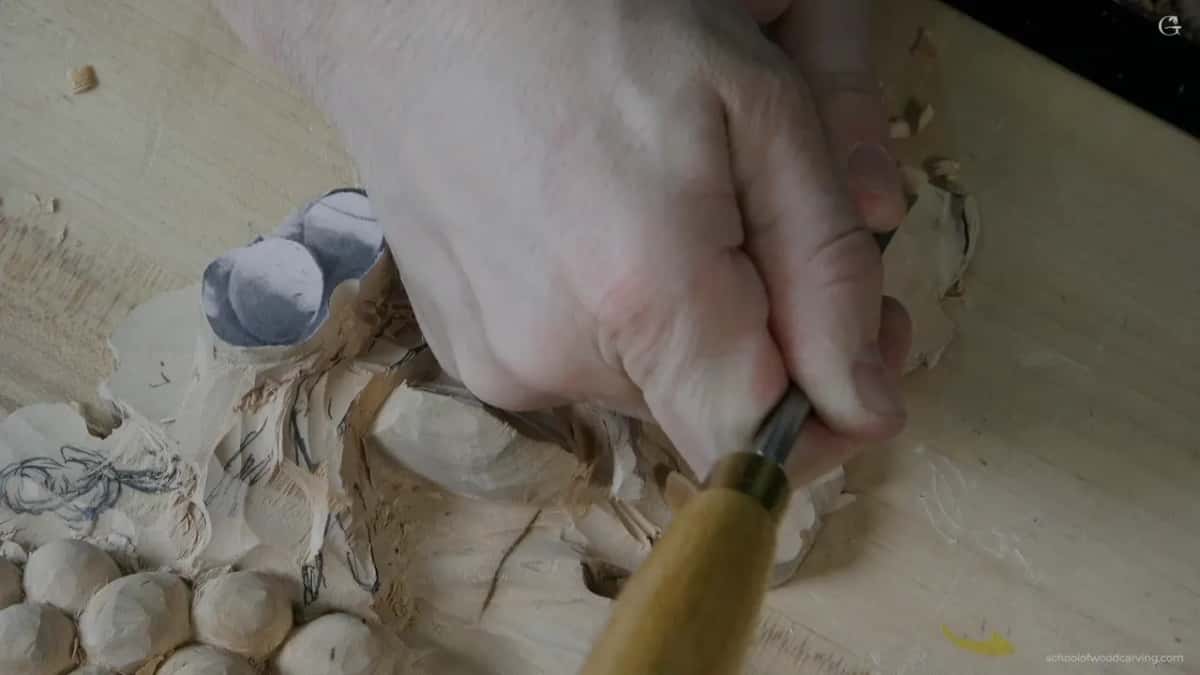
| Quarter inch #9 gouge | took off wood without losing the motion | right beside the pipe |
| Three tiny #11 veiners | went under the vine from both sides | with the eye safe |
| Small #2, 5 mm | worked upside down where no #11 fit | under the airborne vine |
The raised part coming from the eye is called the pipe. It is supposed to go toward the center of the leaf, and I watched its direction. Near the pipe a quarter inch number 9 (about 6 mm) removed some material, and I was careful not to lose the overall motion. And yes, I can exaggerate the side of that pipe slightly. Slightly is the word.
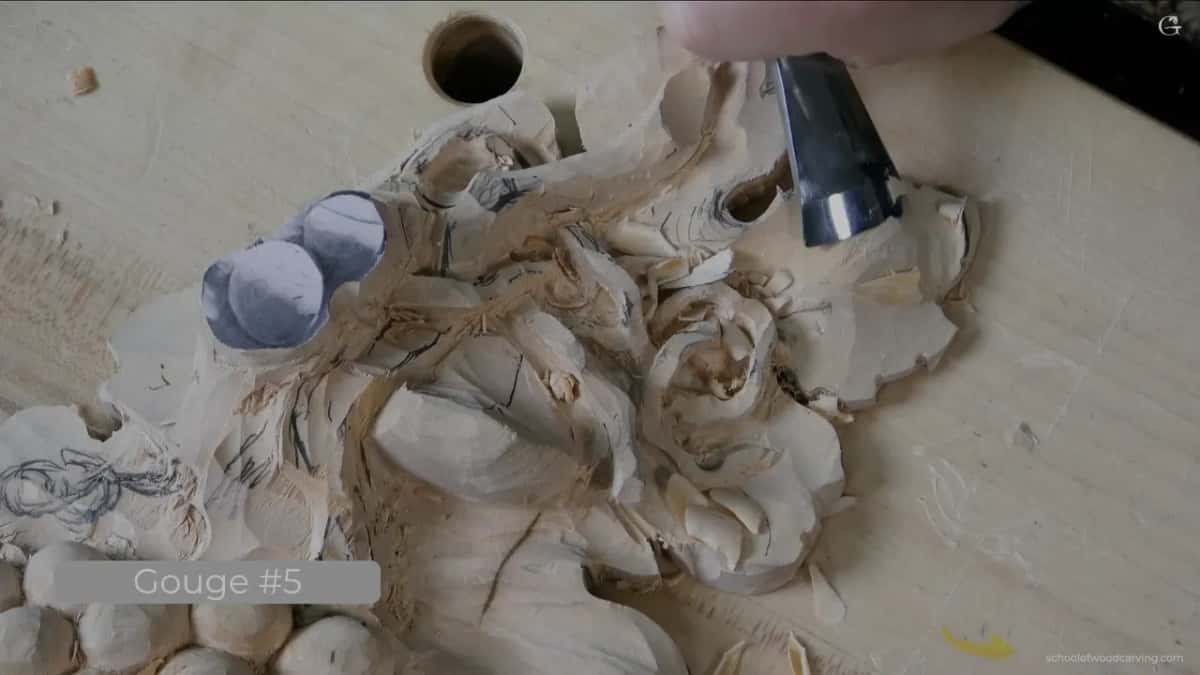
How deep can you go beneath the vine?
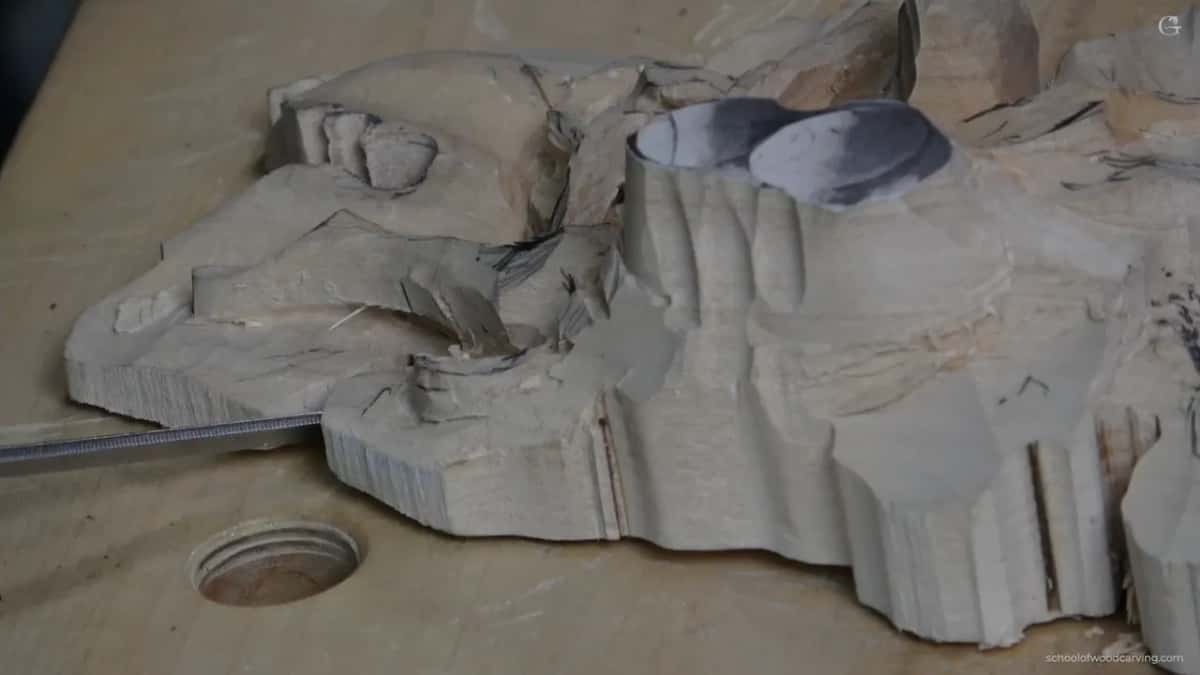
Carefully, watching the wood under the eye. There is an eye slightly hidden underneath the vine, and to work the shape of the convex there I had to undercut and release that area. I also kept in mind how deep I was going, because the material was not that much.
I started with a number 11 at 2.5 mm (about 3/32 in), then went to 2 mm (about 5/64 in), then 1 mm (under 1/16 in), really tiny passes from one side and then the other, not forcing anything. Maybe I'll go all the way and make it airborne, I said. Why not, if I have enough material? If I don't, then that's a problem.
The flute sat at about three o'clock on the right hand side. Later I set it at about eleven o'clock, went under that movement little by little, then came in from another angle to meet the first side. You could leave it like that, I said, since from the top it was already casting shadow on both sides. I went on with the 1 mm anyway, a little deeper.
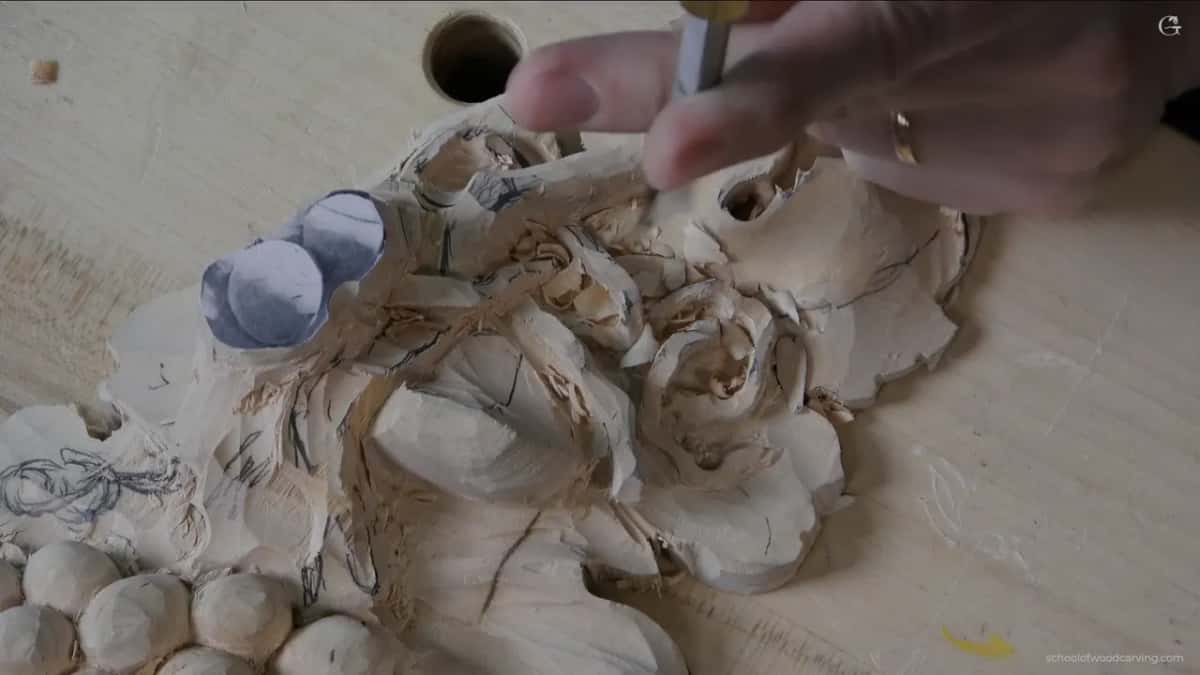
From one side, digging deeper would have run into my bulge and gone too deep in that area, so I didn't do it. At the point of the eye I still had about one-eighth inch (3 mm), so I should be safe. Where a number 11 could not fit at all, I turned a 5 mm number 2 (about 3/16 in) upside down and undercut with it. Before that, the number 5 took a little more off, to make the airborne part look a little more exaggerated.
Then it was completely airborne. Slightly raised, but it casts enough shadow. Probably the most important thing in that whole operation was not to rush it.
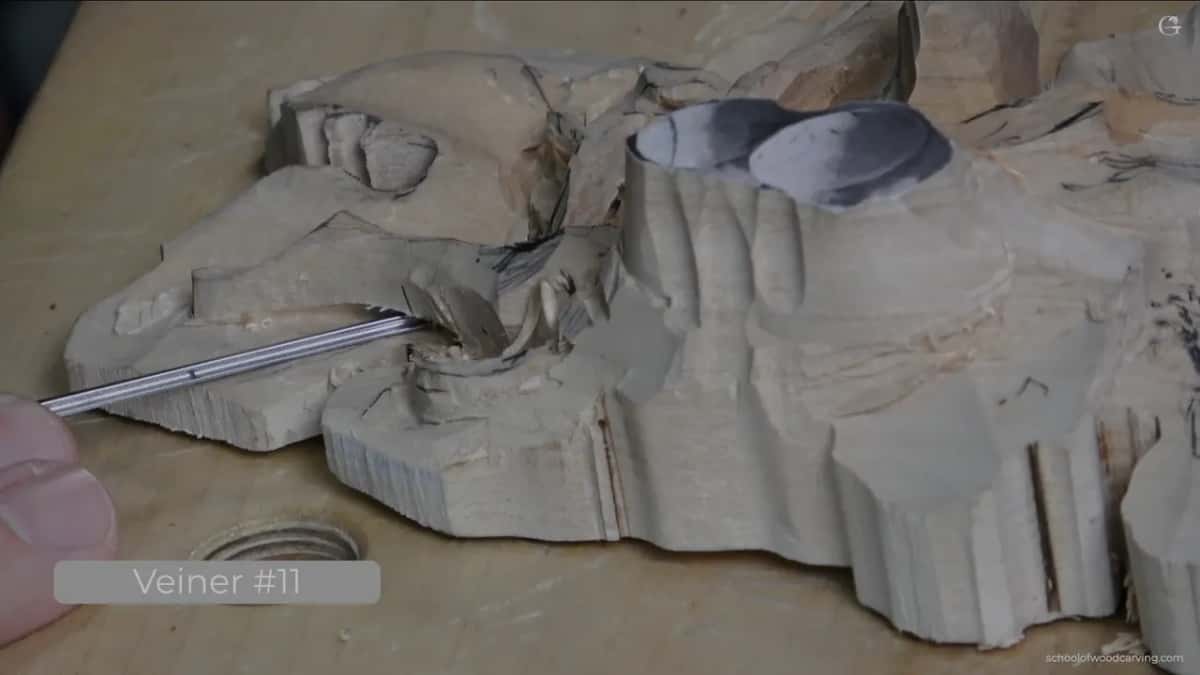
What did I do on other pieces when the wood ran thin?
In my Grinling Gibbons class in Maine, in class 10, I wanted as much waviness as possible, nothing flat, but I didn't have much material. So first I worked around it. I undercut underneath that area, because once I undercut somewhat, I know exactly how much space I have. When I put my finger under it, there was not much under there. I said a small number 11 will work, about three millimeters or so (a bit over 1/10 in), and a number 9 too. If you don't have a number 11, use a number 16 V tool. Nobody is going to know that anyway. My flute faced outward, and the depth, like I said, was almost nothing.
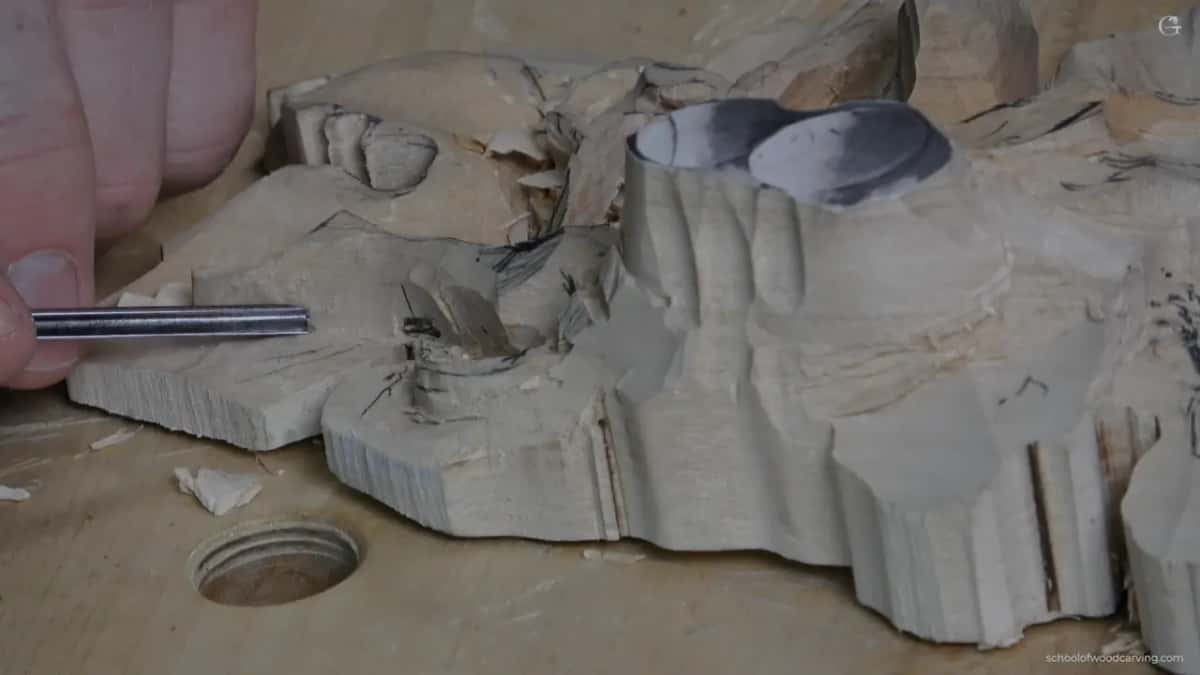
On the Hashemi flowers, in lesson 40, the wood was thin at the edge but thicker closer to the center. So I undercut gradually, from almost nothing outside, about one millimeter (about 0.04 in) of difference, to about 3 millimeters, an eighth of an inch, on the inside, using a number 11 veiner, 1 millimeter.
In lesson 41 a small twist looked almost impossible, and I said maybe I shouldn't even try. Just not enough material left. I got there with a small gouge, about 1/8 of an inch, actually less, maybe 3/32 (about 2.4 mm), and I made the twist anyway. Every little bit of detail like that makes it look unique.
With the Roman acanthus I tucked a concave under a pipe with a 7 millimeter tool (about 9/32 in), and I had to be really careful with the edge, because not much material was left. Maybe that tool was a little too big, I said, so I went to a smaller one, an even smaller one. It does create beautiful shadow casting.
Back in Maine, in class 14, I said it shorter. Don't rush it. Take your time, because I don't have too much material left. And in lesson 7 of this grape course I kept an eye on how deep I was excavating, with about six millimeters (about 1/4 in) from the high spot all the way down.
Small does not mean nothing. Looking at one part in lesson 9, I said obviously I don't have too much material on this guy, but let me do something. It got a little motion in conflict with the main movement, and that is just one of the concepts of design, I said.
Can you carve a leaf like this one yourself?
You can, and if you are going to do it, please take your time. Got a leaf on your own board that came out thin, and can you find its eyes? Then lift those, use the movement it already has, and leave your clean pass for later. For how the lobes split up, see lesson 8. Lesson 6 comes next.
Every lesson of the grape relief, and the rest of my wood carving library, opens with tuition and access. Next on this leaf, one area gets raised slightly, with a concave that runs the whole way.
How it's done
- Look at what is left. Before any shaping I found just 1/8 in (3 mm) in one place and a quarter inch on the other side.
- Hold on to the bulge. My central line already bulged. I kept it and shaped it roughly with a 12 mm (about 1/2 in) number 5, as I wanted to see it.
- Lift the eyes. A small concave from a 14 mm (9/16 in) number 7 at each eye raises the ridges beside it.
- Dig the thin side slowly. A 4 mm (5/32 in) number 11 opens the hollow there, really carefully. Along the grain I make several short passes, since I can catch it and break it.
- Save the clean pass. No final pass yet, so wood stays for the cleanup.
- Stop at the bulge. Beneath the vine my number 11s went from 2.5 to 2 to 1 mm (about 3/32 in down to under 1/16), and I stopped digging from the side where the bulge was in the way.
Frequently asked questions
How much wood do you need under a carved leaf?
Roughly 1/8 in (3 mm) was what I had at the thinnest place, and roughly six millimeters elsewhere. Where the vine crossed, about that much was left at the eye, and I should be safe, I said. Whether a part can go airborne depends on whether you have enough material.
Can you still raise the eyes on a thin leaf?
On mine I could. Beside each eye a 14 mm (a little over 1/2 in) number 7 made a small concave. I kept it small on purpose, not too big, but big enough that you can see it, and the two ridges on both sides of each eye went up a little with it.
Should you take the final clean pass right away on a thin leaf?
On this leaf I did not. My first passes were not the final ones, because I wanted plenty of material left to clean up later, and even my next round with the number 5 was only a preliminary cleanup. Undercutting later is what makes the big difference.
What to carve next