

Alexander Grabovetskiy, woodcarver, School of Woodcarving · Published 2024
How do you carve through a spot you can only reach from one side?
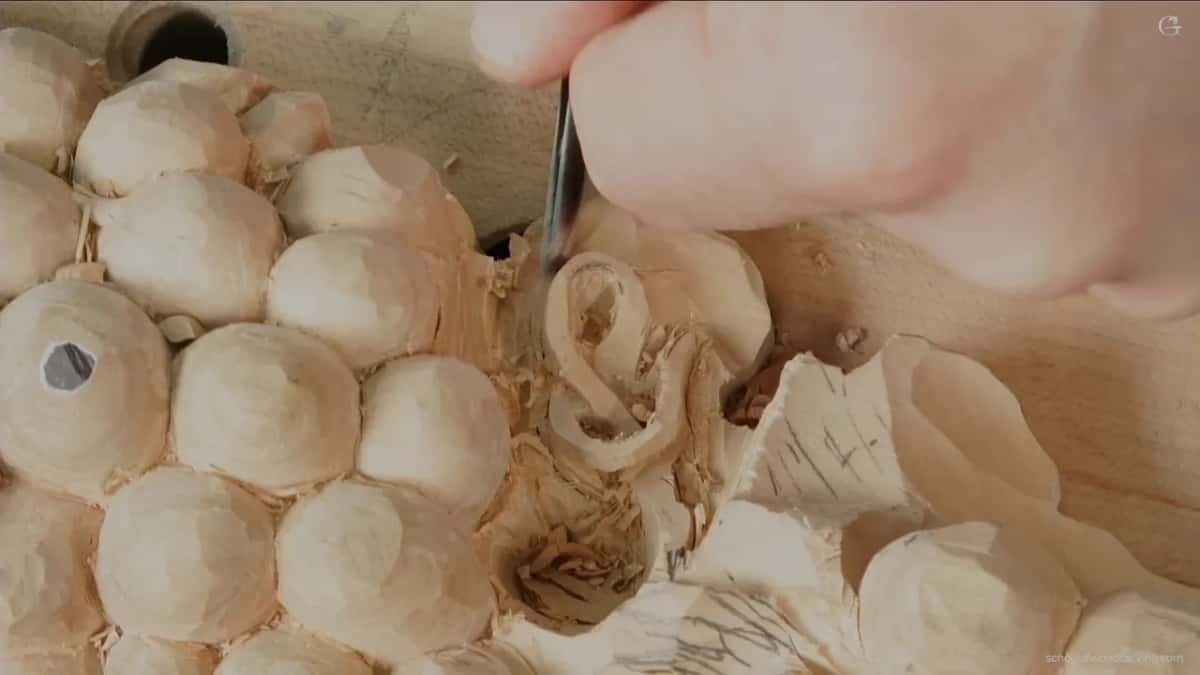
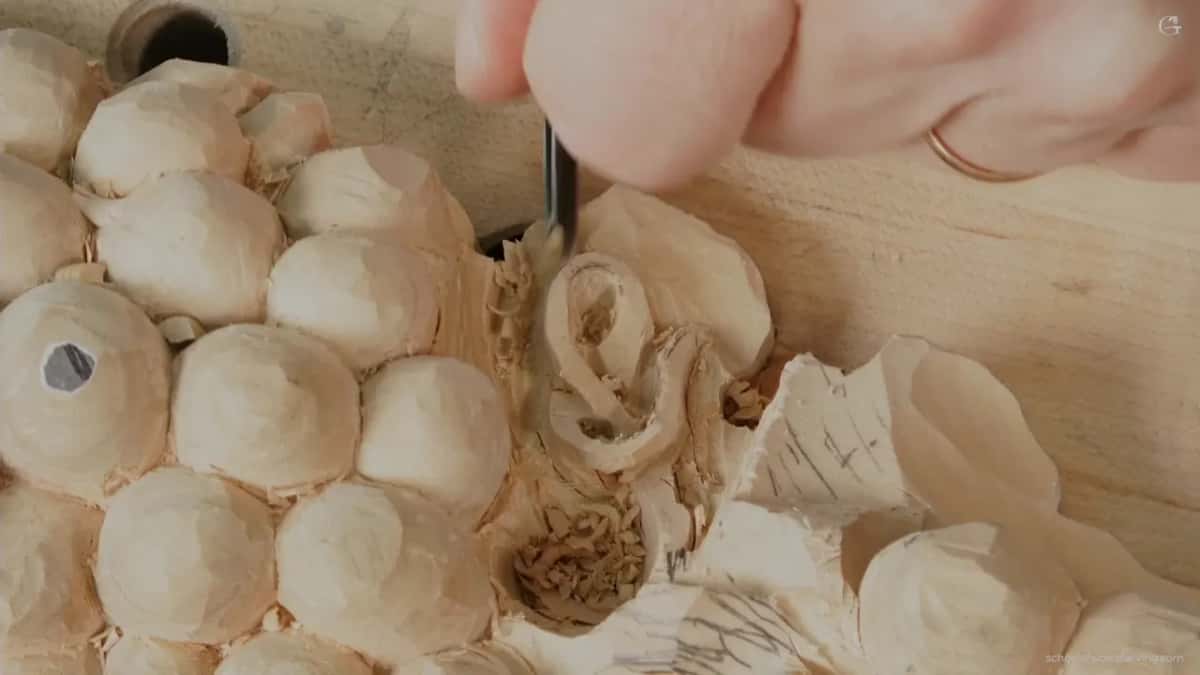
Quick answer: Carving through with only one way in is, on my onlay, digging under a vine while grapes and a tall leaf stand where the second approach should be. I wiggled the gouge instead of pushing it, bored in with a tiny number 9, trimmed back, opened the hole wider and went on until I was through.
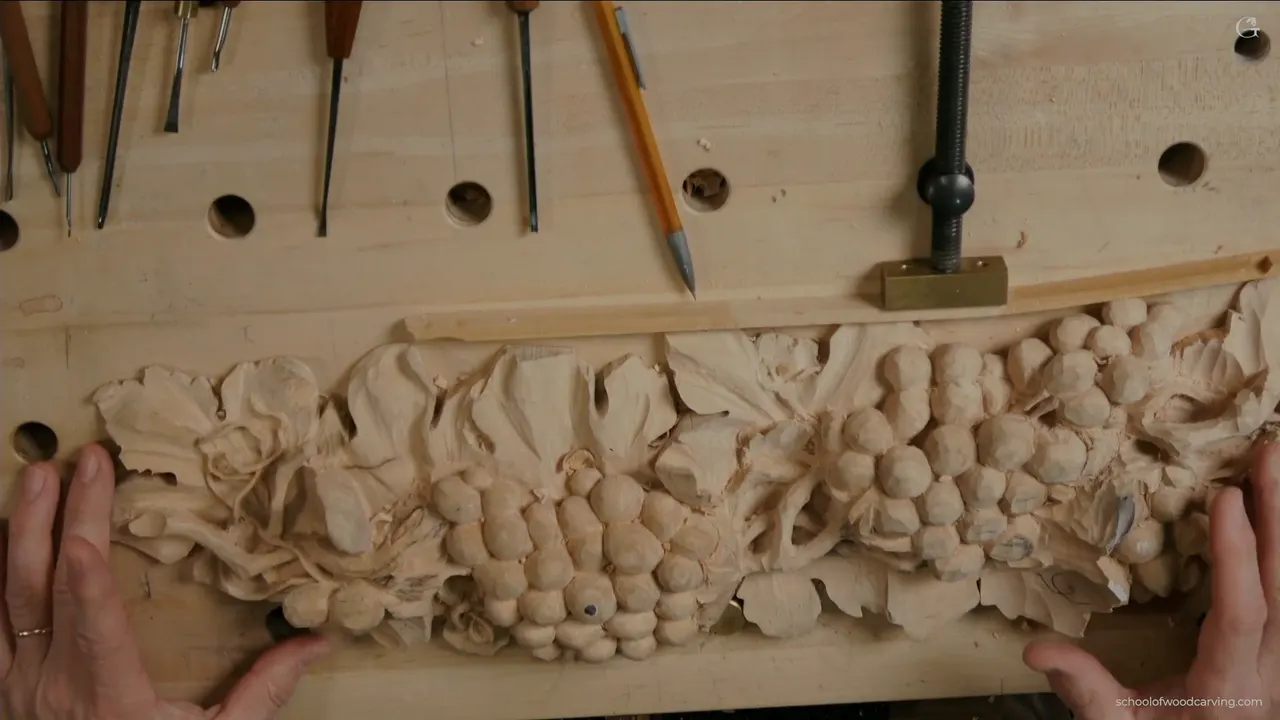
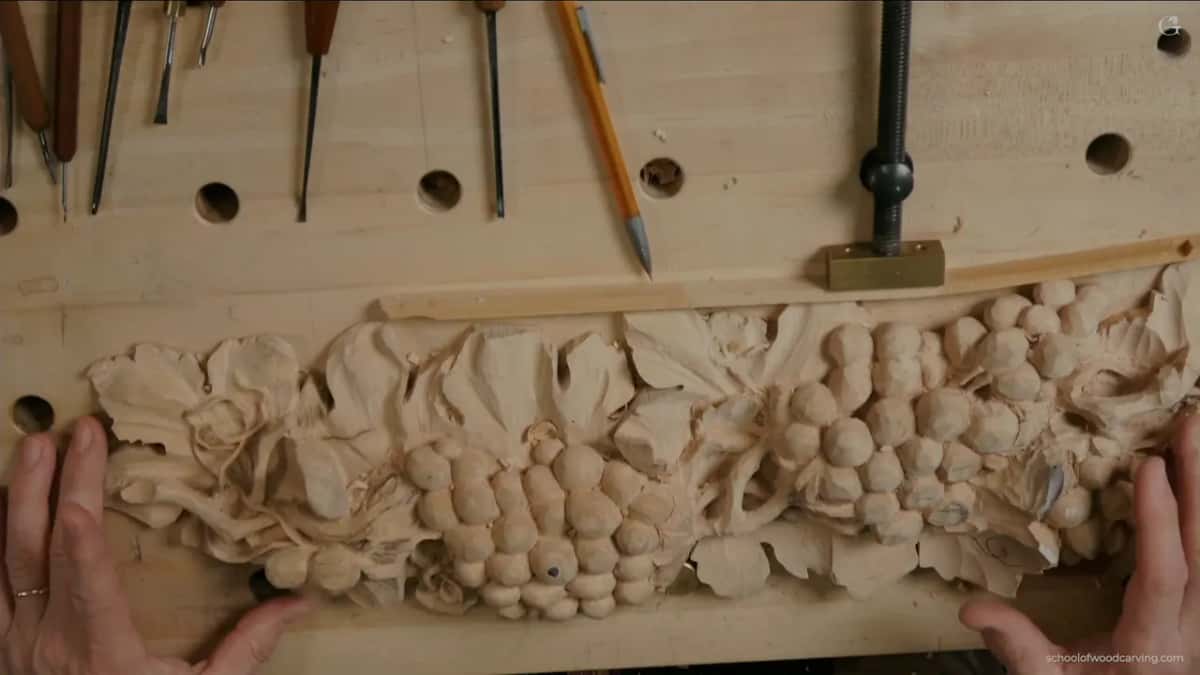
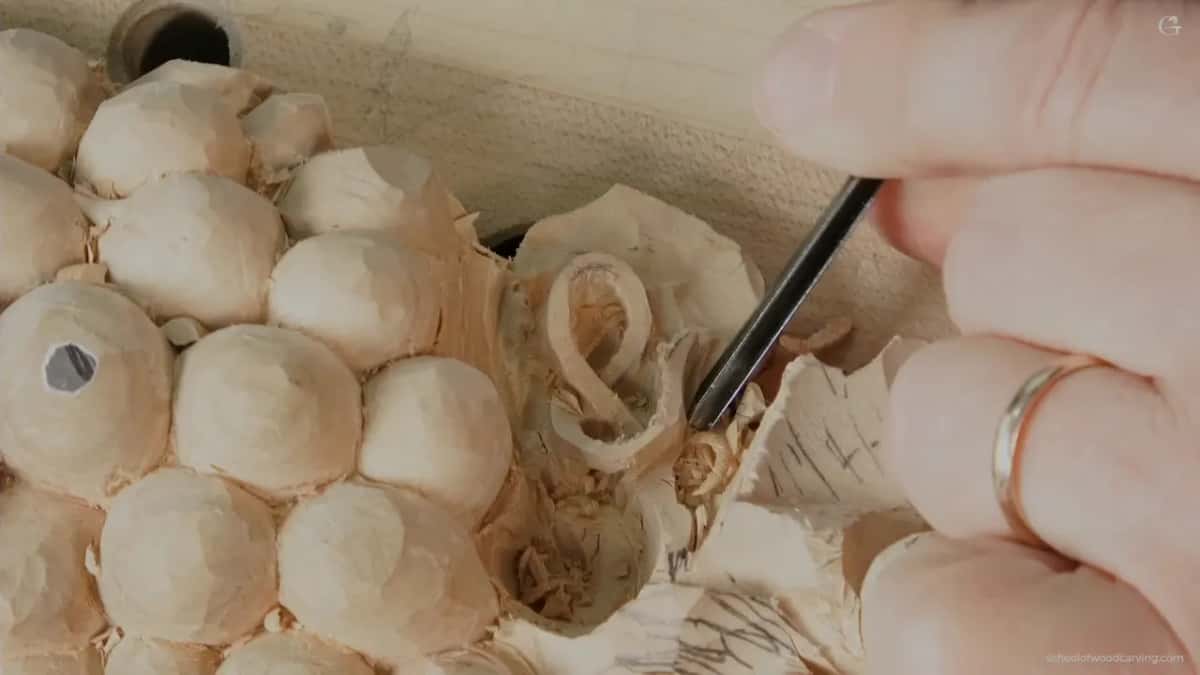
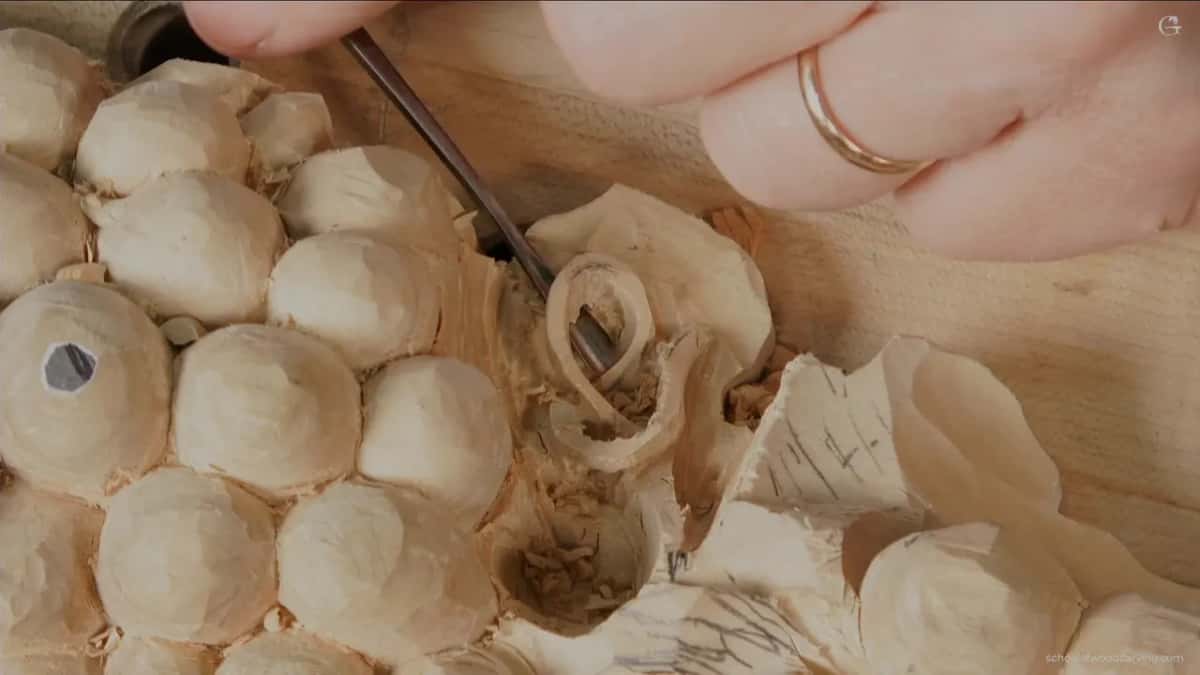
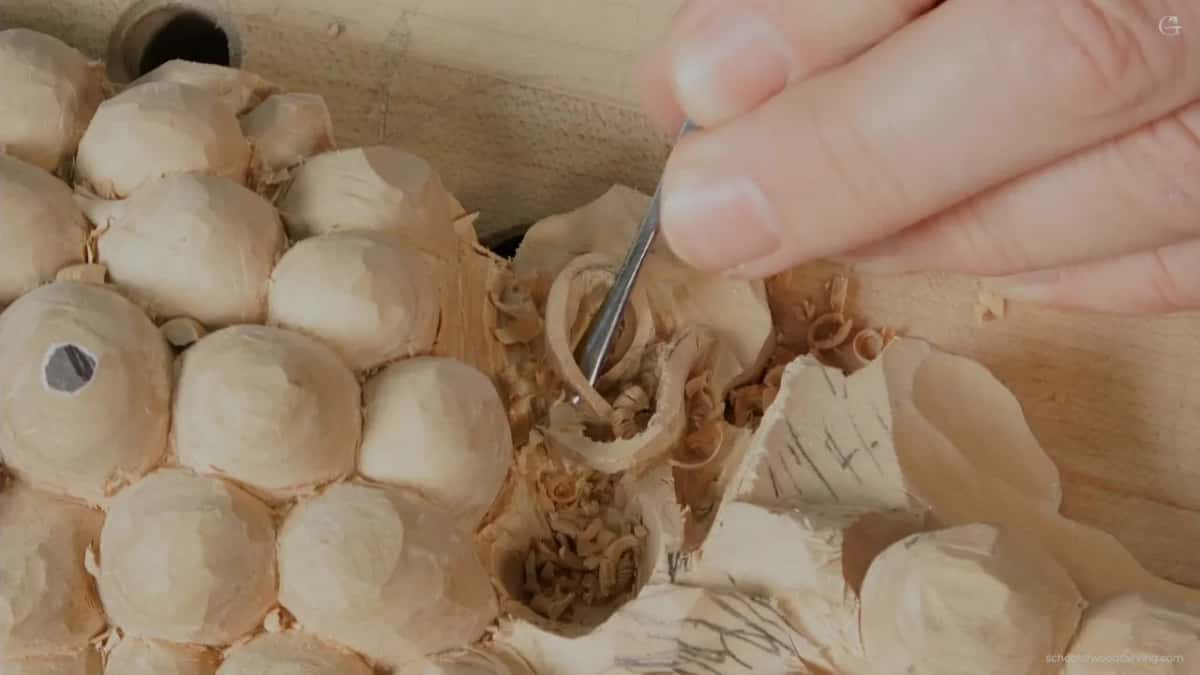
Carving through a spot you can reach from one side is what the back corner of this onlay asked of me. A bunch of grapes sat on the far side, with a really high leaf beside them, so my gouge had one way in. This is openwork wood carving done slowly, with small gouges and no saw.
You are watching the third video of lesson 6 of my grape onlay course. One vine already runs free. I wanted the same full excavation in a second area, which I had started before and not finished, and that area was a little more challenging than the first.
Have you ever carved toward a hollow and found a taller part of the same carving parked right where your gouge needs to go? Did you wish you could walk round the bench? Then you have met this problem.
Six things I did in that blocked corner
- The grapes and that leaf closed off the opposite approach, so I worked from where I stood.
- Pushing was almost impossible there. The gouge went in by wiggling.
- The drilling fell to a 1.2 mm number 9 (about 3/64 in).
- Tight spots meant cleaning back, widening, and drilling again.
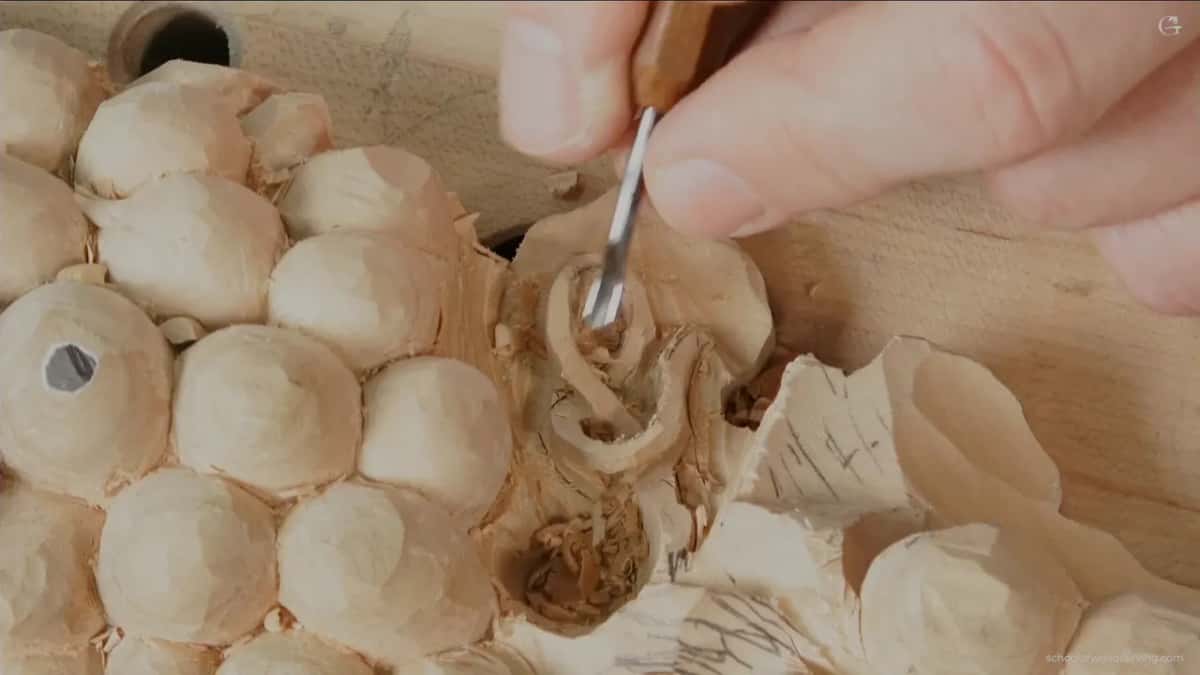
- To clear waste, a 1/8 inch number 9 or 8, about three millimeters, stabbed straight down.
- Light in the hole told me I was there. Then I thinned the part to 1/16 inch (under 2 mm) and looked at it from every side.
Why are two sides better than one?
Two sides are better whenever you can get them. In part two of this lesson I said cutting away from two sides is one of the best approaches, and I added, don't push it. On my Cabernet tray I put it the other way round. I said I wouldn't try to get the hole from a single side, and I came at it from the second side as well, with the flute at three o'clock.
Here I had no second side. Obviously I cannot attack from two sides, I told you, so it has to be done from this one. It's not going to be that easy.
What blocked the far side on this onlay?
Grapes on one side, and beside them a really high leaf. Together they made the spot kind of challenging to get to, though I said it was not impossible either.
Later in the same video the grapes came back to bother me. Logically I should attack from the opposite side, I said, but they are in my way. So it is not as easy as it looks.
I'm sorry if I'm covering it, I said at one point, because my hands sat right over the spot. Over in the Venice Room, sorry that I'm covering it with my hands, I said the same thing, and then, but what can I do?
Other pieces have done this to me. In lesson 122 of the Venice Room I could not attack from the opposite direction because a much higher flower was in my way. In workshop 73 of that course it was the main body of the carving. On the Hashemi flowers a movement sat in the way, so I carved the wrong way to the grain there, and I stopped to explain it for anyone who wondered why.
And in Venice Room 67 it was simply everything, and I said this piece is in my way. Every project has some areas which are inconvenient, really inconvenient. So I'll survive. I'll do my work, and I'm okay with that. I actually like those challenges, and finding the right angle makes that work really interesting.
A couple of minutes later, in that same area, I was carving toward myself. I would encourage you not to, I said. It's not the safest way, you can slip and cut yourself, and that would be a big mistake.
Does a push work in a spot like that?
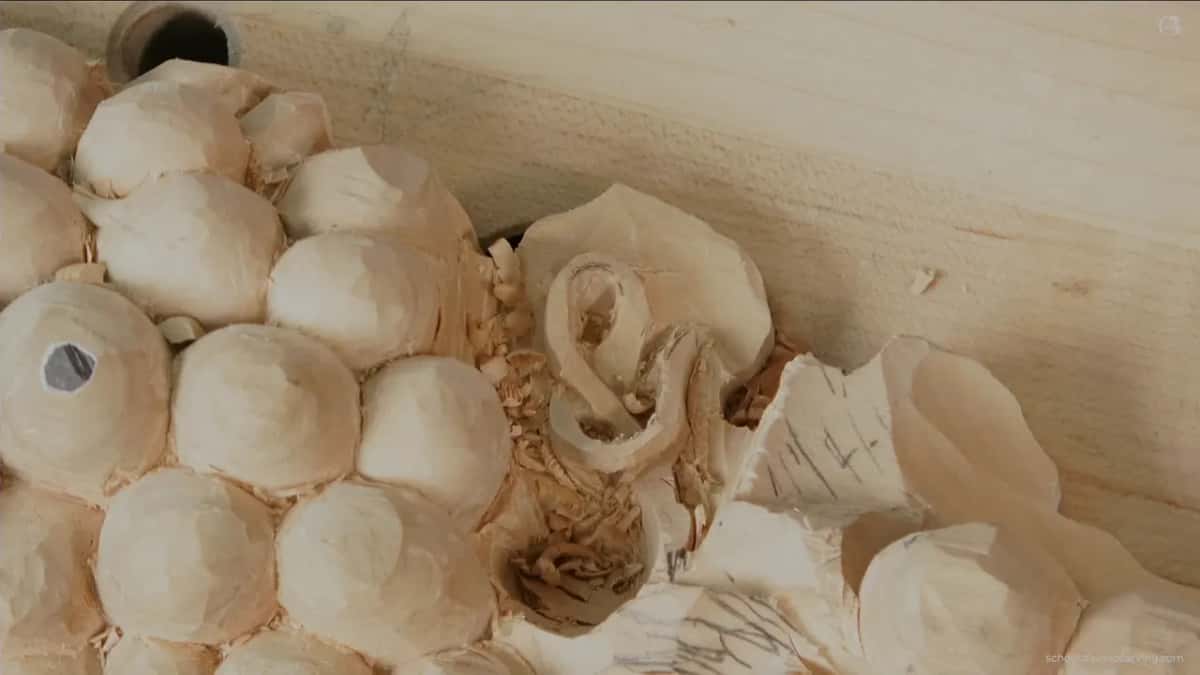
Behind the grapes, I couldn't. I was wiggling, I said, because I can't push it, there's just no way to make a normal pass, and it's almost impossible for me. A little later I was through, and I said you can probably detect that.
The tool there was a number 9, not a number 11. In this case I could use an 11 too, obviously. Same technique as before.
What does drilling in stages look like?
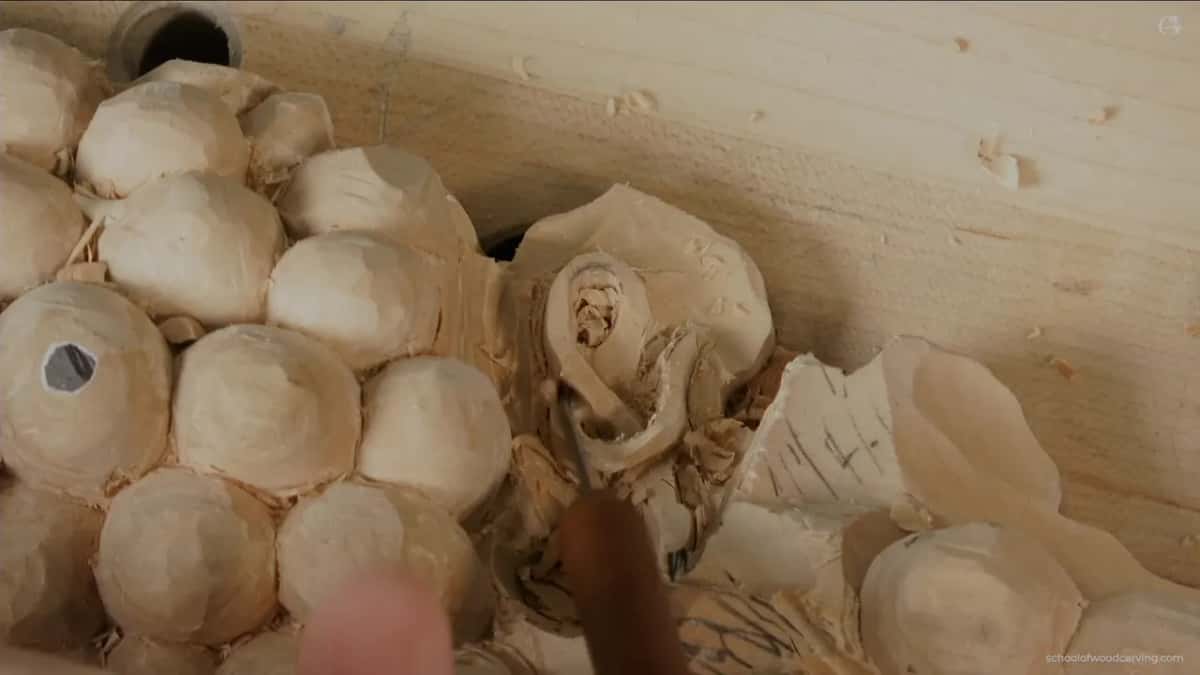
A tiny gouge and many small steps. I took a number 9 of 1.2 millimeters, about 0.05 of an inch, and used it again like a plug cut, drilling carefully. In part one of lesson 6 I call a plug cut the tool placed straight down and then drilling inside.
It went in stages. I cleaned slightly back to that pass, made a little wider space, and continued drilling. After that I was through.
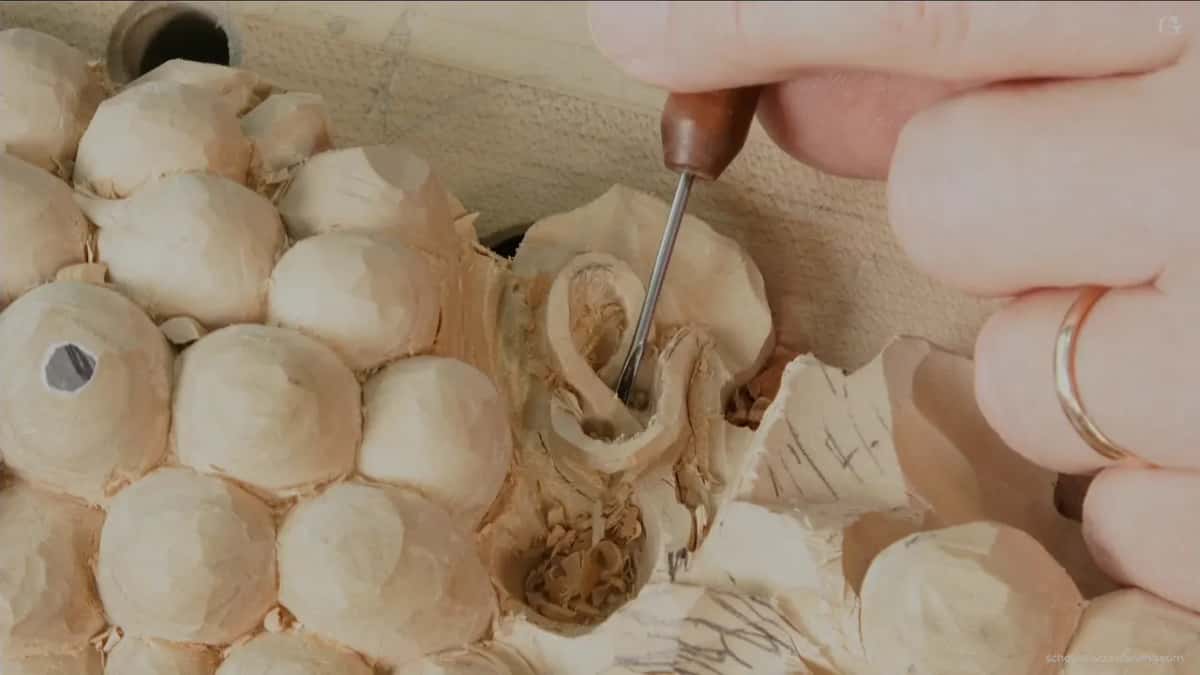
I wasn't sure you could see it, but I could keep drilling even farther. First I removed one spot and took the hollow a little deeper from where I was. Some material came out after that, and the drilling went on.
What do the stabs straight down do?
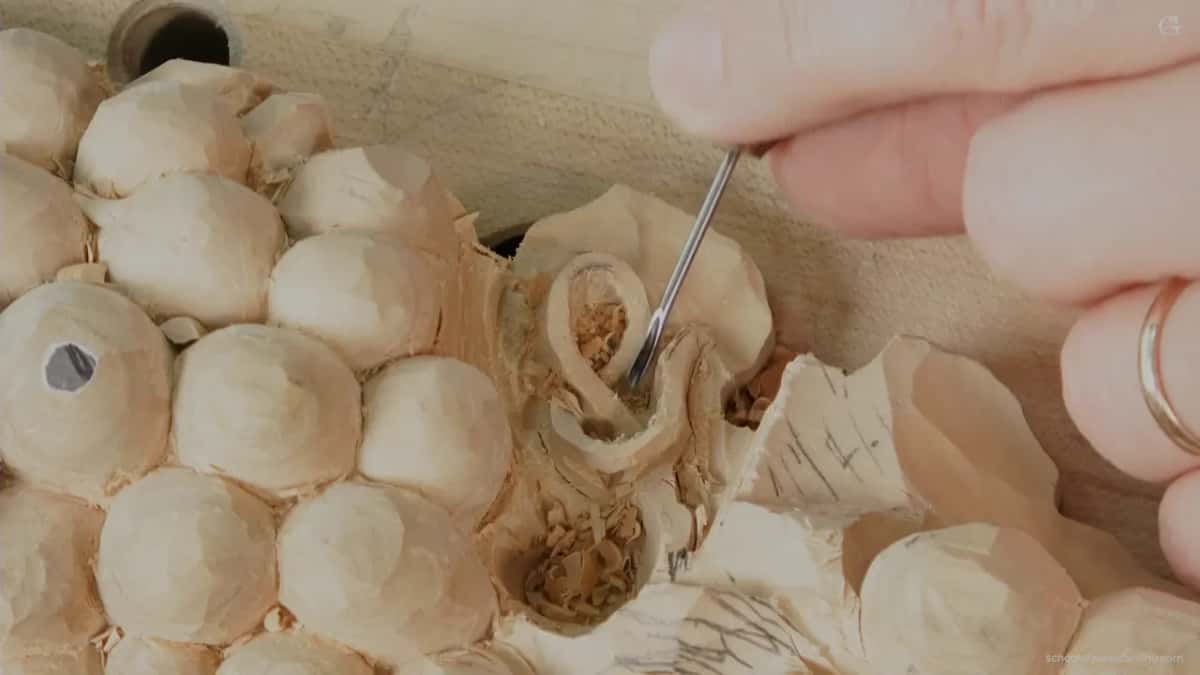
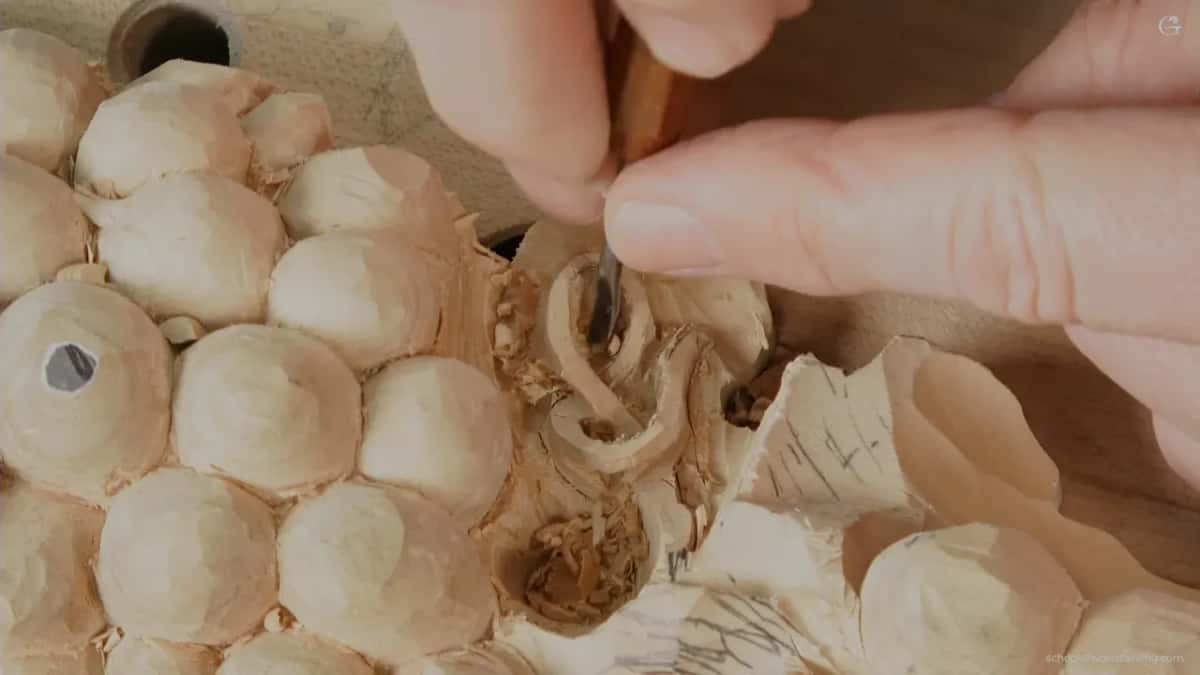
They clear out what the drilling leaves behind in the hole. Can you see how deep I got? I asked. That meant some material had to come out. I was pretty close to my level on both sides, but one part still held too much waste.
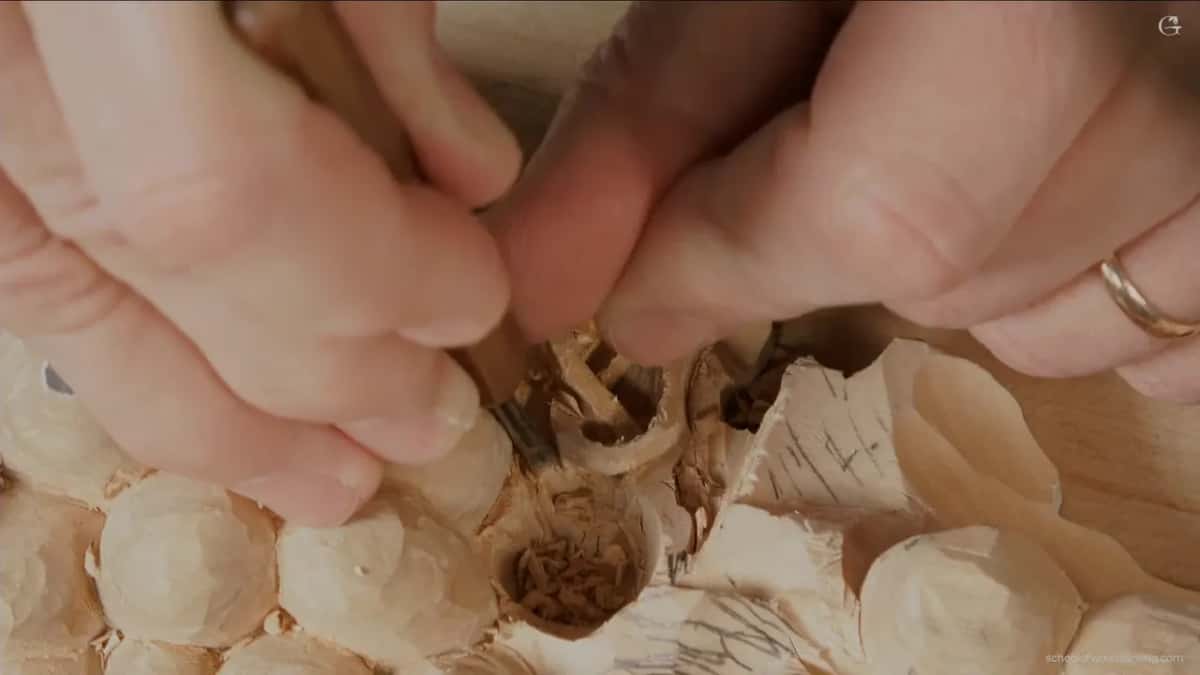
So I took a number 9 or a number 8, one eighth of an inch, three millimeters, and made stabbing cuts down. Next, my previous tool came back to remove the excess all around, and a little more drilling followed. That is how it is done, I said, and after some cleanup on that side it was pretty much finished.
| Stage | Work | Reason |
|---|---|---|
| Finishing excavation | a 9 here, rather than the 11 | an 11 also works |
| Blocked corner | wiggled in, since pushing would not go | and I got through |
| Light check | small number 11, flute at three o'clock | some light showed through |
| Still thick | one more number 9 cleared waste first | before going further under |
| Single approach | the tiny 9 went in, drilling carefully | trimmed back, then widened |
| Leftover waste | then a 9 or 8, bigger, stabbed | straight down, then drilling |
| Final thickness | the side of a number 11 veiner | till I was happy |
| Last look | my number 7 sliced from underneath, carefully | and went around it |
When is a one-sided hole really through?
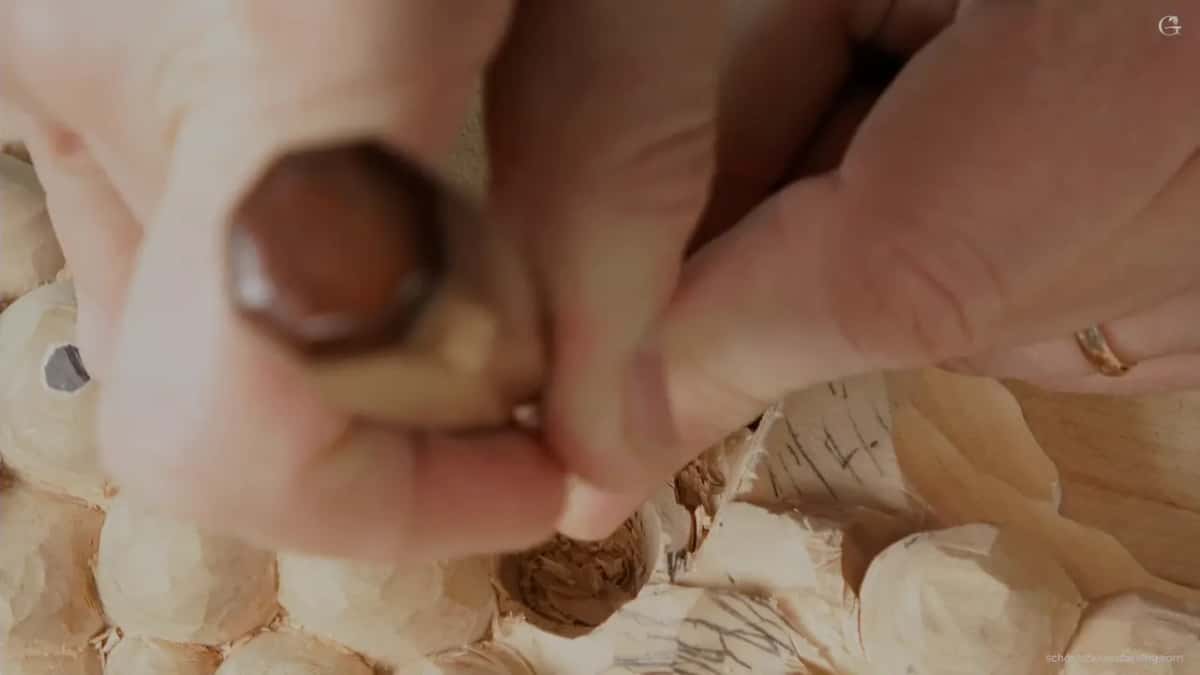
When light comes through it. Right after the wiggling, I carried my undercut on underneath, because I didn't see enough light and shadow yet. I used a number 11 of 2 mm, about 5/64 of an inch, with my flute to three o'clock, then two thirty, starting from the right side.
Dropping one side a little lower would probably give me a better shadow, I said. I went around carefully and said I was through. I took that back right away. Almost. I could see some light in it.
In the Grinling Gibbons class in Maine I was in the same spot, working under a tiny flower from the only position I had. See how it creates a dark spot, I said. Really good separation between those two parts, and they were completely separated from each other. Some mess was left, which I told the class I'd take care of a little later.
Painters have a word for that play of light and dark, chiaroscuro. Working from a single position in lesson 61 of the Venice Room, I said I really want to see a shadow casting. I could leave it like that, but it is not what I'm after.
Back in lesson 122, with that flower in the way, I took a 2 mm (about 0.08 in) number 11 to excavate an even deeper shadow. After it came a millimeter and a half, about a sixteenth of an inch.
Why not go all the way through at once?
The part was still too thick. Once I saw that light, I grabbed a smaller one, the 1.2 mm number 9 I had used before. Can you see it? You should be able to. If you don't see it, I can't help you.
I didn't go the whole way yet, because those motions were still a little too thick, I said. So first I refined, and removed some waste before I got too much underneath. For that I went back to a number 9, one eighth of an inch, about 3 mm, and worked it all the way.
A little later one part looked kind of weak, and it was already shaped slightly. That's absolutely okay, I said. I can blend it and make it look really nice.
Does a sharp edge matter more when you can't switch sides?
It does on my pieces. On this onlay I said it while I worked. Don't crank on some of the areas, and try not to use that as a leverage point. Don't create a lot of pressure either. Make sure your tools are super sharp, so you don't need pressure, and let the tool do the work.
Earlier in the video I said be careful not to crank. I know some of the weak spots, I added. Right before the final thinning I put it plainer still, in five words. Try not to break anything.
Other projects taught me the same. In that Venice Room lesson I could not come from the other direction, so I had to work from one position, both sides, which means my tools really should be sharp, because I was carving against the grain.
In workshop 73 the left side came out much cleaner than the right because of the grain, and there was no other way in. The only solution, I said, is to make my tool a lot sharper. A skew also helps to make it much cleaner. Even then that section came out kind of messy, and I don't like messy, so I went back in with a 7 mm number 11, about 9/32 of an inch.
Back in lesson 122 I almost made a mistake. I chopped a little bit of the edge, which was okay in that case, but I said you still have to be careful when you're working and the grain is against you.
What if the grain is wrong on the only side you have?
In this video I don't mention the grain at all. The trouble here was the grapes, with a leaf beside them, and on other pieces it was the grain instead.
In the Maine class I said I do know that I am working against the grain, but I have no other position to attack from. That's the only way I can do it. On the floral and molding panel one direction was out because of how the grain ran. If I attacked that way, I said, I would catch the grain and break it.
So there I placed the tool really straight. From there I carved downhill until I hit the line, which is probably the best way anyway, I said. For the Hashemi flowers I held the tool as close as possible to the edge, so I could control it much better.
How thin does it end, and what do you check?
About a sixteenth of an inch, roughly 1.6 mm. I said I would probably do the last of it off camera, because I needed to get a little closer. I showed how, though. With the side of my number 11 veiner, I get closer and closer and closer until I'm happy.
That is good, I said, very good. You see it becoming thinner and thinner. Then I have to check from all of the sides how it really flows together. Maybe one side should drop slightly, I said.

Next I switched to a number 7 and came from underneath, carefully, carefully, by slicing. Some came off from below too, and you could see how high I got that part. With the same tool I went around all of those sides.
Is this kind of openwork for a beginner?
I know it is more advanced. I kind of love that, because it's not the basic stuff. Take a look, though. It is not overwhelming. Again, that is just my opinion, just my opinion.
Wikipedia's page on fretwork describes patterns cut out with a fretsaw or a coping saw. Nothing in this video uses a saw. Every opening in it comes from a gouge, and the page on openwork counts wood among the solid materials such gaps go through. Its relief page adds that the carved forms stay joined to a background of the same material.
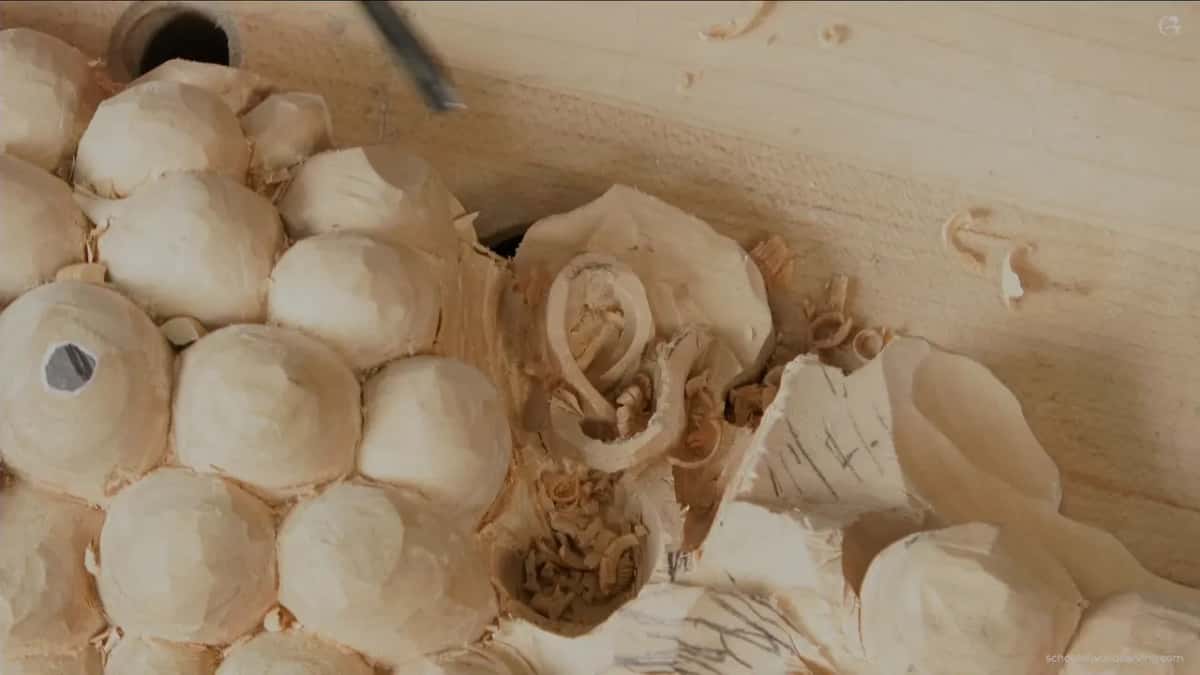
Have you looked at a carving and found a corner open from one direction only? Did you want it free anyway? Then challenge yourself, as I said in part two of this lesson. Lesson 3 of this course looks at why a part breaks when you carve the second side, and early in lesson 7 I had to admit a section of this panel broke. I wasn't too careful.
Access opens every video of the course. Later on we still work on these grapes, which are pretty much just a shape right now.
How it's done
- Work from where you can reach. Grapes and a high leaf stood on the opposite side, so I came in from mine.
- Wiggle the gouge in. A push would not go there, so I wiggled a number 9 in until it was through.
- Bore with a small 9. A tiny number 9 drilled in, plug-cut style, carefully.
- Trim back and open up. Between bouts of drilling I trimmed slightly back and gave the gouge more room before boring on.
- Chop out the leftovers. A bigger gouge, number 8 or 9, chopped straight down, and then the tiny tool took off the rest around it.
- Thin it and look all round. The veiner's side brought it to roughly 1/16 in (1.6 mm), and I checked from every side how it flows.
Frequently asked questions
Why can't you always carve from both sides?
On my grape onlay, fruit and a tall leaf stood on the opposite side. Logically I should have attacked from there, but they were in my way. Other pieces did the same to me, once with a flower that sat higher and once with the body of the carving itself.
What gouge do you drill through with?
A number 9 of 1.2 millimeters, well under 1/16 inch across. I treated it like a plug cut and went carefully. Between stretches of drilling I trimmed back, gave myself room, and bored on.
What are stabbing cuts for?
Clearing leftovers. One part still held too much, so a slightly bigger gouge, a 9 or maybe an 8, went straight down. My earlier tool took off the excess after that, and I drilled a little more.
What to carve next