

Alexander Grabovetskiy, woodcarver, School of Woodcarving · Published 2024
Which small gouges do you need to free a thin carved vine?
Quick answer: Freeing a thin carved vine is, on my grape onlay, a run of gouges that mostly shrinks as the gap closes. A 14 mm (over half inch) number 7 and a skew set the curve, an eighth-inch gouge cleared waste, a 2 mm number 11 went under, and a number 9 near 1 mm (0.04 in) drilled through.
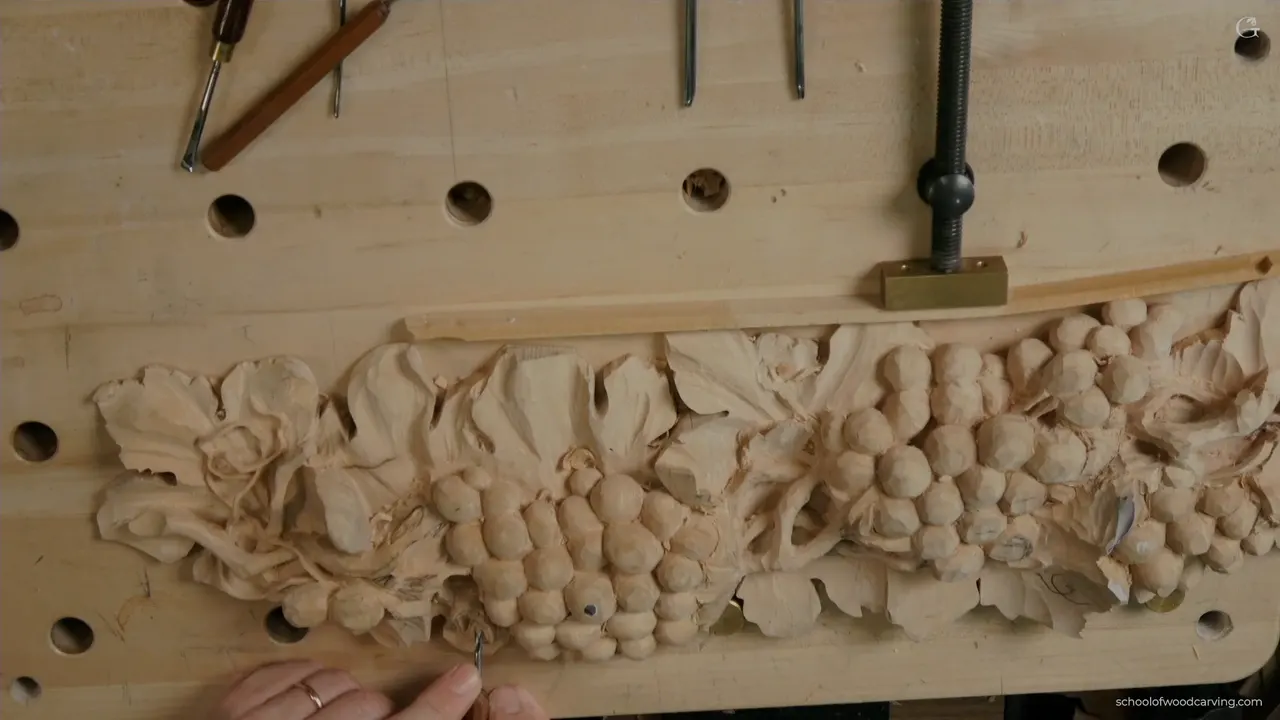
Small carving gouges for a thin vine are the ones you pick up after the big tools stop fitting, and on my grape onlay they came out in an order where the tools mostly got narrower. I worked that way through the second video of lesson 6, freeing one thin vine from the relief around it. Below is that order, one tool at a time, with what I said about each.
Is the gap beside a thin vine narrower than most gouges on your bench? Would a wide one, forced in, press on the vine? Then small wood carving tools are the answer, and the order you pick them up in counts too.
The grapevine on this grape onlay twists, drops underneath, and flips over. By the end it is only one 16th of an inch wide, about one and a half millimeters. Around it, the gouges got smaller, mostly, as the video went on.
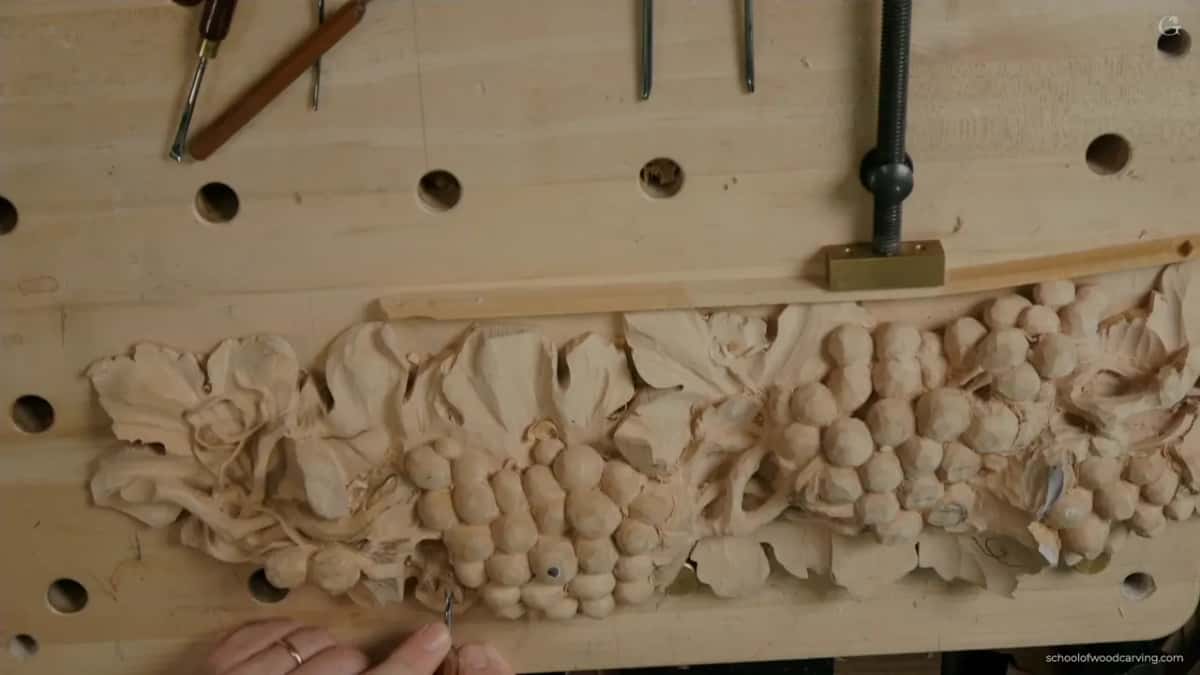
The gouges on this vine, in the order I used them
- A double-sided number 1 chisel, about 5 mm (close to a quarter of an inch), went straight down around some areas.
- Curvature came from a number 7 at 14 mm (a little over half an inch).
- The big skew blended it in 3D.
- Waste beside the vine went to a small eighth-inch gouge (about 3 mm), a 9 or an 8.
- Under the vine, a number 11 of 2 mm (about 5/64 in) went first, a little from each side.
- Drilling through took a number 9 that should be 1 mm (about 1/25 in).
- A tiny spoon, a number 3, blended the underside, and a 1.2 mm gouge (around 3/64 in) took a little more.
Why not reach for the smallest gouge first?
A bigger tool gives you shadow.
In lesson 11 of this course I had an eleven of 2.5 mm in my hand, about 3/32 inch, and I said I don't want to switch to the small one yet if I can still fit the bigger tool. It was kind of risky there. I tried two millimeters (just under 1/12 inch) next and already had some limits.
A half millimeter (about 1/50 in) would have let me bring two branches close together, almost connected. But you're not going to get shadow with the smaller tool, and I really wanted shadow to outline those branches. Carving is painting with light and shadow. I know it sounds philosophical, but that's exactly what it is.
Only after I reached my limit did I switch to the half millimeter. It's just kind of small, I said, and the tiny passes you make with it still have some limits of their own. Take your time, take your time. Later in that lesson I said it again, I'll try my bigger tool first before I switch to a smaller one. It sounds like a bigger tool, I said, but it's only 2.5. You'll see the same call again below.
What shapes the vine before the small gouges come in?
A handful of wider tools. At the start of this video I worked my way in around the vine, maybe about three 16th of an inch (close to 5 mm), and blended it gradually. The other side I took down to the same level. Next came a cleanup with a number 7, and I said, oh, I've got so much junk.
Refinements started with a chisel, a number 1, double-sided. It's supposed to be about six millimeters, but it's slightly less, maybe five, close to a quarter of an inch. With it I went around some of the areas straight down.
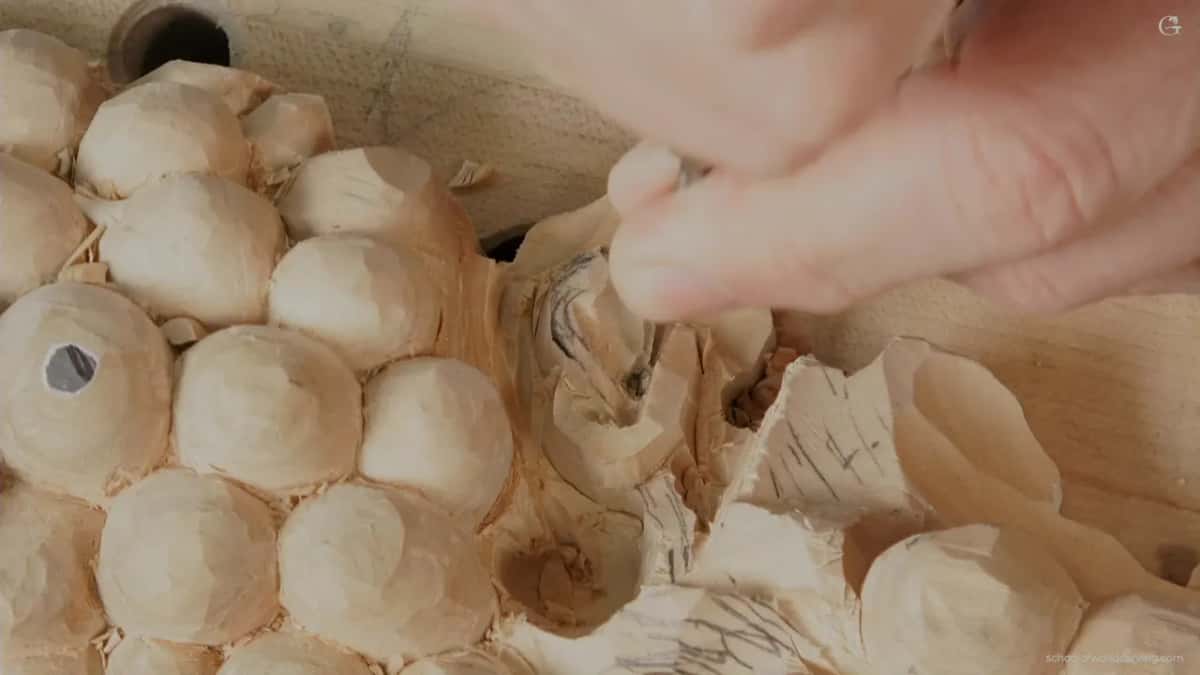
For the curve I took a number 7, 14 millimeters, a little bigger than half an inch. I don't want to see any straight lines on this vine, so it needs some kind of curvature, and that gouge going straight down, I think, gives me a really good curl. In one spot I brought in the opposite direction, to tie it up with the movement.
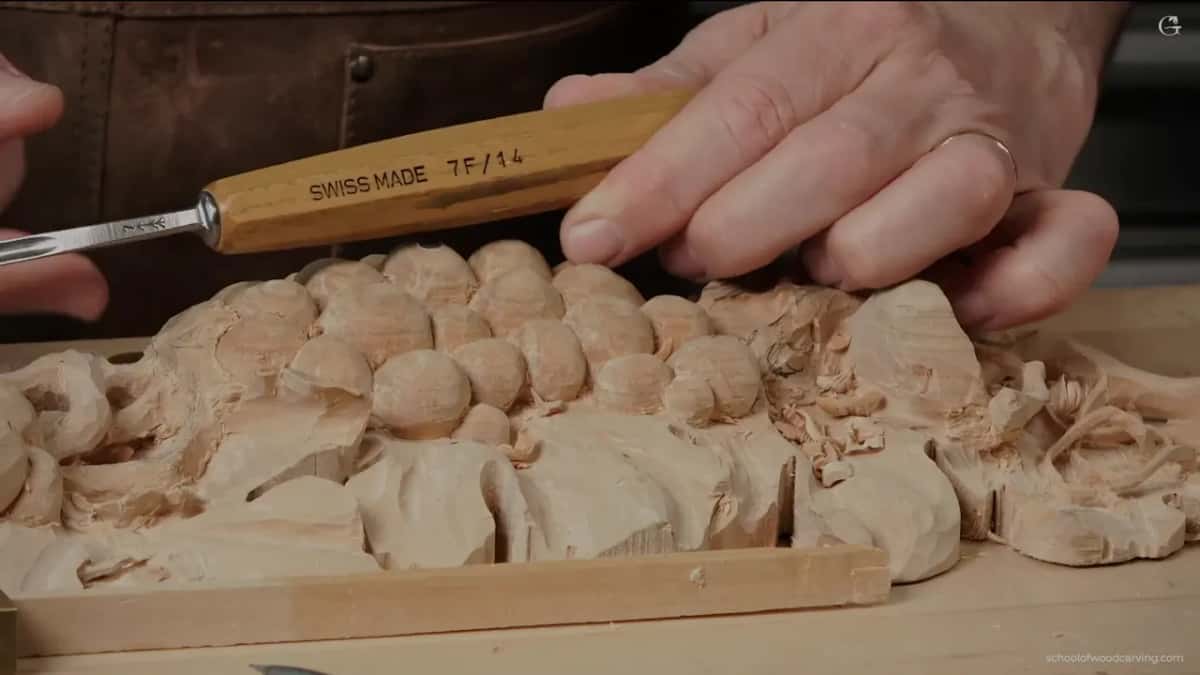
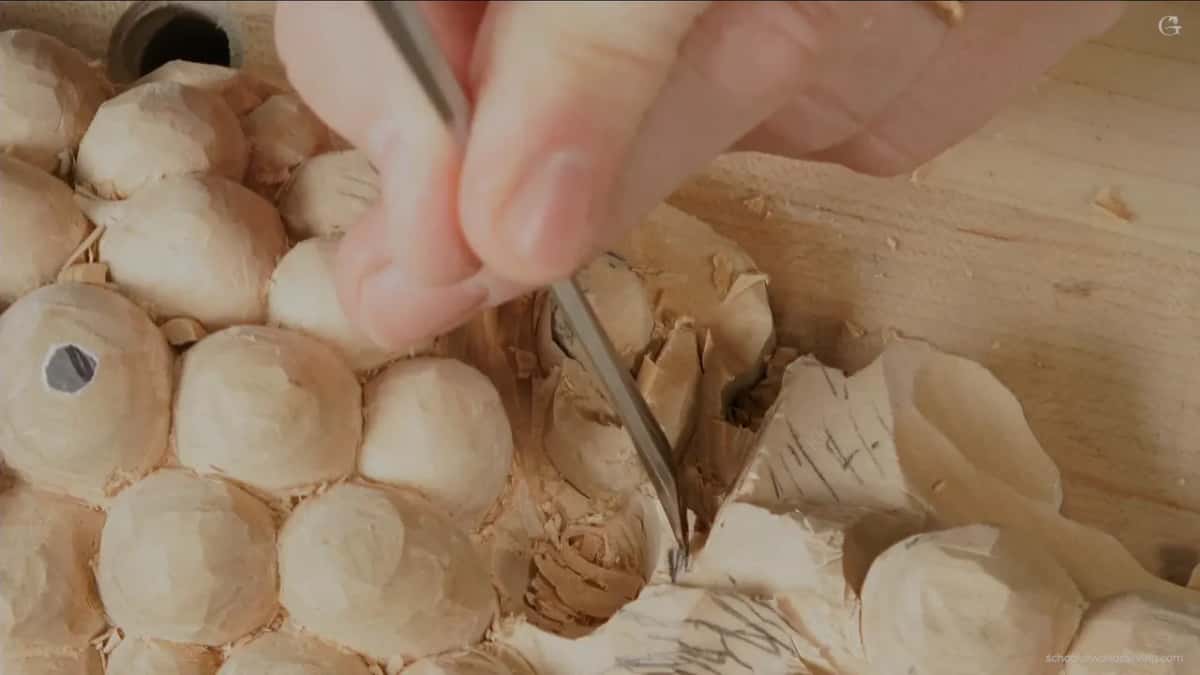
Last of the wider ones was my big skew chisel, also a number 1. I blended the vine with it in three dimensional space, in 3D, because it's going to be more logical that way. Maybe I can drop right here, I said. Okay, that is enough.
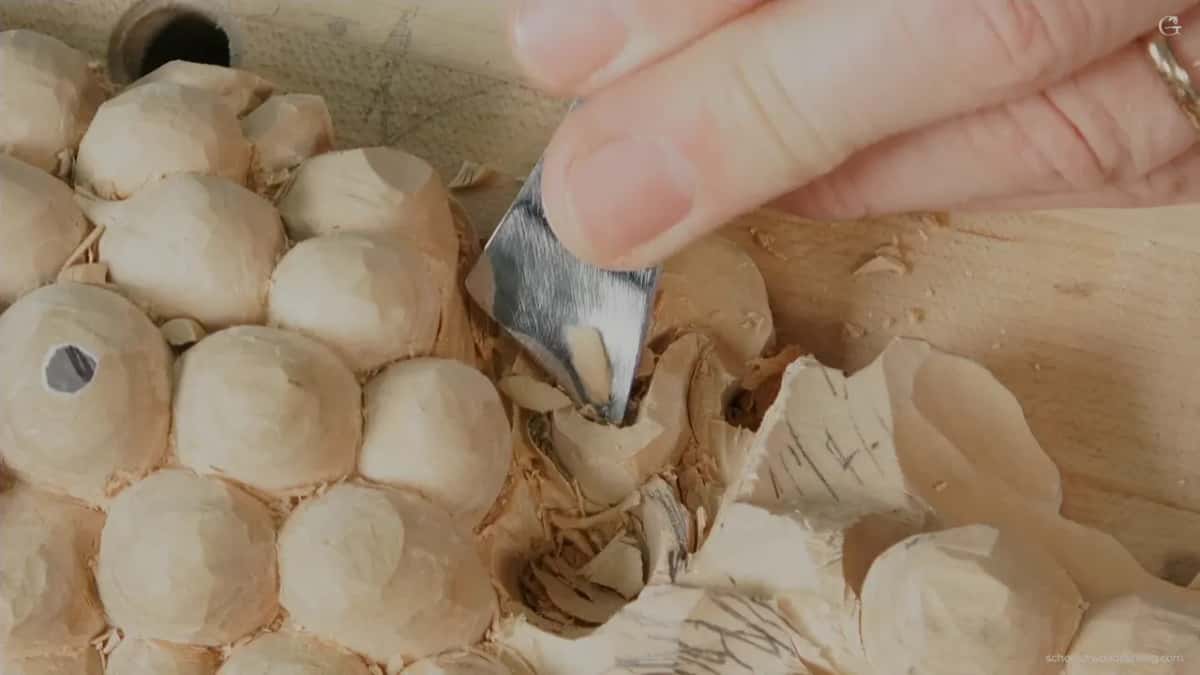
Where does the thin vine sit inside its outline?
Close to the outside, so the opening stays wide and easy to reach.
Right before the details I said I'll stay closer to the outside, which means my opening is going to be much wider. The final motion will be only a sixteenth wide (1.5 mm). Everything else there, I said, all of it, gets excavated.
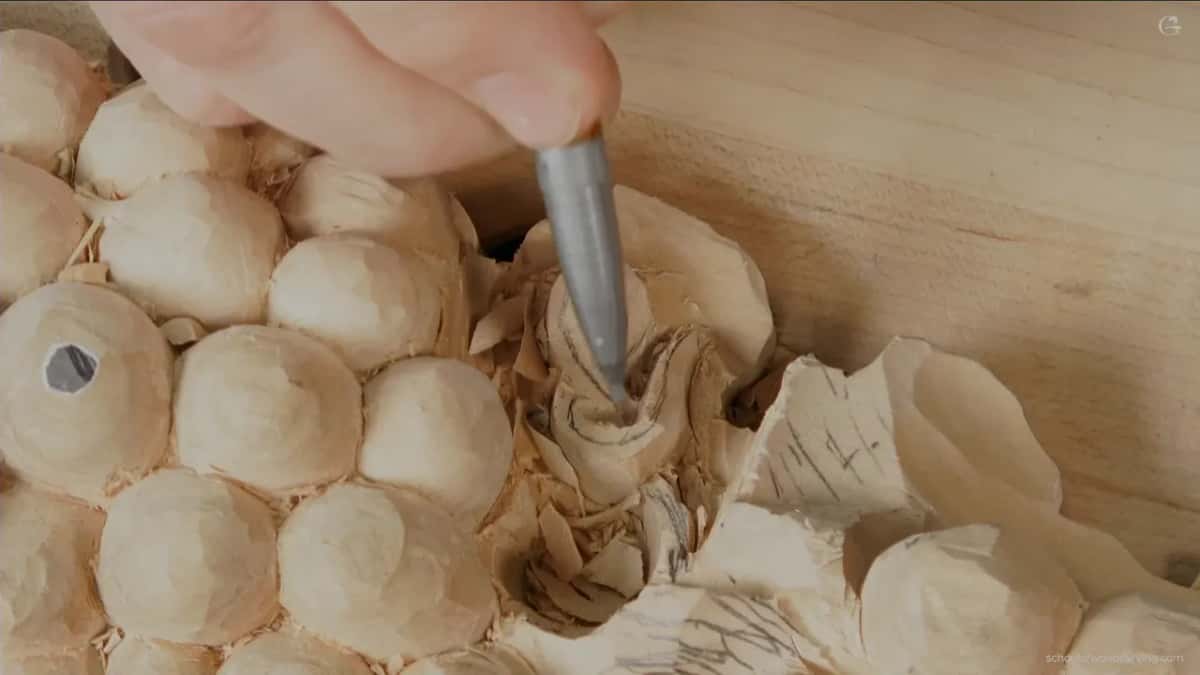
One spot was different. In that spot I said I'd move slightly inward, so I'd have more opening on the left-hand side. On the next stretch I went back to hugging the outside, and that way it's much easier to get to.
Which small gouge clears the waste around the vine?
A small gouge of one eighth of an inch (roughly 3.2 mm), a number 9 or a number 8. Once the shape was set I said it out loud: now I have to turn to my smaller, smaller tools. That one worked its way around and excavated.
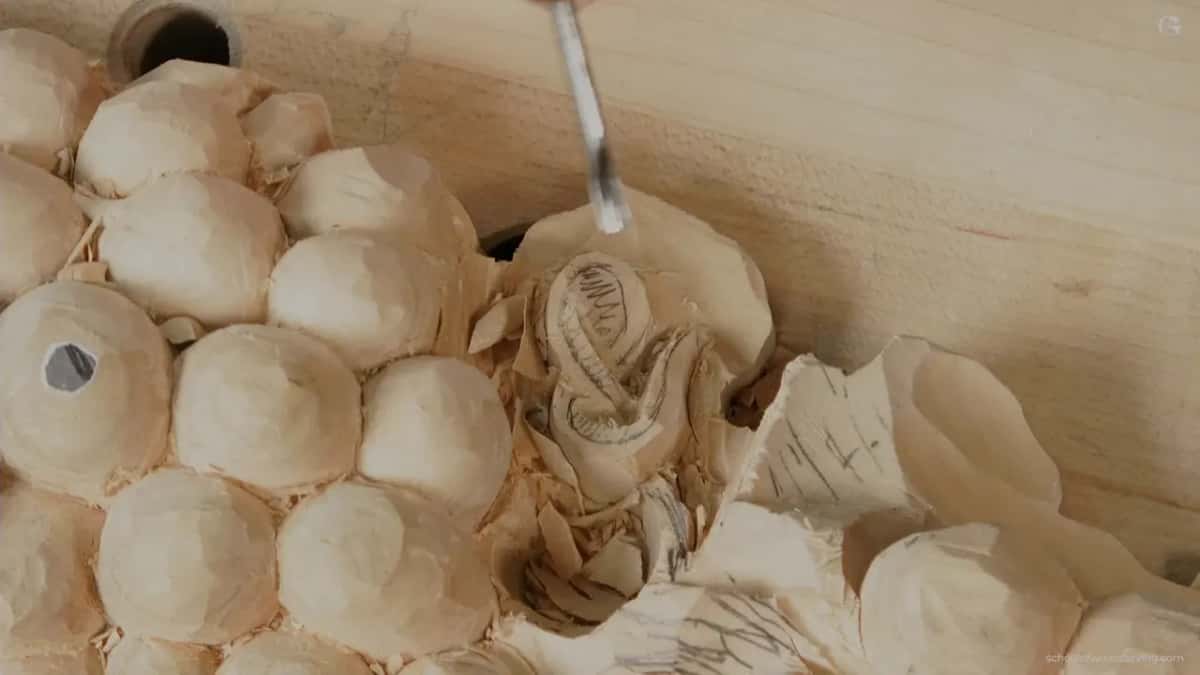
Then came the plug cut question. I was kind of afraid it would be fragile on the sides. Right after, I changed my mind. Maybe it'll be okay, I said, to get the plug cut first and go straight down to it. For those who don't know, a plug cut is pretty much drilling, and then you remove the plugs.
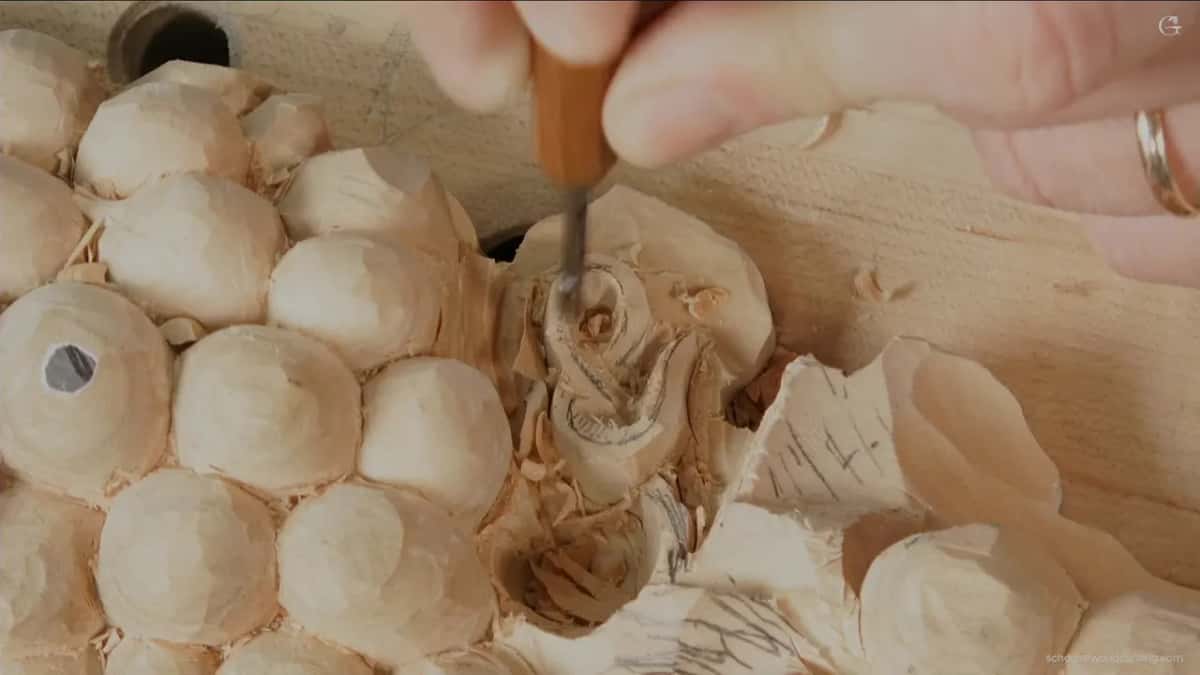
While I dug, I kept an eye on how deep I was going. It has to sit about level with the spot right here, I said, about even with my leaf. Afterward the number 1 cleaned it.
| Tool | What it did on this vine | What I said |
|---|---|---|
| Double-sided chisel, number 1 | went around a few areas straight down | start of the refinements |
| 14 mm number 7 | went straight down to curl the vine | no straight lines wanted |
| Big skew, number 1 | blended the curve in three dimensions there | it's more logical then |
| Small 1/8 inch gouge | a 9 or an 8, clearing waste | time for smaller tools |
| Two millimeter number 11 | dug underneath from this side, then that | leave plenty of wall |
| One millimeter number 9 | drilled clean through the wood under it | dangerous, so go smaller |
| Tiny spoon, number 3 | blended underneath the vine from both sides | a really small spoon |
| Gouge near 1.2 millimeters | excavated more, then drilled the other wall | without pressing too hard |
Before going under this vine, I showed the part I'd carved before, which goes all the way around, almost everywhere, even in the small spots. The tool in my hand was a little too big for one of them, I said, but the opening goes even there.
What size gouge goes under a thin vine first?
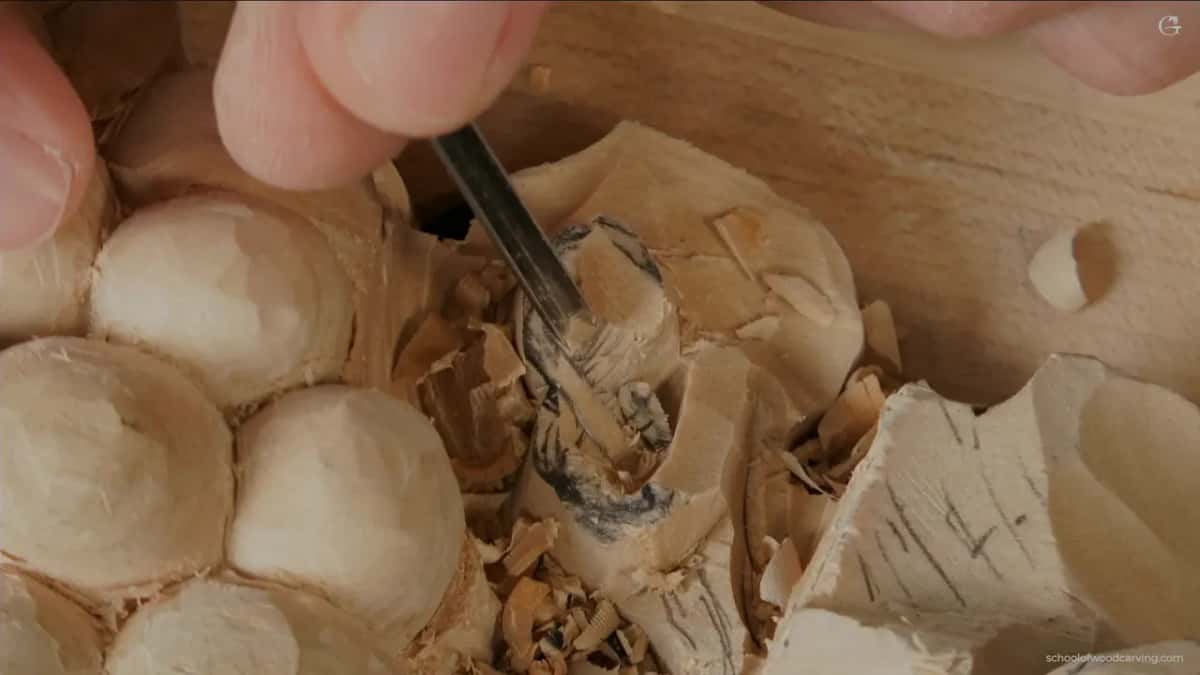
Two millimeters, on mine. I started the excavation right underneath that part with a number 11 of 2 mm (about 0.08 in). Two and a half (near 0.1 in) would have worked too, I said.
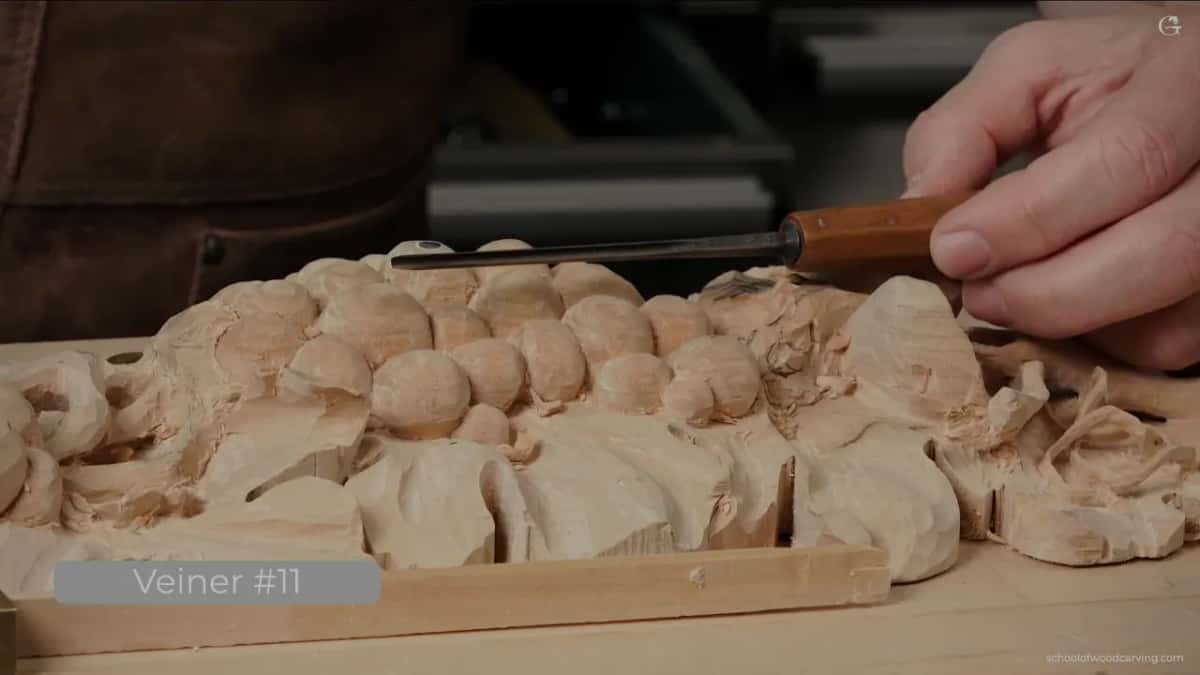
I wanted plenty of wall left there, because I always make it thinner a little later. So my moves were all really small passes, first from this side and then from that one. And yes, I know I was covering it. By then we were starting to develop somewhat nicer details, and I blended a little deeper one way.
Near the end I said I don't have to go all the way yet, although I am almost there. Before finishing, I did my undercut on that side as well. Coming at it from two sides is one of the best approaches. But don't push it. Do not push it.
When does a 1 mm gouge take over?
When the next step is drilling. My second approach was a small tool you pretty much drill with, right through. It's kind of dangerous, I said, so maybe I should switch to a smaller one.
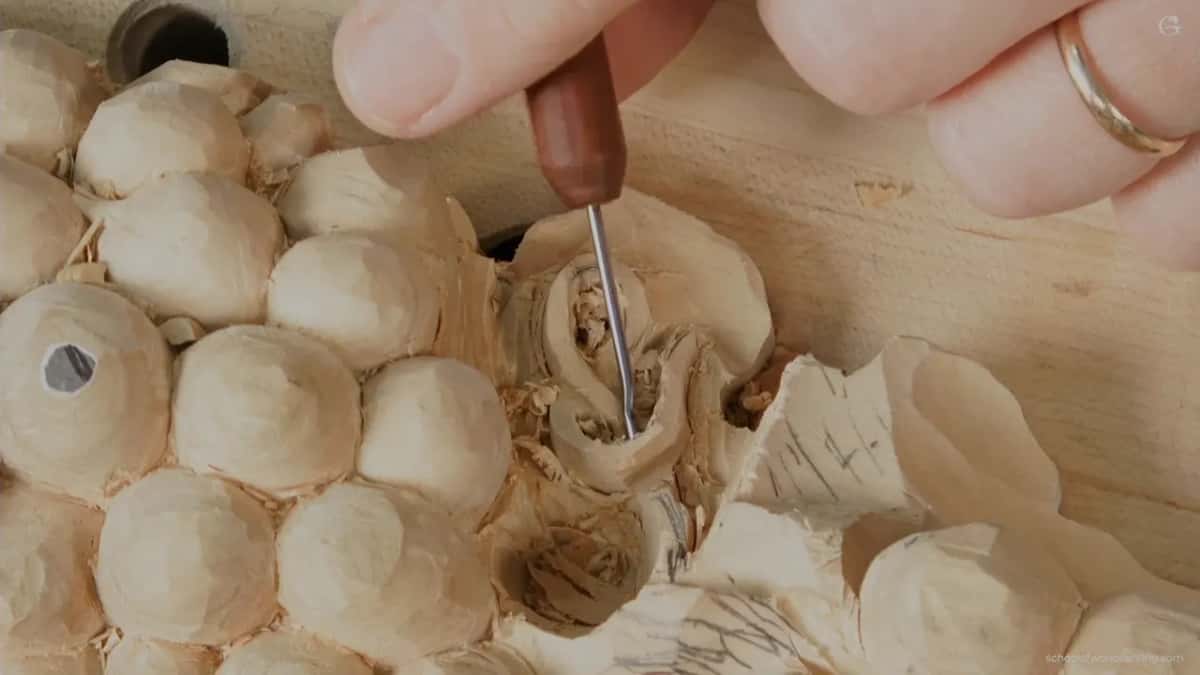
That smaller one is supposed to be one millimeter (about 1/25 in), but it looks a little bigger than that. It's a number 9, and it got me through. Can you see that, I asked.
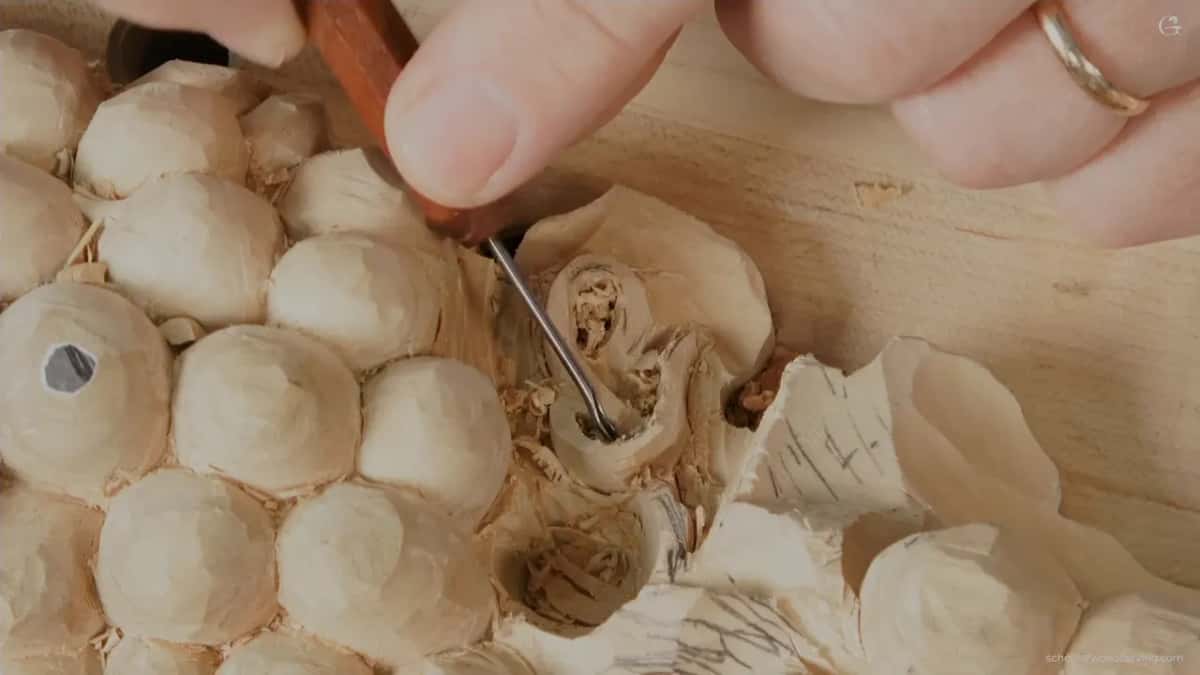
Small tools like these get a soft spot from me. Back in lesson 4 I said it about my small ones, I really love those guys.
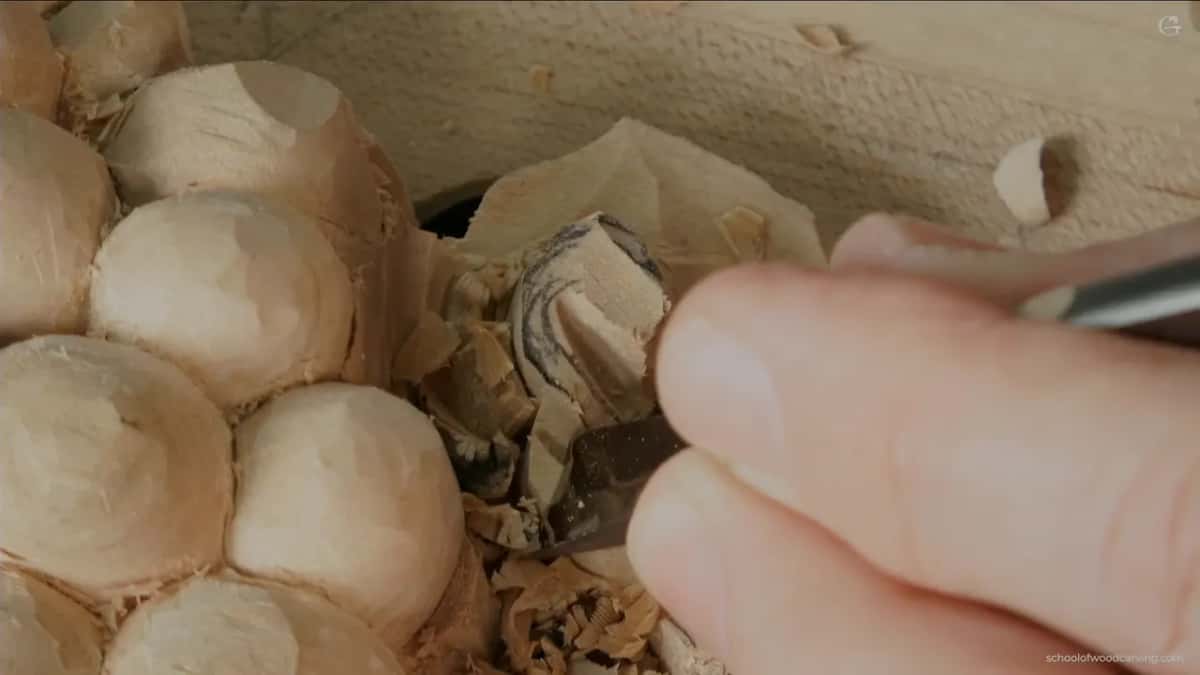
Next I went right underneath, carefully. With the flute turned to about three o'clock, I worked one side and then the other, and blended them.
What does a tiny spoon gouge do under the vine?
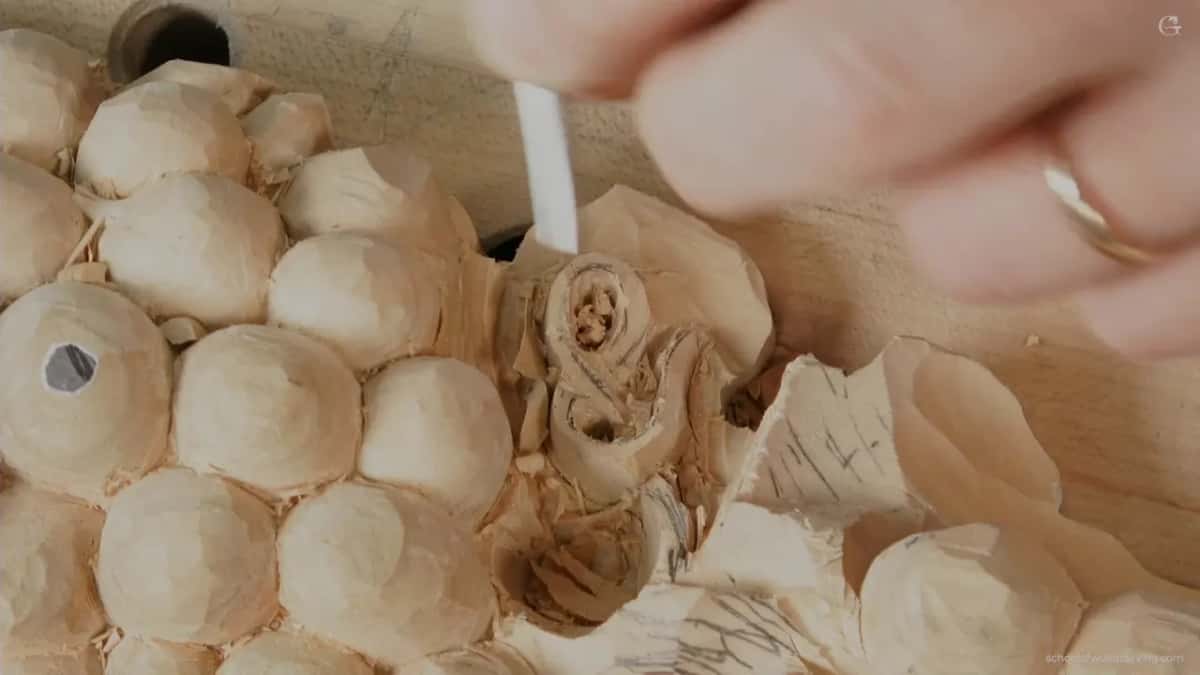
It blends the underside. My pick was a spoon gouge, a number 3, one eighth of an inch (a hair over 3 mm). It's a really nice, really beautiful tool, a really small, tiny spoon. With it I can go underneath and do my blending from both sides.
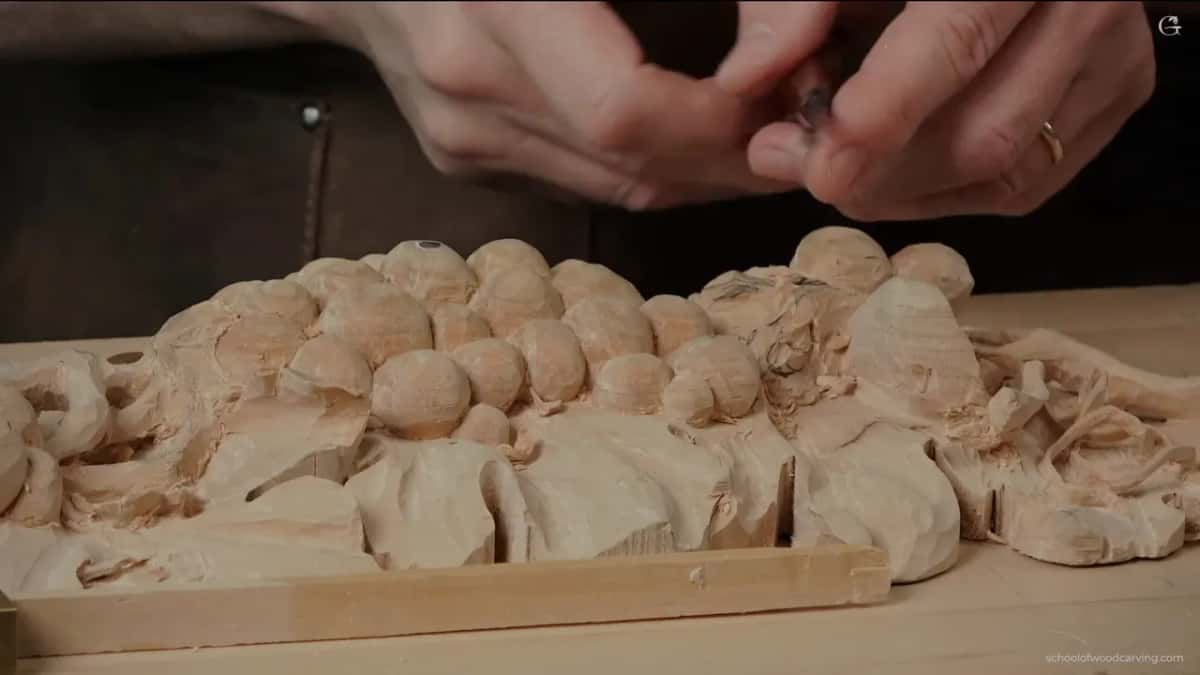
After that you could see the hole right there. I still left about three millimeters, about 1/8 inch, as the thickness of that movement.
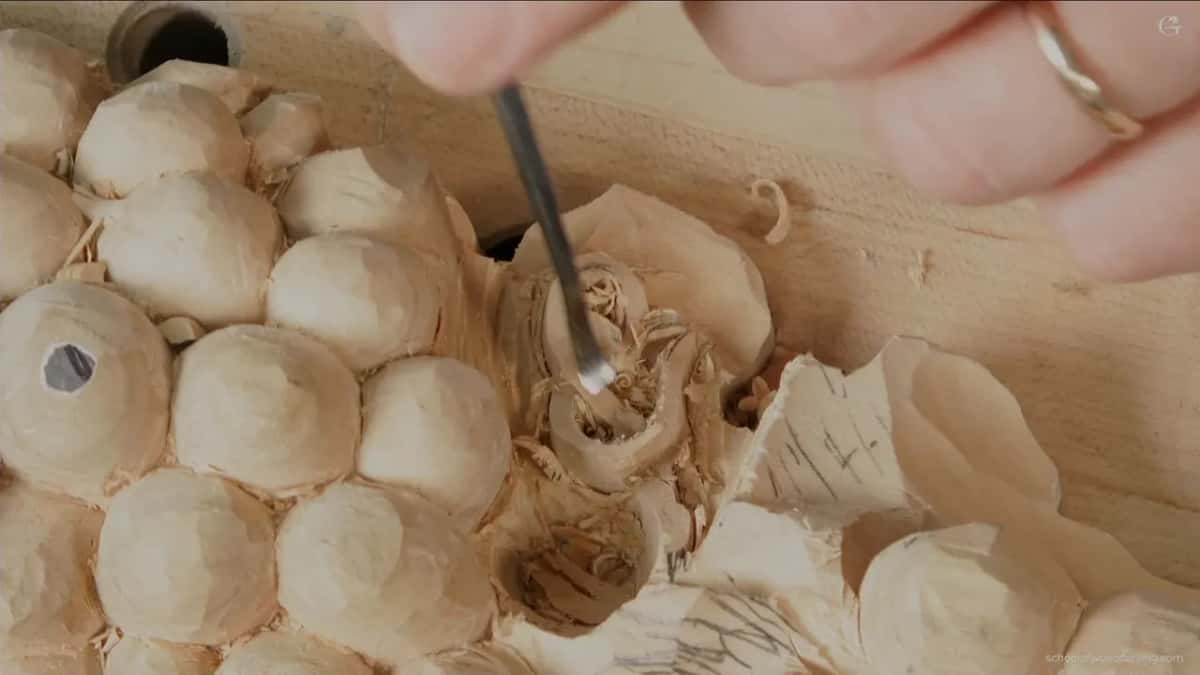
I switched next to a gouge of about 1.2 millimeters (around 3/64 in) and excavated a little more. There was still a wall in the other direction, so I used the same technique on it, drilling right through with the small gouge, but without pressing too hard. Once I was there, I excavated right on the side of it.
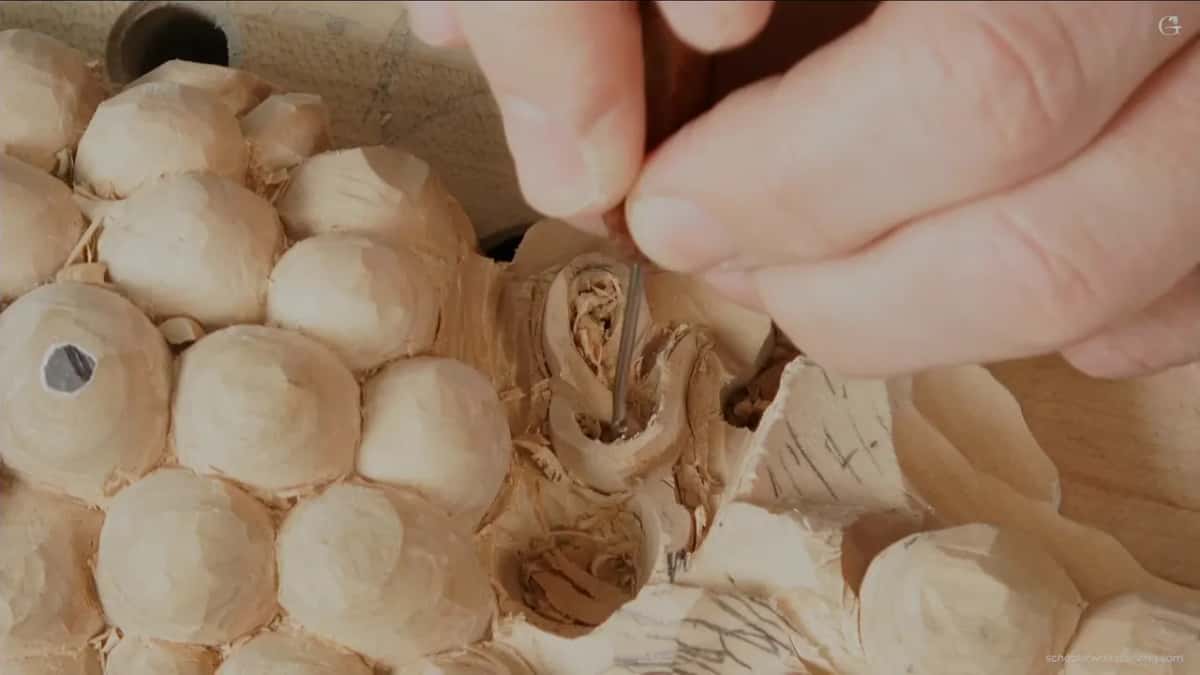
The next video takes it further with tools you have already met. To reach the final thickness, about a sixteenth (about 1.6 mm), I showed the side of my number 11 veiner, going closer and closer until I'm happy. A number 7 came in from underneath after that, slicing, carefully.
How small do micro carving tools get?
Smaller than anything on this vine. In one of my micro tool lessons I laid out a few number 11s, one millimeter, two, one and a half, and half a millimeter. So a 16th, less than a 16th, a 32nd of an inch. They go on and on. The problem with those tools, I said there, is how to sharpen them, because they're really tiny.
A tiny tool is not always a gouge either. On the furniture panel I needed a smaller tool in one spot and picked up a chisel, a number 1, 1/16 of an inch, which is 1.5 millimeters.
Earlier on that same panel, in lesson 19, I was undercutting all around and said we don't need a really deep undercut there. If you feel it's too dangerous, you could use just a gouge, or even a chisel. That will work. My own tool was a number 1 micro chisel, 1/16 inch again, the same 1.5 millimeters, and I said I thought I'd need a magnifier lamp.
Micro tools can also wake up a dull spot. In the flower bouquet on that panel, in lesson 23, I wasn't happy yet with one part because it looked a little too dull. I said I could use micro tools there to make a few concaves, exaggerate a little, and create some interest. With the right light it makes a lot of movement in light and shadow.
Small or big, they come from the maker the same way. Tools coming out from a manufacturer are not shaped correctly, and it doesn't matter how big or how small the tool is, that bevel is not the best bevel. So I reshape them, and reshaping is the main stage of sharpening, the way I teach it in the sharpening course.
Can you free a vine with fewer small gouges?
In places, yes. In the first video of this lesson I said one millimeter will work too, if you wonder why I don't use it, and that I could switch between two, two and a half, and four millimeters (about 0.08, 0.1 and 0.16 in). Any flatter tool will work there too, I said, even a skew, like a number 1 chisel.
Number 11s are my favorite tools anyway, I said in that video, and the antique eleven I used there is one I really love.
Smaller is slower. Over in lesson 11 I said it makes more sense to use a smaller eleven, like one millimeter (0.04 in), and in that case it was a spoon of that size. It takes time, but you can really get deep. In that same video two millimeters (a bit over 1/16 in) looked a little too big in one spot, so I said it's a good idea to use just the one millimeter. When it was deep enough, I switched to half a millimeter (about 0.02 in).
The work under it fell to four of them, the two millimeter eleven (just under 1/12 in), the tiny number 9, the spoon, and the last small gouge. If you want the bigger picture on choosing tools, the tools course is the place, and lesson 4 of this course carves the tendrils on this panel.
I still left that vine about three millimeters (1/8 in) thick. Thinner comes later. This is not the beginner stuff, I said in this video, but challenge yourself.
Would you like to see that order happen, tool after tool? All three videos of lesson 6 are inside the school, with the rest of the course. Tuition for the whole library is on the access page.
How it's done
- Set the curve with wider tools. I took the number 7 straight down for the curl, then a large skew took it into 3D.
- Keep the vine near the outside. My final line, about 1/16 inch (about 1.5 mm), stays close to the outer edge, so the opening on the other side is much wider.
- Clear the waste using a small gouge. Mine was a number 9 or 8, and it excavated the waste. My plug cuts went about as deep as the leaf beside them.
- Go under with a small eleven. Small passes, this side first, then that one. I keep the wall thick for now, because I always make it thinner later.
- Drill through with a tiny 9. My little number 9 went right through, carefully. Don't push it.
- Blend underneath with a tiny spoon. My number 3 spoon blends underneath, working each side. Then another small gouge excavates a little more.
Frequently asked questions
What is the smallest gouge you used on this vine?
About one millimeter, or four hundredths of an inch. Mine is a number 9 that should be 1 mm but looks a little bigger, and it drilled through after I'd called drilling with a small tool kind of dangerous. Later came a slightly bigger one, about 1.2 mm (close to 0.05 in).
Do you need a spoon gouge to undercut a vine?
On mine, a tiny number 3 spoon blended the underside, going under from each side. Straight gouges did the digging before it, a 2 mm number 11 (about 5/64 in) and a small 9. I picked up the spoon once I was already through.
Why keep a 2 mm gouge when a smaller one fits?
For shadow. In lesson 11 I kept my bigger eleven as long as it fit, because the smaller tool won't give you shadow. Under this vine I said a slightly bigger one would have done, and two millimeters (a little over 1/16 in) was okay.
What to carve next