

Alexander Grabovetskiy, woodcarver, School of Woodcarving · Published 2024
Why leave a wall of wood beside a leaf you have not designed yet?
Quick answer: A wall of wood beside an undesigned leaf is material I hold back because I don't know that leaf's shape yet. On my grape onlay I left the left-hand leaf untouched, its wall still standing, and dug deep beside the section I was carving, deep enough to stick a finger underneath.
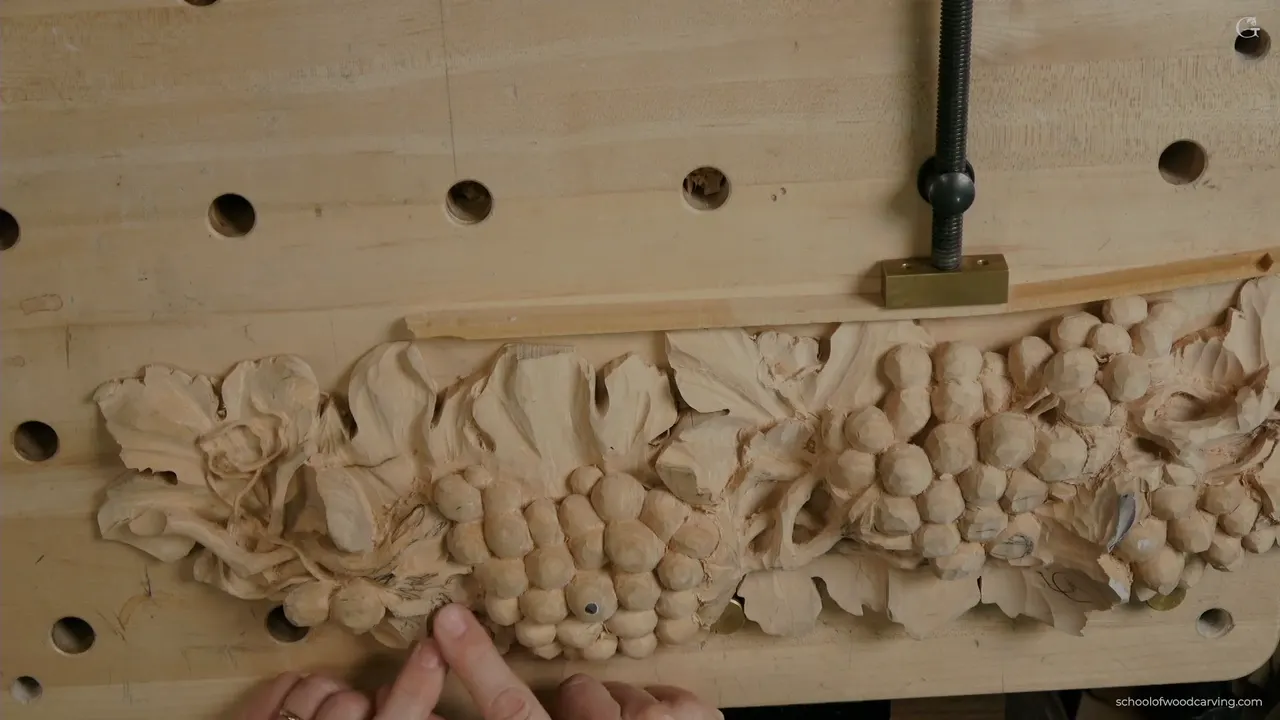
A wall beside a leaf you have not designed yet is wood you keep on purpose, because that leaf's shape is still an open question. In the first video of lesson 6 on my grape onlay, I left the left-hand leaf alone and told you why. I don't know yet what kind of shape I'm going to give it, so that is why I'm leaving a wall. Of the relief carving tips from that day, this one needs no tool at all.
Have you ever carved a shape and wished, an hour later, that a little more wood was still there? Did the idea for that spot show up only after the parts around it took shape? Then leave the wall standing until you know.
You'll get the figures I gave on camera, how deep I dug next to that wall, and the moment in lesson 8 when a big wall was no longer needed. After that come my own lines from a Venice Room and a furniture panel, where I had no answer yet either. A Greek leaf shows why wood that is gone stays gone.
Six facts about the wall I left on this panel
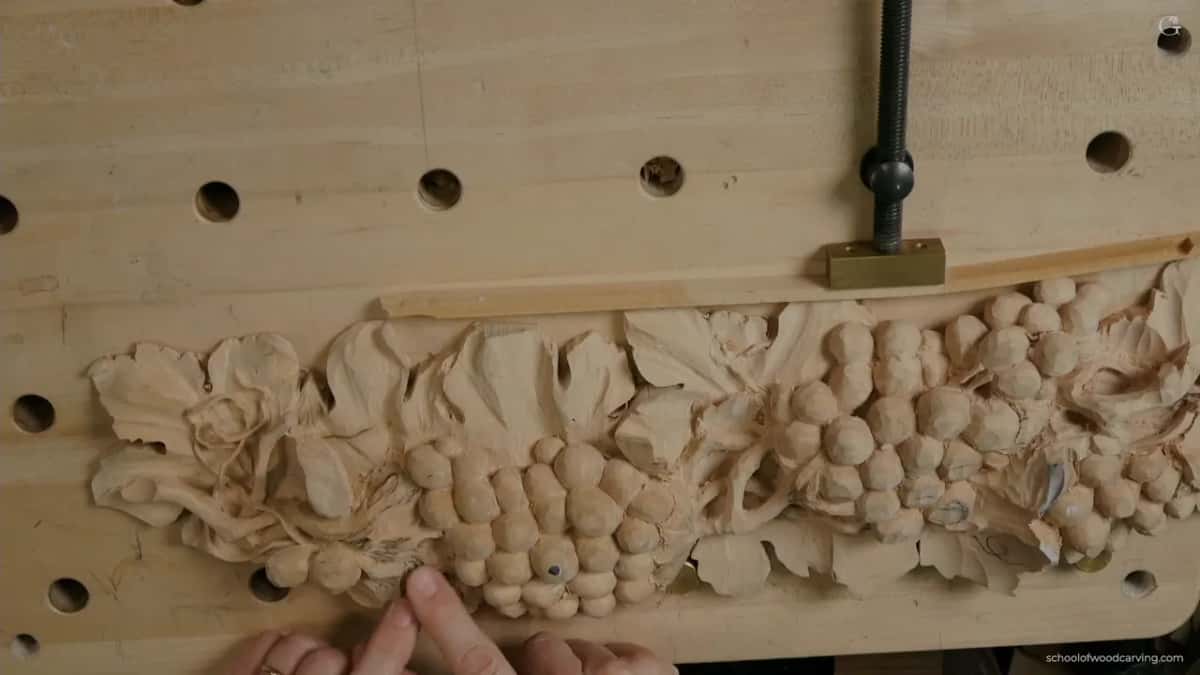
- The left-hand leaf got no work at all, because its shape was not settled.
- Next to the section I was carving stood about 3/8 inch of wall (about 9.5 mm).
- That section went deep, with room for a finger underneath as the goal.
- A future leaf kept about 10 mm of wood (just under 0.4 in) for its curve.
- The new vine stayed thick for now, at 3 mm (roughly 0.12 in), so it would not break early.
- By lesson 8, a big wall below a leaf came down once the shape was somewhat set, because I wanted shadow.

Why did I leave the left-hand leaf alone?
The shape of that leaf was not worked out yet. That day I started a new section of the panel, and while I worked around it I stopped to tell you that I'm not going to touch my left-hand side leaf. I said it plainly.
Then I pointed to a leaf as an example. I had not finished it yet, but it already has a curl, and it just curls back. The plan was to bring those curls in all around, while the left-hand leaf still had no plan, so that is why I was leaving a wall and doing nothing to that side yet.
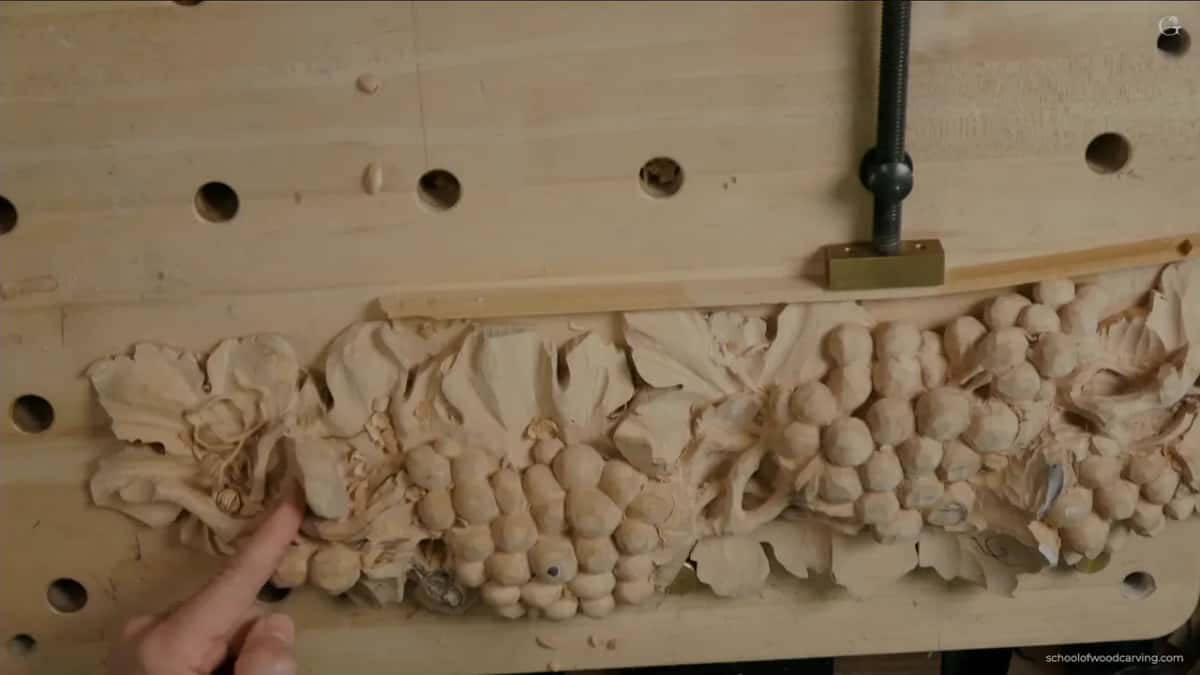
All of that sits in the first of the three videos of lesson 6 of Carving Grape Onlay. The other two go under and through the thin parts. This one is the digging that comes before, plus the wood I chose not to dig.
Every figure here is the one I said, with the other system beside it in brackets, at 25.4 millimeters to the inch. Where I gave both, you get both, as I said them.

How deep did I go beside the wall?
Pretty deep. In that area I had plenty of material, about 7/8 of an inch (about 22 mm) above the background, as I guessed it. One leaf there stays somewhat low on purpose. I really want the bunch of grapes to look more 3D.
The first chopping went in with a 10 mm (3/8 in) number 11 gouge, from outside inward, because of the way the grain runs there. It stopped about one eighth of an inch, 3 mm, short of my outline. After that I got a little closer and chopped all around.

Next I talked about the wall. I'll leave maybe three eighths of an inch of it (9.5 mm), I said. And I went pretty deep, because I wanted the same thing I had done on the part I carved before. Full 3D, where you can actually stick a finger underneath. That's the goal. Be careful, though, because those parts are really fragile.
A short note on the order, since it is not the subject here. After the chopping, a number 9 of 10 mm, about three eighths of an inch, went straight down for a plug cut on one side, and about the same depth on the other. A number 11 of 4 mm (roughly 5/32 in) then took the waste out across the grain, down to the same level I already had there.
| Spot | Wood | Why |
|---|---|---|
| My left leaf | a whole wall, and nothing done to it yet | its shape not decided |
| Beside the section | about 3/8 inch (close to 10 mm) of wall | room for a finger |
| A future leaf | about 10 mm (0.39 in) of wood left there | so it can curve |
| The new vine | 3 mm (1/8 in) now, 1/16 in (1.5 mm) | not fragile too early |
| First chopped outline | the chopping stopped about 1/8 inch, 3 mm, short | closer passes came later |
| Lesson 8 leaf | a big wall, about a full inch (25 mm) | I wanted more shadow |

Why keep 10 mm for a leaf that does not exist yet?
To give it room to curve. Later in the same video I said I left roughly 10 mm (a bit under 0.4 inch) of material for my future leaf, like I said before, because I still want to make sure the leaf itself gets some kind of curvature.
Right after that I looked over the movements I was carving. They are not overwhelming, I said, and you still see all of those concaves and convexes, which apply in this case the same way.
The vine got the same care. I drew it about one eighth of an inch wide, and at the end it will be about a sixteenth of an inch, about a millimeter and a half. For now it sat at about 3 mm (a little over 1/10 inch), because I don't want it too fragile at the beginning.
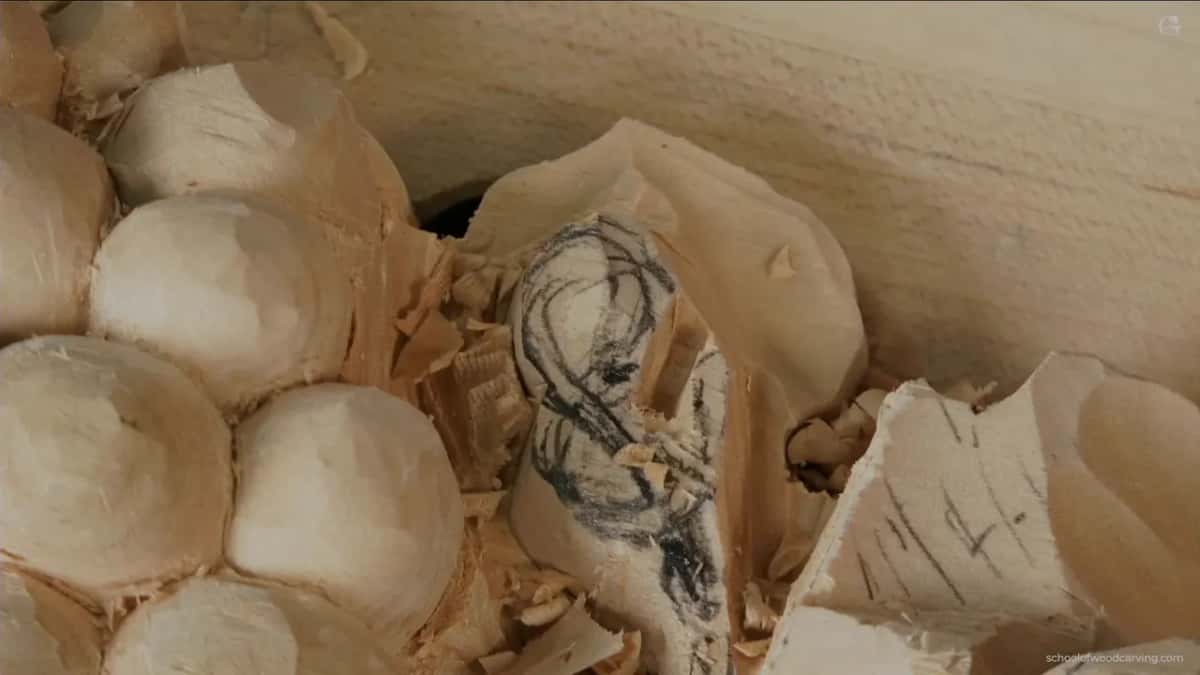
Even the part I showed you at the start of the video was not a hundred percent done, and I still wanted it a little thinner. Lessons 7 and 8 of the grape onlay course pick the panel up from there. Walls come back into it.
Can the wall come off later?
Yes. Two lessons on, in lesson 8, I showed you a big wall under a leaf, an inch or so (about 25 mm). I said I don't need that anymore, because the shape is already somewhat pre-established. It didn't cast any shadow, and I wanted to see a lot more shadow right then, so I started excavating, undercutting.

In lesson 7 the order was the same. I dug out more wood until I had enough material on the side, and I said I need to create a wall of about a quarter of an inch (about 6 mm). I was pretty close. A little later I said there was plenty of material left on the walls, and now I could excavate underneath to drill all the way through.
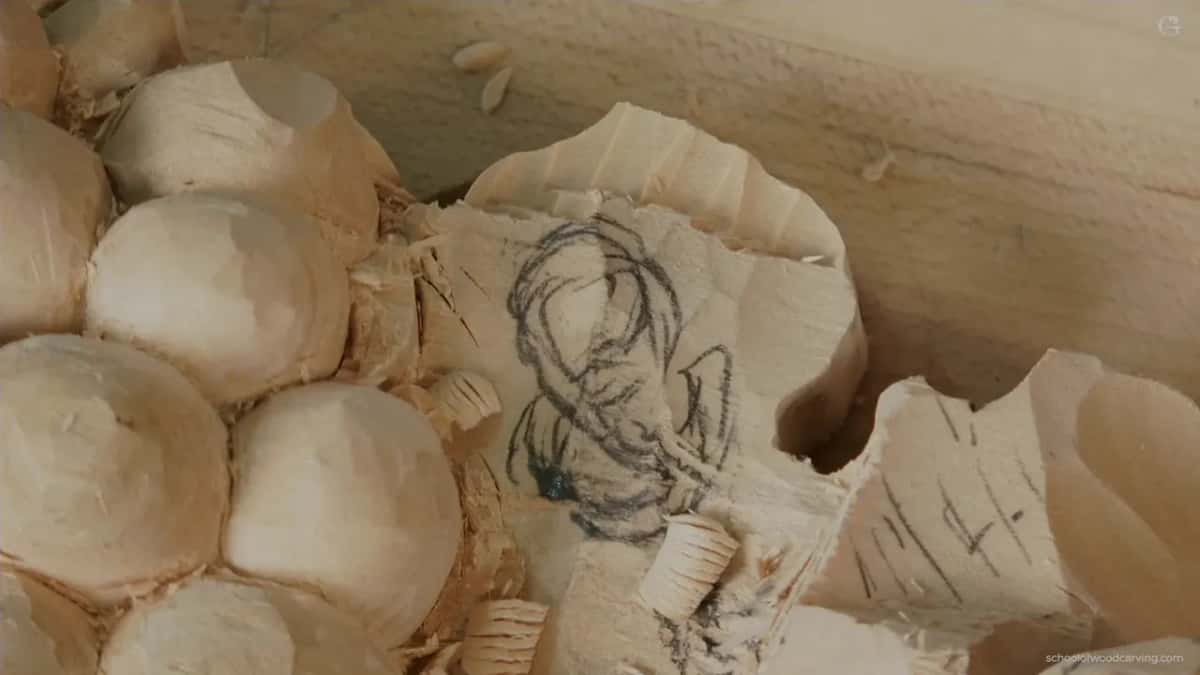
In the second video of lesson 6 I said it again, while I started digging under one part with a number 11 of 2 mm (a bit over 1/16 in). I want to make sure I leave plenty of the wall material, I said, and I always make it thinner a little later.
Workshop 141 of my Venice Room had one pass that looked maybe a little too deep to me. I don't know yet, I said, but we'll see. I can always bring it a little lower, so that's not a big deal. Later I'd check how it looks overall, and if I didn't like it, I could lower it with no problem.
What if the depth is still a question?
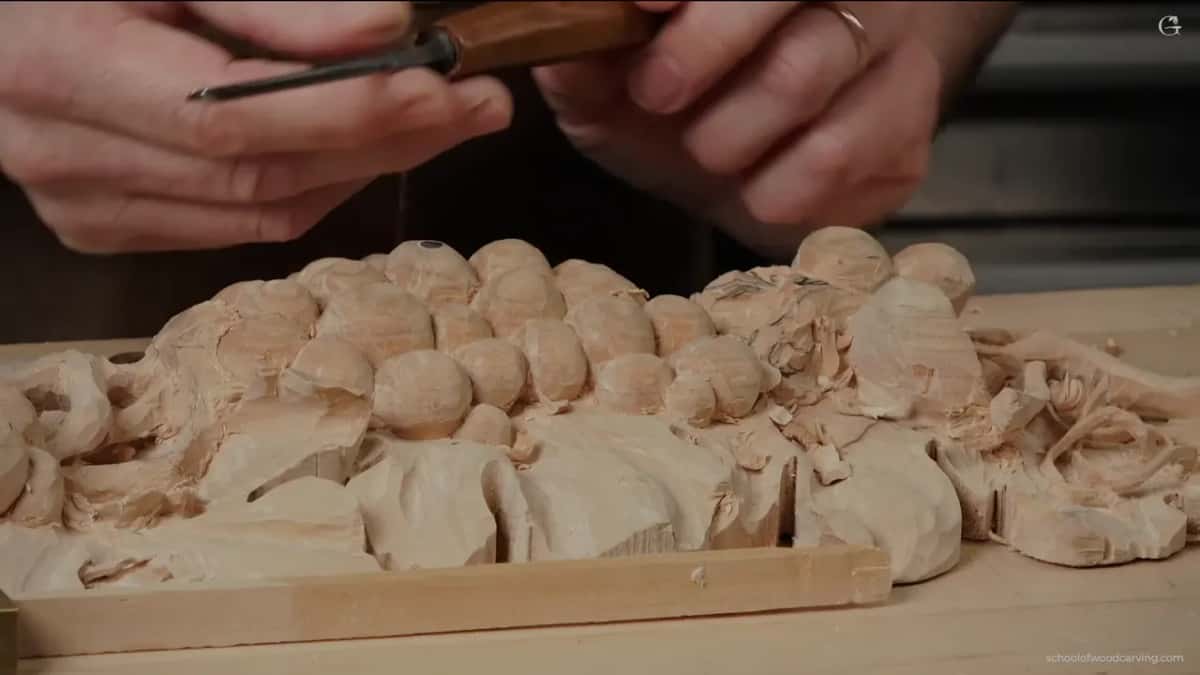
Then stop short of the bottom. In this same video, with my antique number 11, the 2 mm one (near 5/64 in), I got much closer to the outline. But I don't want to go all the way yet, I said, because I'll have a chance to excavate a little deeper later.
Lesson 8 has nearly the same words about a leaf. Excavating to the extreme could wait, since the answer wasn't there yet. Earlier in that video, before my subdivisions, I wanted the 3D movement in first, and after that I'd see where the point ends up. That part was still open too. It was time, I said, to get an idea of where the end of the lobe goes.
The background in workshop 9 of my Venice Room looked too messy, and when it's too messy you kind of lose the overall feel. Even so, going too deep there was not what I wanted, because I still wanted some really good development of an acanthus right in that spot. How deep it would end up, I couldn't say yet. A little cleaning wouldn't hurt.
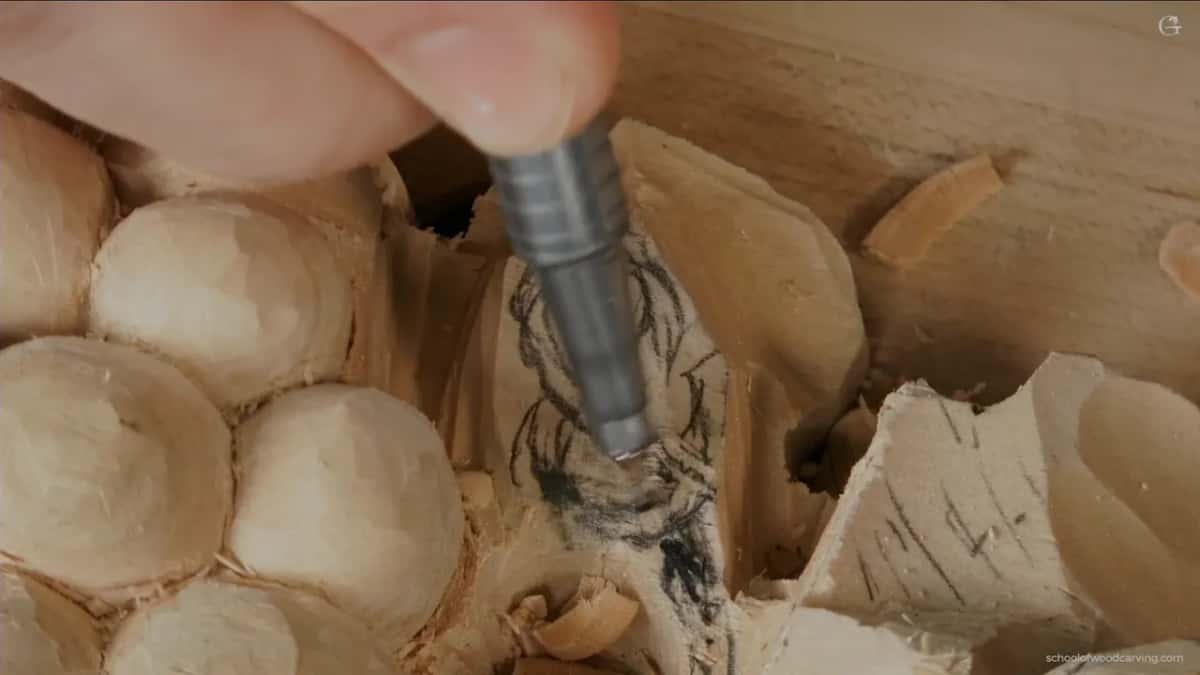
Sometimes I just pick a number out loud. In workshop 97 I asked myself how deep I want to go, with nothing settled yet. Maybe about a quarter inch or so, I said, six millimeters or so, and that's what I'll do.
And in workshop 98 a pass with a small number 11, 2 mm (about 0.08 in), went maybe a little too deep. It's okay for now, I said, because a shell goes below it. I did know the depth of that section. How it would all look together was another matter, and maybe I'll still have to make some changes.
Tools can be a question too. My lily box, in lesson 7, had a high spot where I wanted to try a bigger tool, but how the wood would behave, and what was underneath, I couldn't tell. So I tried a number 7. Near the small, tiny details I still had to be careful. Maybe a bigger tool is not such a good idea, I said. No, it's not. I went a little smaller, maybe about 10 millimeters (close to 3/8 in).

Why not carve it now and fix it later?
Rushing makes mistakes. Back on my Greek acanthus, in lesson 11, I said that when you rush something you make a lot more mistakes, and they take you a lot longer to fix. Some become unfixable.
Wood carving is an art of deduction, I said there, and once you deduct, you can't add that back. People have asked me what happens if you break something. Well, it's better not to break. Some things you can fix, some you can glue back, but many times you really can't.
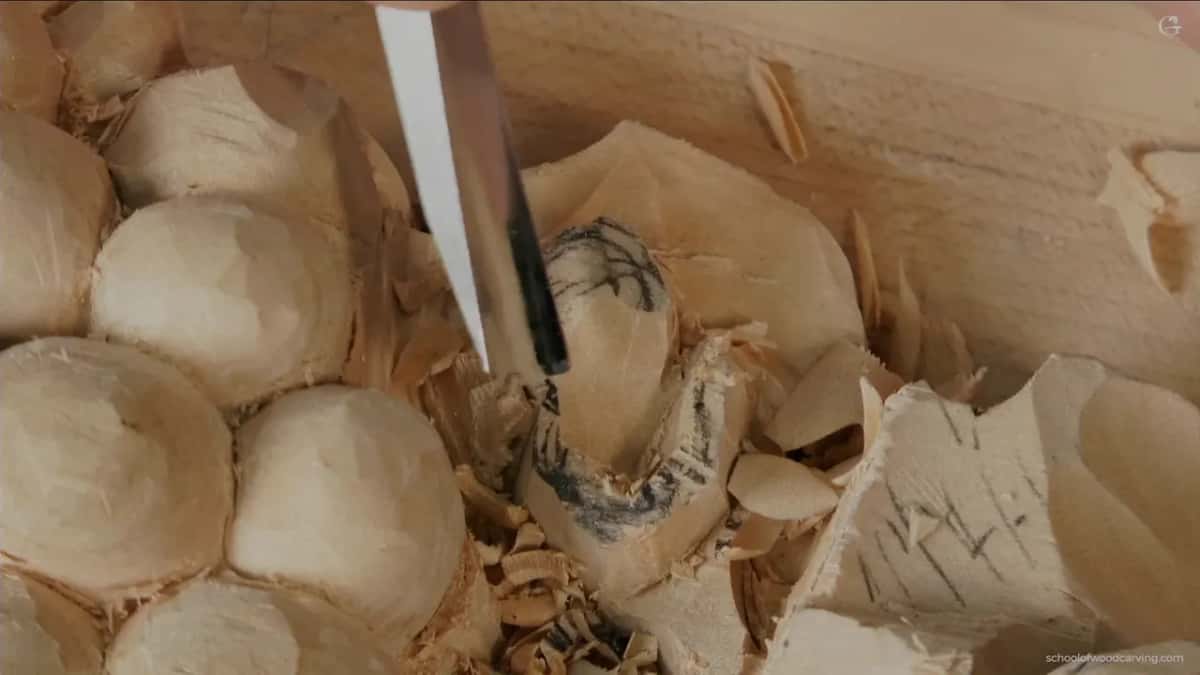
Wikipedia's article on sculpture puts carving among the subtractive methods, the ones that remove material from a block of stone or wood. Wood you leave can still come off on any later day. What you carved away cannot come back.
On this same panel, at the start of the third lesson, I worked on one side and said I'm not going to touch the other cluster for now, because some movements had to get done first. A whole bunch of grapes waited that time, not just one leaf.
Does a blank spot have to stay blank?
Not always. Workshop 46 of the Venice Room had one area where I had no plan yet, but I said I need to do something to it. I really didn't want an empty spot there. Although I could, I said, and there's nothing wrong with that, because I could get it completely out and it would still look good.
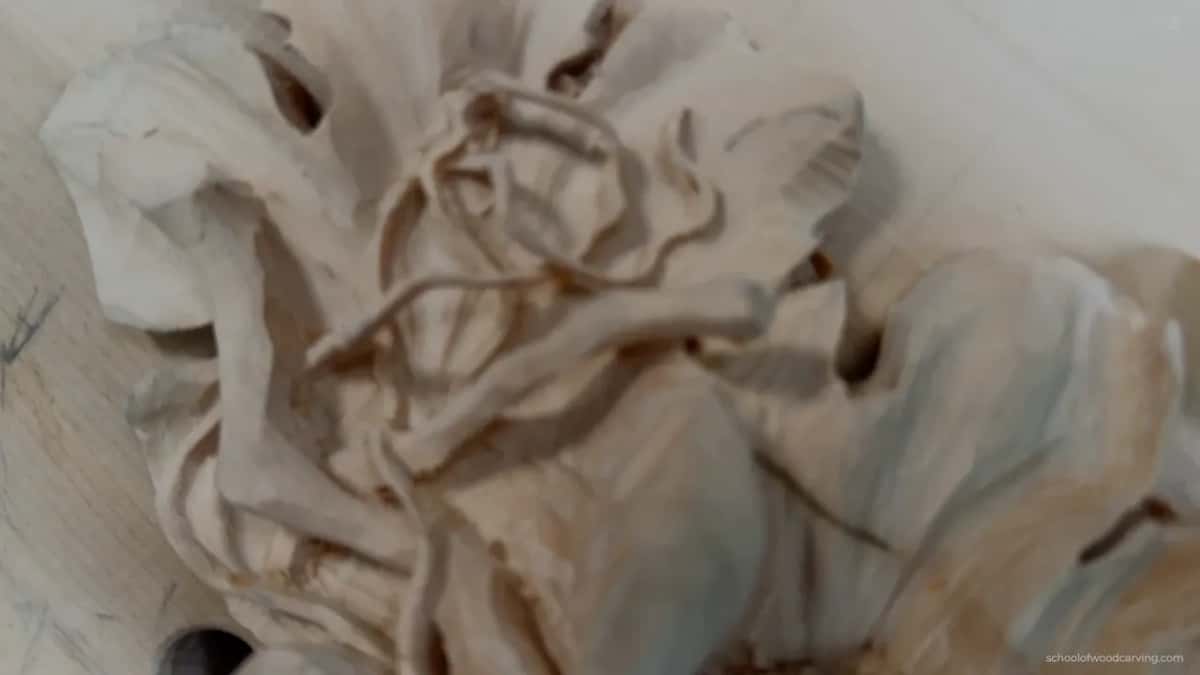
On my furniture panel, in lesson 17, I took one area deeper, 3/16 of an inch, five millimeters. What goes inside it, between those two lines, was not decided yet, so the decision was still ahead of me. Why the different depths? More authentic, I said, because on 18th century panels you can see a lot of times different depth in different areas.
In workshop 26 I carved a shallow concave and said I could make a deeper one if I wished, to raise that ridge even higher. Do I need to? That question stayed open for the moment.
Can you leave too much wall?
You can, and I said so on the Tray of Blessing, in lesson 2. While I was dropping one area, I said you also don't want to create too much wall right here. Then I changed my mind out loud. Actually, I guess it's going to be okay, because we still have to drop this side. So I dropped that side next, the same idea.
So on these pieces a wall was not a rule for every spot. It was wood kept where the next move was still a question, and where the answer was already clear, the wood could go.
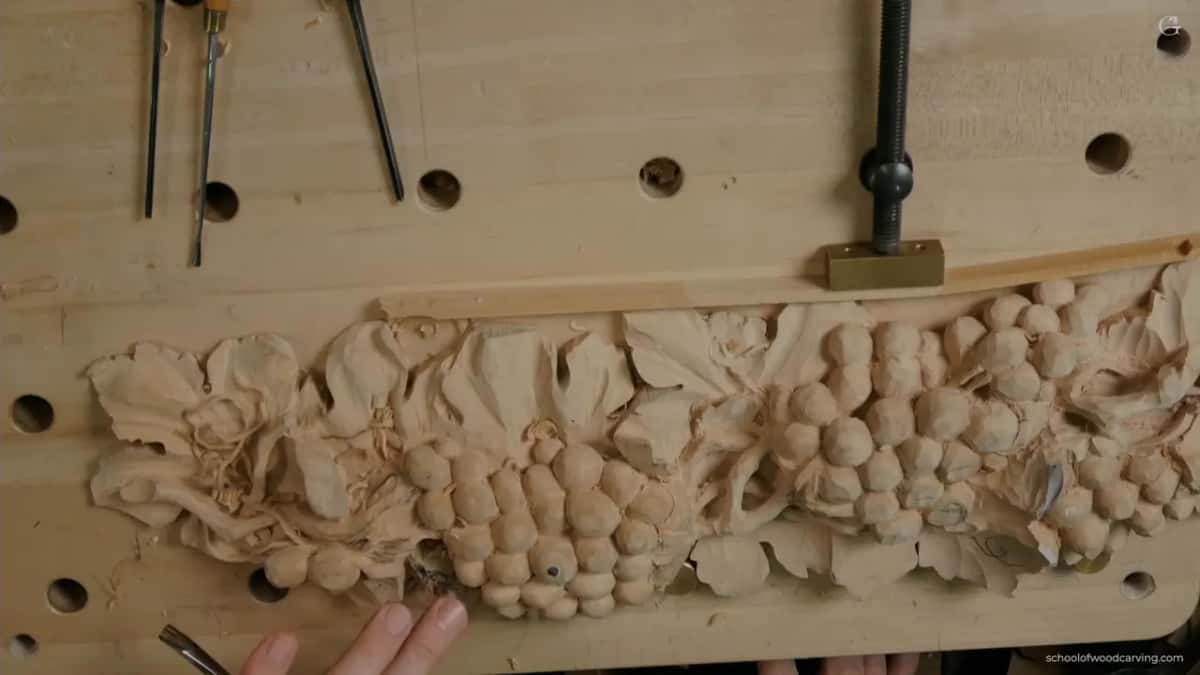
On this panel, each bit of wood I kept had a reason I said out loud. The left-hand leaf waits for its shape. The future leaf waits for its curve, and the vine waits to get thin until it won't be too fragile. If you want to carve these three videos along with me, Access to the whole school opens every lesson, the hard ones included.
How it's done
- Leave the undecided leaf alone. My left-hand leaf got no work at all, because I didn't know its shape yet. The wall stayed there instead.
- Chop the rest from outside inward. A 10 mm number 11 went in from the outside, the way the grain ran there, and the chopping held back from my outline by 1/8 in (3 mm).
- Go deep where the shape is known. Beside that section I kept a wall of roughly three eighths (near 1 cm) and dug deep enough for a finger to fit underneath. That was my goal.
- Keep wood for curves still to come. For a future leaf I kept some wood so it could curve, and the vine stayed thick until later.
- Take the wall off once the shape is set. By lesson 8 the big wall under one leaf was no longer needed, since the shape was somewhat pre-established. Wanting shadow, I started undercutting.
Frequently asked questions
Why not carve the leaf now and change it later?
Wood carving is an art of deduction, as I said on my Greek acanthus. Once wood is gone, you can't add it back. A break can sometimes be glued, though many times it can't, so the wall stays until I know what that leaf should be.
How much wood stood in that area of the panel?
Close to 7/8 inch (22 mm) above the background, by my guess on camera. The first chopping ended 3 mm (1/8 inch) from the outline, and the section beside it went deep enough for a finger underneath.
When does a wall like that come off?
When the shape around it is settled. In lesson 8 I had a big wall below one leaf, and I said I didn't need that material anymore, because it was already somewhat pre-established. Wanting a lot more shadow, I started undercutting there.
What to carve next