

Alexander Grabovetskiy, woodcarver, School of Woodcarving · Published 2024
How deep should a vine go where it passes under the grapes?
Quick answer: Vine depth under the grapes is, on my onlay, set by how much wood sits beside the vine. Where I had a lot of material, I got to about half an inch (13 mm) on the inside and got more shadows. Under one grape I undercut not all the way, but somewhat.
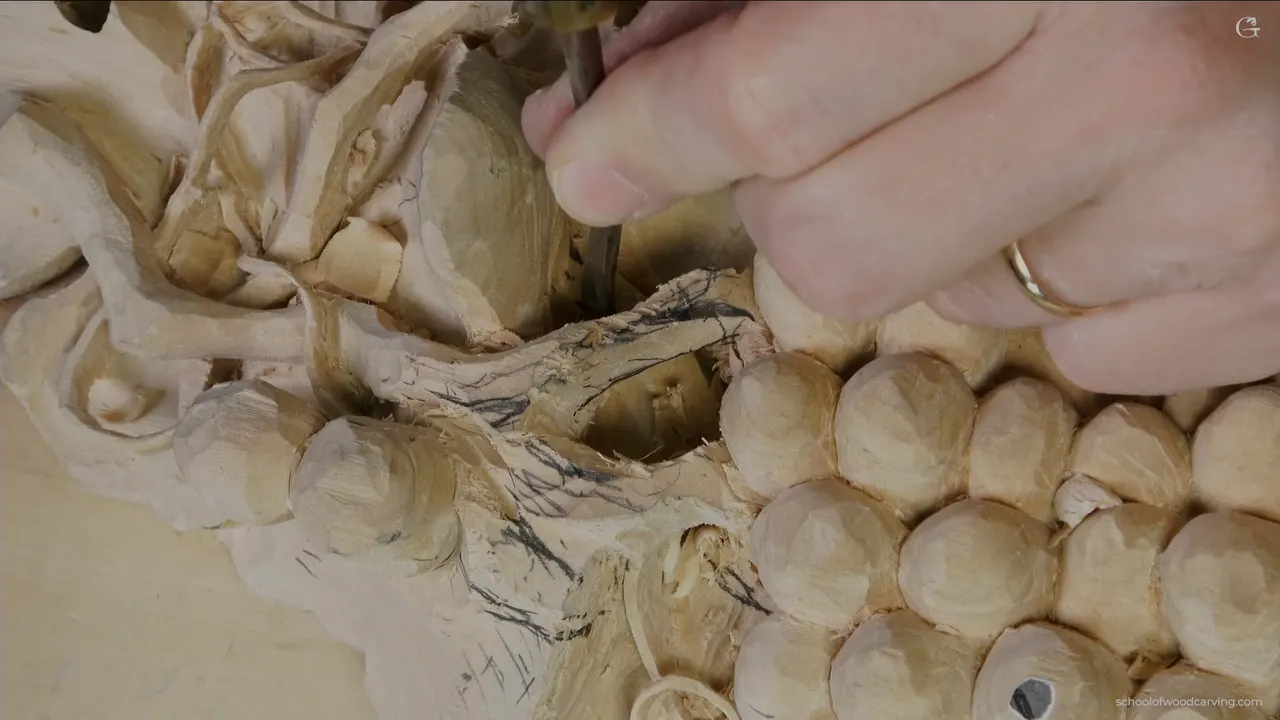
Depth for a carved vine is whatever the wood around it lets you take. On my onlay that came to about half an inch (about 13 mm) on the inside, and what I got for it was more shadows. This is grapevine wood carving in relief, where one long vine slips under a grape and a tendril and still has to read as one vine.
Have you carved a vine that lies on the board like a rope somebody dropped there? Did it look glued on, even though it came out of the same plank? On my onlay the answer was depth. In the third video of lesson 7 of my grape onlay course I went much deeper on one side, flipped the piece for the other side, and drilled under one spot until I was through. I'll give you the numbers I said out loud while I worked, and what I said about shadow in other lessons.
Depths I reached on this vine
- Where I had a lot of wood, the big tool went in maybe 3/8 in (10 mm), and a 2.5 mm gouge (roughly 0.1 in) went deeper.
- More shadows came from going that deep on the inside.
- Once the piece was flipped, a big flatter gouge took out approximately 3/4 in (19 mm), for now.
- I undercut partway beneath one grape.
- The number 9 that went through, plug-cut style, was one eighth of an inch across, three millimeters.
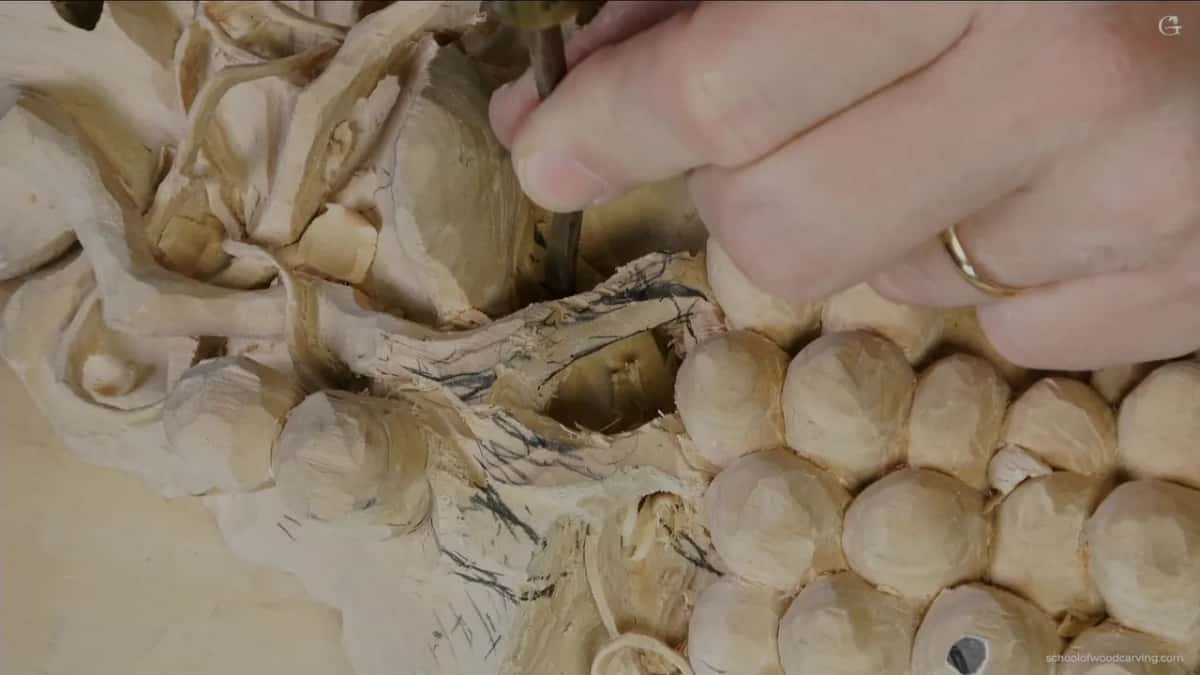
How deep did I take the vine on the open side?
Deeper than I first meant to. The video opens with me saying that is it, I don't want to go deeper than that. Some straight-down cuts got cleaned up with a back bend number 3, about six millimeters, a quarter of an inch, and I rounded the vine right on its side so it looks like a vine.
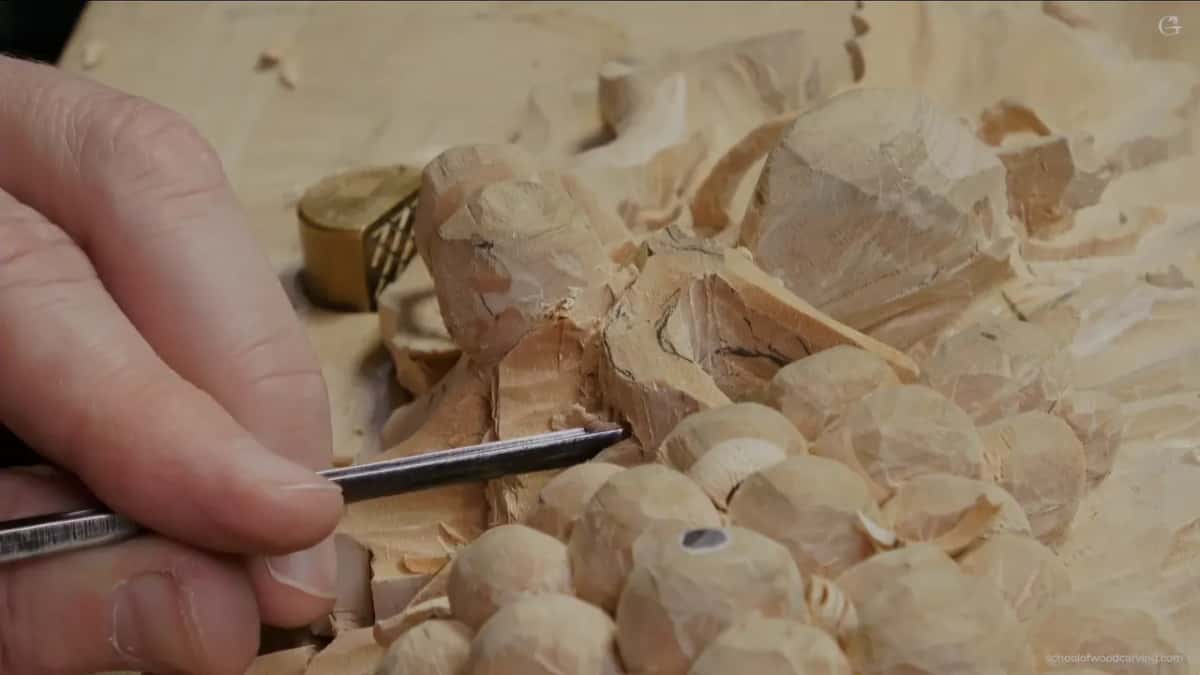
There was a lot of wood on that side. A lot of material. That let me go right underneath much deeper, and guess what I picked up? A number 11, four millimeters (about 5/32 in). I got right on the side a little deeper. I didn't want to get too crazy, though, because I still have to develop that leaf.
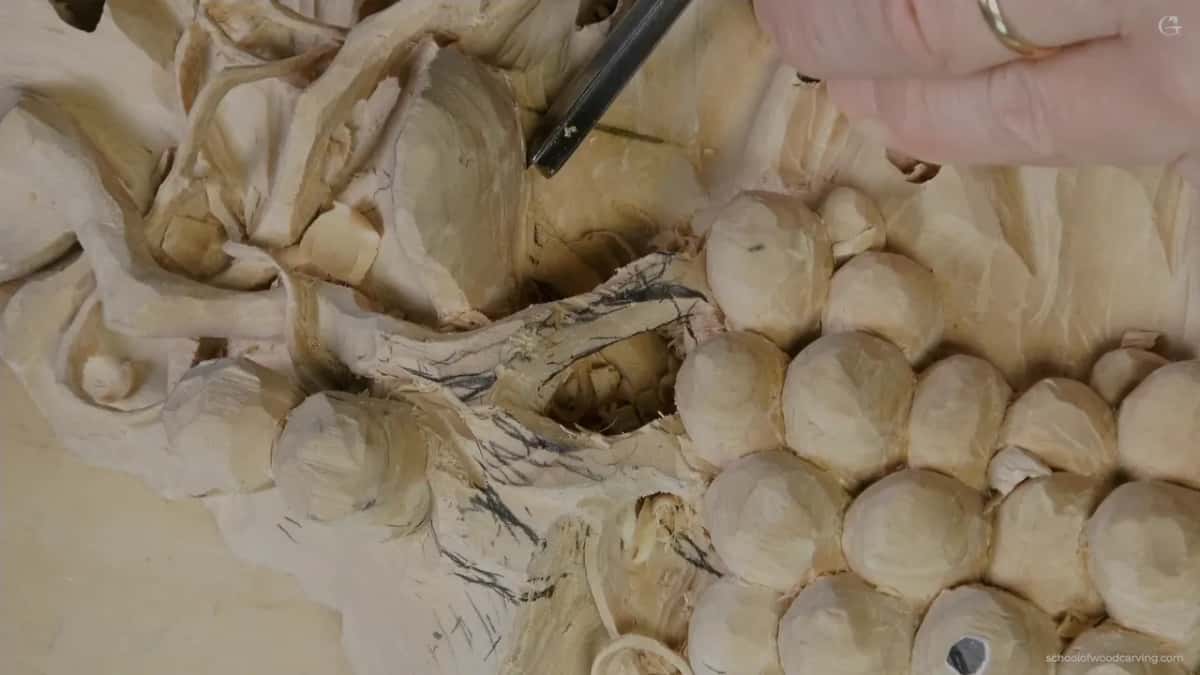
Maybe about three eighths of an inch (10 mm) in with the big tool, and then I switched to two and a half millimeters (3/32 in) and got even deeper. I ended up with about a half inch (roughly 13 mm) inside, and what I achieved was more shadows.
I know it doesn't look too appealing at that stage. I cleaned it a little with the back bend, so you could see how it looks, and kept the vine short of fully round, because fully round won't look natural. And yes, I'll probably clean up a little later. I was doing it just for you to see what is going on. Obviously it is better to attack from the right position, but this was not finished yet, so I didn't really worry about how it looked. Now I can probably take it to the extreme, I said next.
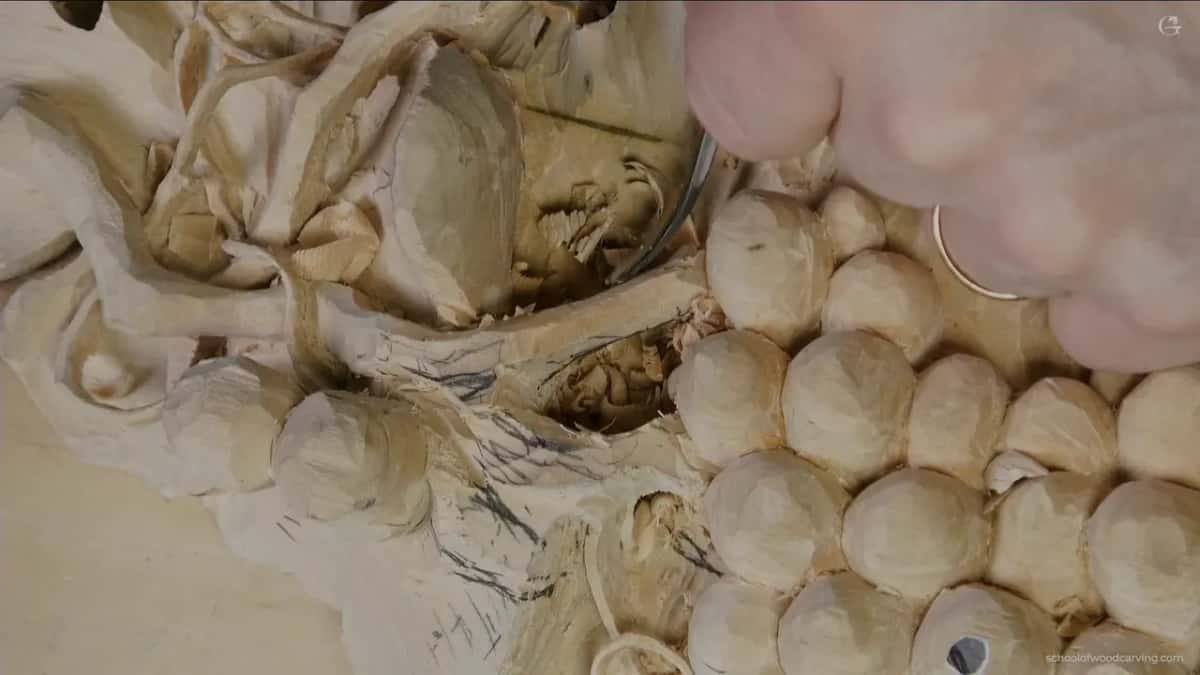
Why does more depth give more shadow in grapevine wood carving?
Dark reads as deep. Lighting and shading are among the cues people use to judge depth, and painters call strong light set against dark chiaroscuro. A carver gets that dark out of a hollow in the wood.
Lesson 11 is where I said why I was using the bigger tool, for the shadow's sake. Between two branches I could have used a half millimeter (about 1/50 in) and got that transition so close they look almost connected. But you're not going to get shadow with the smaller tool, and the point was to outline those branches with the shadow. Even there I said fitting the bigger tool was kind of risky, and that I had some limitations already.
Carving, I said there, is painting with the light and the shadows. I know it sounds philosophical. That's exactly what it is. And when I reached my limit with that tool, I switched to a smaller one.
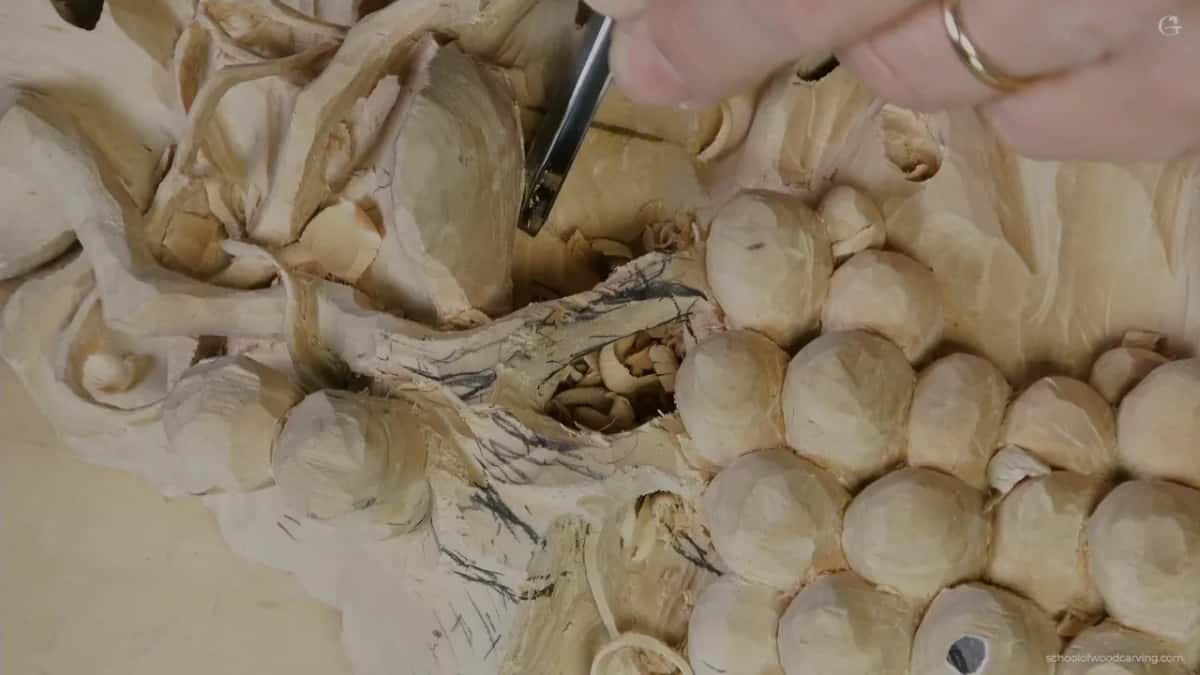
On the vine in lesson 7 the order looked the other way for a moment: the big tool took me about three eighths in (10 mm), and the small one took me further. Both are true at their moment, each on its own spot.
Over in lesson 10 I undercut under one part with a two millimeter (about 5/64 in) number 11 and said, see how deep a shadow I'm getting, that's what I'm talking about. And in lesson 12 I made a kind of dome. You don't really have to, I said, but it casts a lot more shadow.
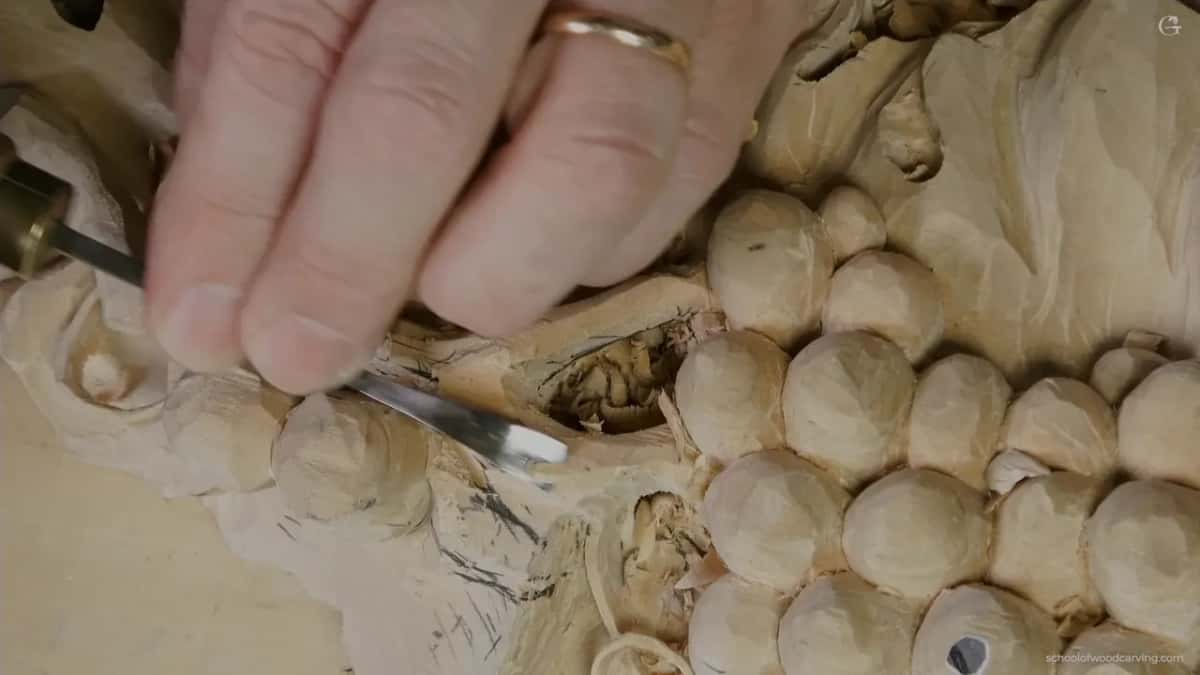
What did the flipped side get?
About three quarters of an inch (19 mm), for now. I had another piece that sticks out on the other side, and I turned my table toward myself and flipped the piece. From the opposite side I wanted to use all that thickness to my advantage.
My first tool there was a number 9 of 10 millimeters, three eighths of an inch. I had to be careful going from the outside toward my movement. That movement can pass under the other one, and it's going to be really good weaving.
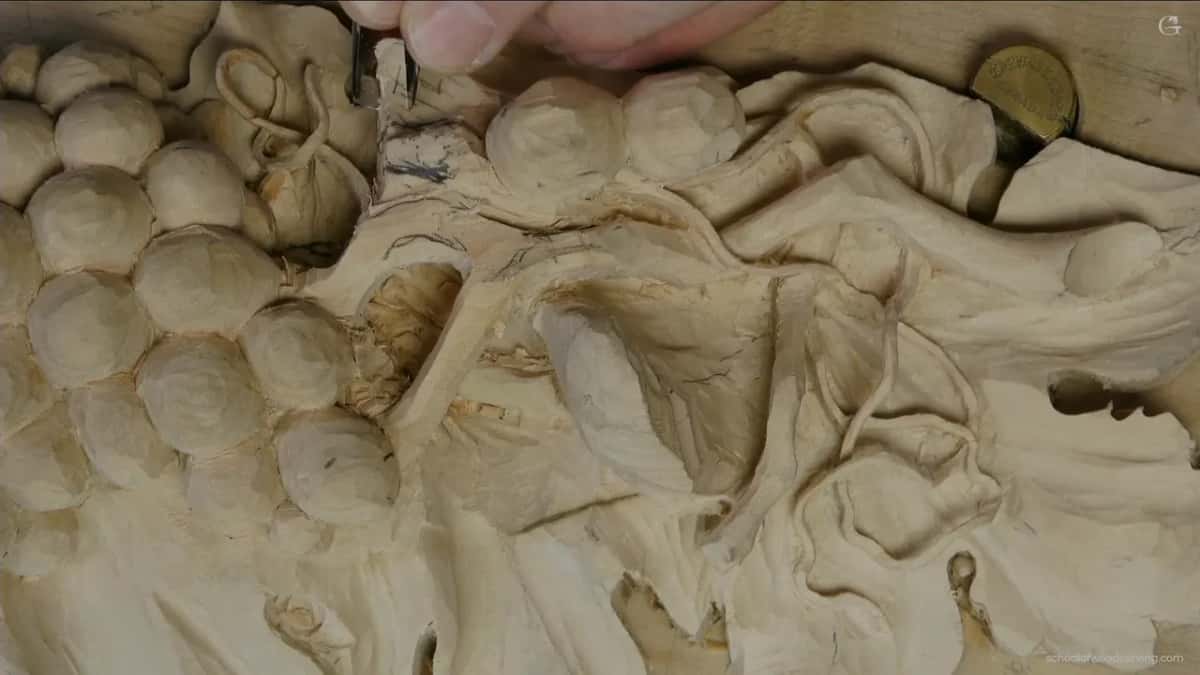
I didn't want to go too deep, but a flatter tool came next. A big number 3, about 3/4 inch (19 mm) wide, was there to get as much wood out as possible. It doesn't have to be that big. I wanted a slope without lowering two parts I meant to keep up, and without losing the idea of the leaf. I excavated approximately that much for now, said I'd go a little lower in one spot, and then got that motion going downhill to show you.
All of that takes thickness. The first video of this lesson has me saying I have almost like two inches (about 5 cm) there. That thickness in a relief is what let this vine hide below one grape.
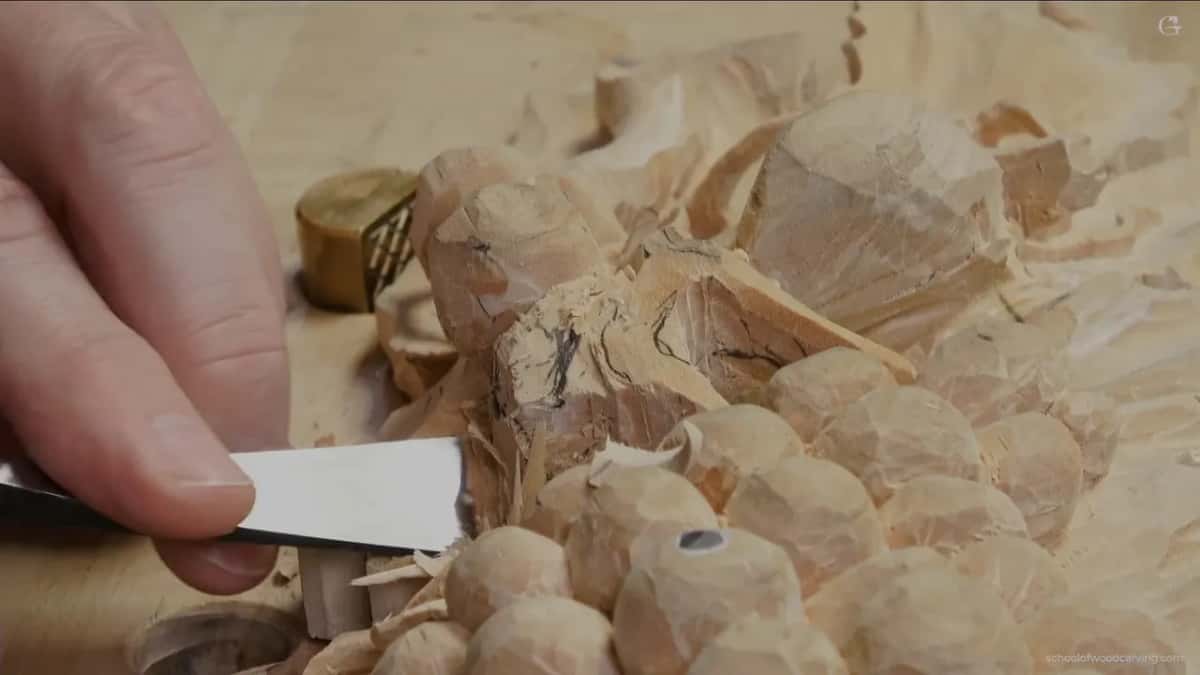
Where does the vine go right under a grape?
Where the wood was. I said I could go right underneath that grape, since I had taken advantage of the material there, which means that bit will be hidden. I also wanted the vine lower than one part there. I could go both ways and lower that part instead, but lowering the vine was probably more logical.
For that I went back to the same 10 mm (three eighths inch) number 9 and excavated across the grain, just lowering it slightly. All the time I'm after a full three-dimensional feel. I could drill right under that part and still keep a full motion, and I have plenty of wood there.

Smaller, smaller. A flatter number 3, a quarter of an inch (about 6 mm), went in carefully. I couldn't force it, because I want to see the vine passing beneath the tendril. Carefully, carefully, carefully. That wall got cleaned after. A bit later I undercut under the grape itself, not all the way, but somewhat, as I said.
| Spot | What I did there with the gouge | Depth |
|---|---|---|
| Open side | went in with the big tool first | maybe 3/8 in (10 mm) |
| Same side | then a smaller gouge went deeper still | about 1/2 in (13 mm) |
| Flipped side | a big flatter gouge took the mass | approximately 3/4 in (19 mm) |
| Side wall | number 11 across the grain to here | roughly 1/4 in (6 mm) |
| Last pass | to be thinned a little, keeping motion | like 1/4 inch (6 mm) |
Why did I leave the tendril whole for the time being?
The tendril is a kind of fragile part, and the grain runs that way. That's what I said when I held off drilling right through under it. Pretty soon I'll do it, I said.
A minute before, I had told you I could slip beneath that motion now, but it had to be logical, so it heads the right direction. A smaller tool took over, a number 11 of 2.5 mm (3/32 inch), to get around the tendril and take out the extra wood.
Why a carving breaks when you carve the second side is the subject of lesson 3 of this course. Real grapes are Vitis vines, and they climb by tendrils, thin stems or leaves a climbing plant uses to hold on. Lesson 4 is about carving tendrils that look natural.
How thick did I leave the walls on the side?
About a quarter inch (roughly 6 mm). My number 11 excavated some more, crosswise to the grain, until there was enough wood on the side, a wall of approximately 1/4 inch (6 mm), which I got pretty close to. A flatter number 3 of six millimeters (1/4 in) cleaned that wall, and the spot just below the grape.
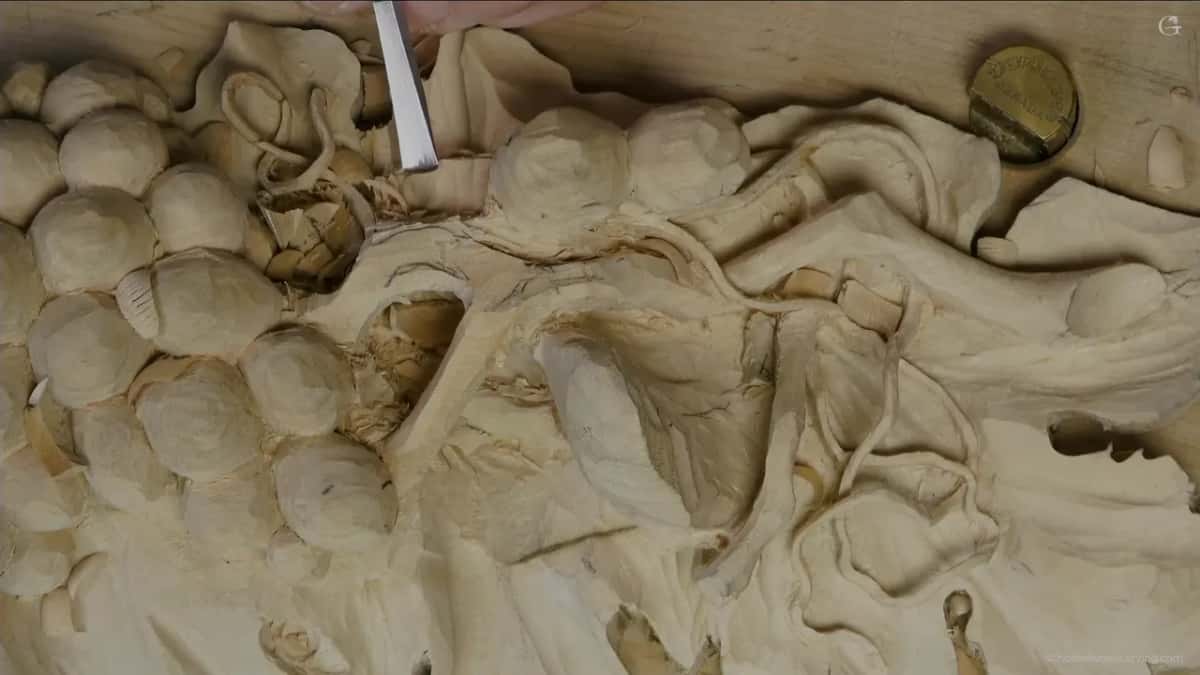
We had made so much mess by then. I cleaned a little so you could see the motion, hoping it would look much better, looked again, and said I have plenty of material. I was talking about how much I left on the walls.
When do you drill right through?
After the walls are right. Now I could excavate under that spot to drill through, the same idea I used before. I took a number 9 one eighth of an inch across, three millimeters, and did my drilling like a plug cut. Through to the hole I went, and then set about making it a little wider.
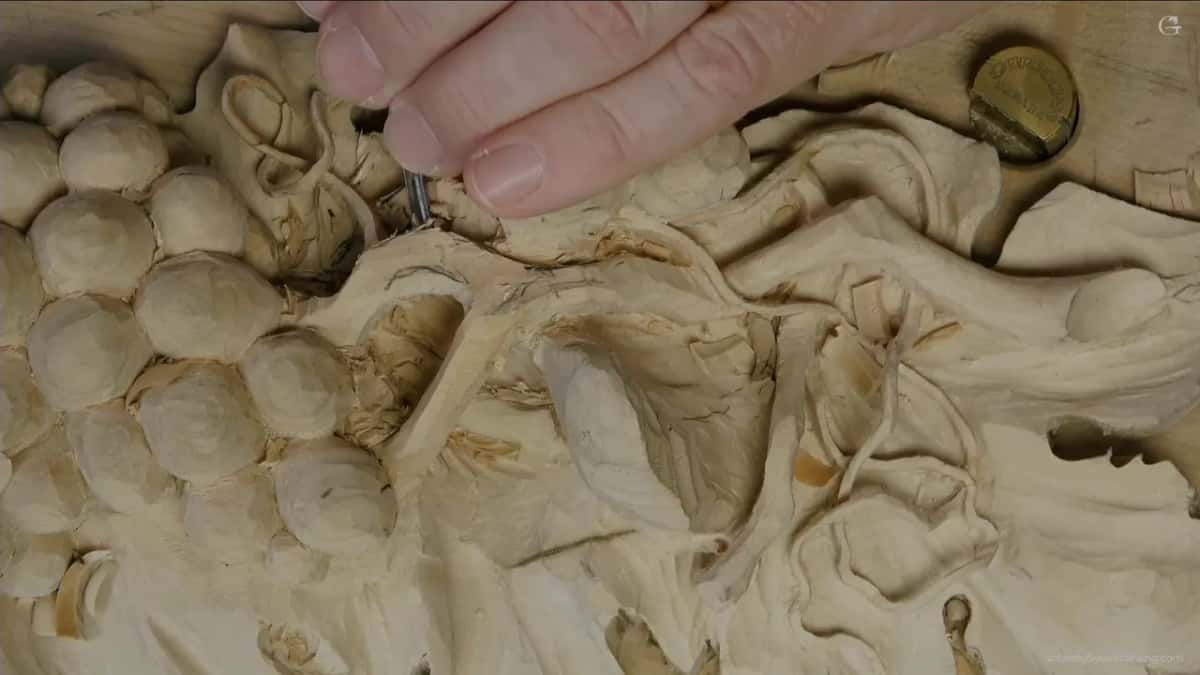
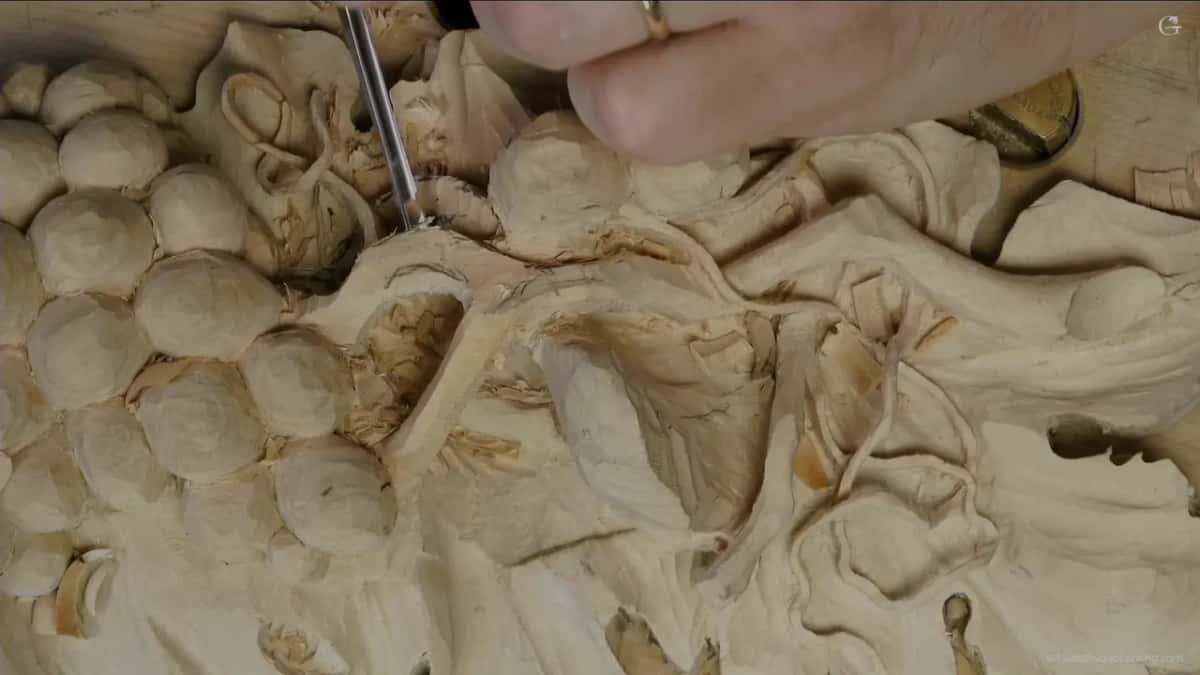
After that I excavated downward with several more passes and said that's pretty much the idea. The rest was cleaning. The back bend number 3, six millimeters (about 0.24 in), gave the final detail some roundness. Going through solid wood like this is what people call openwork, decoration with holes in a solid material.
The plug cut does the same job elsewhere in this course. Back in lesson 1 I showed a really dark spot I had excavated really deep for the shadow, and for the next one like it I reached for a plug cut. In lesson 8 I asked you, can you see how deep a shadow I got now? The next ones were going to reach my plug cut, I said.
Can a vine that deep still be seen?
Part of it can't. Under that grape the vine will be hidden, as I said while I was taking advantage of the material there. On the Cabernet Sauvignon tray I said the same kind of thing about a second vine. You're not going to see that one, but we bring it out from underneath a little later, once we carve from the backside. That was lesson 4 of the tray, and the first job there was outlining with a 10 mm number 9 (about 3/8 inch), excavating around to make a relieving cut.
One vine with two stems, I said, or it could be two vines, one on top of the other. And don't forget it's full 3D, so we have to flip it to connect them.
The light is what you do see. On that tray, in lesson 6, I excavated from the backside with a number 9, 10 millimeters (roughly 0.4 in), careful not to dip too much into the bowl. I wasn't sure the camera showed it, but the light is going to travel right underneath. A really beautiful motion, I said, even though it's a simple ball.
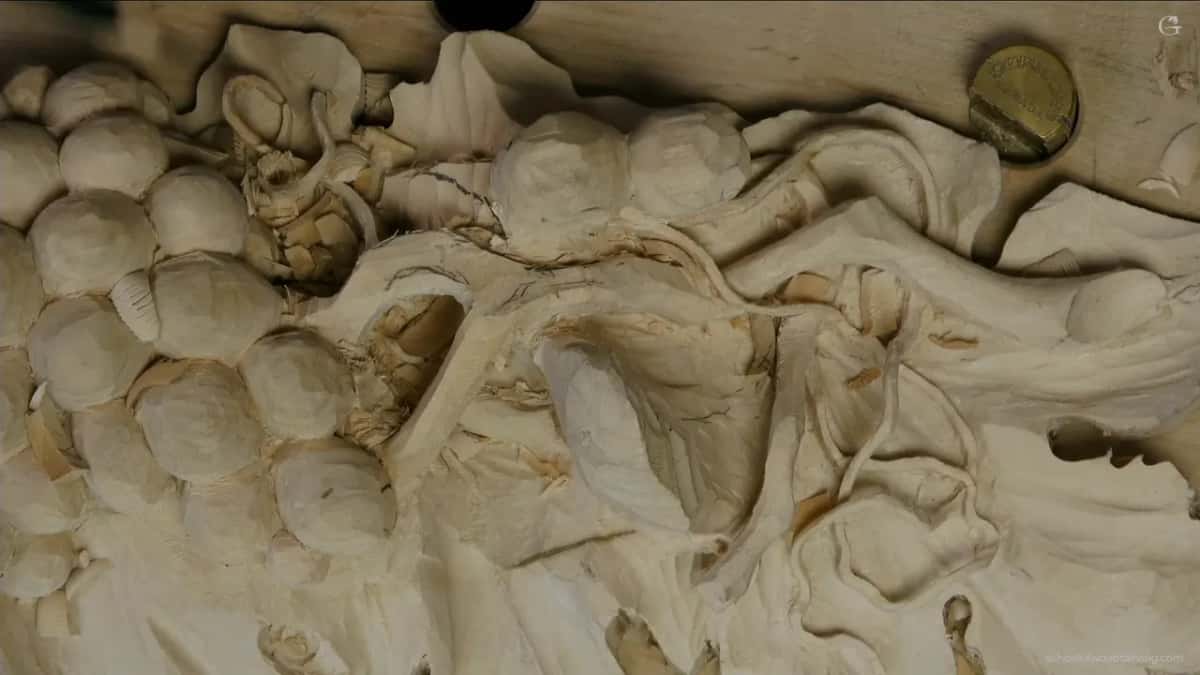
Does the vine have to keep its motion?
I wanted it tied in with everything else. The pencil came out partway through to create the motion, so the vine would run under the part we had just carved. I also turned it this way, because it has to be tied together with all those movements.
At the end I said I could undercut on this side the same way. But I wanted to make sure I didn't lose the previous motion, so I'd only make it a little thinner, like a quarter inch (about 6 mm). The video before this one put it another way: I don't want to create a straight line. It goes like that, and then it turns.
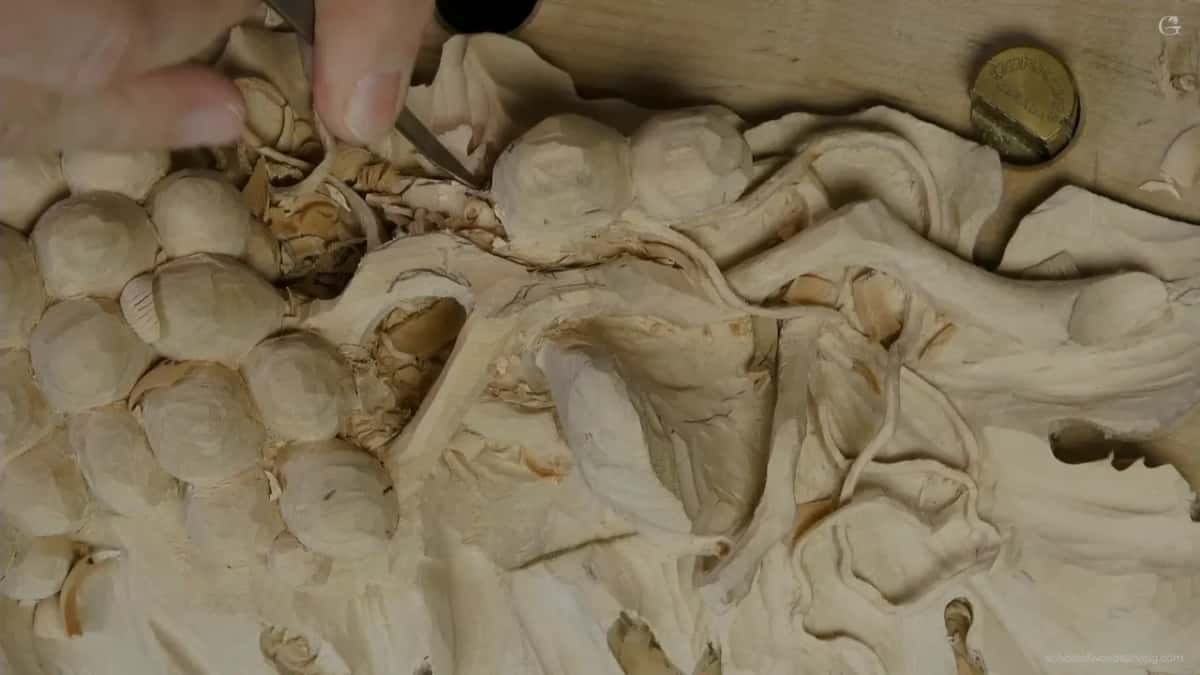
The last bit I said I'd probably do off camera, because I really have to get in there with my nose. The mess around me was an Art Deco project I was finishing, and no, I'm not filming that one. Deep fruit and leaves in wood go back a long way. Grinling Gibbons, the Anglo-Dutch carver, worked his in limewood. Mine is a grape onlay, and the carving is the same digging, digging, and digging inside the wood.
Have you got a vine lying flat on your board right now? Is there still wood beside it you haven't touched? Then watch how deep this one went, in all three videos of lesson 7. I thanked you there for being part of the school, because it really matters. Access opens every video of the course.
How it's done
- Go deep where the wood is. With plenty of material on one side, I went in with a big tool first, then a much smaller one went further, and the shadows came.
- Flip it for the far side. I turned the table toward me, flipped the work, and began there with a number 9, working from the outside in.
- Lower the vine. To get it lower than one part there, the same number 9 took it down slightly, at right angles to the grain.
- Leave the tendril for later. Fragile, with the grain running that way. I held off drilling under it and worked around it with a small number 11.
- Keep walls, then drill. Walls stayed. Then a tiny number 9 bored through as a plug cut, and I widened the hole.
- Round it, keep the motion. A number 3 back bend rounded the last detail, and on this side I planned only to thin it a little.
Frequently asked questions
How far beneath a grape do you undercut?
Partway. Under one grape I took wood out from below, though not right through, and later checked that plenty stayed on the walls. Earlier I had said the vine could pass underneath that grape, since I had used the material there, and that bit would be hidden.
Which gouge drills through under a vine?
A small number 9, 3 mm (1/8 in). I drilled with it the plug-cut way, got through to the hole, and went on to open the hole a little wider. First I had checked the walls.
Why switch to a smaller gouge to go deeper?
On this vine the big tool went in first, and a two and a half millimeter one (about 3/32 of an inch) went further. Over in lesson 11, though, I kept a bigger tool for the shadow's sake, and said you won't get shadow with a smaller one.
What to carve next