

Alexander Grabovetskiy, woodcarver, School of Woodcarving · Published 2024
How do you carve under a leaf without damaging the wood below it?
Quick answer: Undercutting a leaf without hurting the wood below is a matter of keeping your force out of that wood. On my grape onlay I put no pressure downward, let a quarter inch (about 6 mm) back bent take the mass out by sharpness, went smaller and wiggled where it got tight, and levered on my finger.
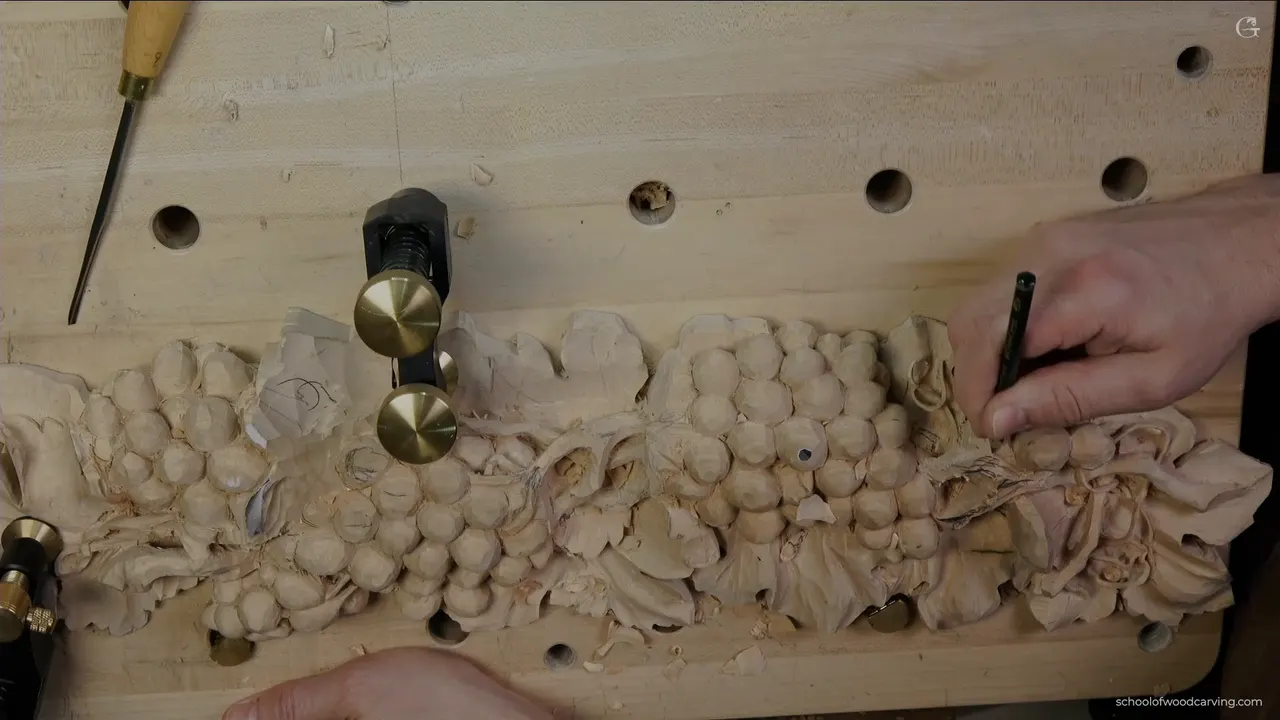
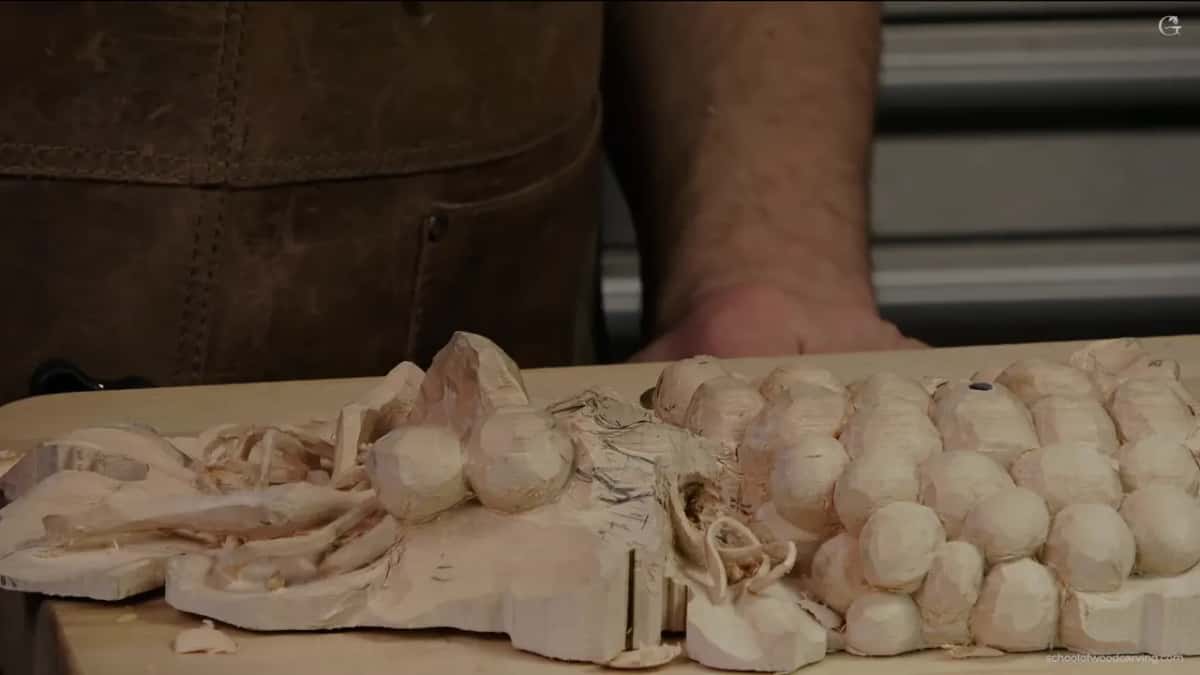
Carving under a leaf without hurting the wood below it is mostly about where your force goes. In undercut relief carving the eye goes to the leaf on top, yet the wood under your edge can break just as easily. Here, on my grape onlay, I kept the push off it. Nothing pressed downward, a back bent worked by sharpness, a smaller gouge went in where it got tight, and my finger took the leverage instead of the carving.
This is the second video of lesson 7 in the grape onlay course. Before going too much underneath, I widened that spot to reach in much easier. The vine there I wanted no wider than about a quarter inch (6 mm or so), three eighths (about 9.5 mm) at its widest place, and all the rest had to go.
Have you ever pried a chip loose and felt the wrong spot give? Was it deep under a shape, where you could hardly see your edge? Then you know the wood under a tool can break as easily as the wood you are carving. Below is what I did on this leaf, tool by tool, plus what I have said about the same danger on other pieces, with links.

What kept the wood under this leaf in one piece
- First I widened the spot, so the tools had easier access to it.
- Nothing pressed down on the wood below.
- A number 3 back bent took the mass out with nothing but the sharpness of the tool.
- When it got too tight, I went down to a smaller 11 and wiggled.
- Where two parts sat close together, a spoon gouge was easier.
- My finger was the leverage point. The carving didn't take the pry.
Why not press down while you carve beneath a leaf?
The wood under your edge pays for every push. I said it in plain words on camera, with a back bend in my hand. I didn't want a lot of pressure downward, because I didn't want to destroy the material underneath. That would be a really bad idea.
I was careful from the first pass. My first tool was a fishtail number 7, 14 mm (about 9/16 in), and I had to watch that I didn't create too much force with it. Maybe it was a little too big. I could probably have used a smaller one. It's all right, and I took the same tool to the other side too.

Too much pressure shows on other pieces as well. In class 12 of my Grinling Gibbons class in Maine I was carving a petal with the grain and creating too much pressure. You can see it moving, I said, and it can break at the connecting point. Going against the grain there, I don't create downward pressure as much, and with sharp tools it's still going to be fine.
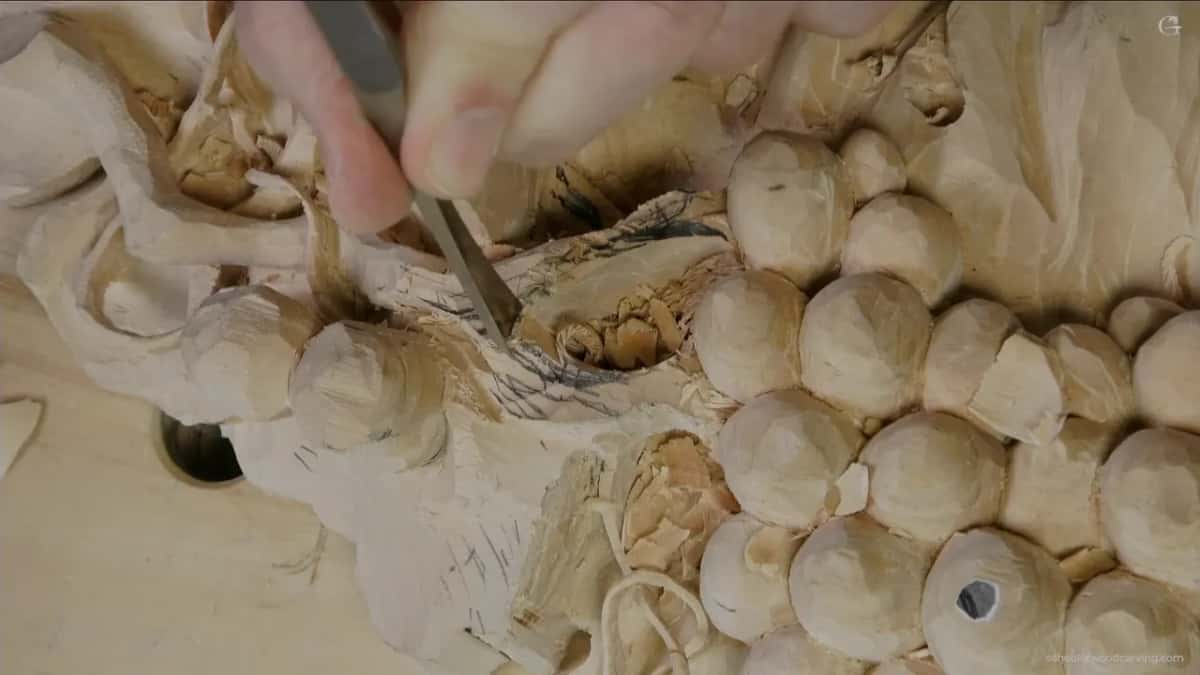
Back in lesson 6 of this course I put it another way. Keep your tools super sharp, so you don't have to create any pressure, and let the tool do the work. Sharpening comes before any of this.
How does a back bent gouge help when you undercut relief carving?
A back bent reaches under a shape, so its edge can work down there while nothing levers on the edge above. My back bend number 7, about a quarter inch (roughly 6 mm) wide, went in first, attacking from one side.
Then I changed my mind. I should probably use a different back bend, I said, and picked a number 3, a quarter inch, about six millimeters. I thought it would be much better for this case. No pressure. All the sharpness of the tool.
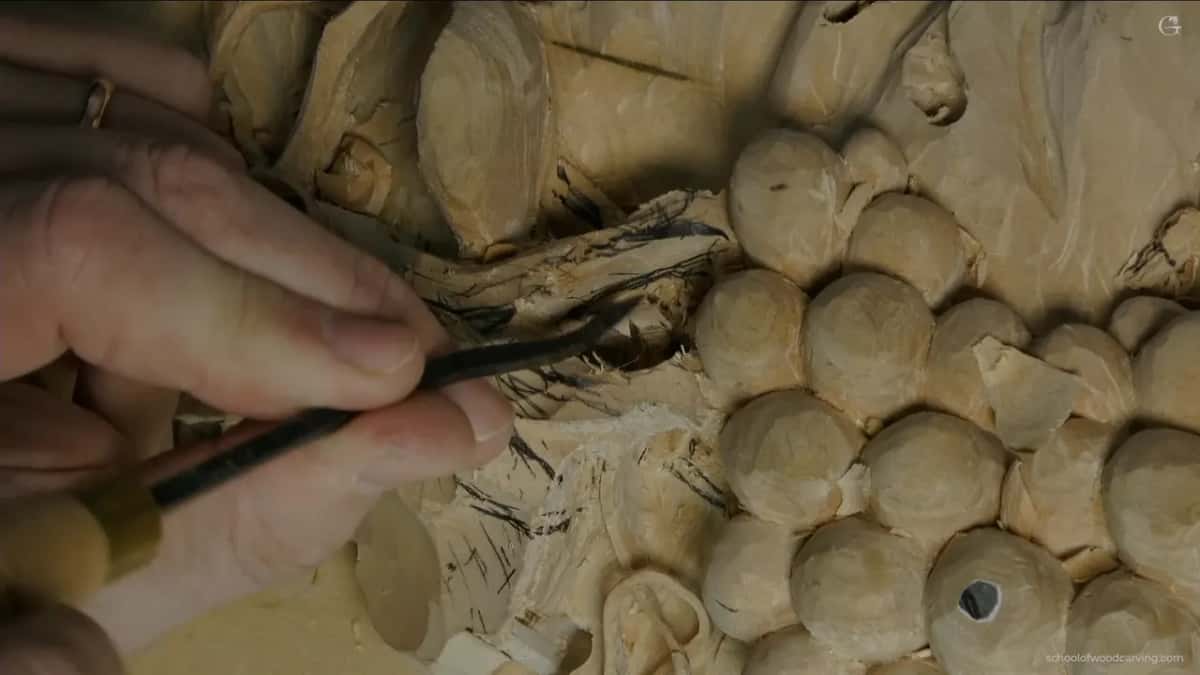
It's kind of hard to remove all that mass, and I said so on camera. I came at it from the other side the same way, and after that I had access to the material right in that spot, on my right-hand side.

Workshop 18 of the Venice Room is where I said why. I had a back bent there with a number 5 sweep, six millimeters (about 1/4 in), going in little by little, without forcing too much. Because it's a back bent, I'm not cranking anymore on this edge, I said, and I can clean really deep until I am all the way underneath. That same pass turned out to be my future separation cut.

What does it mean to crank on the carving?
Cranking is my word for levering a tool on something, and I say it a lot. Pry is probably a more proper word for it, as I said in lesson 16 of the Hashemi flowers. A gouge you pry with works as a lever, and the point it rests on carries the load. A long handle gives you mechanical advantage, so a small push at your hand becomes a much bigger force down there.
Lesson 17 put a 3 mm (about 1/8 in) number 12 V tool in my hand. Keep an eye where you're placing your hand, I said, because you've got fragile parts right now, and especially don't crank against them. Don't pry. You can pry against the finger, but not against the wood. That would be not really smart.

By lesson 49 I was saying it again, and I knew it. Please don't crank against the petals, crank on your fingers. If you say I already said that too many times, it's probably because I've done it many times and learned it the hard way.
Your project is almost done and cleaned, really fragile, and you decide to make one extra pass just because you don't feel it's enough. And boom. You crank against some detail, and you just break it.
Moving the tool up and down while it's in the wood is the same mistake. In lesson 10 of Carving Floral and Molding for the Panel I was wiggling out a big chunk, and I asked you to be careful there. Move it up and down and you're going to lever on the upper part, which is already becoming weaker and weaker. Control your tool. A slow pass, no rushing, small chunks.

Where should your finger go when the tool has to pry?
Between the tool and the carving, so the pressure lands on your finger. In the last minute of the video I had a spoon gouge down between two movements, and I wasn't going to crank on that part. That's why I placed a finger right there and used it as my leverage point.
I explained it in lesson 13 of the Hashemi flowers. I was trying not to hit any of the edges with the tool. So I placed my finger and made a leverage point where I can crank against my finger instead of the piece of wood.
Even where the edge was strong, in workshop 83 of the Venice Room, I was careful not to crank against it. I placed one finger, and another a little below my tool, so even if I create a pressure, it's going to press against my fingers. I can damage that edge.

A piece of scrap is better still, when one fits. Workshop 66 was different. I had a spoon veiner, maybe 7 mm (about 9/32 in), and the spot I levered on was still a big chunk, so I was pretty much safe to crank. Even so, it's always better to protect the work with another piece of wood if you have it. Otherwise you can use your finger as a leverage point, so you don't push too hard on the edge, even one that's not developed yet.
How my fingers sit on a small gouge for fine work is its own subject, and lesson 13 of this course covers it.

What do you do when the space gets too tight?
Take a little more wood out, then go smaller and wiggle. On my right-hand side a number 11, four millimeters (about 5/32 in), Swiss made, went in to get underneath. That is the leaf, and I undercut slightly right under it, with my flute at about nine o'clock. I know it's kind of hard to understand what I'm doing, but I'm right there.
On the left I went at it the same way, with the same tool, but with the flute turned the opposite direction. Maybe it's a little too tight a space. Maybe yes, maybe no. I thought I needed to remove a little more material right there first.

Got to be careful. Then an even smaller one, two and a half millimeters (about 3/32 in), same idea, and I wiggled it a little bit.

Going smaller started early in this video, too. After the fishtail I said let me get a little smaller, a number 6 of about 10 mm (about 3/8 in). Then, actually, you know what, I grabbed a number 9 instead, an eighth of an inch (3 mm), the same one I had used before.
The wiggle shows up on the Lily Box, too. Making the curl under a lily, a 3 mm (about 1/8 in) number 11 removed some of the material underneath, little by little, without forcing too much. I need to wiggle it, I said.
Why come at it from both sides?
Coming from the other side means you don't have to lever over the part you want to keep. Back in workshop 11 of the Venice Room I was carving against the grain, and I could have attacked from the right position. But I don't want to crank against those, I said, so I tried the tool from the opposite direction.
Five workshops later, in workshop 16, it was the same call. I don't want to crank against the finished detail, so I've got to change my position and go this way. On the grape leaf you saw it twice: the back bents from one side and then the other, the small 11 on the right and then the left.

Why leave wood you could take off today?
You may still need it to lever on. Some details wait for exactly that, and I explained it in workshop 30 of the Venice Room, where I knew I was going to excavate right there without knowing how deep. I still need that material for leveraging, I said, because I'm going to crank against it. So sometimes I leave details to the end, until I'm ready.
Five workshops after that, in workshop 35, I had kept one spot from being undercut too high, for the same reason. Parts of my tool would crank or leverage against it. Taking it to the final form first would have been a mistake. That's why a piece can look rough until the end, and at the end I always have a good chance to clean everything.
When is a spoon gouge the right tool down there?
Mostly when there's a lot of wood to remove right between two shapes. Near the end of this video I first went back to a number 11 of two and a half millimeters (roughly 3/32 in). A spoon would probably be easier, I said, and a moment later, let me use a spoon.
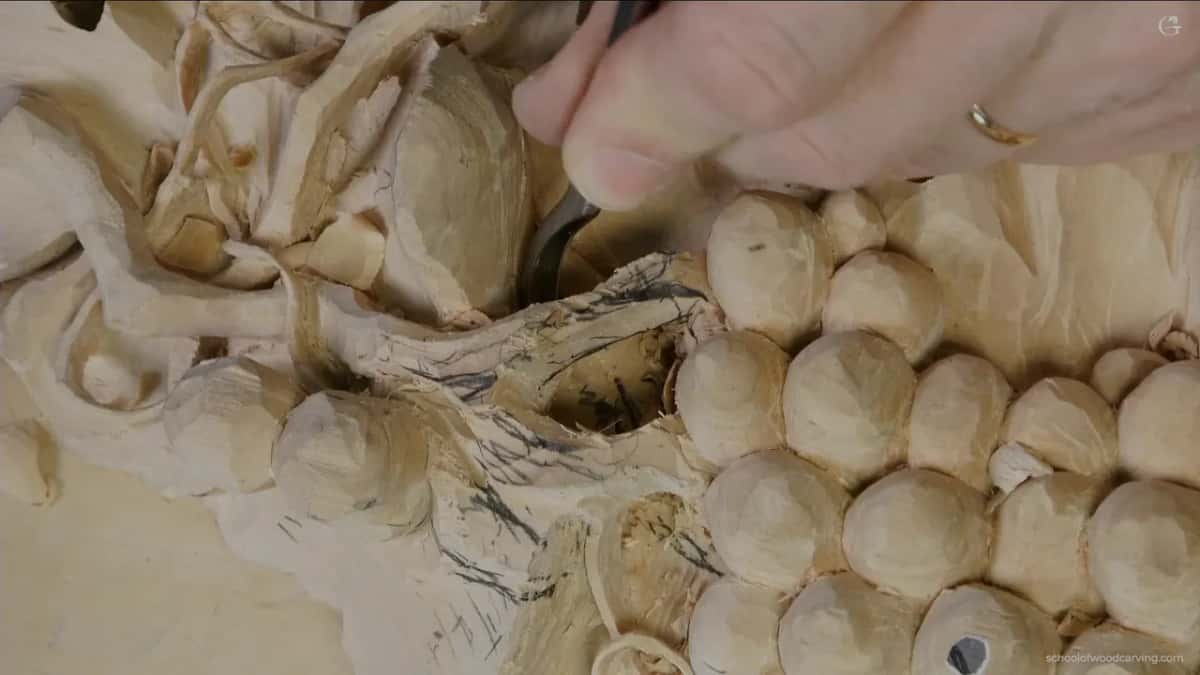
I took a spoon number 11, maybe four millimeters (roughly 5/32 in), because there was lots of stuff to remove. The blade of a spoon gouge bends along its length, so the edge can dip into a hollow where a straight shank would ride on the rim.
Then, carefully, carefully, I excavated right underneath as much as possible. All that mess covered the camera. That's okay. What I was after was about the same depth as on the left-hand side, and with the spoon I could get right between those two movements.

How do you see what you're doing under there?
I clean as I go, so the space itself shows me where the next line goes. Nine minutes in, the chips had piled up. That's a mess, I said, let me clean up a little bit. Later a smaller tool, a number 2, cleaned a little on the inside, so I'd see much better.

Then I removed some of the chips and came back with a flatter tool, a number 3 of about half an inch (about 13 mm). It went right on inside, so I could clean everything, and it was easier for me to see and to place the lines. Can you see how big a space I've got inside, and how clean that is?
Which tool did what in this video?
| Tool | What it did there | Note |
|---|---|---|
| Fishtail number 7 | opened the spot, with no extra force | maybe a little big |
| Back bent 7 | worked one side, with no downward pressure | to spare the wood |
| Smaller back bent | number 3, all sharpness, from both sides | much better for this |
| Small number 11 | slipped beneath it, flute near nine o'clock | a slight undercut only |
| Smaller number 11 | went in where the space got tight | with a little wiggle |
| Flat number 3 | cleaned the inside, letting me place lines | a big clean space |
| Spoon number 11 | dug between two movements to equal depth | finger as leverage point |
Don't have a back bent in your kit? In the video before this one I said that then you would just continue to drill. Whatever you dig with, a gouge, a spoon or a back bent, the grain below is not what your tool should lean on, in this relief or in any other wood carving.
Would you like to see every one of these passes up close? Would you like your next undercut to come out with everything beneath it still whole? The full video is part of Carving Grape Onlay, and Access to the school opens every lesson of it.
How it's done
- Make room to reach in. Before going too far underneath, I widened that spot so my tools could get in much easier.
- Take the mass out with a back bent. First the back bend number 7, then a number 3, with no weight on either one.
- Slip a small 11 under the edge. One small 11 slipped beneath it for a slight undercut.
- Go smaller where it is tight. More wood came out on the left first, then I wiggled the smallest 11 in there, carefully.
- Clean so you can see. A flatter number 3, about half an inch (about 13 mm), cleaned inside, so the lines were easier to see and place.
- Spoon between the shapes. My spoon gouge excavated right underneath to match the left side, with my finger as the leverage point.
Frequently asked questions
Should you press hard when you undercut a carving?
Very little, and not downward. Under this grape leaf I kept the pressure off because I didn't want to destroy the material underneath. My number 3 back bent, the smaller one, worked on sharpness alone, so the mass came out without me leaning into the part below.
What does cranking mean in wood carving?
Cranking is how I say prying with a gouge, using the handle as a lever on whatever the steel rests against. In lesson 17 of my Hashemi flowers I told you to pry on your finger and leave the wood out of it. I repeat it so much because I learned it the hard way.
Which gouges reach under a carved leaf?
Several, one after another. A 4 mm (about 5/32 of an inch) number 11 went under first on this onlay, flute near nine o'clock. Where the left side got tight, a smaller one followed, and at the very end a spoon of about four millimeters (about 0.16 in) dug in where two shapes meet.
What to carve next