

Alexander Grabovetskiy, woodcarver, School of Woodcarving · Published 2024
How do you make a carved leaf look alive?
Quick answer: A carved leaf that looks alive is one with motion in it, a twist like the ones real leaves have. On my grape onlay I began a hollow in the center of one leaf from nothing with a small veiner, let it blend out, then gave it a little wave with a wider one.
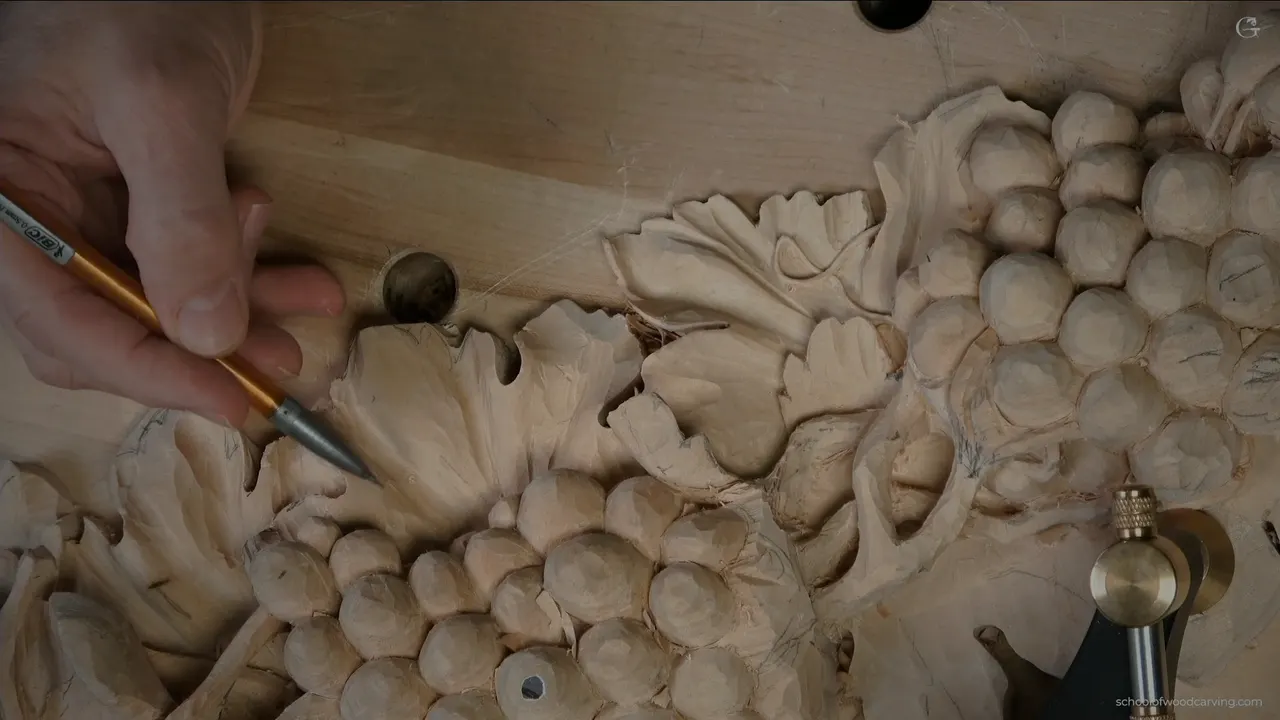
Making carved leaves look alive is mostly a matter of motion. In the first video of lesson 8 of my grape onlay course, I put that motion into one grape leaf. It began with a hollow I carved in the center of the leaf from nothing, then a little wave after it, and I told the camera that this kind of motion is what makes the leaves alive.
Have you carved a leaf where every line sat right where you drew it? Did it still look stiff? Then give it some motion, in the spot where the wood already leans that way. Below is the order I carved it in on my onlay, with each tool I picked up.

The short version from my bench
- Real leaves twist, so this one got a twist of its own before any small detail went in.
- The hollow started mid-leaf at zero depth and blended out.
- Next, a wider veiner added a little wave, and neither pass ran the whole way.
- Smaller gouges took it deeper, carefully, since a rough pass in that spot breaks it.
- Straight on, the motion hides, and turning the board brings it out.
- Make your own twists. I asked for that.
Why give carved leaves a twist at all?
Leaves twist in nature, and I wanted this one to do more than the regular classic. A grape leaf has a simple way too. Wherever you see an eye, you keep a raised part beside it, a convex. I said it, then said it once more. The rule holds on an acanthus, on a grape leaf and on a few others like parsley. Give every section of the leaf its convex, even where you hardly see it, split it up simply, clear out the little triangles and stop. That is simple. You could live like that.
But out on a grape vine, a leaf hardly ever hangs straight down. It twists, in all kinds of ways. A grape leaf has room for that. You can develop it a little more, and on this one I wanted to bring in a more complex movement.
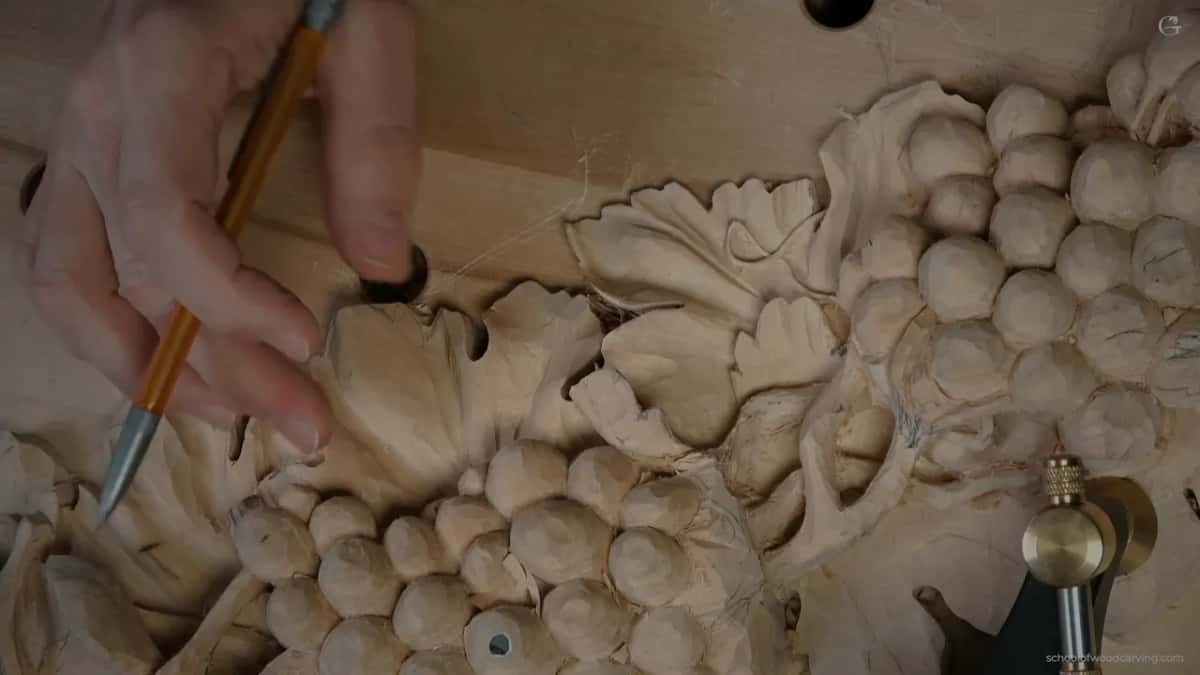
On my modern acanthus from a 1903 design I said it in fewer words. Nothing is straight in nature. Everything curves. That was lesson 5 of that course, where I said not to make a straight line, to excavate only slightly, and to keep it a gradual movement on both sides. A little later in that lesson I dropped one part lower and said what I'm after is to really see that shadow develop.
The tendril on this onlay got the same care. In lesson 4 I outlined one part of it and said I really don't want to see any straight lines.
Where does the twist come from on the wood?
From a spot that already turns. One part of this leaf already turned a little, and you could see how much meat was there. Plenty of wood. So I took advantage of it.
My aim was to use the whole material in that place, and I had a lot of it right there. I had no problem with material, and I knew I could blend the hollow in.
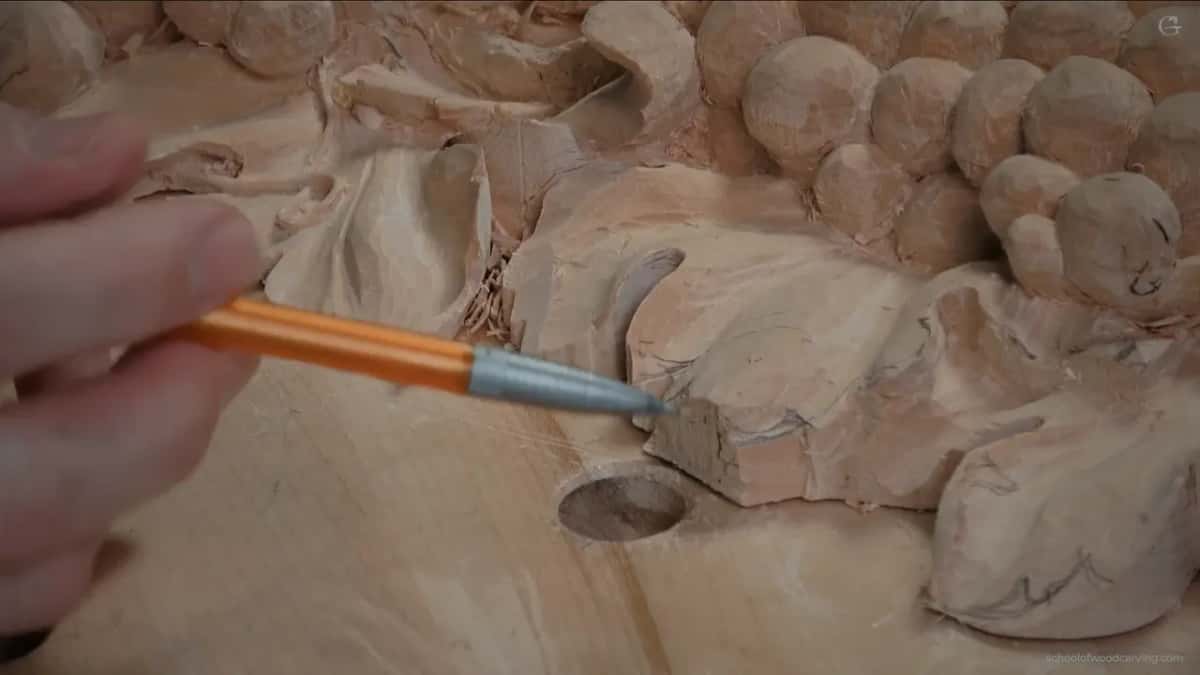
My Byzantine acanthus put the same idea another way. In lesson 7 of that course I said a leaf is nothing more than a boat shape. Once you understand that idea, you can twist it as many times as you wish, as long as you have the middle line and the boat is set.
A lesson later, in lesson 8, I kept it even plainer. Simple leaf, nothing more, and you can twist that leaf as much as you wish. Back in lesson 1 the first big movement was a leaf I wouldn't overcomplicate. Still just a normal leaf. It goes one way, climbs up and up, then goes backward, and so it is full 3D.
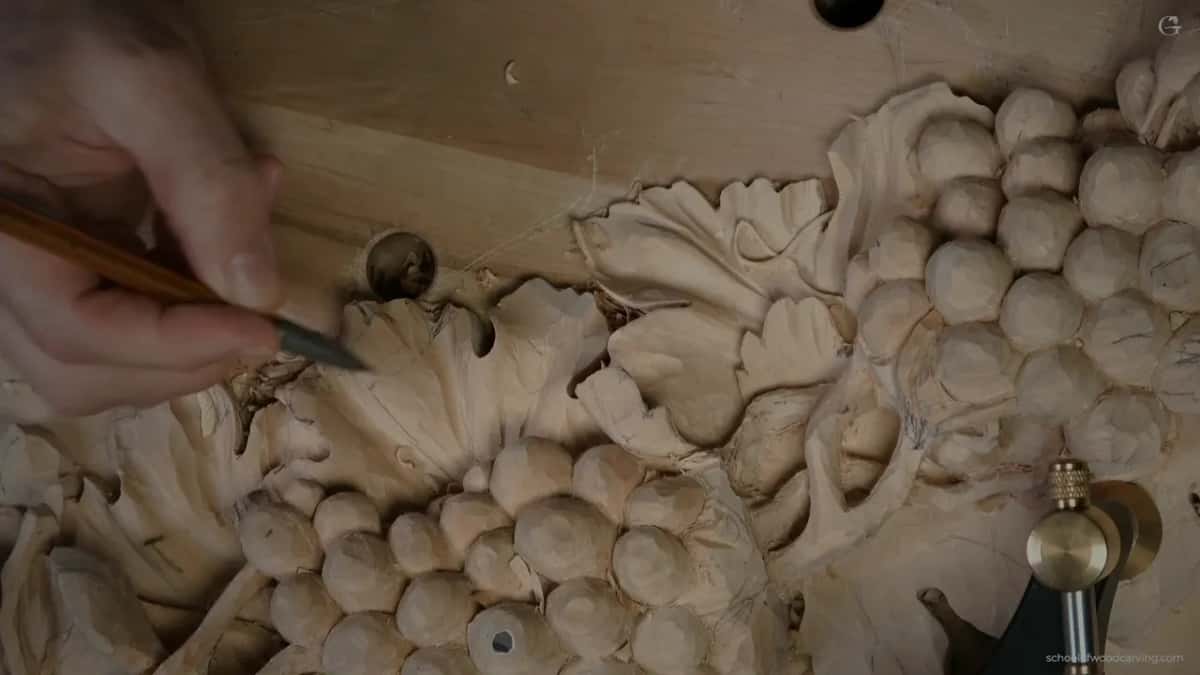
How did I start the twist on the grape leaf?
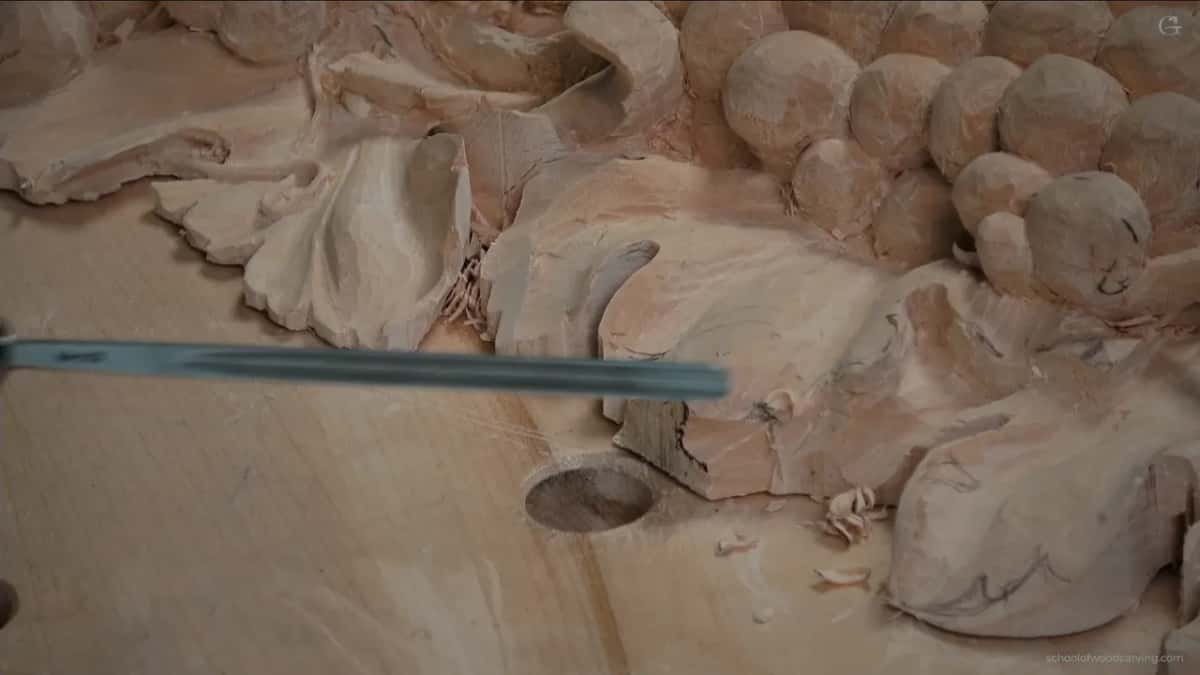
With a hollow in the middle of the leaf, begun from nothing. First I got a better marker, so you could see much better, and drew on the rough leaf where some complexity would come in.

I used a number 11 veiner, 4 mm (about 5/32 in). A veiner is a gouge with a deep U-shaped edge, part of the chisel family. Later in this lesson I said a 7, an 8 and a 9 are all gouges, and the number 11 is a veiner. I made the concave right in the center from nothing. It blends out, and the hollow sits right underneath.

It stays short. Just right here, in one place.

I wanted that moment a little stronger, maybe even more than that, so I went back in. From where the camera sat I wasn't sure you could catch it, and I turned the board toward you slightly. Then I excavated right in that spot using the same veiner, still the 4 mm one.
What did the wave add?
The motion. A wider number 11 put a little wave over just a piece of the leaf, and right after it I said the words this page is about.
I was about to keep going with the small veiner, then I stopped myself. I didn't want to damage that spot. I could make some motion there instead, so I got a bigger tool. Still a number 11, but this one was 7 mm (about 9/32 in), and with it I made a little wave. It doesn't have to go all the way. Near its end I dug out a little more wood.

I hope you can just see the overall motion, I said, because that is what makes those leaves alive.

I said nearly the same about the background leaves on my Hashemi flowers panel, in lesson 6. Some of my passes there went deep, in some spots and not everywhere, and I told the camera those passes gave the leaves their life.
The passes themselves were nothing special. On that panel I said they were simple ones that anybody can do, and what counts is how beautiful a structure they create, and the movements. Those leaves sit in the background, and most of them won't show much. Still, the more detail you give them, the more beautiful the whole design gets.
Which tools took the hollow deeper?
Three more tools came after the wave, each one smaller than the last. First, a number 7 at 4 mm (0.16 in) went in with the flute to the side, left or right, depending on the spot. Right there I gave a warning. Be careful. One pass too aggressive in that spot, and I'll break it.

Then the flute went upside down, and I kept on excavating. I tried to show you more of it, and still said you don't really see how deep that is.

Next came a small gouge, and a number 11 isn't required. Mine was a number 7, one eighth of an inch (about 3 mm). An 8 or a 9 would do too, anything from 7 to 9, as long as it is fairly small. Then maybe even smaller, a Dockyard. The first one I picked up was a little too big. The next, about 3/32 of an inch (about 2.4 mm), was just right.

With it I took a little more, though not to the extreme yet, since at that point I didn't know where that lobe would end. Here is the run of tools in order.
| Stage | Work | Reason |
|---|---|---|
| Narrow veiner first | began a concave right in the center | from nothing, then blends |
| Wider veiner next | made a little wave in that spot | short of full length |
| Gouge, flute sideways | excavated to the left or the right | careful, it can break |
| Same gouge, flipped | kept excavating with the flute upside down | depth hard to see |
| Smaller gouge again | continued my excavation, fairly small this time | 8 or 9 too |
| Tiny Dockyard gouge | took a little more, not to extreme | first one too big |
How do you know the leaf is really moving?
From the side, mostly. Looking straight at it, the motion hardly shows, and I said so in the last video of this lesson. Turn your head and there it is. In this first video I swung the board toward the camera for that same reason.

Part two of the lesson had me moving the center line, while the convex still sat in the middle. So I had to drive an eye toward the new direction. With a wider number 11, 10 mm or three eighths of an inch, I made a small concave there. Not big. I wanted it to blend in and still be visible. A second concave followed, not as strong, from the same tool, and I blended it in. All I was after was for the leaf to feel like it is moving that way.
Some people struggle to see a twist in their head. A piece of clay helps. During a livestream I talked about modeling in clay before carving, and the twisting of a leaf was my example. When the twisting gets really complicated, it is a lot better to model it first, and then you see it in 3D.
What has to stay when the leaf twists?
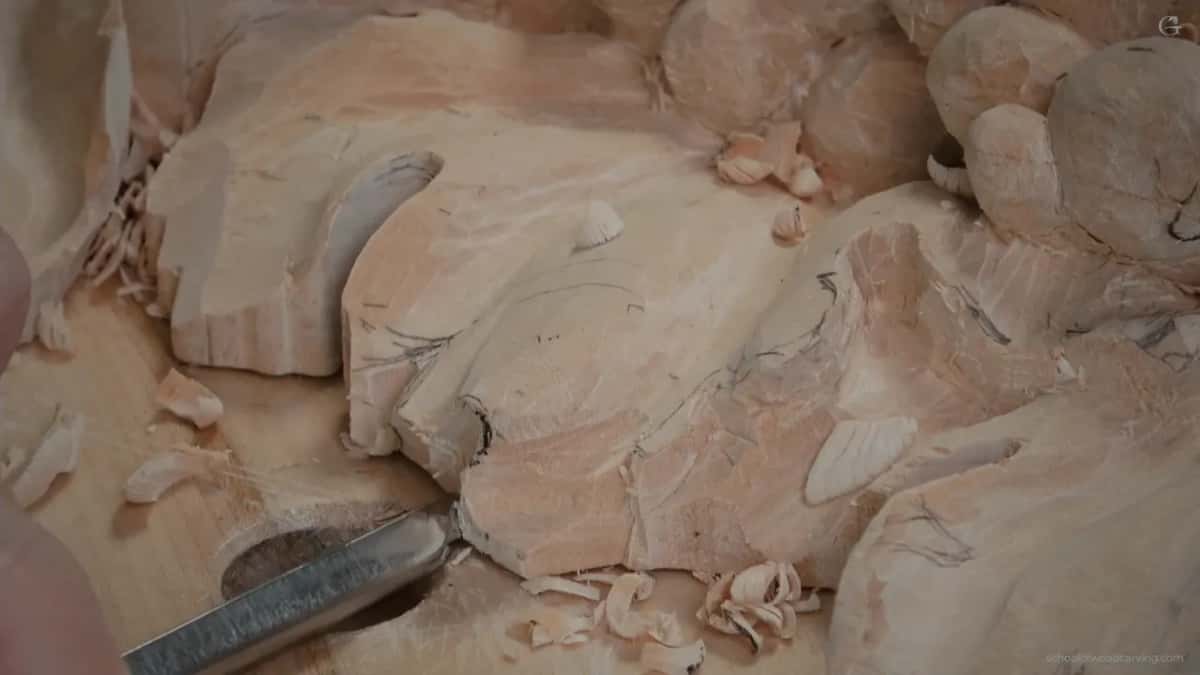
The convex stays. When another spot on this leaf got a backward twist in the second video, I said it's supposed to have a convex, and we're not going to get rid of it. I blended the new hollow left and right into the main convex, which I didn't want to lose. That flip stopped short of the eye, because running it right up to the eye doesn't make any sense.
On the lily of my Lily Box, lesson 11, I put it even more strongly. That convex is really important for me. It makes the whole world of a difference, whether the flower is really looking alive or not. A minute later I said I want to see nice, pronounced convexes.
The tool for that backward twist was the 7 mm (just over 1/4 in) number 11 once more, its flute turned to roughly nine o'clock. My plan was to save that chunk of wood and dig in right under it. Wood was not short there, and if the gouge reached a lower leaf, that was fine with me. The shadow it threw was beautiful. With all the light on my bench, I doubted you could see it. Then a flatter number 7 of 14 mm (about 0.55 in) rolled through and set the edge of the shape. A small movement, and a really nice one.
Is there one right way to twist a leaf?
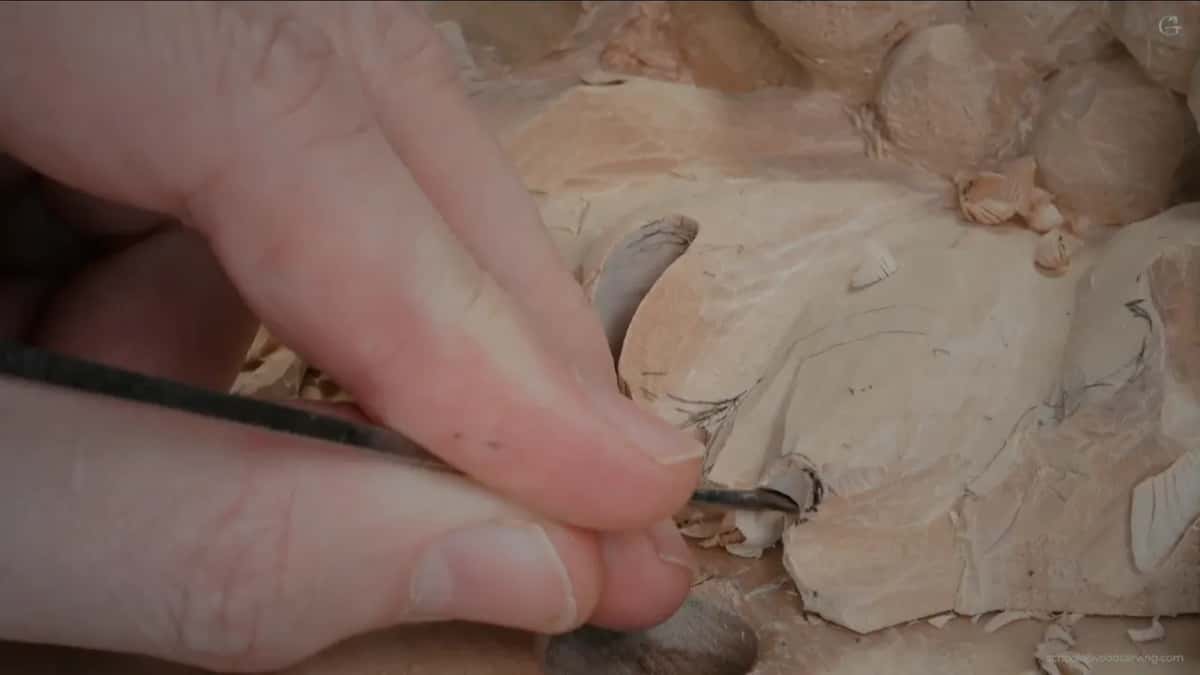
There are a lot of ways. Back in part two I called mine just one of the ways to twist the look of a leaf. It can twist downhill, and it can twist uphill.
Lesson 9 had me weighing those two against each other on a flip. The light most likely comes from above, so I went uphill, to get one deeper shadow. Painters call that play of light and dark chiaroscuro.
At the very start of this video I said I wanted to jump on the leaves. We had worked on complex stuff already, you had the idea, and I told you to go ahead and be creative with whatever development you'd like to see. The last video added that there are different types of flips and motions, and asked for your own on your own leaves. Don't exactly repeat what I've done. You don't have to. Send me a picture of the design you come up with. Be crazy about it, and express yourself.
A few leaves elsewhere on this onlay already had flips, and in the last video I pointed at them. Exactly the same idea as today, I said, only on a much bigger scale, and you can see every one of those separations.

My Greek acanthus, lesson 6, had one leaf I wanted twisting a little more. For a concave on the inside of it, I said a number 9, maybe 5 mm (about 3/16 in), would work. I came at it from two sides because of my grain, and it made a beautiful movement. Then a knife took the ridge off until it was gone completely.
Should the gouge ridges stay?
I keep some of them. In part two I left ridges on this leaf and said I'm absolutely fine with them. I actually look for those facets.
For a softer look, any carving knife will do. Scrape them slightly, without hurting the finish, and see how much softer it looks. Across this relief the grapes get a little sanding, while the leaves keep their tool marks, which I see as the nature of wood carving done by hand.

Would you like to give a leaf of your own that kind of turn? Can you see the spot on it where the wood already leans? All three videos of lesson 8 are in the course, every pass of this leaf with the tools in my hand, and the plans for the whole library are on the Access page.
How it's done
- Find the turn. I look for a spot on the leaf that already turns a little and has plenty of wood. My twist goes there.
- Mark the hollow. A marker shows where the hollow will sit.
- Start from nothing. A 4 mm (5/32 in) number 11 starts it in the middle at no depth. I let it blend out and keep it to one spot.
- Add a wave. A 7 mm (about 9/32 in) number 11 makes a small wave over a short stretch, not the whole leaf.
- Go deeper with care. Smaller gouges follow, a number 7 first, then a smaller 7, then a tiny Dockyard, the flute turned as each spot needs.
- Turn the board. I look at the leaf at an angle, since straight on the motion hardly shows.
Frequently asked questions
Which tool starts a twist in a carved leaf?
Mine was a number 11 veiner, 4 mm wide (about 0.16 in). I began in the center of the leaf with no depth at all and let it fade into the leaf. After that, a wider 7 mm veiner (about 0.28 in) followed, making a small wave.
Should the twist run the full length of the leaf?
Mine didn't. The first hollow stayed in one place, and the wave after it covered only a stretch of the leaf. On camera I said it doesn't have to go all the way. Near the end of that wave I took out a little more wood with that same wider veiner.
Why can't I see the twist when I look straight at my carving?
From the front a twist mostly hides. In this lesson I said you don't really see the motion when you look straight, but from one side you can. While I worked, I even angled the work toward the camera, because I wasn't sure you could catch it.
What to carve next