

Alexander Grabovetskiy, woodcarver, School of Woodcarving · Published 2024
How do you twist a gouge for a plug cut?
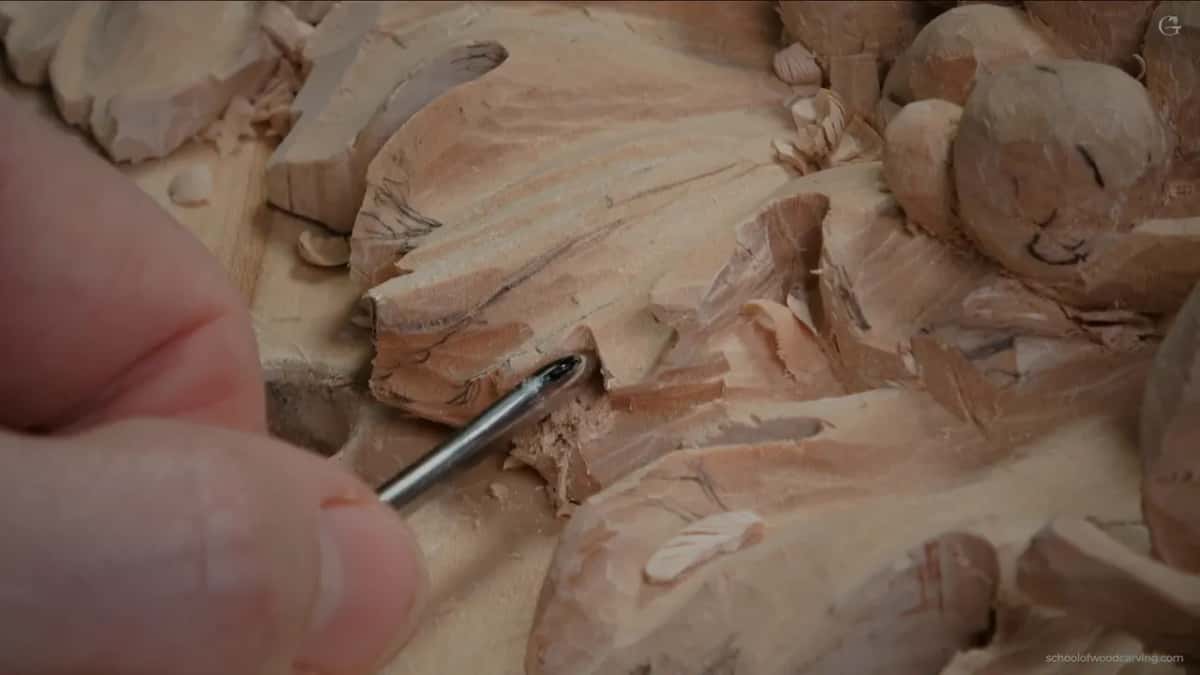
Quick answer: Twisting a gouge for a plug cut is a small turn, a little at a time, right or left, without much pressure. For my grape onlay, a number 9, 1/8 in (3 mm), went in under a leaf somewhat like a drill, though there was no need to twist it all the way around like one.
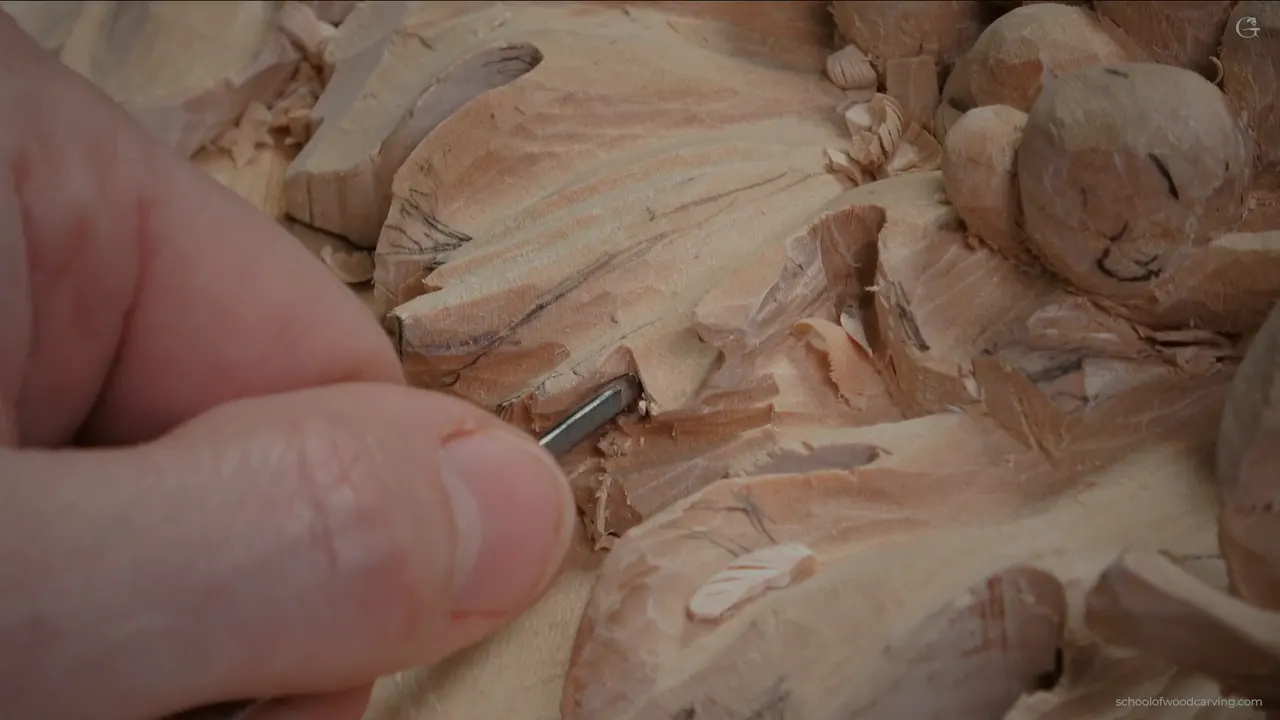
Turning the gouge in a plug cut is a short turn, then another, while the edge works its way down into the wood the way a drill would. If you are learning how to use a carving gouge, it is one move worth knowing. Here a plug cut means a hand move made with a gouge. The plug cutter sold for drill presses is another tool, one that makes round plugs to hide screw heads. My onlay got one under a grape leaf, made with a number 9, and I said don't create a lot of pressure.
Have you ever wanted a spot under a carved leaf to go almost black? Would you like that on your own panel? Then this is a move to learn, whether or not you go that far. I'll show you how far I turn the gouge and how hard I press, with the other pieces where I did the same thing. It starts from part two of lesson 8 of my grape onlay course, and I name every other lesson as we go.
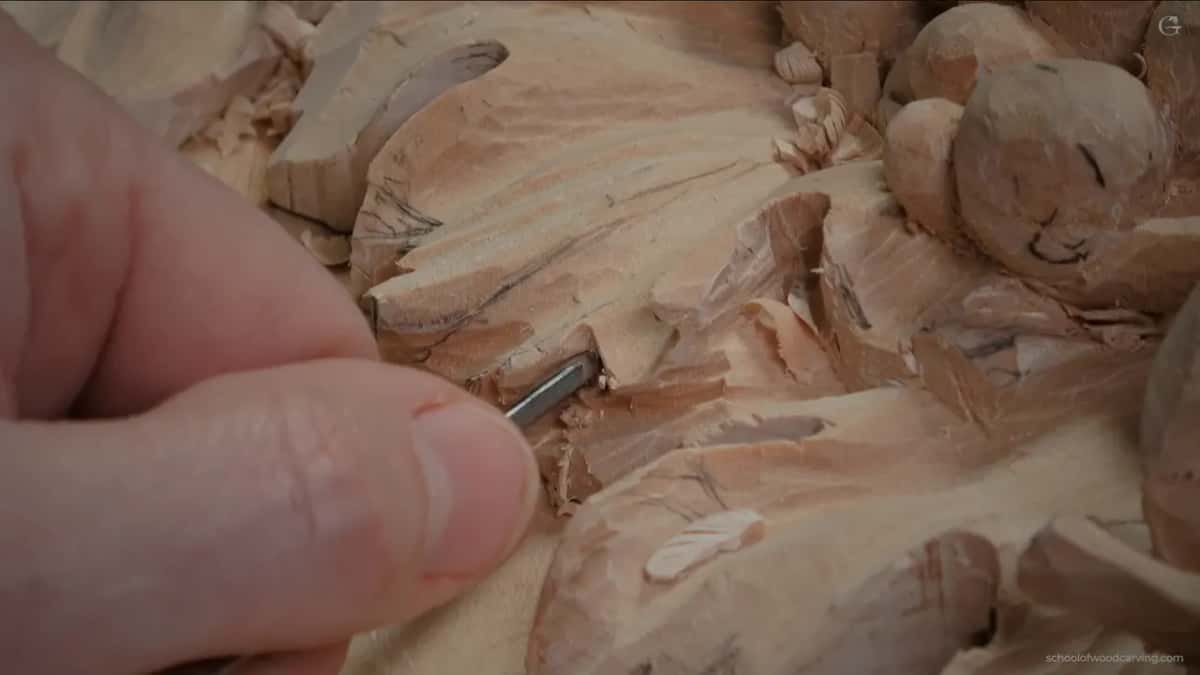
The plug cut in a few lines
- A number 9 goes in with a drilling motion.
- Turn it in small steps, either way, and it doesn't matter which one.
- Light hands.
- The passes after the plug reached about half an inch (12 to 13 mm) on the onlay.
- On one piece I held off on the full rotation at first, then made it.
- How deep you go depends on the shadow you are after.
How do you use a carving gouge to make a plug cut?
Put the number 9 on the spot and work it in, turning as it goes, until a small round plug of wood comes loose. That is the whole move. In the video I put it plainly. If you're not familiar with what I am calling a plug cut, you're using a number 9 gouge, and you're doing something like drilling.
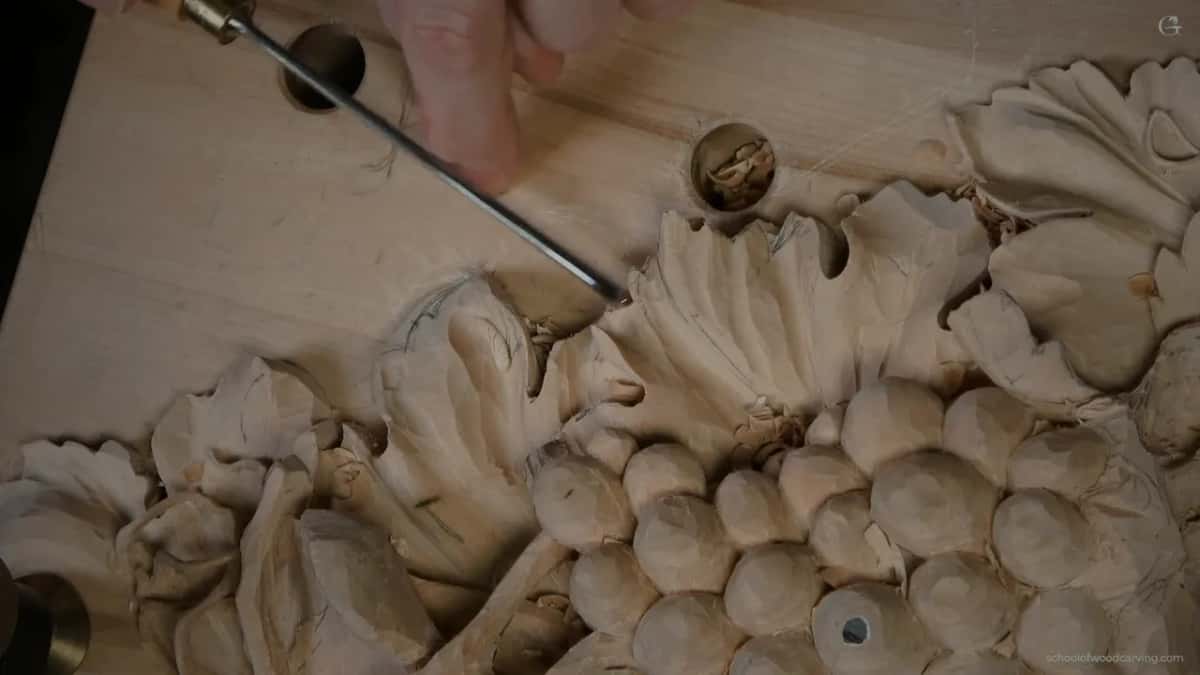
On my onlay I did it right under a leaf. Matter of fact, I said, I'm going to use a number 9 now, one eighth of an inch, and in this case it was three millimeters. I wanted to make sure I'd see a huge, big undercut underneath that leaf, and that leaf was going to go deep.
You don't have to go that deep. I told you so on camera, and then I said I kind of like it. It is more advanced carving, and you should know the approach to it anyway, I said.
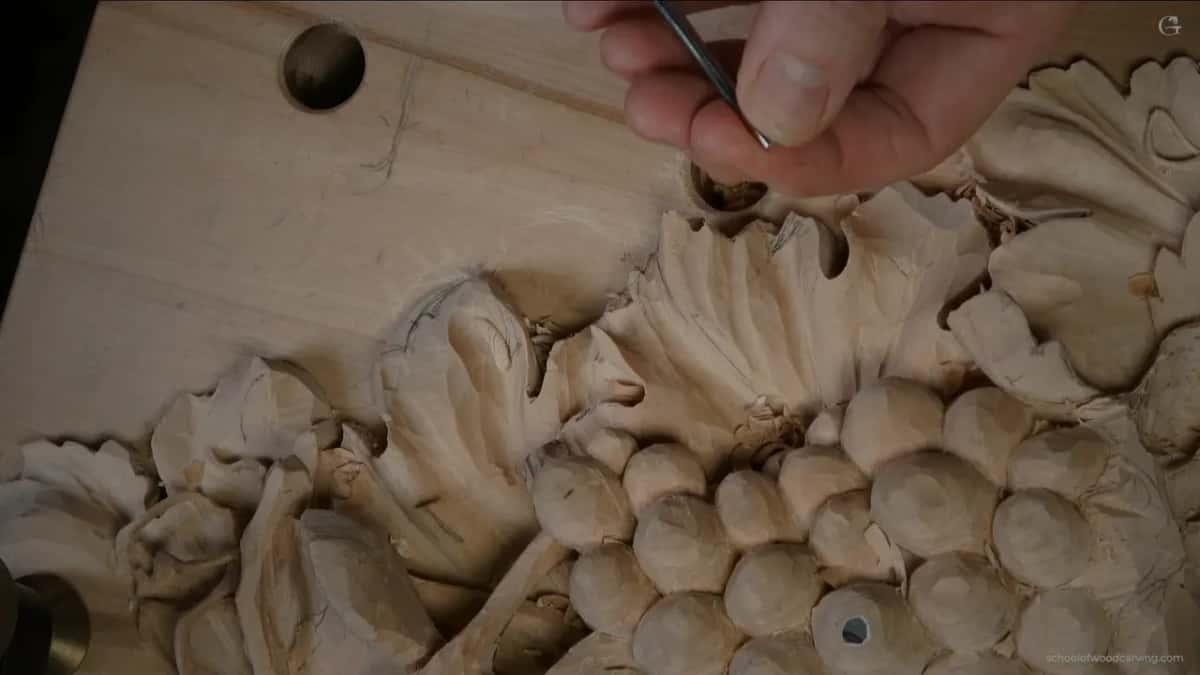
Just before the plug cut I was undercutting with a small number 11, two and a half millimeters (about 3/32 in), the flute turned to the right, to about three o'clock or a quarter to three. There was a limit. You don't want to lose all of that material, because it belongs to another leaf, and you still have to develop that one.
So the plug went in where I wanted the shadow. A moment later the plug came out of the hole and fell somewhere. Gone.
How far should the gouge turn?
A little at a time is enough. That day I said you don't have to twist it like the drill, a full turn round. Make small turns. Don't go all the way, just rotate little by little, and it doesn't matter if you go to the right or to the left. All you're after is getting that plug out.

On another piece I described the full turn instead. That was my vase with grape leaves, lesson 3, where I carefully made a plug cut in a separation beside an eye and got about three millimeters (about 1/8 in) deep. What I mean by plug, I said there, is when the tool makes the full rotation and you can kind of drill in. That deepens the spot and makes an even deeper shadow, and you can do it in every location like that.
Workshop 56 of my Venice Room shows both ways on one piece, one after the other. First I worked from the left side and the right side, almost like undercutting from both sides, to make space for the tool, because I could shift a little and break that section if I didn't. That tool has a really narrow neck, and I knew that even if I moved slightly to the sides, I wasn't going to break anything.
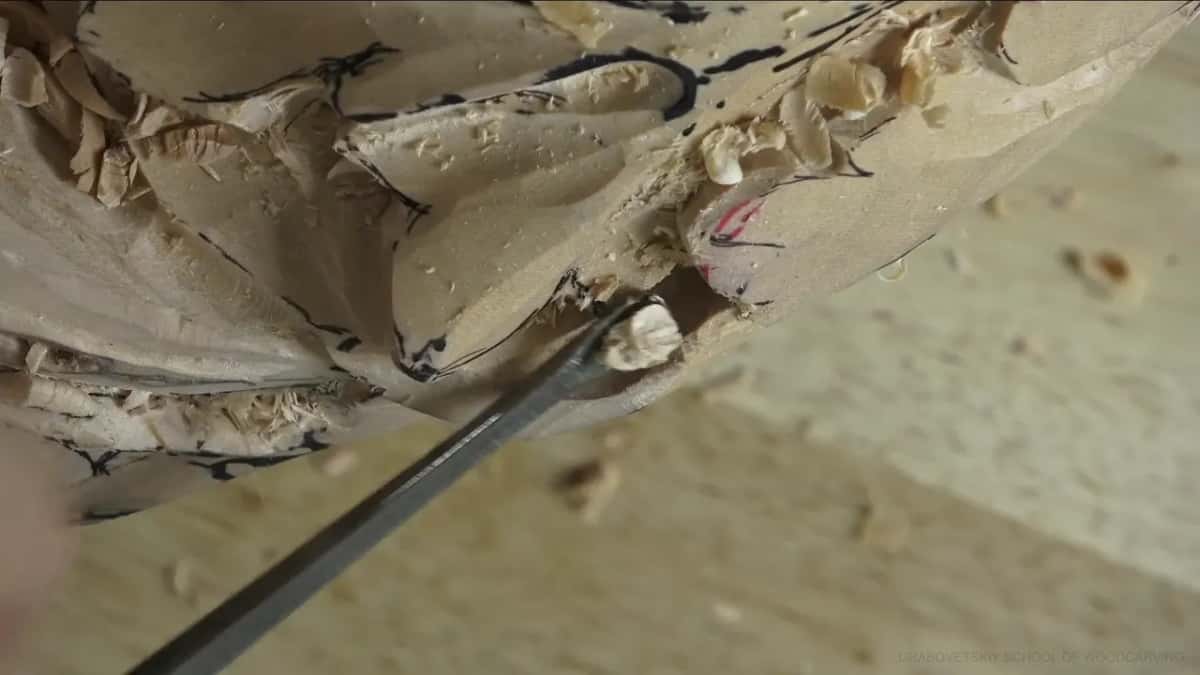
Then I was ready for the plug, but still kind of afraid to do the full rotation, so I kept attacking from the sides. I got the plugs out without the full rotation. See those plugs? I thought they were beautiful, and I said that's my opinion, of course. They made a really deep shadow. A little later I did the full rotation movement and drilled as much as I wished, and it was a really deep hole. A lot of junk sat inside it. I didn't worry about cleaning it right away, because that section would be excavated anyway.
So both are mine. Small turns did the job beneath the leaf on the onlay. In the Venice Room the small turns came first and the full one came after.
How hard do you press the gouge?
Lightly. Don't create a lot of pressure, I said on the onlay, and I've said the same thing a few ways on other pieces. My butterfly plate got the same note in lesson 9. I said I could use a bigger one in those spots, but the idea is the same. And I told you not to push too hard. It is better to take your time, make the rotation, and get a clean removal of that plug. I call it a plug cut because you're just removing plugs.
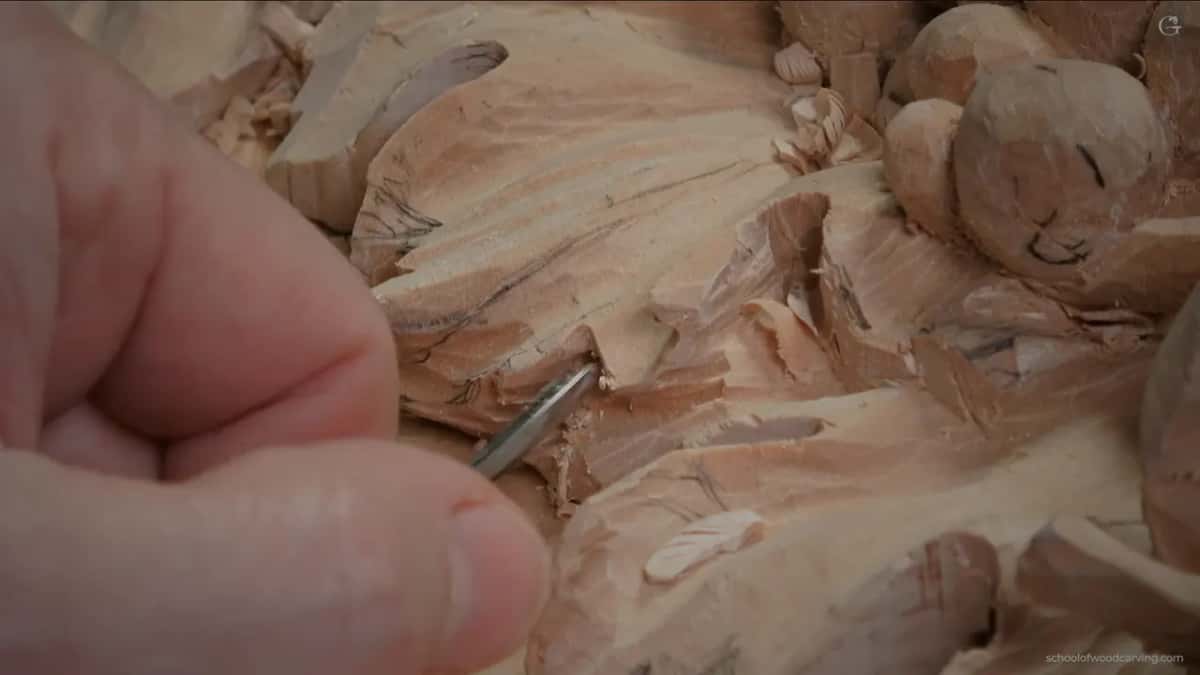
In workshop 54 of the Venice Room I went in carefully, without pressing too much, and made my rotation movement. I can drill it as deep as I want, I said, and it's actually a really fast process. I really wanted deep, really deep excavation in that area, and I said it twice, that I was after deep shadow. The Venetian flowers rosette was no different in lesson 6. I could leave a spot without it, I said, but I would do it, and I made one more just to prove the point. I made the rotation carefully, without forcing it, and took the plug out. See how deep a shadow it makes?
I have also done it with a mallet. On my furniture panel, lesson 26, I set a small number 9, a quarter inch (6 mm), straight down, and turned it while I hit it with the mallet. It gave me a plug, and it was a much quicker way to get to the right depth. Even there I said don't use too much force. That would be a big mistake.

Which gouge makes the round plug?
A number 9, and the reason is its shape. The number 9 is always like a half round, I said in workshop 54, a true half round, so if you rotate it, it makes a perfect round. Size is a different question. I've used them small and fairly wide, and the table shows which one did what.
| Place | Work | Gouge |
|---|---|---|
| Grape onlay, 8 | turned a little beneath the leaf, gently | a small sweep 9 |
| Grape onlay, 6 | stood straight down, drilled the same depth | a wider sweep 9 |
| Venice Room, 56 | lifted plugs first without a full turn | tool with narrow neck |
| Vase, lesson 3 | explained a plug as the full rotation | small gouge, no number |
| Venice Room, 20 | drilled deep beside a line I kept | micro 8, not 9 |
| Furniture panel, 26 | turned it while the mallet hit it | a 9 and mallet |
In workshop 20 of the Venice Room it was not even a 9. I used micro tools there, a number 8 at 3/32 of an inch (about 2.4 mm), because there was a line on the inside I didn't want to lose. I rotated it and made the plug, almost drilling on the inside, and got really deep.
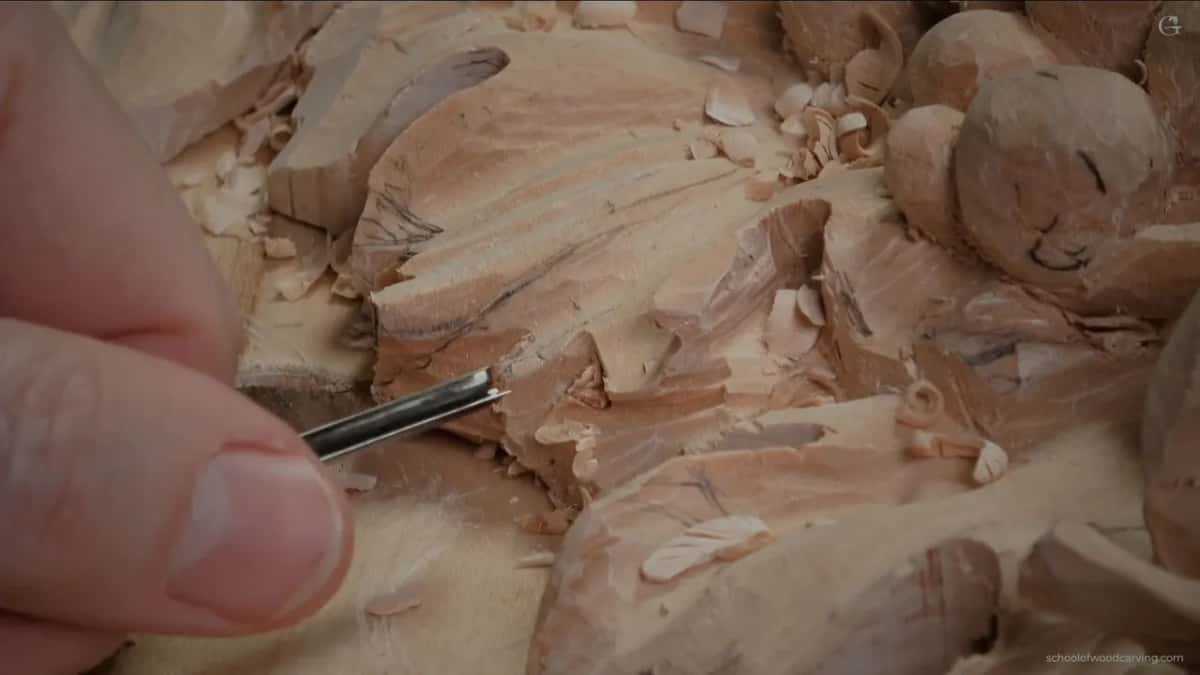
The brand matters less than you might think. During a livestream in April 2020 I put a number 9, an eighth inch (about 3 mm), into a spot and said it doesn't matter what brand.
Why start undercutting a leaf with a plug cut?
For the shadow. My aim under that leaf was to make sure it was casting a lot of shadow, and I wanted a huge, big undercut there. My next passes, in the video after this one, went right into that plug cut. When I pulled the tool out and checked, it was about half an inch (12 or 13 mm) in, which is plenty.
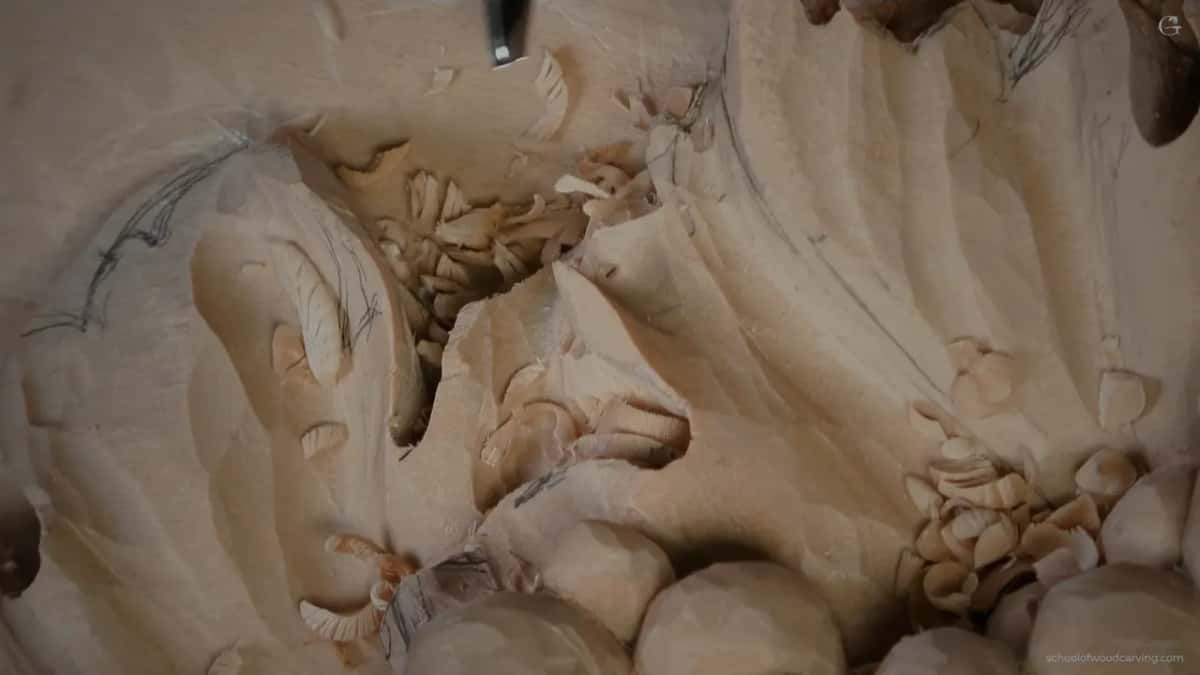
Back in lesson 1 of the same course I used a quarter inch number 9 (about 6 mm) for the same reason. I made a plug cut right inside one spot, just for a really deep shadow. If you watched my Venetian style carving, I said, you saw me use a lot of plug cuts.
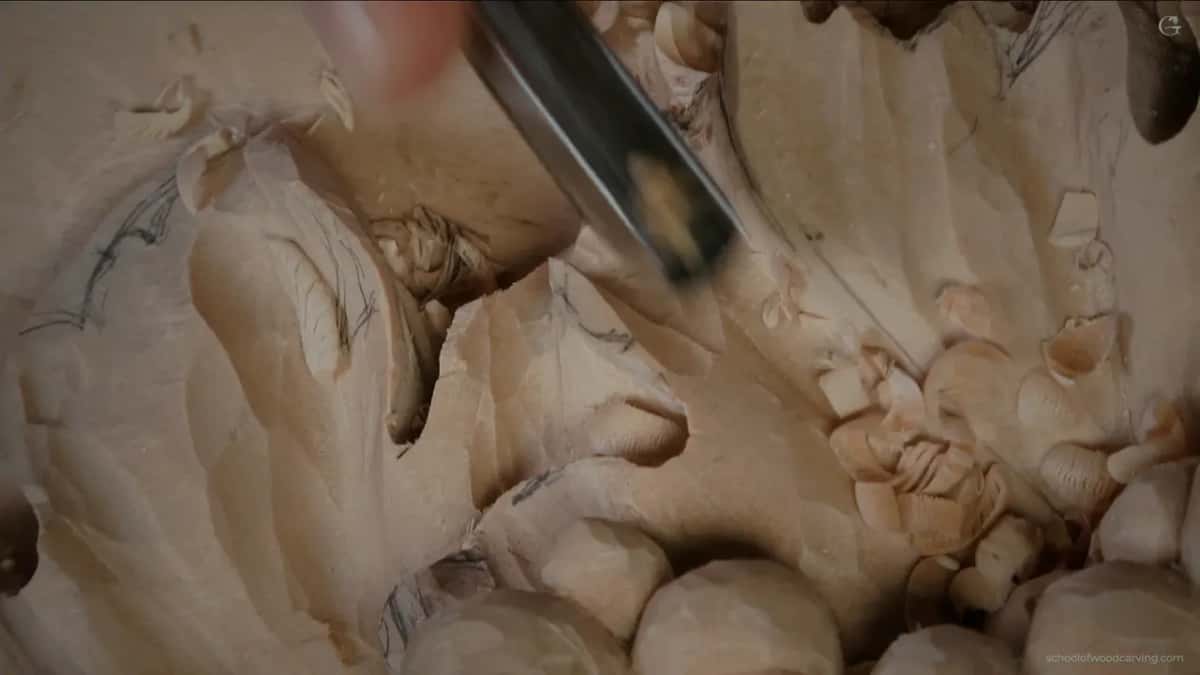
In that April livestream my leaves sat so close to each other that they were almost lost in the picture. No bueno. So I went in with the plug cut for a good shadow, and I said wood carving is all about the lights and the shadow. Machinists use the same word, undercut, for a recess a straight tool can't reach.
Does the gouge stand straight up?
In lesson 6 of this course it did. I took a number 9, 10 mm (about 3/8 in), and gave a short definition. You place your tool really straight down, like 90 degrees to the surface, and start kind of drilling inside, and that is what I call a plug cut. Both sides of that spot got about the same depth.
Rounding grapes is a different job. When I carved the grapes on this relief in lesson 1, I said none of my passes go 90 degrees down, and the course page explains why. In that definition the tool stands up and drills. The furniture panel went the same way, with the tool placed straight down before the turning began.
Can a plug cut go right through the wood?
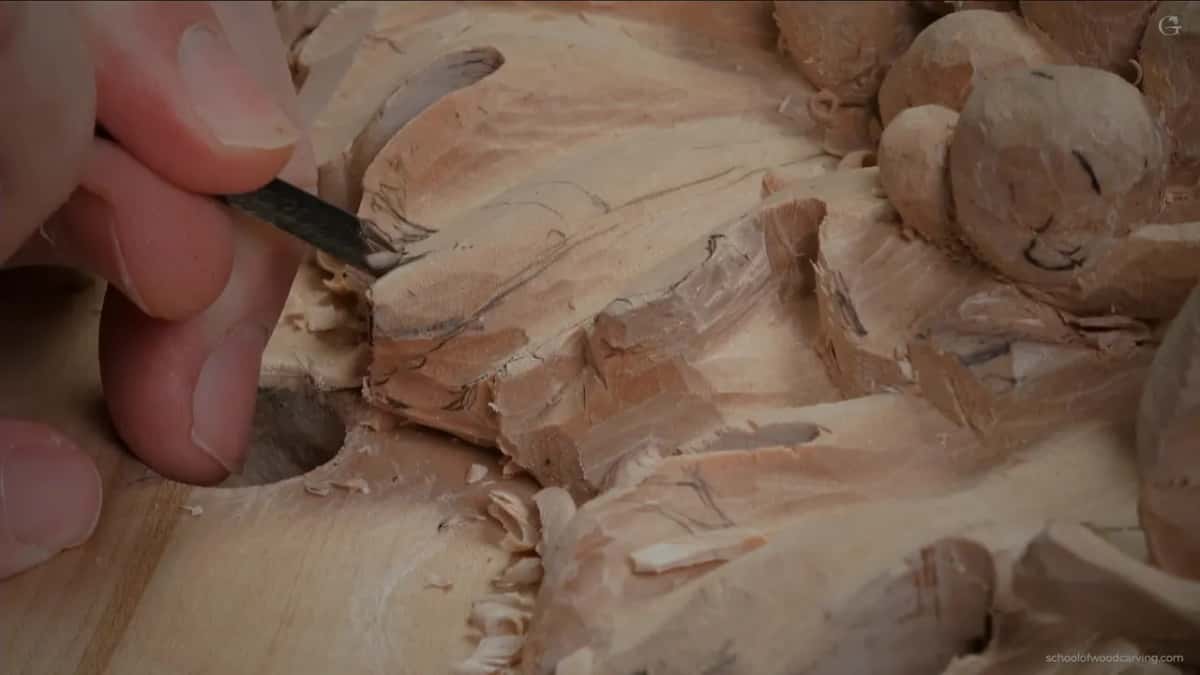
In two lessons of this onlay it did. In lesson 7 I had plenty of material left on the walls, so I took a number 9, 1/8 inch (3 mm), did my drilling like a plug cut, and went through to the hole. After that I made it a little wider.
Lesson 11 was much like it. I left about a half inch (about 13 mm) from the high spot down, so I could excavate through and make that part airborne. I drilled right underneath with the same small number 9, then came from the opposite side with exactly the same idea until I was through. Again I made it a little wider.
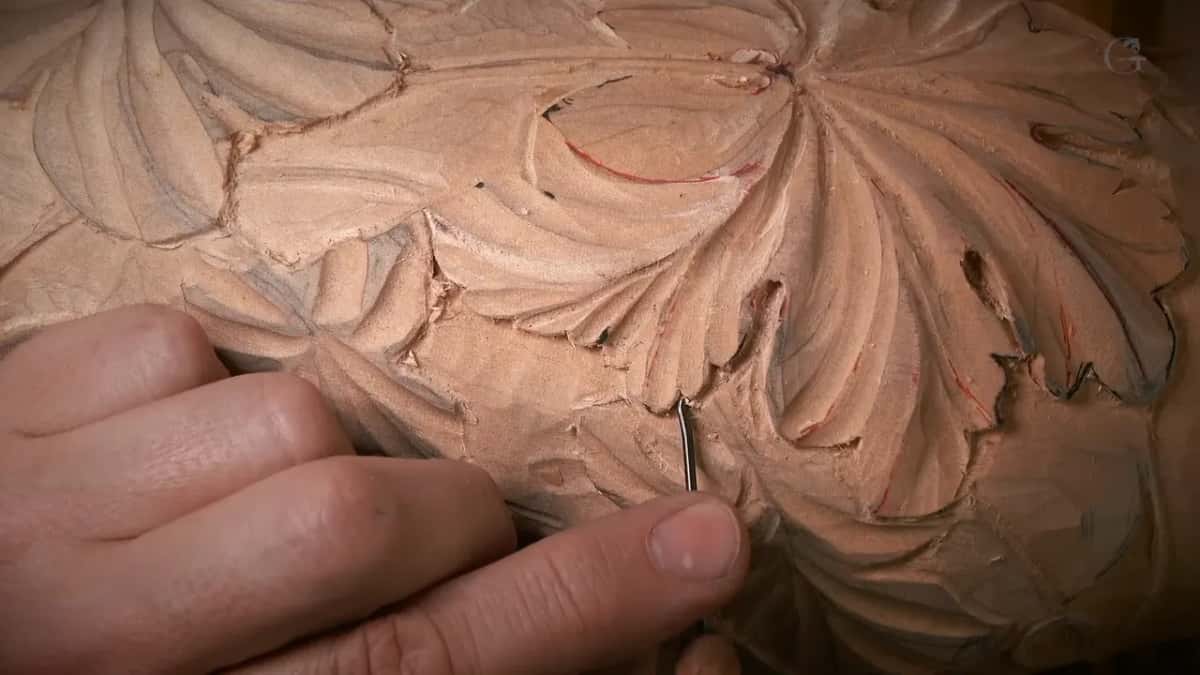
For a small opening you don't even need a scroll saw. My floral and molding panel, lesson 1, had stock only three-quarters of an inch (about 19 mm), and I said you could use a plug cut there. Place your number 9, make the rotation, remove the plug, rotation, remove it, until you are through, then get closer to the edges. I also said you could drill several holes with a hand drill or a screw gun.
When do you stop going deeper?
When the shadow looks right to you. During the April livestream I said I can get as deep as I want to, and it all depends on the shadow I'm after. You make that choice by eye, on your own piece.

Feel helps too. Workshop 20 showed it. I rotated in from one side and then the other until the two met, and how did I know they met? I could feel the end of the pass. On the furniture panel I checked the depth against the section beside it and said I can always go deeper, but I cannot go shallow.
And the hole is not the end of the job. On the rosette I said everything has to be blended to that hole from all the sides.
The wall around the hole sets a limit too. Back in workshop 56, after that deep hole, I undercut a small section and had to be careful not to get too close to the edge, or it would be too fragile. I left about three millimeters there, about one eighth of an inch, and then I could easily take more plugs out and get to the hole with no problem.
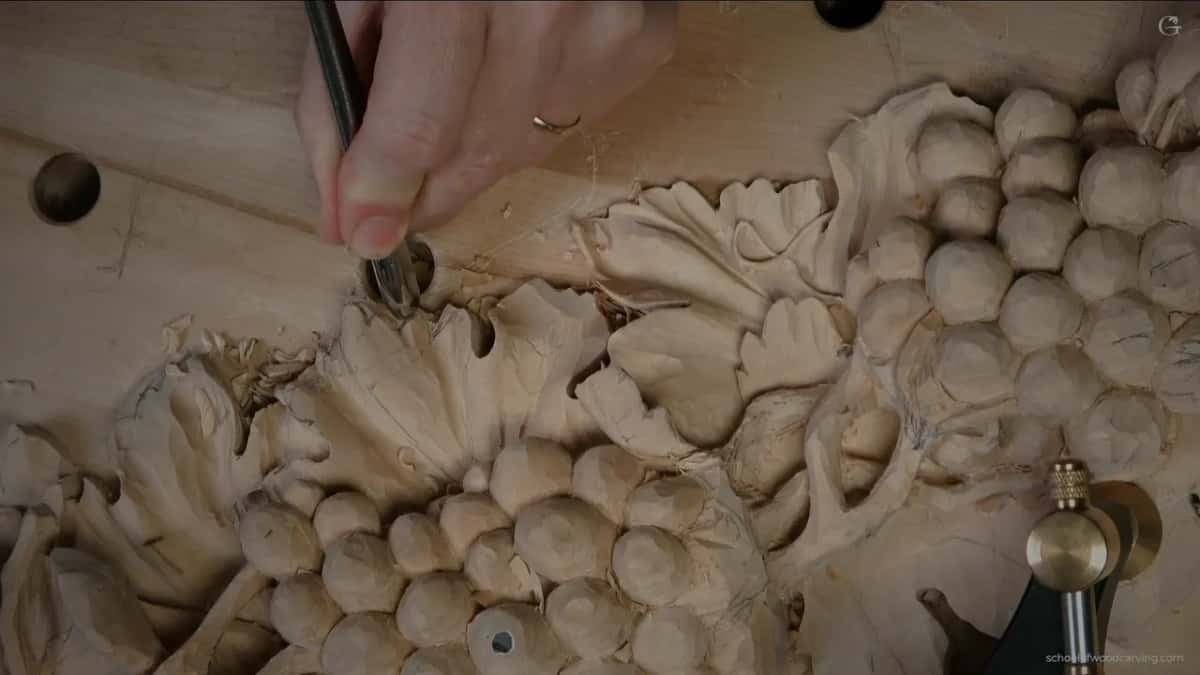
Would you like to try one on a leaf of your own? Can you see a spot on your carving that wants to go darker? All three videos of lesson 8 are in the course, with every turn of that number 9 on camera, and the plans for the whole library are on the Access page.
How it's done
- Pick the gouge. For this leaf my number 9 was 3 mm, an eighth inch.
- Work it in. I set the edge on the spot and turn it as it goes down, somewhat like drilling.
- Keep the turns small. Either direction works. I don't need a full drill turn here, just a small rotation each time.
- Go easy. I keep the pressure light.
- Lift the plug. When the plug comes loose it pops out of the hole. Mine fell somewhere.
- Run the undercut in. My next passes went right into the plug, 12 or 13 mm (about 1/2 in) deep.
Frequently asked questions
Which way do you turn the gouge in a plug cut?
Either way works for me. I told the camera during the onlay that the side doesn't matter, as long as you rotate little by little and don't go all around. What I'm after is getting the plug out, nothing more, and small turns did that under my leaf.
Can I use a mallet for a plug cut?
You can. On a furniture panel I turned a quarter inch (6 mm) number 9 while I hit it with the mallet, and it got me to the right depth much quicker. Even then I warned against using too much force, which I called a big mistake.
Why is a number 9 the gouge for plug cuts?
My answer in the Venice Room was its shape. Its edge is like a true half round, so a full turn leaves a perfect round. One time, beside a line I wanted to keep, a 3/32 inch (about 2.4 mm) number 8 did that job for me instead.
What to carve next