

Alexander Grabovetskiy, woodcarver, School of Woodcarving · Published 2024
How do you undercut two carved leaves where they overlap?
Quick answer: Undercutting two leaves where one lies over the other is digging out the wood below the top leaf until the pair looks like two separate pieces glued together, though it is one block. On my grape onlay a narrow number 11 went in as deep as possible, after a neighboring leaf was taken back to its own lobe.
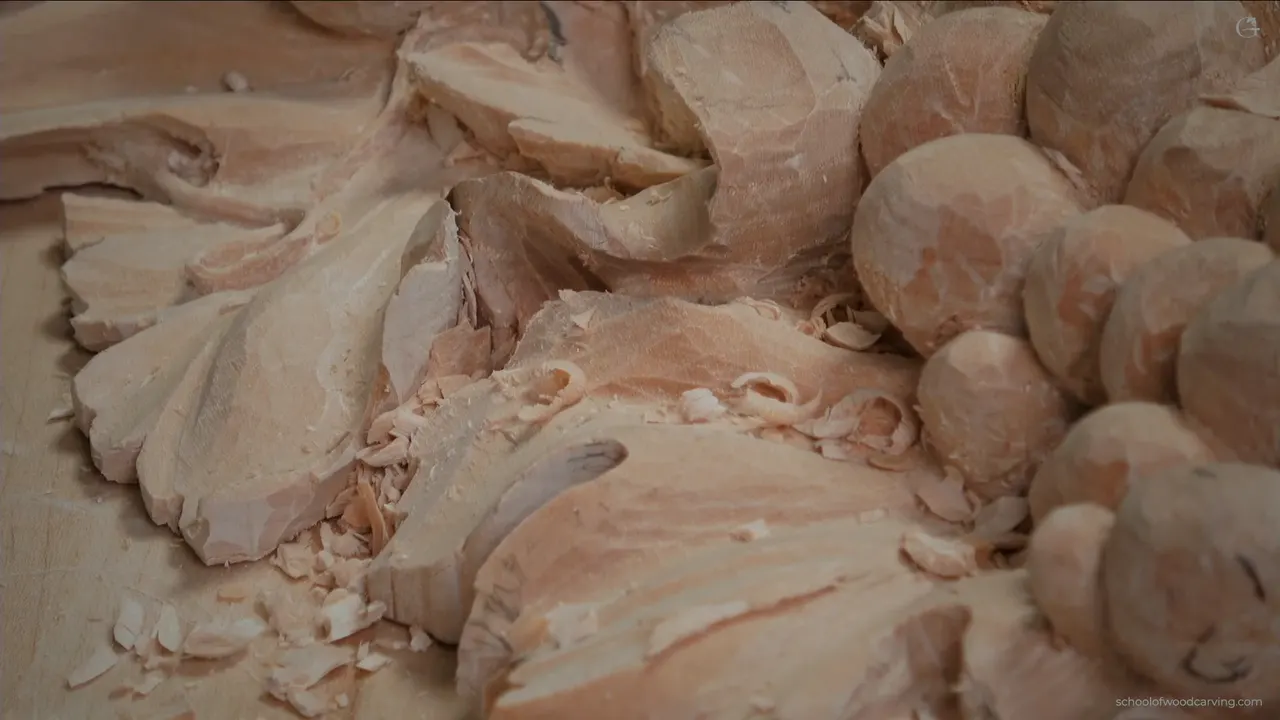
An undercut where two carved leaves overlap is a deep hollow under the top leaf, dug until the pair looks like two parts glued together, though both still come from one solid piece. In the last video of lesson 8 on my grape onlay, I did it with a number 11 of two and a half millimeters (about 3/32 in), and took it as far down as it would go.
When you are carving leaves in wood and one lies over another, you have to undercut there too. That line came late in the video. Earlier on I did a second job where leaves meet, and took wood off a neighboring leaf so it would finish in a lobe of its own.
Have you carved a leaf yet, even a simple one? And have you looked at a grape vine and seen one leaf lie over the next? Then the wood under the top leaf has to go. Below is the order I did it in on the onlay, tool by tool.
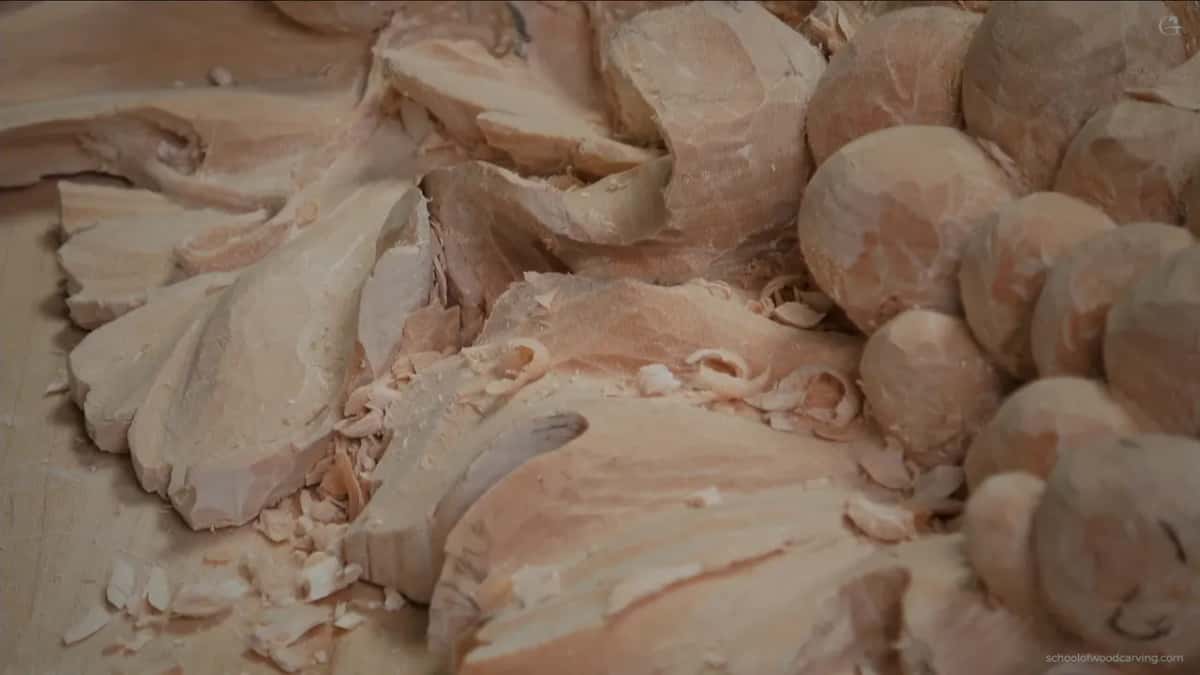
What I did where the leaves meet
- Where one leaf lies over another, the top one gets undercut too.
- A narrow veiner went beneath it, deep.
- I planned finer tools for later.
- The goal is a pair that looks glued together, from one block.
- Before that, a neighboring leaf was taken back until it ended in its own lobe, and I let the cleanup wait for later, from behind.
- Shadow first.
What does it mean when an overlap looks glued together?
The top leaf seems to be a separate piece somebody carved and stuck on, and it isn't. Close to the end of this video I said I can just excavate to the extreme, until it looks like it's glued together. And straight away I caught my own words and called it a solid piece, with no glue in it.
So the goal is the look of a wood glue joint, with no glue. On this onlay that meant a dark line beneath the upper leaf, taken down as far as I could.
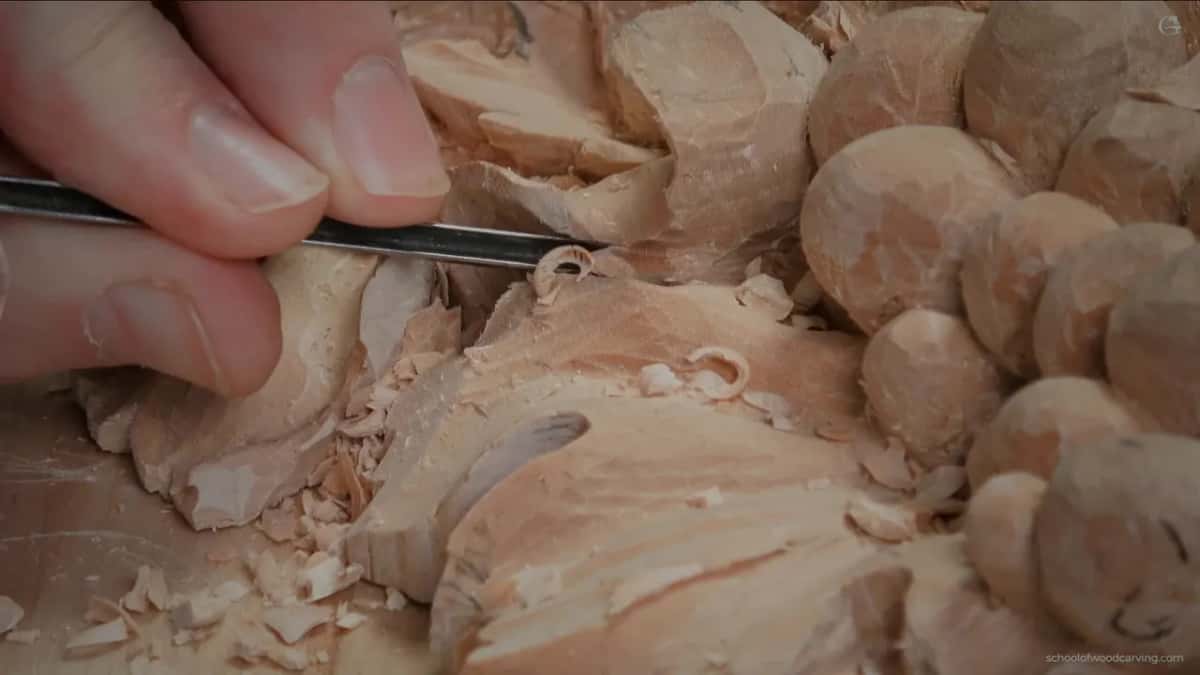
My Hashemi flowers taught the same thing on petals. In lesson 44 of that course I took a veiner of only 1 mm (about 0.04 in) even deeper, carefully. A 2 mm (about 0.08 in) one would have worked. Still, my goal was to take that pass as deep as possible, until it disappears. You would feel like every petal is glued together, and it's not. Look at the grain, I told the camera, and you will see it is solid.
There was a second reason on that flower. It had an outer ring, and that ring goes right in and also disappears, so the two blend together better.
Back in lesson 35 of the same course, I talked about a line for an even more extreme look and said it would look like two separate pieces glued together. But it's actually a solid piece.
This onlay got the same talk in lesson 12, about the people who will look at it. It's more than enough for them to think it's a glued together piece. Then you can tell them no, take a look inside.
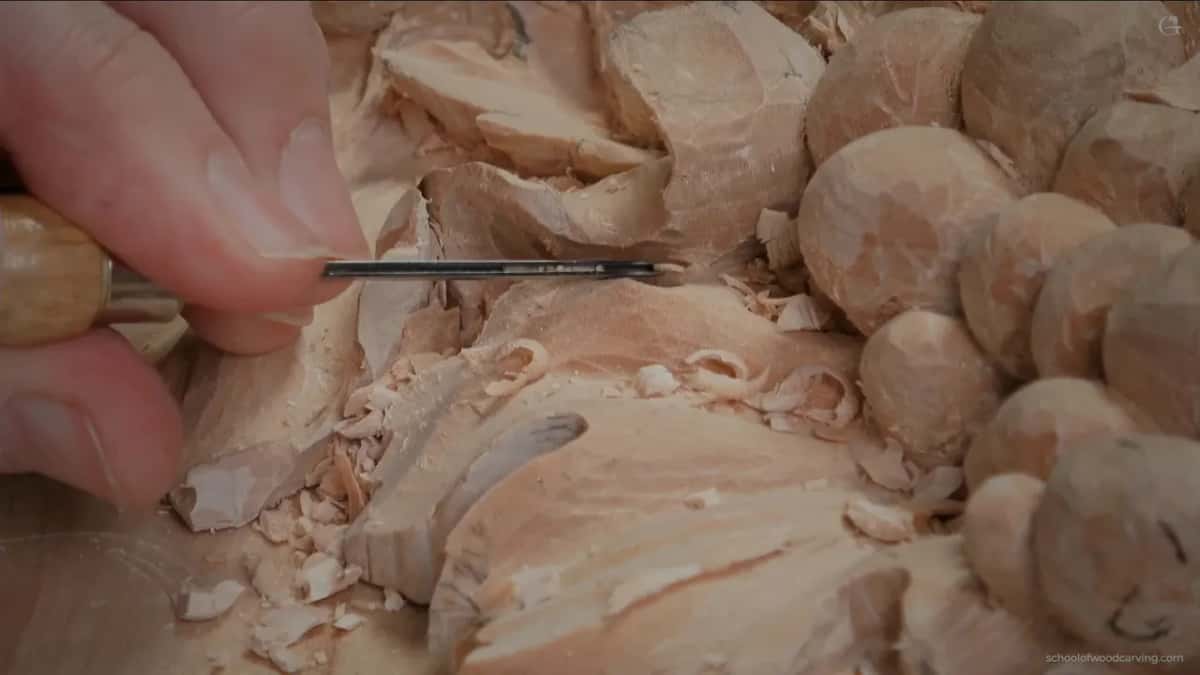
Which leaf should go on top when two leaves overlap?
Either one can. I've said so more than once, and this video doesn't go into that choice, so I'll take you to my Venice Room panel. There, in lesson 66, I asked out loud whether this part would overlap that part, or the other way around. Both of those ways are actually legit. Both.
I thought about it for a moment. The more logical one for me was to set one part a little below the other. That called for a bigger number 11, 12 millimeters, about half an inch, because I wanted the movement to go uphill a little. Maybe even bigger after that, about 20 millimeters, about three quarters of an inch, for more movement.
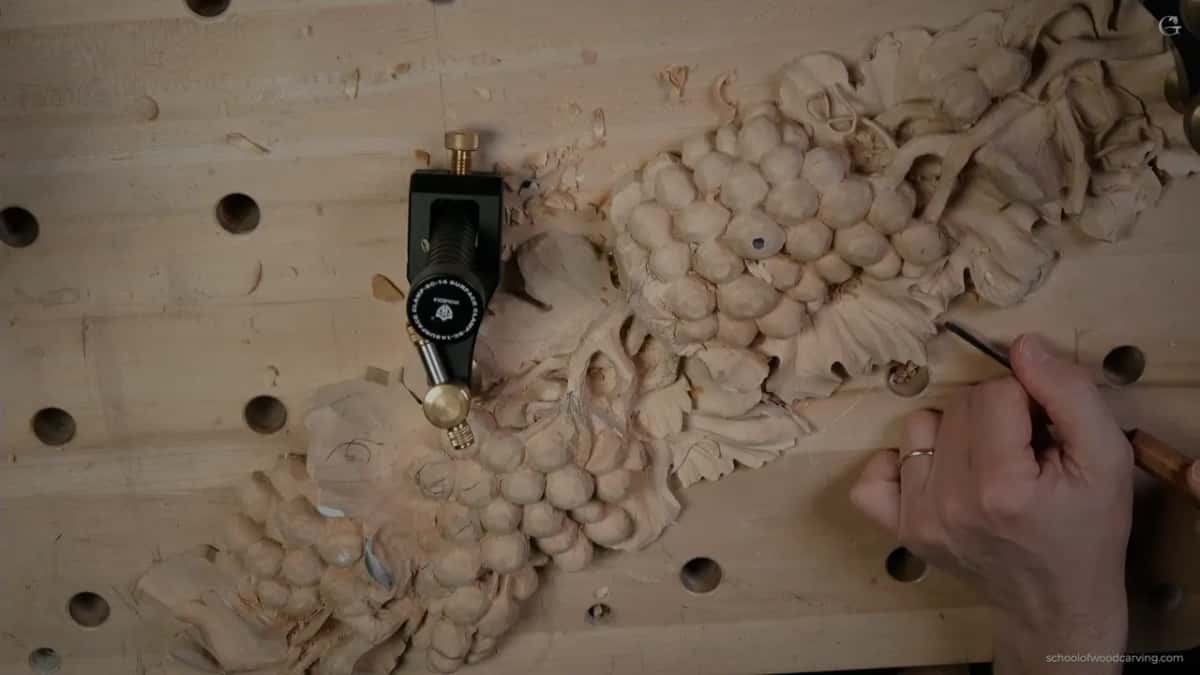
Where it will be seen mattered too. That piece will be visible from the bottom, I said, so when it rises up it's going to be really noticeable.
The same question came back in lesson 71. Should this one overlap that one, or that one this one? Both ways are going to look good, but logically one part should overlap the other. I took an 11 of 5 millimeters (about 3/16 in) and went in that direction.
And in lesson 69 the view from below made the call. Since it would be seen from the bottom, I overlapped the main body with the other part, and added that I could get an extra division on the inside that way.

Why does a neighboring leaf need a lobe of its own?
That neighbor was not supposed to go all the way, and it was also supposed to end in a lobe. So right after I got a really beautiful shadow, I took more wood off that neighbor.
I grabbed a number 11, two and a half millimeters (0.1 in), and set the overall shape of the third lobe you can see on it. No need to force it. Little by little I'll be able to clean that spot from the back later. That's why I didn't worry how clean it looked, and it doesn't have to look clean yet.

My furniture panel had the same mood. On its main flower bouquet, in lesson 25, I didn't worry if it looked somewhat rough yet, because it doesn't really matter at that point. All I worried about was the movement, the curliness.
Earlier, attacking from one side, I held back, because I didn't have too much material left for what came next. But still deeper, since the deeper I go, the nicer it looks.
After that it was just about cleaning, refining and getting better separations. Every leaf is supposed to have multiple notches and separations, and the narrow 11 could add a few and exaggerate some that were there. Why not?
Another leaf was asking me for a separation a bit later, and I couldn't resist. I drew my pencil marks for the main one and chopped it right away. Otherwise it just bugs me. I chopped some extra stuff, and it already looked good. You don't want too many per leaf, though.

How far under one leaf did I go in this video?
About half an inch, which is 12 or 13 millimeters, and I called that plenty. The video opens on a deep pocket beneath a leaf. My next passes were going all the way to the plug cut from the video before, and a little wiggle helped me slightly. Out came the tool so I could check how far I went.
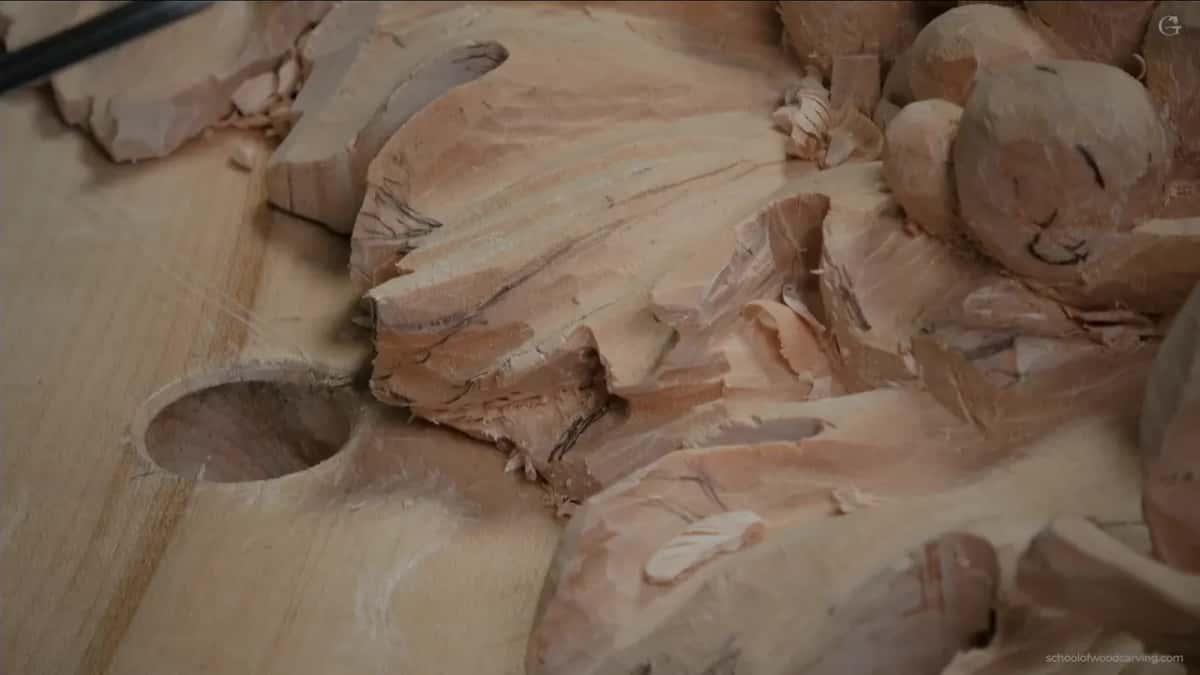
Then I did another excavation right there, the same way, and took off some of the excess material.
For the big shadow I wanted a flatter tool, something like a number 6 or a number 7, used upside down. What I had was a number 5 at 6 millimeters (about 1/4 in), so its flute went upside down and I exaggerated the undercut. Don't worry about how it looks yet, I told you. In this stage you are after the huge, big shadow.
A bit of cleaning happened anyway, since I didn't like how messy it looked.
When does the wall under a leaf come out?
Once the movements are set and every decision about the look is made. Below one of the leaves stood a big wall, the full inch or so (about 25 mm). The shape around it was already somewhat set. That material had no job left. It didn't cast any shadow, and right then I wanted to see a lot more shadow.
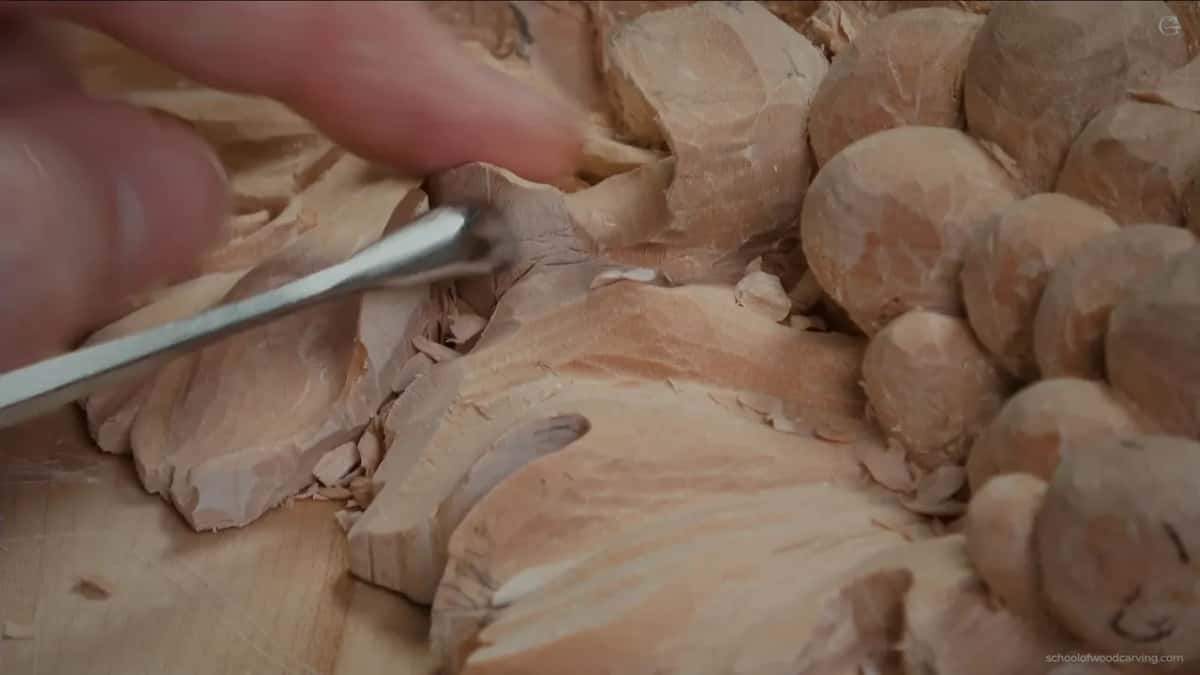
To get it, I had to start excavating, like undercutting. I would not do excavation before you set all the movements and make all the decisions about how it's supposed to look.
The tool doesn't matter much. It's just a gouge. Mine there was a number 7 that looks more like a number 8 by its profile.
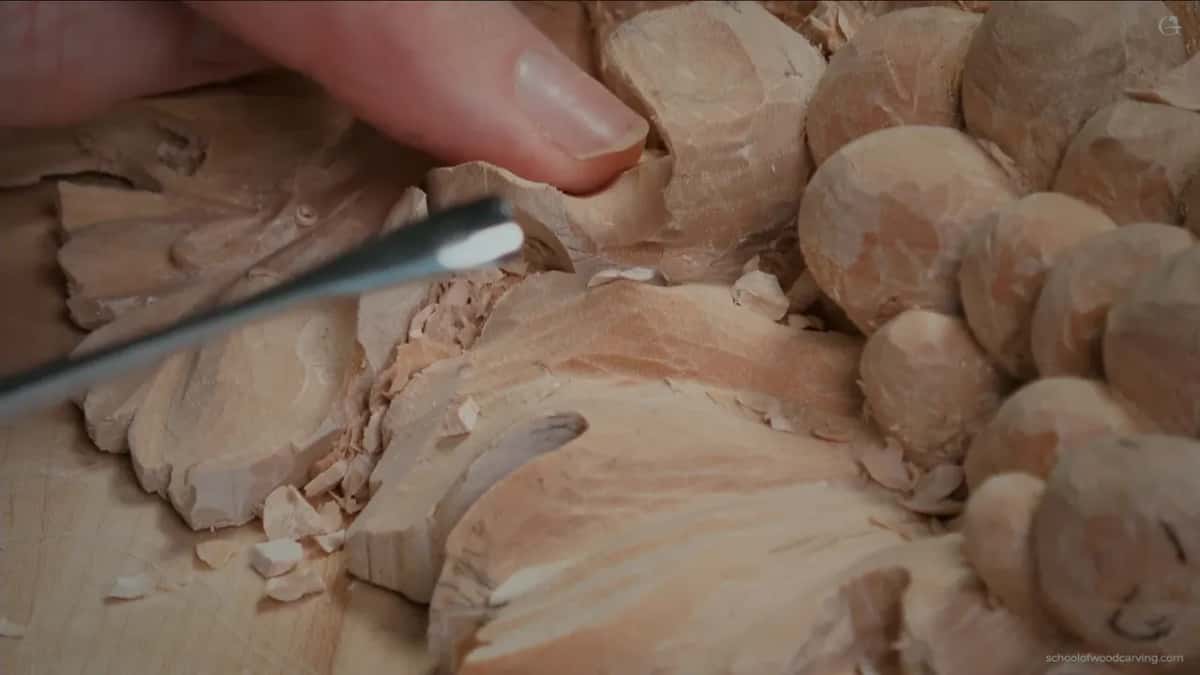
I left the lip at approximately two millimeters, a little thicker than 1/16 of an inch, so that edge stays raised, and everything below it that I didn't need came out.
Tools from this video, in order
| Tool | Work | When |
|---|---|---|
| Flat 5, 6 mm (0.24 in) | went in upside down to exaggerate the undercut for shadow | Second minute in |
| Narrow eleven, 2.5 mm (0.1 in) | took wood off the neighbor and set its third lobe | Third minute in |
| Gouge 7, more like an 8 | started on the wall that cast no shadow at all | Eighth minute, wall |
| Smaller 7, 1/8 in (3.2 mm) | carried on there once my big tool got too big | Ninth minute, wall |
| The same narrow eleven as before | went beneath the upper leaf at the place they cross | Eleventh minute in |
| Finer tools, 1 mm (0.04 inch) | were still a plan, for digging to the extreme later | Right after that |
The finer tools in the last row were a plan. Probably a little later, I said, so the video ends before they go in.
How did I dig under the overlapping leaf?
With the narrow veiner again, deep. Wherever you have two leaves overlapping, like in this case, you have to also undercut. So I made my undercut with that small tool and went in until it would go no farther.
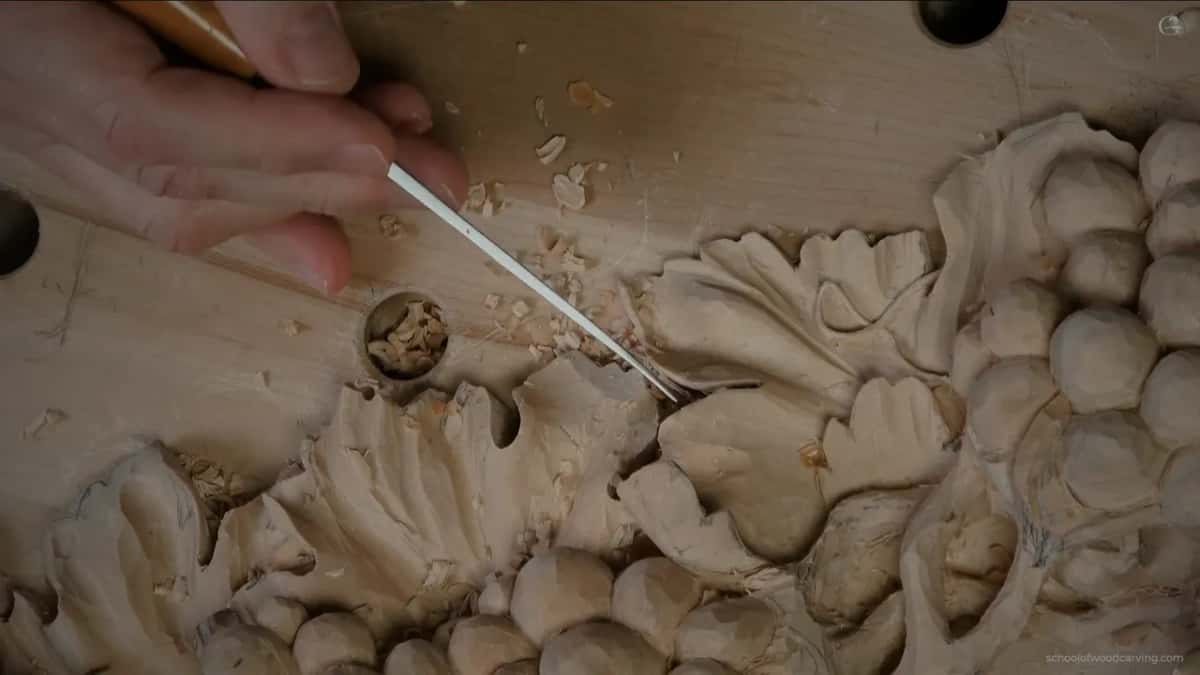
Next would come a much smaller one, maybe one millimeter (a bit over 1/32 in), or even half a millimeter (about 0.02 in), and then I can just excavate to the extreme.
Under the big wall a little earlier, my big tool had become a little too big. So I switched to another 7, only 1/8 of an inch (about 3 mm). A number 11 would do too, whatever tool fits, and a 7, an 8 or a 9 will all work. They are all gouges except the 11, which is a veiner.
You can break the tool in an undercut. That is possible. But you will always be able to reach that spot from behind, and if you can get it from the other side, it's probably much safer.
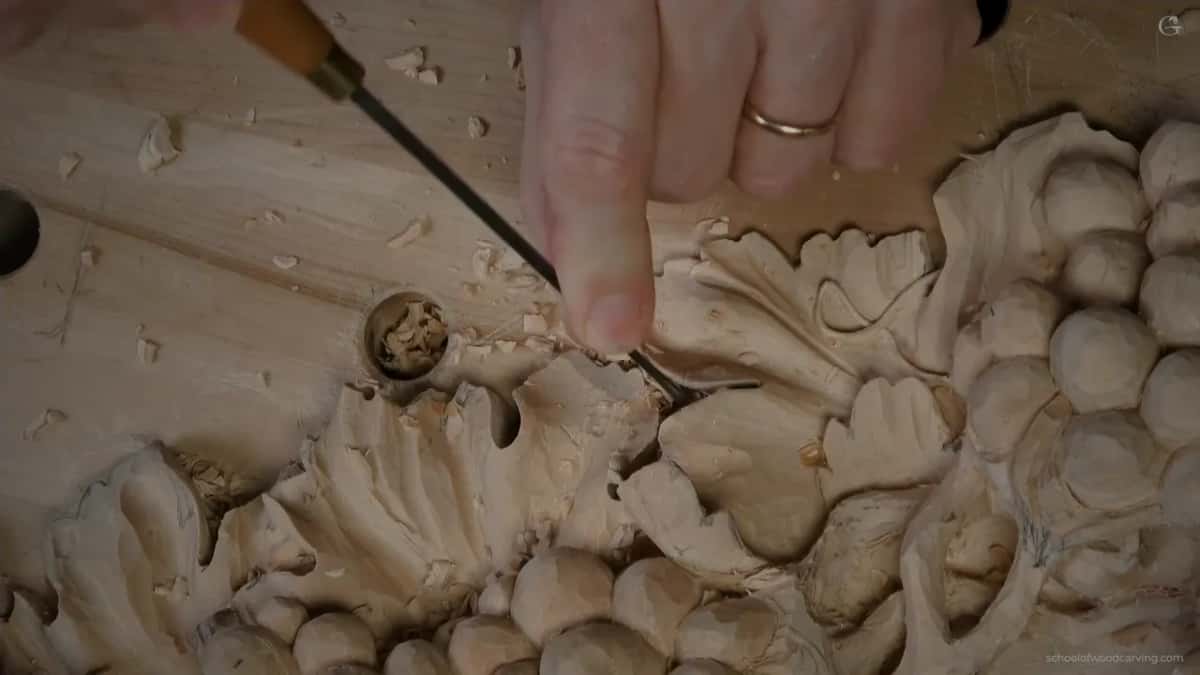
Even in the undercut I keep slicing. It's a kind of rotation. You can't spot it without watching the handle, but I do that.
Why look at the leaves from the side?
I exaggerated one small spot on this leaf and was kind of happy with it. Looking straight at it, you don't really see it, but from the side you can see that motion.
Your eyes read depth partly from light and shade. The hollow below a top leaf shows up as shadow. Near the end I said I could already see how deep a shadow it casts, and that is what I'm after.
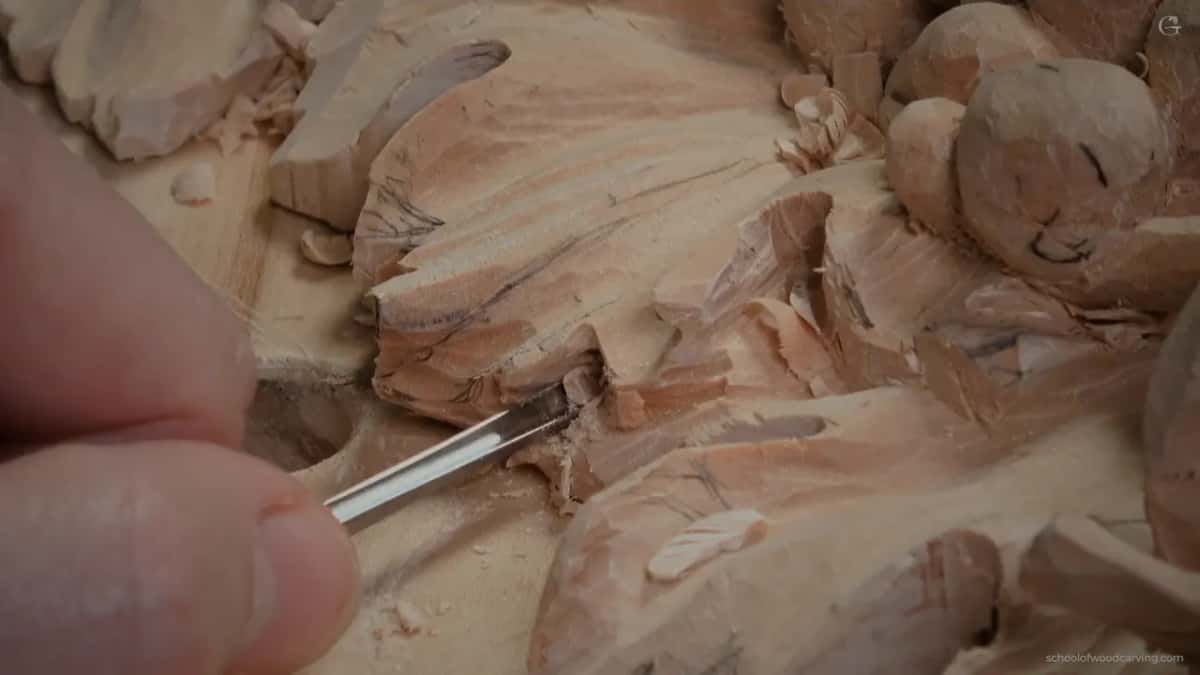
An overlap need not be finished in one go, either. Back on that furniture panel I made a flipping motion in lesson 20, an overlapping motion. It's going to feel like it overlaps, but not too much yet, because I still needed to attack the other side.
Is carving leaves in wood with an overlap the same on every panel?
The idea stays. Depth and tools change. Over on the Venice Room, in that lesson 69, I wasn't going to go too deep, maybe 3 millimeters or so (about 1/8 in). Here on the onlay I wanted it deep, to the extreme.
Overlaps show up while I'm still drawing, too. While designing it, in lesson 14, I set acanthus movements over the volutes and called that a really common technique. It should look like the acanthus overlaps from the back side, I said.
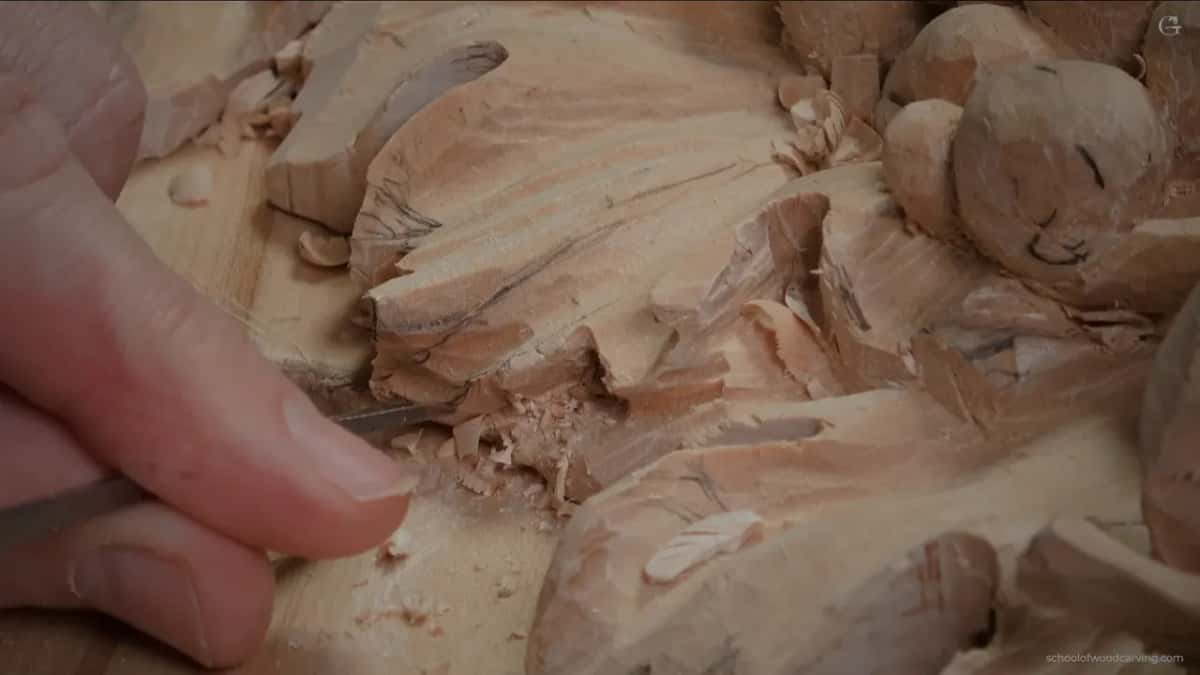
Later, on the main flower bouquet, in lesson 25, I wanted one petal to go underneath another. I talked about a number 11 of half a millimeter (0.02 inch) for it, then picked up an antique number 16, about 35 degrees. If you don't have it, any tool will work. I just like the idea that somebody used that tool before me. It has history attached.
There I didn't want a straight down pass. I wanted an overlapping effect, the left petal over the right one, so the middle of the tool pointed to about one o'clock.
Your own overlaps
Then I said I could go around and remove some of the stuff I didn't need, and I asked you for a picture of what you come up with. Be crazy about it, create something, and express yourself.
That is how the board looked as of that day, and next time I may start on the grapes. Not their shape. I mean movements, some kind of small stamps. It's your call, and you can leave them like so, but I think it'll look better.
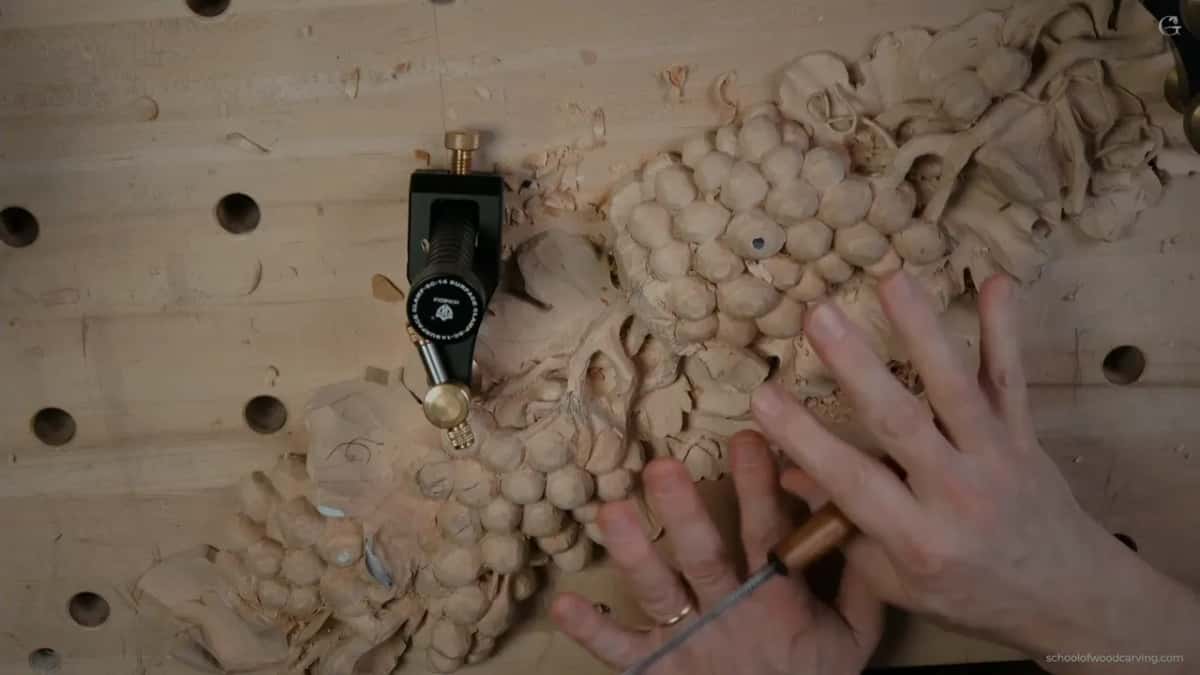
Do you want to see the wall come out and the shadow go in under a real leaf? All three videos of lesson 8 are in the course. This is relief wood carving you can follow at your own bench, and the plans are on the Access page.
How it's done
- Pick the top leaf. Both ways can look right. I choose the one that makes more sense, and when a piece is seen from below, that view decides.
- Give the neighbor its lobe. A small veiner takes wood off the next leaf until it stops in a lobe. I don't force it.
- Open the shadow. A flat gouge upside down goes in for the big shadow. I had a number 5 at 6 mm (about 1/4 in). Looks can wait.
- Take the wall out. With every decision about the shape made, the wall under the leaf comes out, and I keep a lip of about 2 mm, a little over 1/16 in.
- Dig the overlap. The narrow 11 goes beneath the leaf on top, deep. A finer tool can follow later.
- Clean from behind. Where the back lets the tool in, I clean from there. It is probably safer for the gouge.
Frequently asked questions
Do overlapping carved leaves need an undercut?
Wherever two leaves overlap, I said on the grape onlay, you have to undercut there as well. A narrow number 11 went in below the top one, far down. Later I planned a smaller tool, around 1 mm (a bit over 1/32 in), maybe half that.
What does it mean when a carved overlap looks glued?
I mean the top leaf reads like a separate piece someone stuck on with glue. It isn't. Both leaves come from one block, and anyone who studies the grain can tell. Getting there takes an undercut dug deep, and on my Hashemi flowers a 1 mm veiner went deeper, aiming for the line to vanish.
Which carved leaf should sit on top?
Both can work. Twice on my Venice Room panel I said either way was fine, then went with whichever looked more logical to me. Once the view from underneath made the call, since that part would be seen from below.
What to carve next