
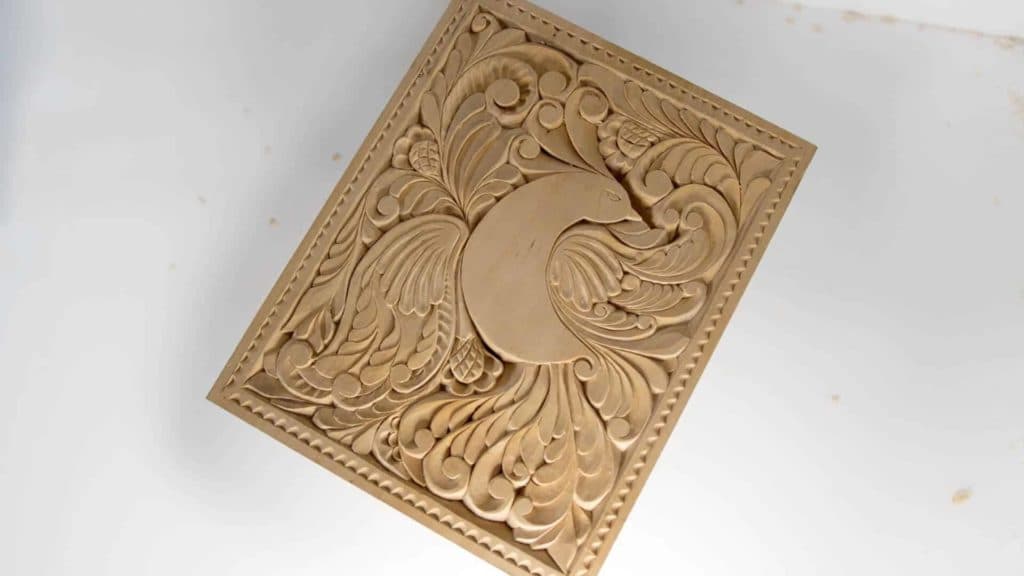
Alexander Grabovetskiy, woodcarver, School of Woodcarving · Published 2018
How do you make a wood stain that is safe for food?
Quick answer: A stain safe enough for a cutting board is boiled kitchen waste and nothing else. Onion husks give brown with red under it, walnut shell gives the colour of the timber itself, and each wants water, a spoon of soda, and about four hours of simmering.
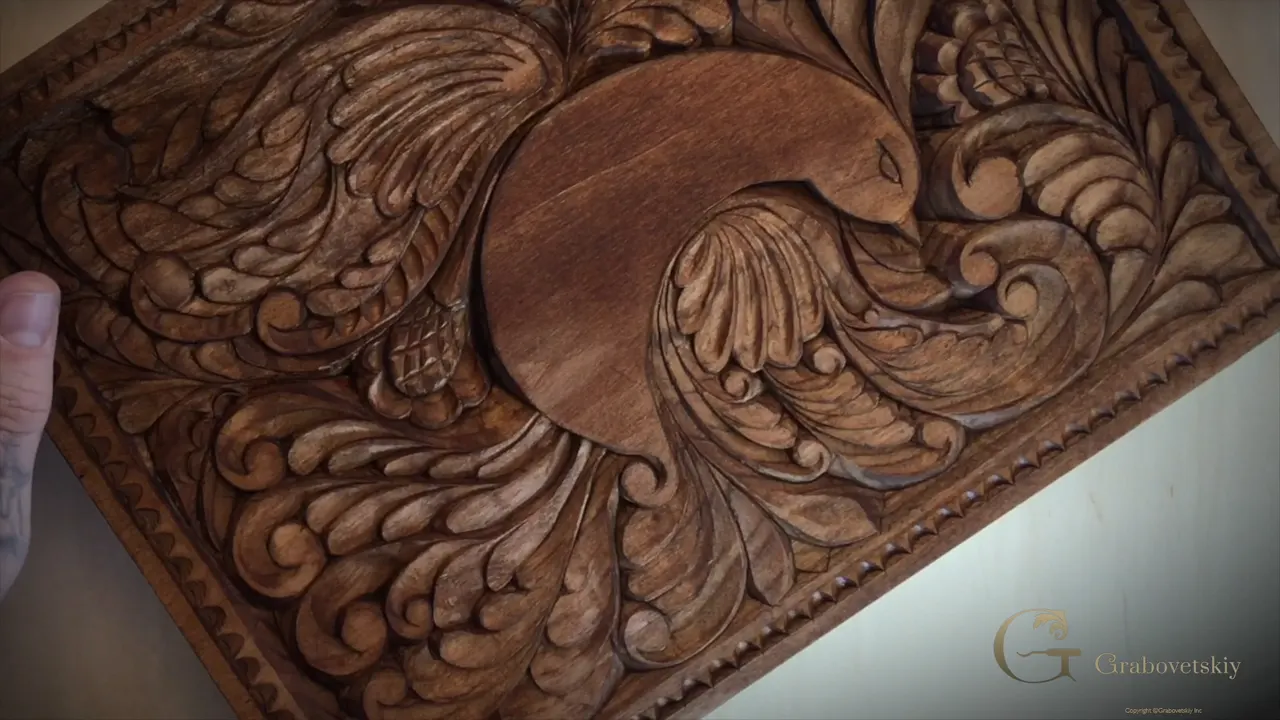
Kitchen waste, boiled for an afternoon, gives you a wood stain nobody has to keep away from food. Onion skins give a reddish brown. Shells off a walnut give the colour of the timber itself. Each one wants water, roughly a teaspoon of baking soda, and a few hours of simmering. No chemicals go near the board at any stage.
Have you ever wanted to colour a carving and stopped because the tin said keep away from food? Do you know what people used before those tins existed? Workshop 17 puts the knife away and lights the stove.

I learned this the way you learn most things that stay with you, which is by having no alternative. In a Russian prison I was making furniture with a knife I had made myself, and there were no veneers to be had for marquetry. So I took plain birch plywood, boiled pine bark into a stain with a little baking soda, drew a picture on the wood and separated the shapes with a gouge about a millimeter wide. People believed it was real marquetry, and none of them ever asked what the wood had been before I started on it. My teacher told me that method was fifteenth century, and I have no way to check him, but I believe it.
What this session actually makes
- Two stains, both cooked in a pan from onion husk and from walnut shell.
- Soda goes in with the water. One teaspoon.
- Boiling runs to four hours before it thickens enough to brush.
- It behaves like a dye. Stop mid surface and you have left a line.
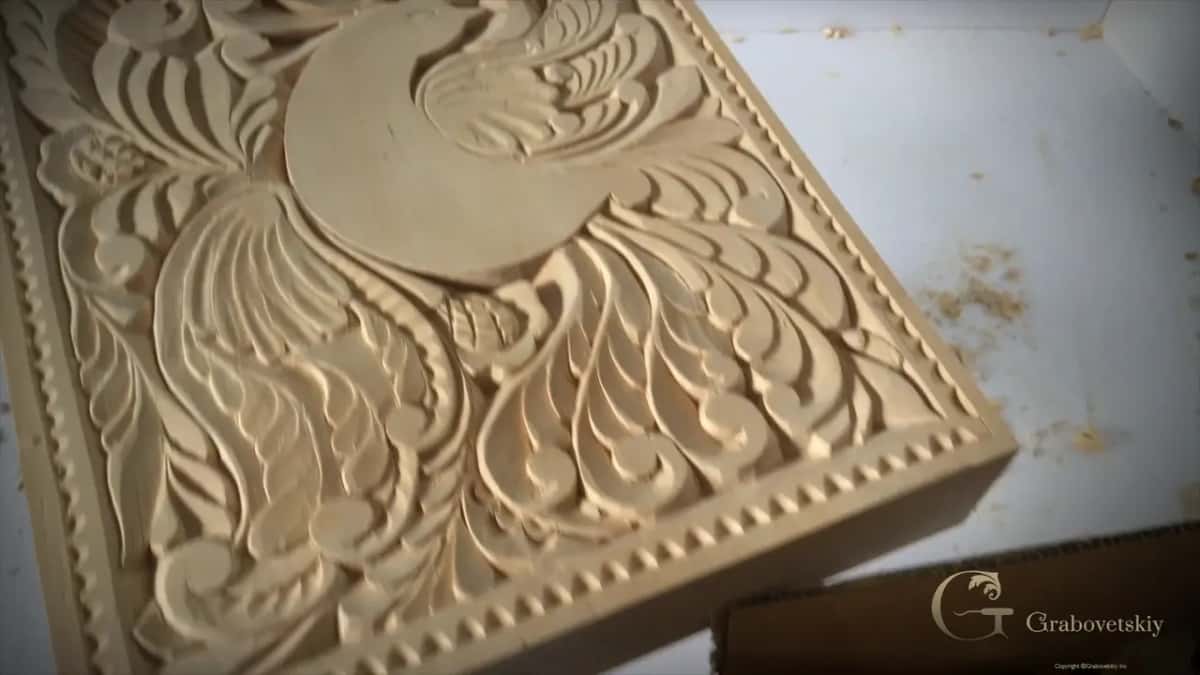
- Because nothing was sanded, water on this carving raises almost no grain.
- Oil comes later. Today is colour, and colour alone.
What do you boil to get colour?
Boil your kitchen waste. My wife saves the papery skins whenever she cooks with onions, and those go in a pan with water and a spoonful of soda. Ten minutes in, the liquid turns a yellowish brown. Keep it going and red starts to arrive.
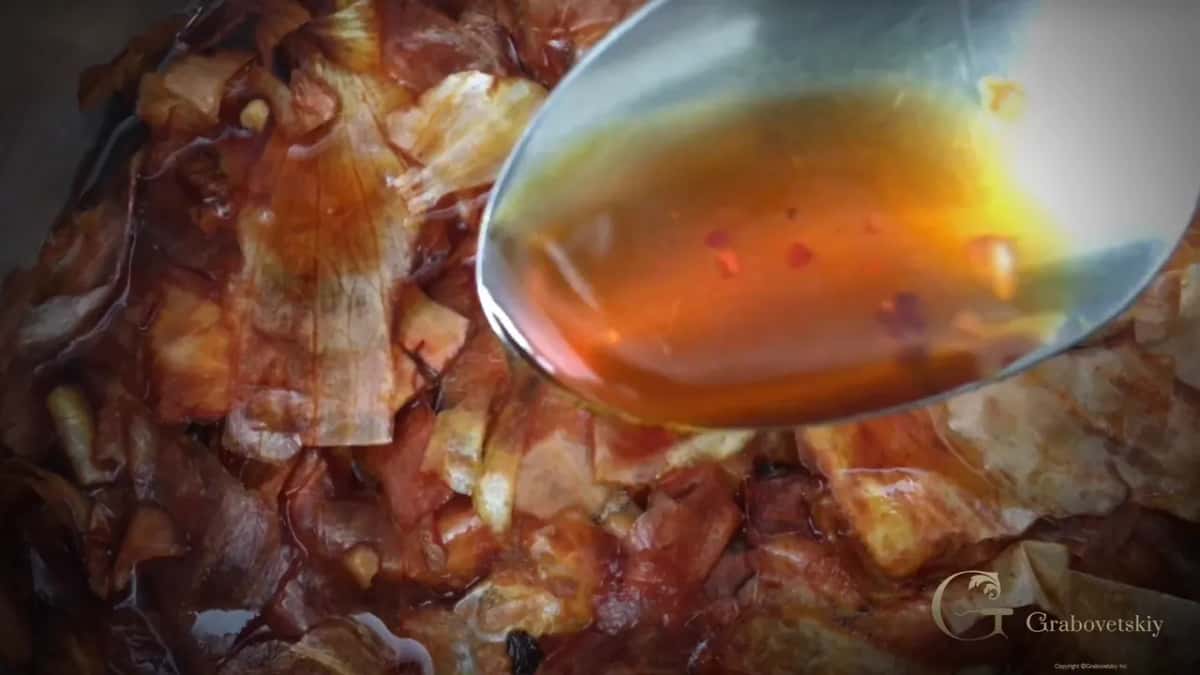
Keep the pan going for four hours and you get a stain dark enough to surprise you. The second recipe is the one going onto this board, and it is simply walnut shell, not much of it, treated exactly the same way. Water, a little soda, four hours, and what you pour off is thick and very dark.
| Into the pan | What comes out | Where that colour belongs on a board |
|---|---|---|
| Onion husk, saved from cooking | brown with red underneath, and more red the longer you boil | cherry tones |
| Walnut shell | true black walnut, after four hours | anything that needs to read as walnut, which is what this board needed |
| Pine bark, if that is what grows near you | reddish | the same jobs as the onion, and it costs nothing at all |
| Both together | yours to find out, since nobody has written the rules down | contrast between a hollow and the surface beside it |
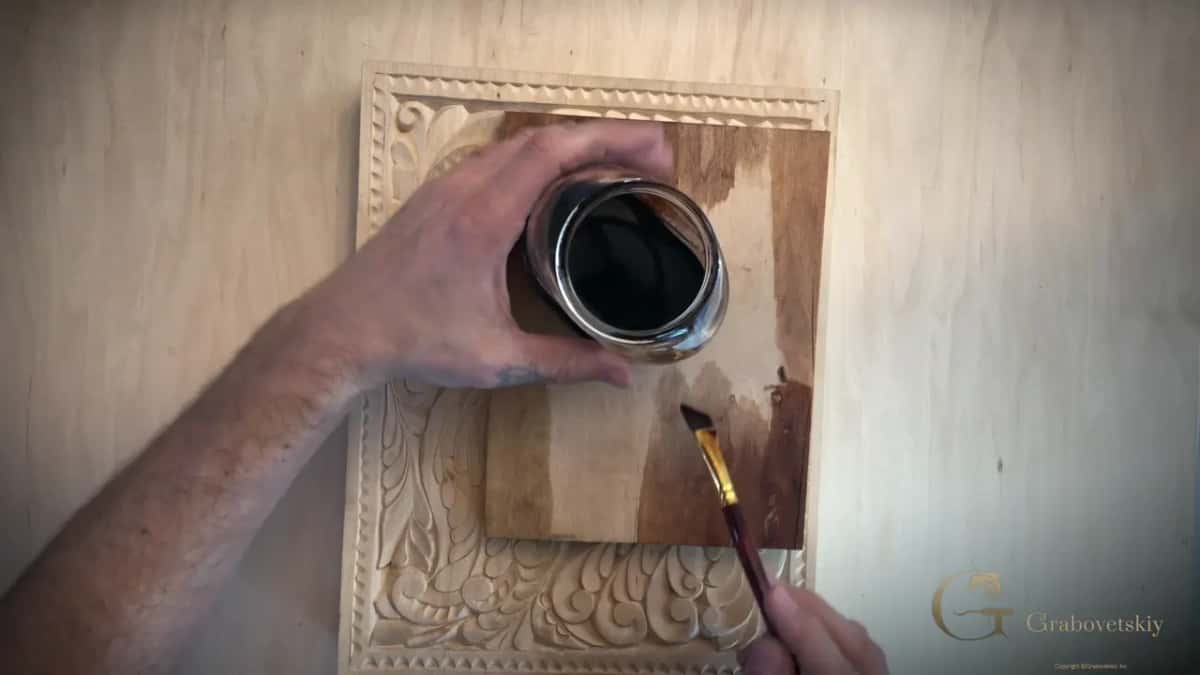
Test it on an offcut of the same timber before the carving sees any of it. Wet stain always looks redder than it will dry, so judging from the pan tells you nothing useful. This board looked distinctly red going on and dried the colour of stained black walnut.
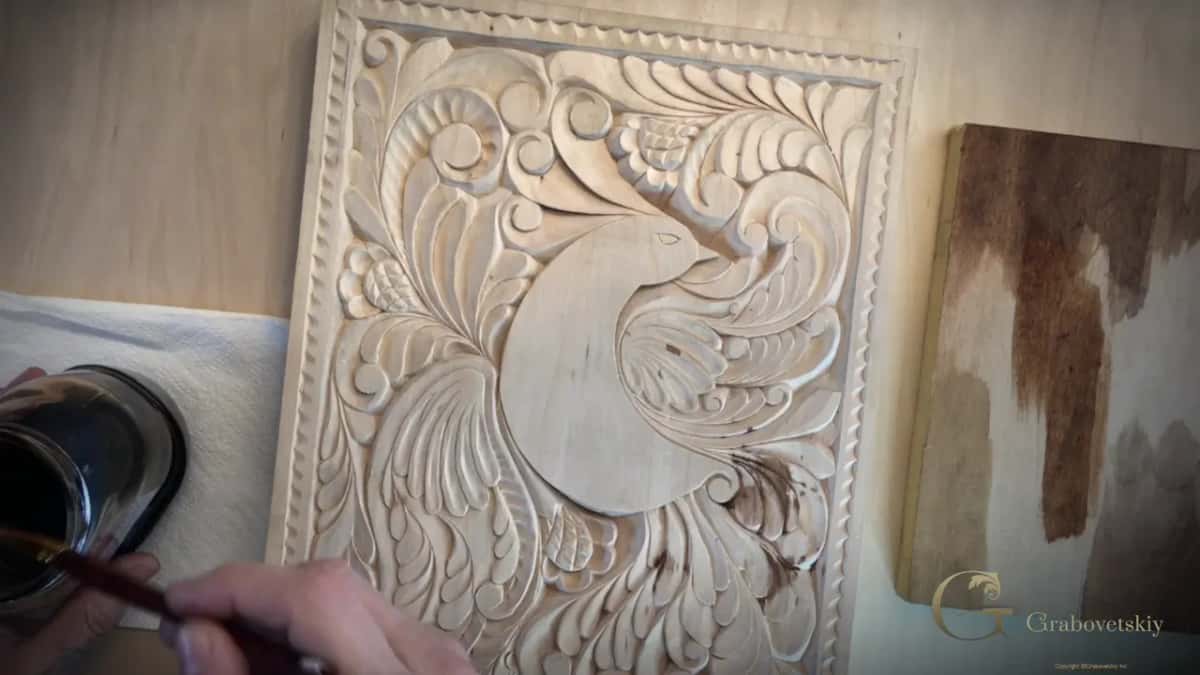
Did old carvers colour their work?
For thousands of years, and without a chemical between them. Woodworkers in ancient Egypt used colour on wood. Babylon and Assyria did too, all of it from whatever grew or could be dug up nearby, which puts the practice at four thousand years old at the very least. None of those people were guessing, either. A colour that lasted meant a plant somebody had tested for a generation or two.
Closer to home there is Riemenschneider in Germany, working in the Middle Ages. He carved lime wood, the same timber under my knife today, and his surviving work carries a brown colour that certainly looks applied rather than natural. He had no chemicals. His colour is beautiful anyway.

A furniture maker whose name I can never quite hold onto used boiled walnut shells for exactly this, on his own work, as his favourite method. My teacher put the technique in the fifteenth century, and the tools course covers the small gouges that make separation lines of that kind possible. Somewhere in that span, everybody who wanted colour on wood was standing over a pot.
What is the right way to brush it on?
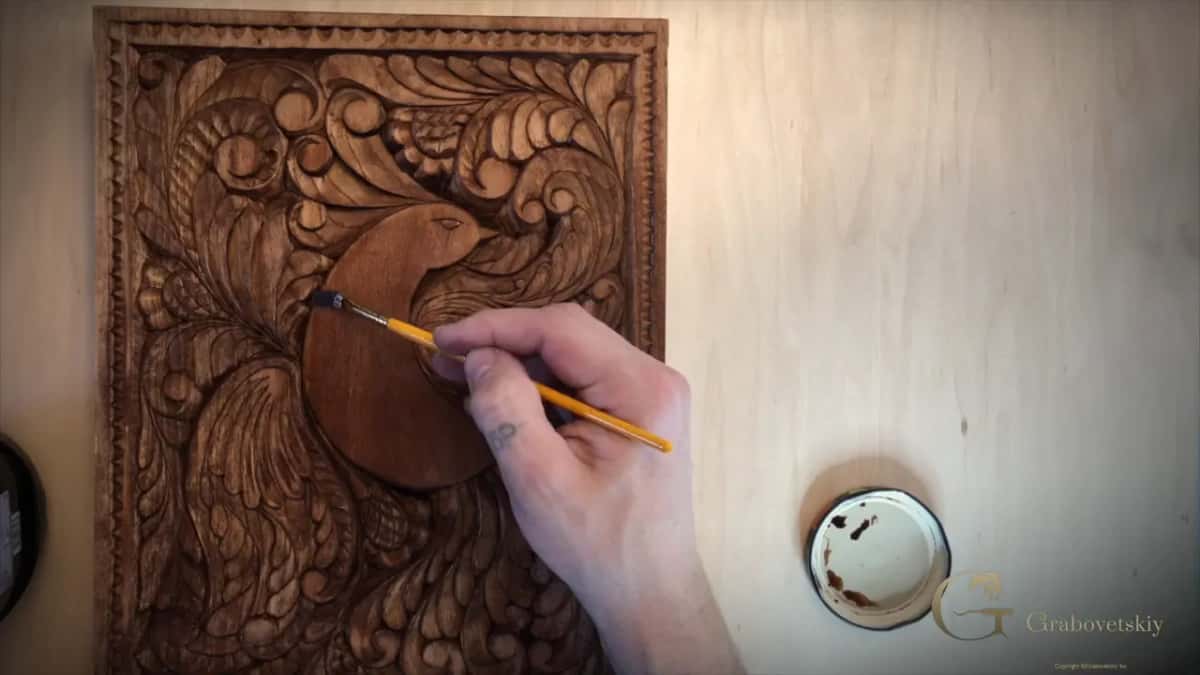
Cavities first, and quickly. Start down in the carved hollows with a brush small enough to reach them, then move to the flat ground, and never stop halfway across an open area.
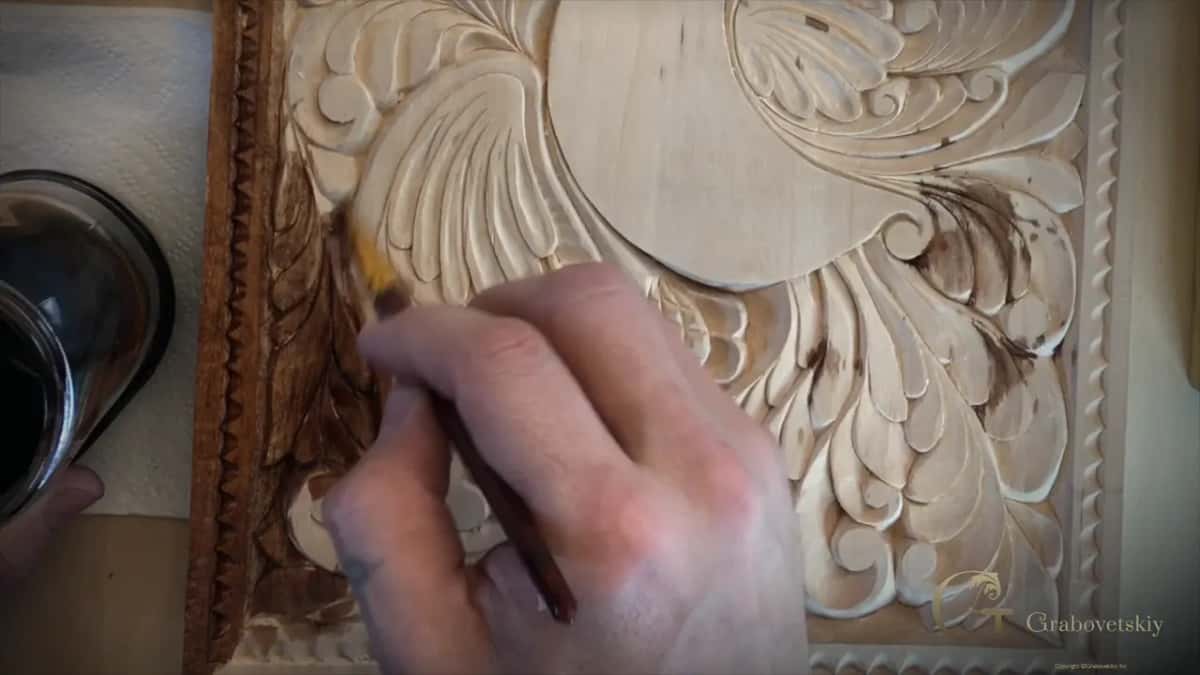
This behaves like a dye rather than a paint. Pause in the middle of the bird and the edge of what you have applied dries into a line you will fight for the rest of the afternoon. I left one on this board and had to blend it away with more stain on top.
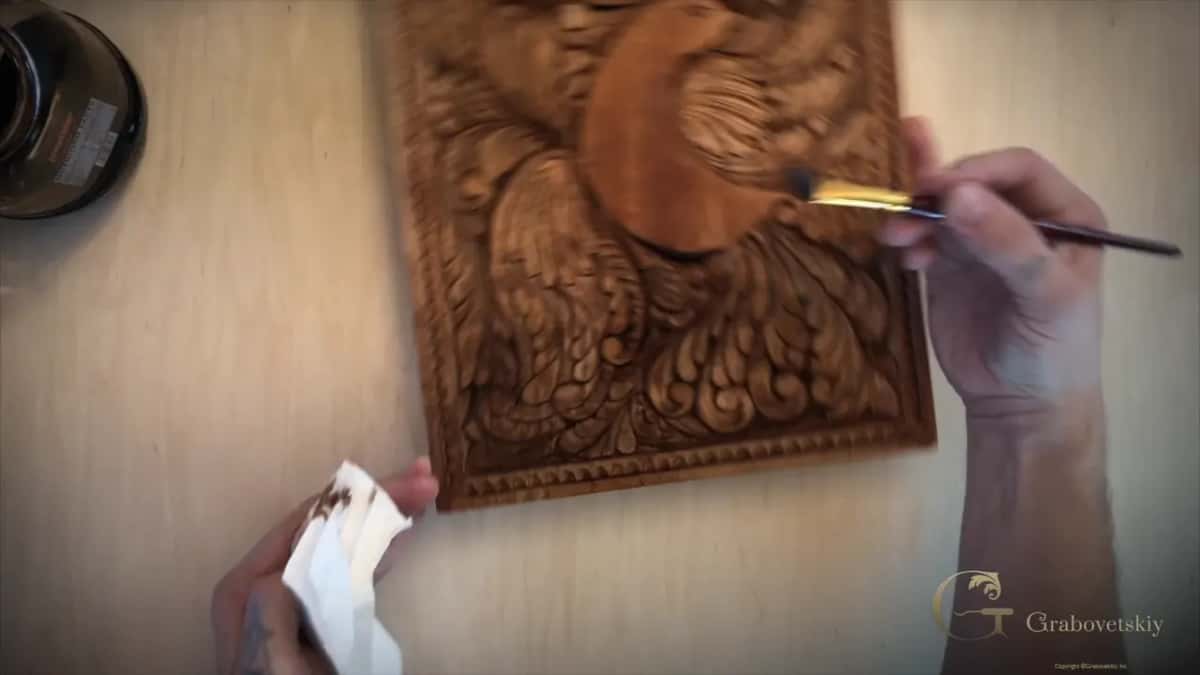
Use a bigger brush on open ground. Two inches of bristle crosses the body of the bird in one movement, which a small brush cannot do at any speed, and speed is the whole game on a flat area.
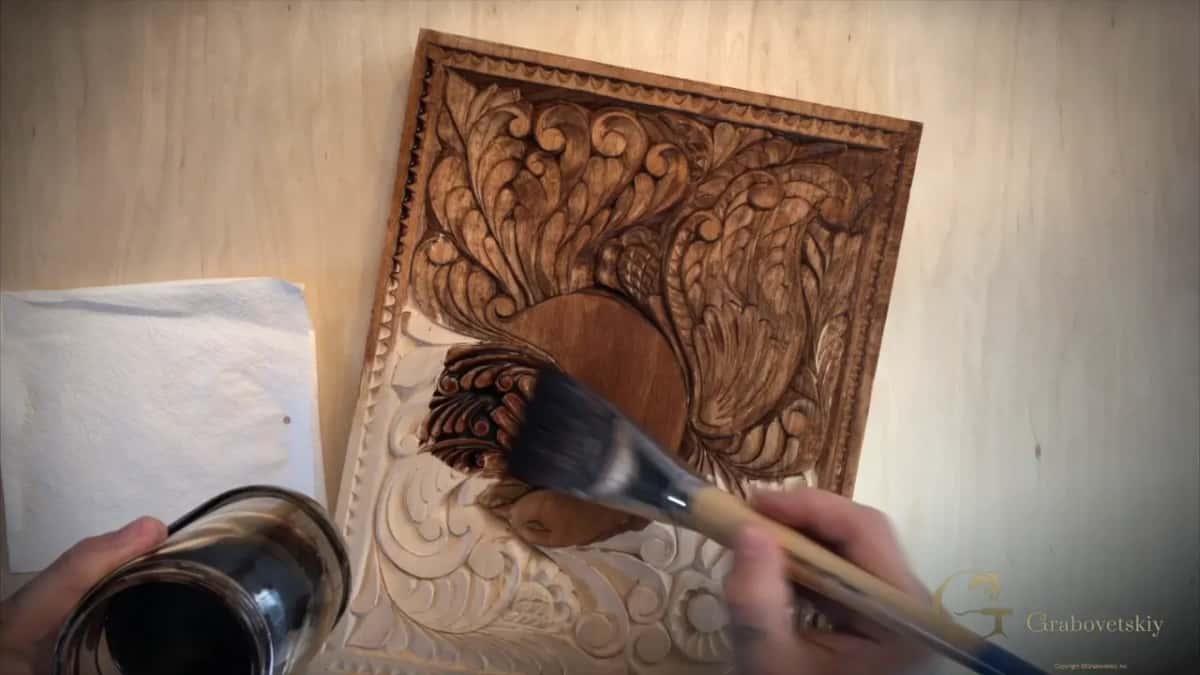
More of it applied on top of itself means more colour, so you can build depth deliberately, and you can also make a mess deliberately if you are not watching. Leaving extra in the hollows is good, because they will dry richer than the surfaces around them. Leave too much and the board simply takes longer to dry.
Why does not sanding matter now?
Water raises sanded fibers, and a carved surface has none to raise. Sanding presses wood fibers down flat rather than removing them, and the first wet coat of anything stands every one of them back up.
On a flat tabletop you would sand again and move on. On a panel full of hollows and curls, reaching in to sand a second time without destroying the detail is close to impossible, which is the practical reason this whole course refuses abrasive. Workshop 8 laid out the argument and today is the payment.
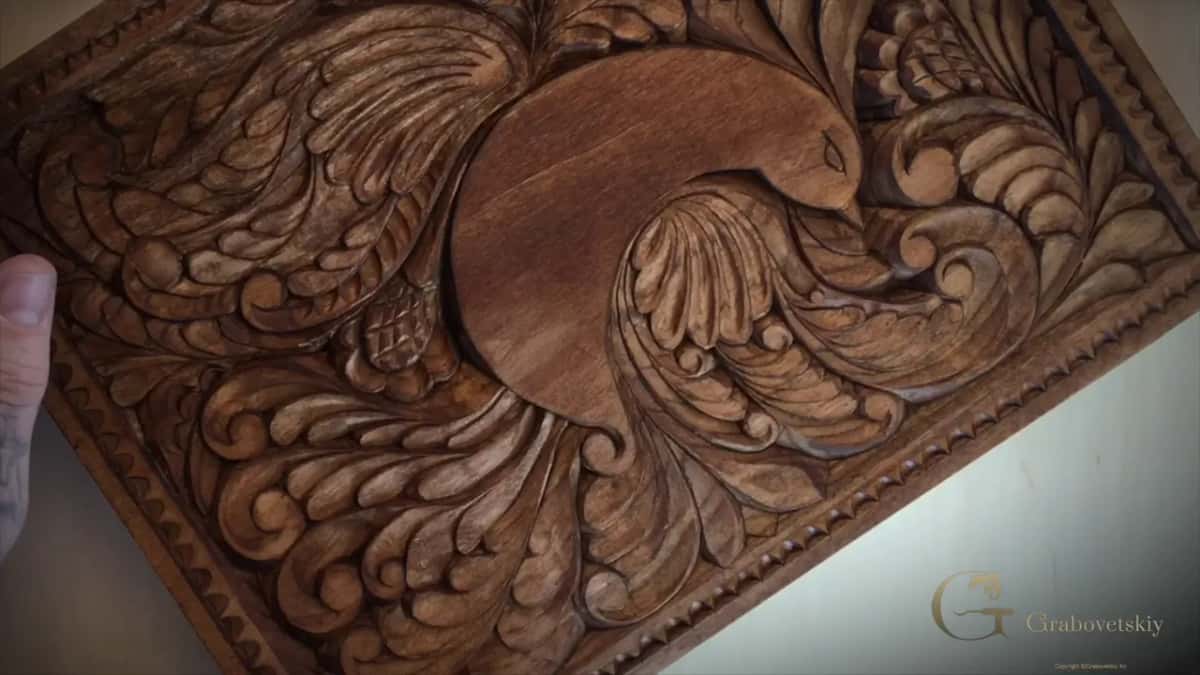
Because every surface here came off a blade, I can pour water based colour onto this carving without hesitating. Almost nothing rises. The board dries and is ready for oil, and no second cleanup stands between the two stages. Everything the blade did to this surface in sixteen sessions survives into the finish, which is the whole reason for refusing sandpaper in the first place, and Workshop 14 put the case at length.
Can you mix two natural colours?
Easily, and it is worth doing. Both stains are water based, so they combine in the pan or on the wood, and the range between a walnut brown and an onion red belongs to you rather than to a paint chart.
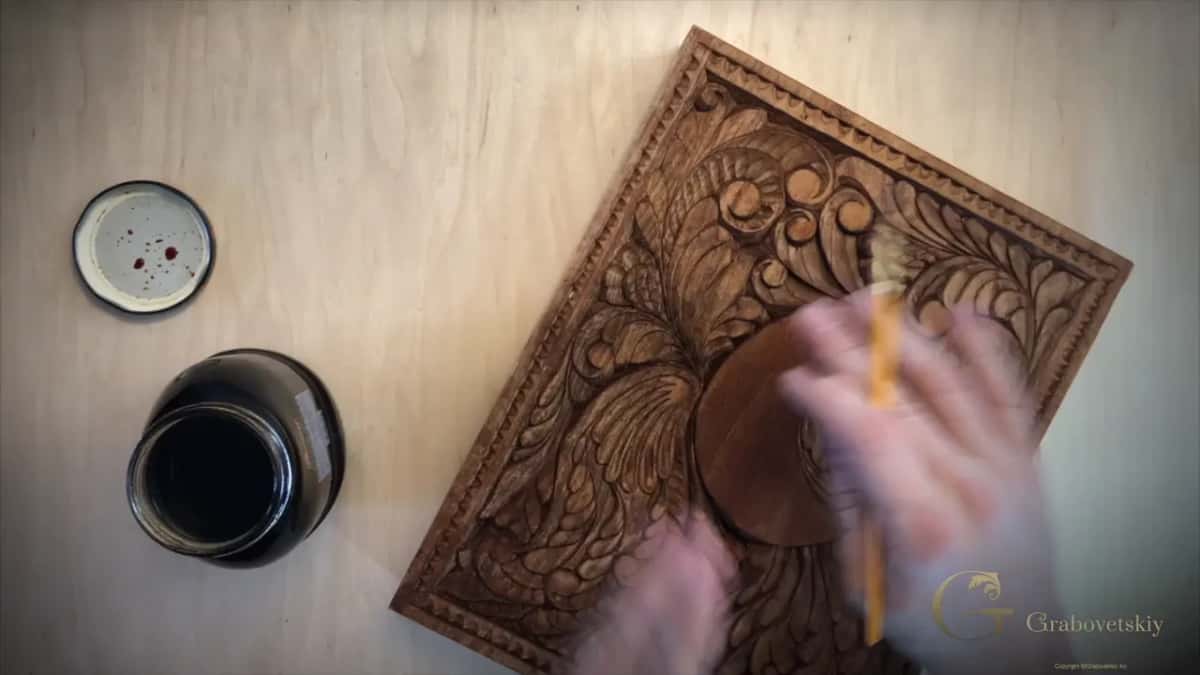
On this panel I took a smaller brush and dropped onion stain into a few hollows around the bird, purely to see what happens. The difference is visible while wet and clearer once dry. Nobody will name what you did and everybody will notice the piece has more going on in it than a single colour. Careful, though. Where the two meet without blending you get an edge, and an edge in colour is far harder to remove than an edge in wood.
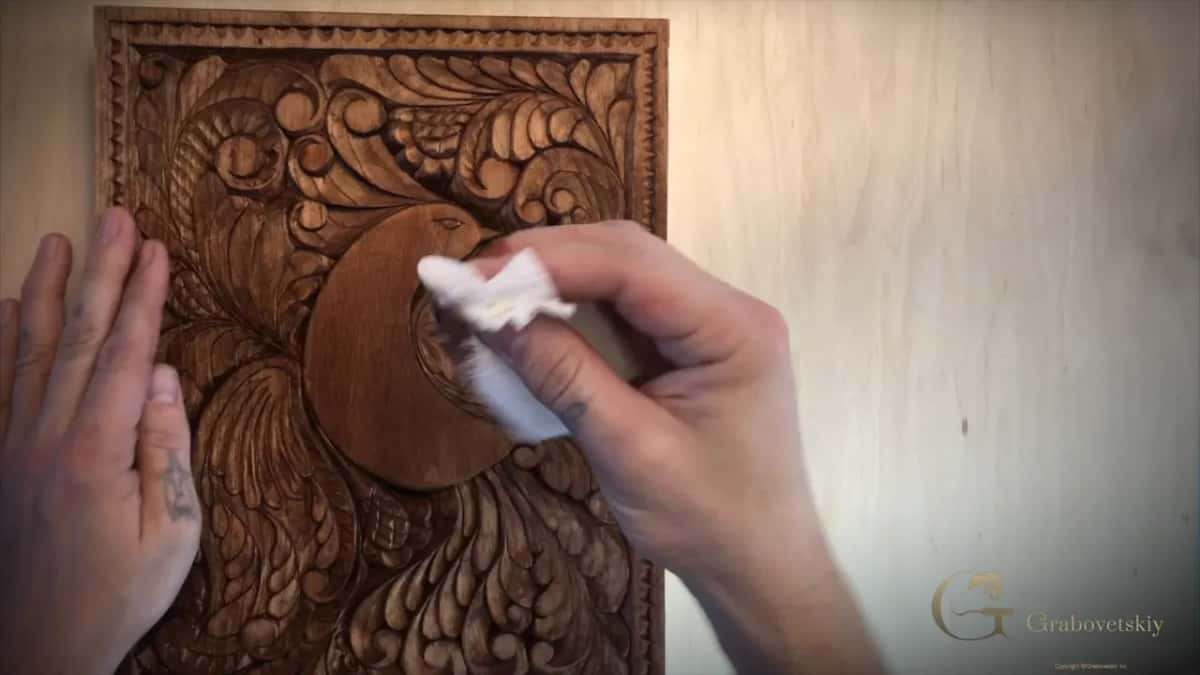
Wiping it back while wet is the other control you have. A rag pulls colour off the surface much as it went on, so you can lighten an area that went too far before it sets. Later, once everything is dry, a scraper taken gently along the raised edges lifts them further out of the ground, and on a shallow board that is worth more than another millimeter of depth would have been. Workshop 15 explains why.
Is a homemade stain really safe to eat off?
Water, plant waste and a spoon of baking soda. Those three things are the entire contents, which is why I can say without hedging that a board finished this way will take food once the oil goes over it.
Nothing in the pan came from a hardware shop. Whatever colours the walnut version is the same material that stains your fingers when you peel a green walnut off the tree, and the onion version is what dyes eggs brown at Easter across half of eastern Europe. Both have been in kitchens far longer than they have been on furniture.
The finish on top has to hold the same standard, which is why the next session reaches for mineral oil of food grade rather than anything that cures hard. Wax is safe too, and it brings a different problem that belongs in that lesson.
How dark can this go?
Darker with every coat, because the colour builds rather than covering. One pass gives you a mid brown. Let it dry, apply again over the same ground, and it deepens, and you can keep doing that until the wood reads almost black in the hollows.
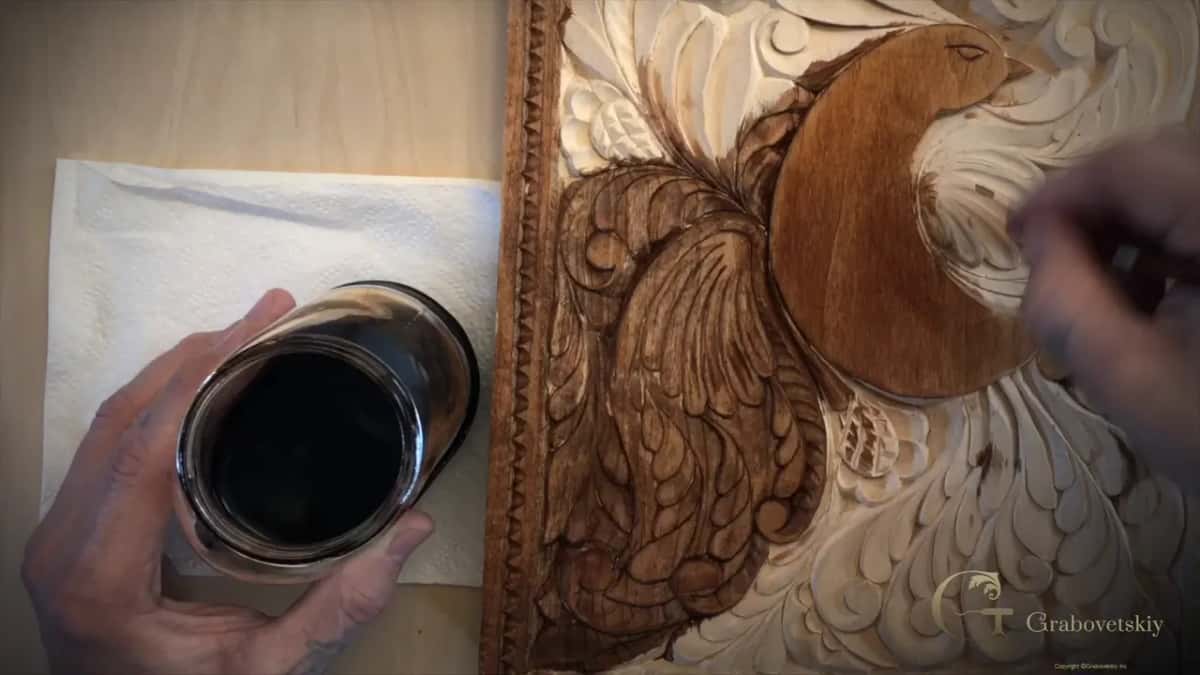
Exactly that is how I faked a design into plywood all those years ago. Separate the shapes with a fine gouge line, then build different depths of the same stain inside each shape, and the eye reads several different timbers where there is only one.
Control is the price. A colour that builds is a colour that remembers every place your brush hesitated, so work in one continuous movement across any area you want even, and save the layering for where you actually want it.
What goes on top of the stain?
Oil, once everything is dry. Linseed oil is the traditional choice and food grade mineral oil off a pharmacy shelf costs less and works perfectly well on a board destined for a kitchen.
As far as we know, ancient finishers had two options: beeswax and oil, usually boiled. In St Petersburg there are buildings three centuries old whose window frames, sashes and doors were treated with boiled linseed oil, and that wood is sound today. Nothing has rotted and no worm has been in it, three centuries on.
Which tells you that preserving wood was solved a long time ago, and that the tin with the warning label on it is solving a different problem, usually speed. Workshop 18 puts the oil on and shows what happens to the colour.
What should you expect while it dries?
Patience, mostly, and a colour that keeps changing. Wet stain reads red and slightly alarming, the board looks like somebody spilled wine on your work, and several hours later it has settled into brown.
Leave more in the hollows and those areas take longer to give up their water, so a panel with deep carving on it dries unevenly for a while. Nothing has gone wrong when you see that happening on your own board. Give it overnight before judging anything. Longer, if your shop runs cold or damp.
Go round it once more before you walk away, turning the board so the light comes from different directions. Spots you missed hide from a fixed viewpoint, and they will not hide from a board you have rotated four times. Workshop 16 makes the same point about carving, and it is the same eye doing the work.
Why did furniture makers stain walnut with walnut?
To rescue the pale wood nobody wanted. Walnut carries sapwood that is much lighter than the heart, and European makers blended it into the main body of the timber using exactly this stain so the whole surface read as one colour.
Otherwise that pale material gets thrown away, and the waste figure on walnut runs up toward forty per cent. They did not throw it away. They coloured it, used it, and the furniture is still here.
Sometimes leaving the sapwood visible is the better decision, which is taste rather than rule. Either way, knowing you can unify it means a board that would have gone in the stove becomes a panel, and that kind of thrift sits behind a great deal of old design.
One caution before you start. The stuff stains everything it lands on, mine included, so move the jar carefully and keep a rag under it. This beginner course has taught you patience by now, and a spilled pan of walnut liquor tests it properly. Ask me how I know. Then look at the bench in the video, because the evidence is in shot for the rest of the session.
You have a carved board, a bag of onion skins your kitchen was going to bin, and four hours over a pan between you and a colour nobody can buy. The rest of this bird is waiting, along with three thousand other lessons. Shall we carve?
How it's done
- Save the kitchen waste. Onion skins go aside whenever somebody cooks. Shells from a walnut work the same way, and you need surprisingly few of them for a strong colour.
- Simmer with soda. Water, the waste, and a spoon of soda in a pan. Yellow brown arrives early. By hour four it is thick and very dark.
- Try it on an offcut. Brush a little onto an offcut of the same timber and let it dry properly. Wet colour always reads redder than the dry result will.
- Hollows before flats. Work the carved recesses with a small brush, then switch to a wide one for open ground and cross each area without stopping partway.
- Build where you want depth. A second coat over dried stain goes darker. Extra left sitting in the recesses dries richer, at the cost of a longer wait.
- Wipe and wait. Pull a rag over the raised surfaces while everything is still wet, then leave the board overnight before judging the colour at all.
Frequently asked questions
Is homemade stain safe on a cutting board?
Water, plant waste and soda are the only ingredients, so yes. Put food grade oil over the top once the colour has dried and the board is ready for a kitchen.
How long does onion skin need to boil?
Yellow brown arrives after about ten minutes. Keeping the pan going develops red, and by the fourth hour the liquid has gone dark enough to surprise you. Shells off a walnut want roughly that long to thicken.
What is the soda for?
One teaspoon, give or take, goes in with the water. It pulls colour out of the plant material far better than water manages alone, and both recipes here use that same small amount of it.
What to carve next