

Alexander Grabovetskiy, woodcarver, School of Woodcarving · Published 2024
What do you do when a carved leaf comes out too big for the design?
Quick answer: A carved leaf that comes out too big is, on this onlay, a fault I fixed with no chopping at all. Taking that wood away would not work with the old composition. So a secondary leaf now comes out from under it, and the big one stays really thin, about 1/8 of an inch, three millimeters.
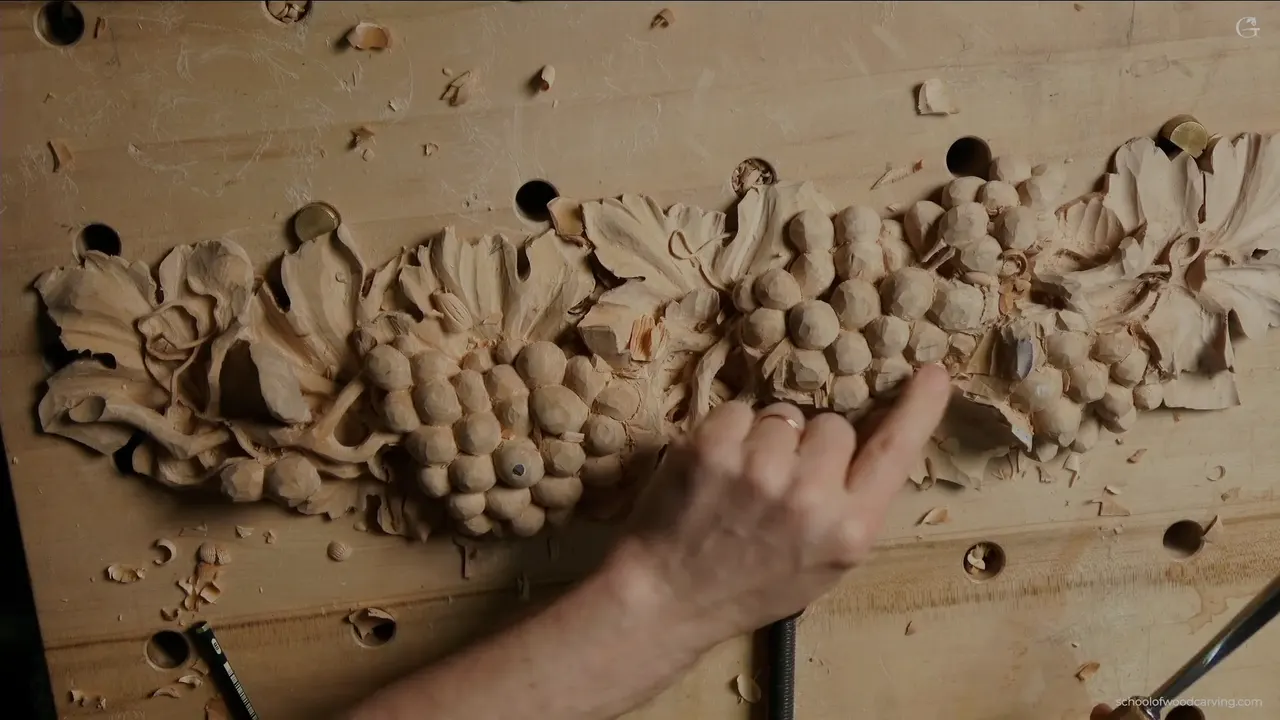
A leaf that ends up too large for its design is something I fixed on camera without chopping it away. It happened in part 2 of lesson 9 of my grape onlay course, on the big leaf. While I looked for a new center, one placement would have made one side much bigger. Taking it off would not fit the rest of the composition, so a secondary leaf went in, coming out from under it, and the big one stayed really thin. For anyone searching how to fix a mistake in wood carving, here is one answer, pass by pass.
Have you stepped back from a leaf and felt one side was just too heavy for the rest? Did your hand go for the gouge? Look first at what the rest of the panel still needs from that surface. Below are my own words from that video, the tools I named, and the other times I changed a design in the middle of the work.

The leaf fix in six lines
- One center spot I tried on my big leaf would have made one side far bigger.
- That extra wood carried a surface I wanted, so it stayed.
- A second leaf now tucks under it, made with a number 11 gouge of 12 mm (close to 1/2 in).
- Really thin is how I left the big leaf.
- A small veiner undercut it, somewhat, and the deep work waited for the bulge.
- At least I fixed the overall feel, I said, before a single separation went in.
Why was one side of the leaf too big?
It came from where the center sat. By then I was happy with the overall motion, all but one thing. Every leaf, like I mentioned in the previous lesson, has to have a bulge right in the center, and I didn't like where the center of this one sat. That center had to move. I'm not afraid of losing some of the material, I said. I thought it would look much better overall.
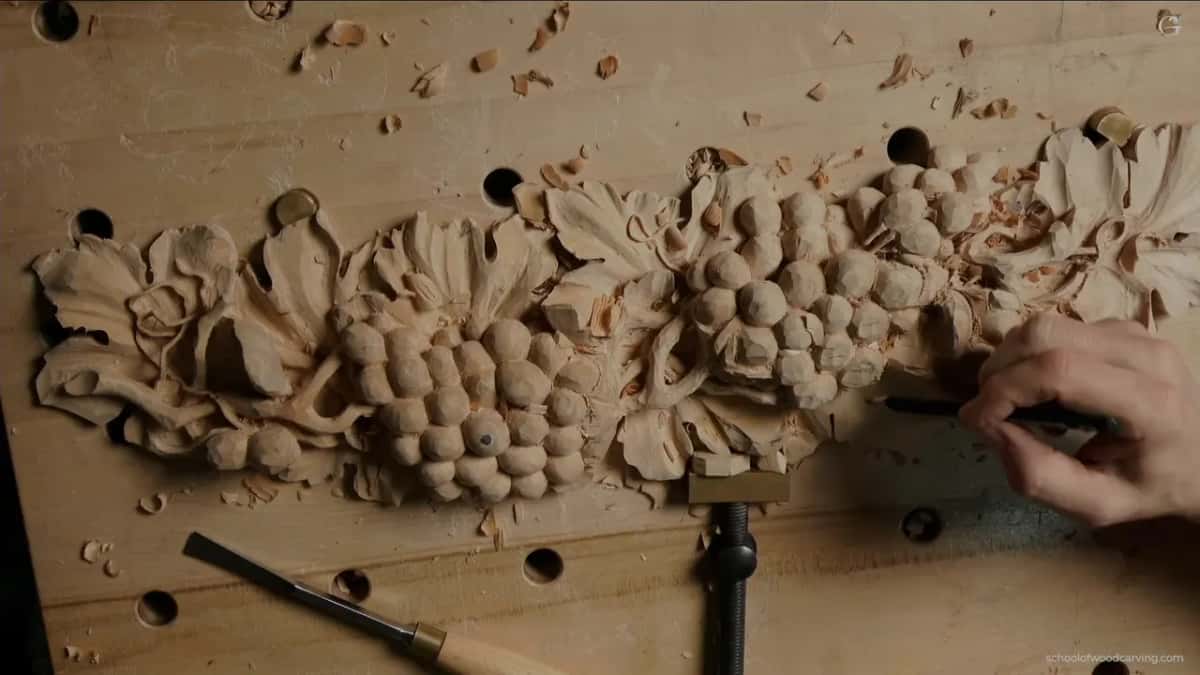
What I look for is 60 and 40, between this point and that point. In one spot I would still keep 40 and 60. In the other, one side would be much bigger, and that's not good. I changed the boundaries slightly. Back in lesson 8 I called that kind of split like a golden ratio, 62 against 38.
The leaves were already off the paper. Earlier in lesson 9 I said I changed the design of the leaves from the original pattern you have, so if you look at the original, you won't see this part. I made that little section a part of the lip, that circle. Later, I said, I would take a picture of the new one, since the paper you have does not show it.
Moving a center costs wood, and I accepted that part. The surface right beside it was another matter, and that decision came a little later in the video.

Why not just chop the extra wood away?
I still wanted that surface. I looked at the old composition, and if I chopped this part out, it was not going to work with this one, the shape right beside it.
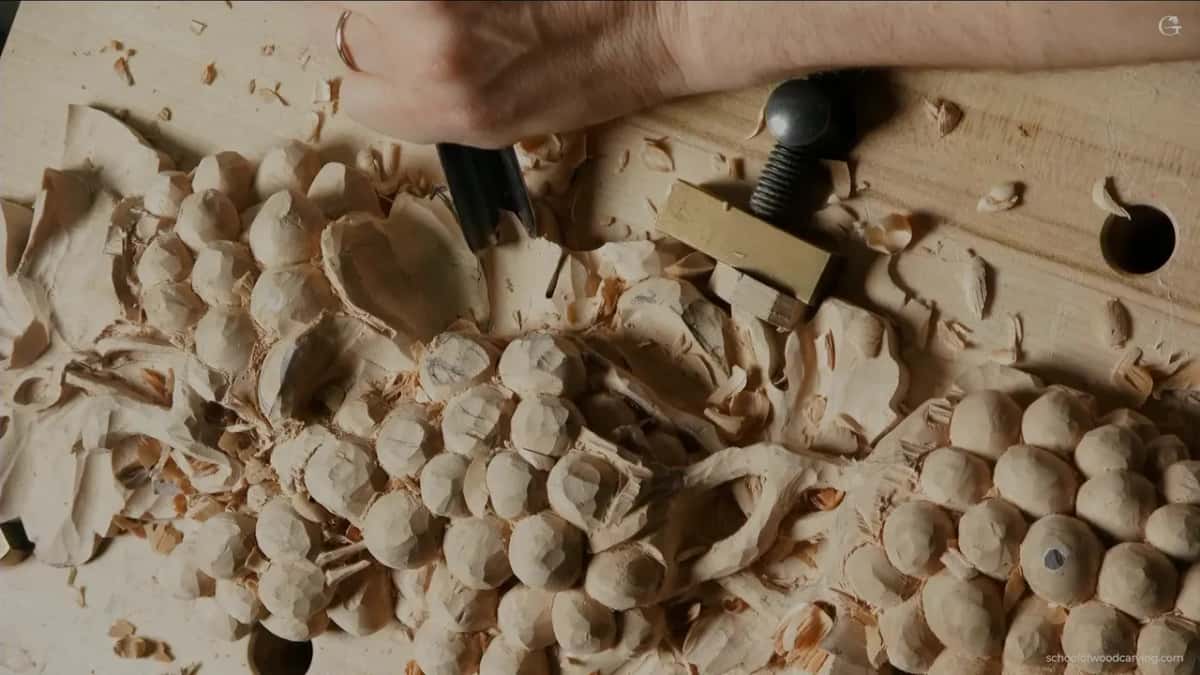
Earlier in the same video I cleaned up those grapes a little and said I kind of liked how the flip looked overall. That is good, I said, that is good. The part beside it stayed, because I wanted the surface it carried, and chips lay piled between the grapes.

I was looking at motion the whole time, too. From above, the flip was really good, and my motion could run nicely backward, but I didn't want exactly the same motion here and there. I kept the big concave on one side and adjusted the convex, because there was still plenty of material to use. A shadow went in right underneath, maybe moved a bit more toward the inside. The camera doesn't really show it. From above it just goes in, then out.
After that I removed a triangle with the same tool, so you could see the overall motion and how it is supposed to look, and went a little deeper in one part for a bit of shadow.

How do you add a secondary leaf from underneath?
With a number 11 of 12 millimeters (about 1/2 in), on this onlay. It doesn't have to be 12 millimeters, I said, but I thought that would work really well. That new leaf tucks in under the big one, and the secondary can point that direction, I said. Much better, I said. And the big leaf kept its surface.
The same move turns up in my older lessons. In workshop 84 of the Venice Room I left some small pieces as if they were poking out from below. Those pieces made the spot richer and filled the space. Before long I took one section a little deeper, about six millimeters or so, about a quarter inch. Next came one leaf I had to figure out, and I decided it would grow from underneath, because that would make a lot more sense.
My mind changed right after. I don't have to, I said. Part of it could become a movement like that, a really interesting movement, maybe with a double separation right there. To make this and that one movement, though, I needed an eye somewhere underneath. I hope it makes sense, even if it doesn't at the beginning. But it will. I really didn't want to lose that detail, since it was a really good one, so that section needed another eye as well.

On the furniture panel design, lesson 14, I did it to fill an area. I think it looks good, I said, I'm not going to do too much to it. Maybe a couple of leaves from underneath, I said, to fill the space and get the overall movement, to repeat that movement. One of them was a leaf sticking from underneath, and the next shape a volute, maybe a special volute. I didn't know yet.
On my Hashemi flowers, lesson 8, a flow line needed fixing, so it had to go down, and the goal was to make one leaf look like it grows from under the shape next to it. I could use either a V tool or just a cheap carving knife, and go downhill.

In workshop 66 of the Venice Room the piece was already there. I had one piece showing from below the rest, and I said I cannot lose it, and I do not want to lose it. I wasn't sure if I should follow an idea from the previous design. One possibility was to let that piece curl from underneath and expose the lower part to make a deep shadow, and I thought it was a really good possibility. Just before that I had said I wanted the main movements and the main idea set before I do too much detailing.
A snag showed up next. I couldn't go too low on one side, and that could make a little problem. I need to think, I said. Then I asked out loud why I was thinking so much that day. Maybe I could just do something else instead, but I kind of liked the idea of wrapping. That side would be seen, so a deep shadow made sense. It does. Outline it first.

How thin can the big leaf stay?
Really thin. That is the word I used. I wanted to keep the leaf but still fix the idea of this bigger leaf, and right then I was leaving approximately maybe one eighth of an inch, three millimeters. Next I picked up a 1/8 inch (about 3 mm) number 11 veiner and undercut somewhat. Not a real undercut. Somewhat.
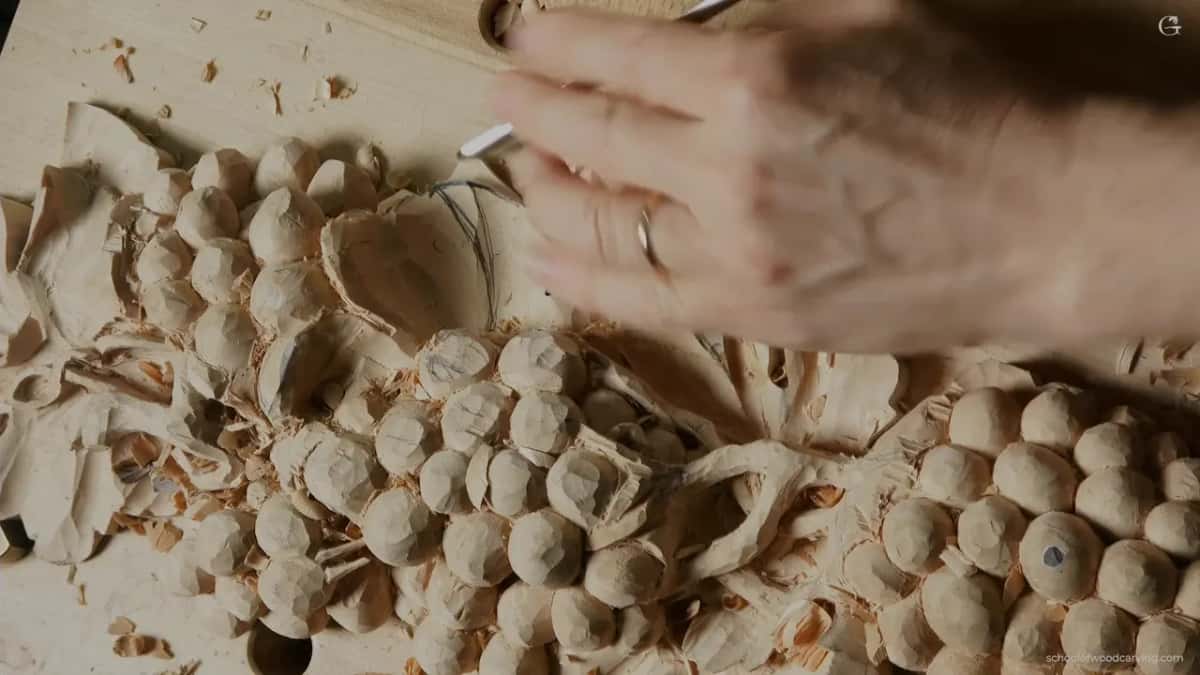
Deep work had to wait, because the bulge right in the center was still to come. But at least I fixed the overall feel. Don't look at the edges yet, I said, since we still have to make the separations, and before those I need to be really happy with the movement.
The bulge came next, with an 18 mm number 11, almost three quarters of an inch, excavating right on the side. That part, spooning and all, is told on the lesson 9 page, so I won't tell it twice here.

How to fix a mistake in wood carving before the details go in
I leave the finish for the end. Some people say you have to finish the detail you are working on and take it all the way. Others say you get a chance to clean it later. Back in my floral and molding course, lesson 6, I said I probably belong to the second group, because I do a lot of changes on design later on. It gives me flexibility and a lot less frustration if I change the design or change some movement, because I didn't spend as much time. That part was somewhat finished, I said. Finished finished comes at the final stage, the cleaning stage.

In lesson 4 of this same onlay I had a number 9 in my hand, and one part would go right underneath. A moment later I messed up in a big way, right on camera. Okay, so change of design, I said. I could glue it, I said, but probably not. I lowered the whole section instead. The reason showed right after. I had already excavated too deep, so it was already undercut there.

A part broke in lesson 10 too. The piece was moving, fragile, and I had a number 11, half a millimeter (about 1/50 in), in my hand when it went, because I attacked from the wrong side. My workbench stayed put because of the cameras. Without them I would just rotate the piece and attack that way. Absolutely fine, I said. Nobody would hear it from me. I told you, so you are the only one who knows, and I still kept my idea.

And on my furniture panel, lesson 38, I warned about the grain. Going along it, sometimes the grain runs downhill, and if you catch it you get a deeper spot you don't want to see. Or you just say it was on purpose, a change of the design, which happens once in a while. Right after that I got really close to the line and refined the motion, and it looked really nice.
Where else did I change a design halfway?
Here are the spots from this page side by side, so you can compare them.
| Where | Fix | Why |
|---|---|---|
| Grape onlay 9 | added a second leaf from below it | kept the old composition |
| Onlay, lesson 4 | messed up, then lowered the whole section | excavated too deep before |
| Same course, 10 | broke a piece and kept my idea | attacked from wrong side |
| Venice Room 84 | let that leaf grow from underneath there | it made more sense |
| Venice Room 66 | kept a piece curling from underneath it | I cannot lose it |
| Furniture panel design | planned a couple of leaves from underneath | filled space, repeated movement |
Is changing the plan halfway a failure?
Not on an original piece, the way I see it. In my Grinling Gibbons class in Maine, lesson 10, I said maybe I would make some kind of change there. It's not the end of the world, I said. If you break something, you always have an excuse to change the design. That's why I like to work on original pieces versus a replica. A replica has to be super accurate, while with the original you have some flexibility. Then I took a small number 9, about a 16th of an inch (about 1.6 mm), attacked right underneath with the tool upside down, and exaggerated that undercut.
Wood plays a part too. In an April 2020 livestream someone asked if I change designs depending on the wood. Yes, absolutely, I said. I have to understand the property of the wood I'm carving. It's not the same with lime wood, basswood, or harder woods like oak, walnut, mahogany, even birch, and with basswood I can do pretty much anything. And yes, I do change it. Soon after, I said my teacher was really big on design, all the mathematics, all the golden ratio, Fibonacci numbers and sequence.

Painters have a word for a change of mind that later shows through the paint, a pentimento. On a carved relief like this onlay, people only know if you tell them. At the end of lesson 9 it does look like the leaf of a grape, my interpretation of one grape leaf. There are other styles you can do.
The full video of lesson 9, where the big leaf gets its fix, sits with every other lesson behind Tuition and Access.
How it's done
- Settle the motion first. The overall motion had to please me before I looked for the center, since every leaf needs its bulge in the middle.
- Move the center if a side grows. Where a side came out far bigger than the other, I shifted the boundaries a little. Losing some material didn't scare me.
- Ask what chopping would cost. Before taking anything off, I checked the old composition. Removing that part would not suit the shape beside it, and I wanted that surface.
- Add a secondary leaf from underneath. A number 11 at 12 mm, close to half an inch, made a second leaf coming out from below the big one.
- Keep the big leaf thin. Roughly one eighth of an inch (3 mm) is what I left. It got undercut somewhat with a small veiner, and I held off going deep.
- Wait on the edges. Separations wait until the movement really pleases me, so I left the edges alone for now.
Frequently asked questions
Can you fix a carved leaf without chopping it out?
I did, on this onlay. Removing that part didn't fit the old composition, since I still wanted to keep that surface. A secondary leaf coming from underneath fixed the idea of the bigger leaf instead, and I said that would look a lot better.
How thin did you leave the bigger leaf?
About 1/8 of an inch (3 mm), and I called it really thin. A small veiner gave it a somewhat undercut, not a real one yet, because the bulge in the center still had to come.
Why fix a shape before the details go in?
A change costs me less that way. I do a lot of changes on design later on, as I said in my floral and molding course, and leaving the cleaning for the end gives me flexibility and a lot less frustration.
What to carve next