

Alexander Grabovetskiy, woodcarver, School of Woodcarving · Published 2024
How do you make the separations on a carved leaf show?
Quick answer: Making a leaf separation show is mostly undercutting it, so a thin shadow sits along it. My grape onlay shows the order. A number 11 of probably 2 mm (5/64 in) set one in, flute down. Later a 1 mm (0.04 in) one undercut, before the 2 mm came back for more shadow.
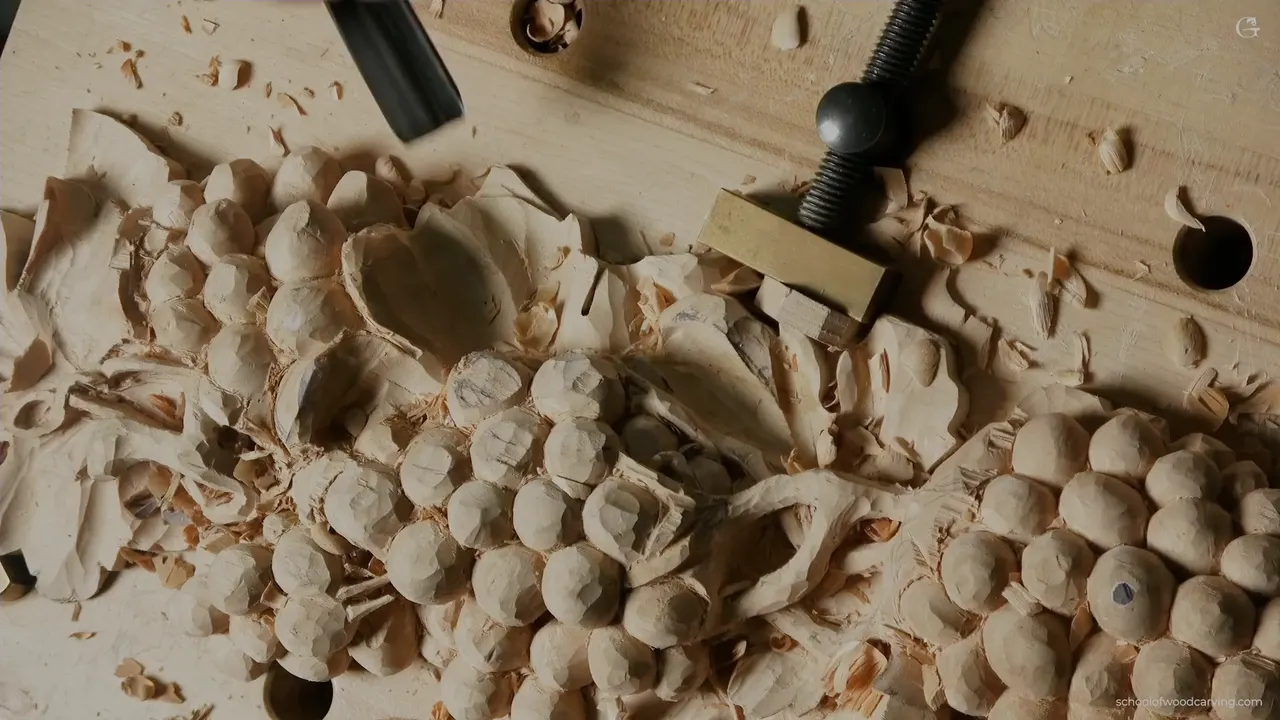
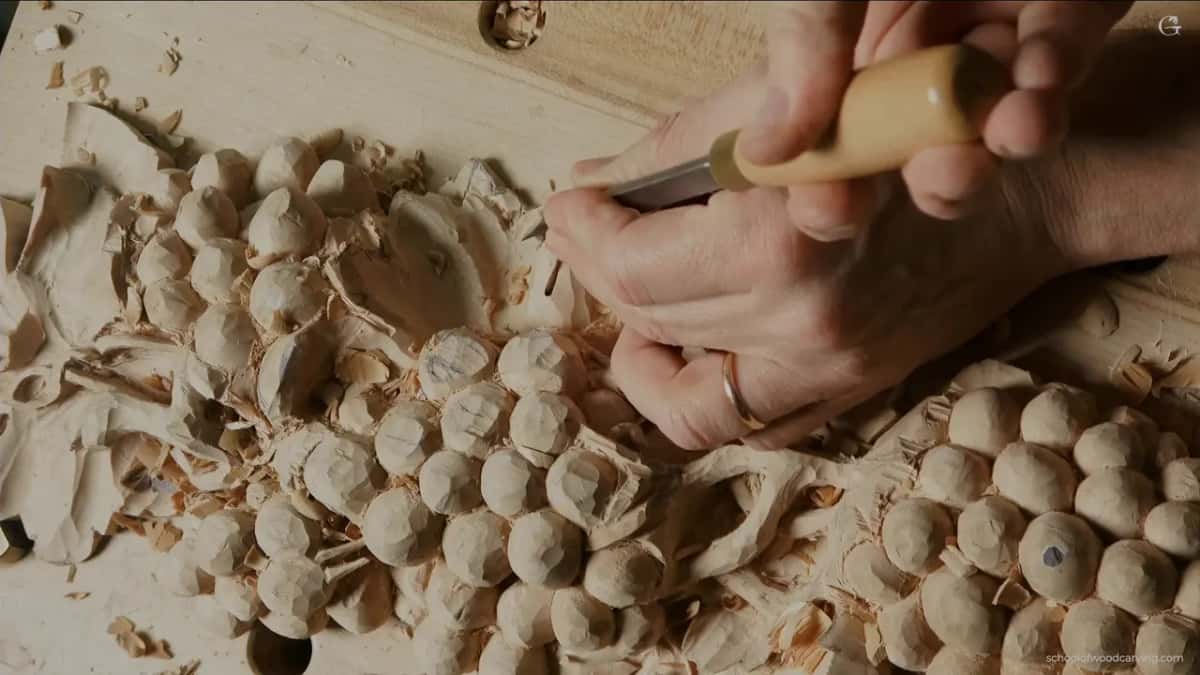
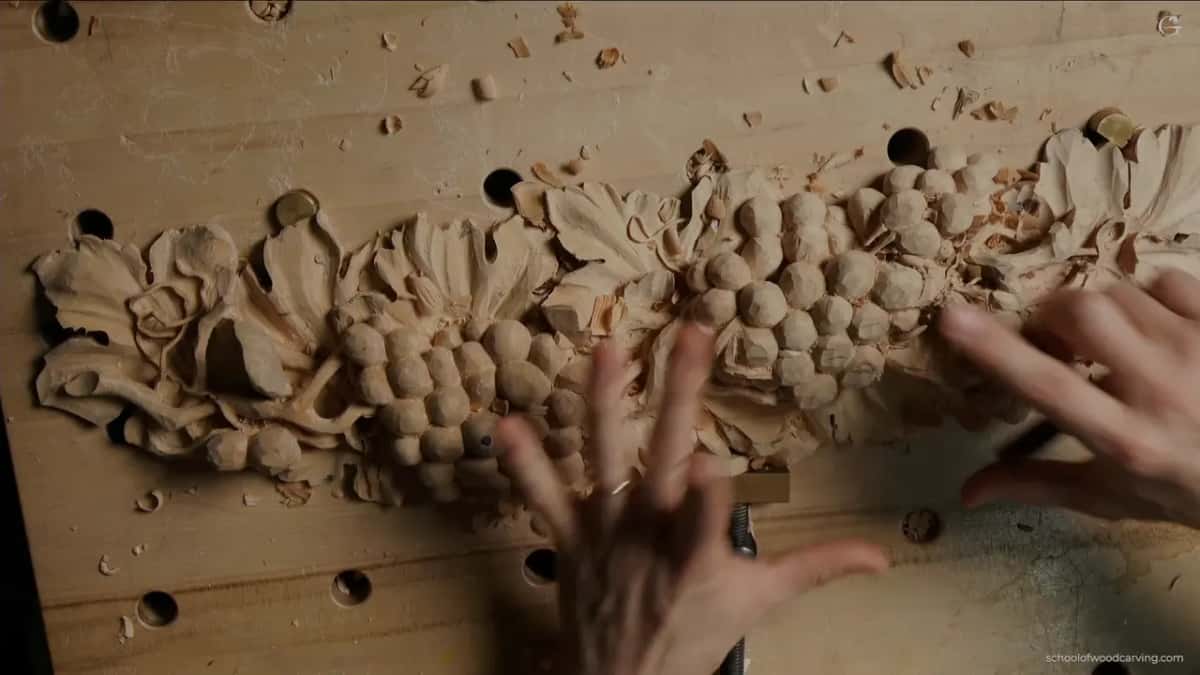
Making a relief carving leaf show its separations is a job for very small number 11 veiners. On my leaf one veiner set a line in, a smaller one went underneath, and then a thin shadow sat inside it. I did this on a grape leaf in the third video of lesson 9 of my grape onlay, with a veiner of about 1 mm (about 1/25 in), and right after it I pointed out the shadow.
Have you divided a leaf on your relief into its lobes and then found the lines between them hard to see? Did the leaf still read as one flat shape from a step away? I'll give you my small tools in the order I used them, and how deep I went.
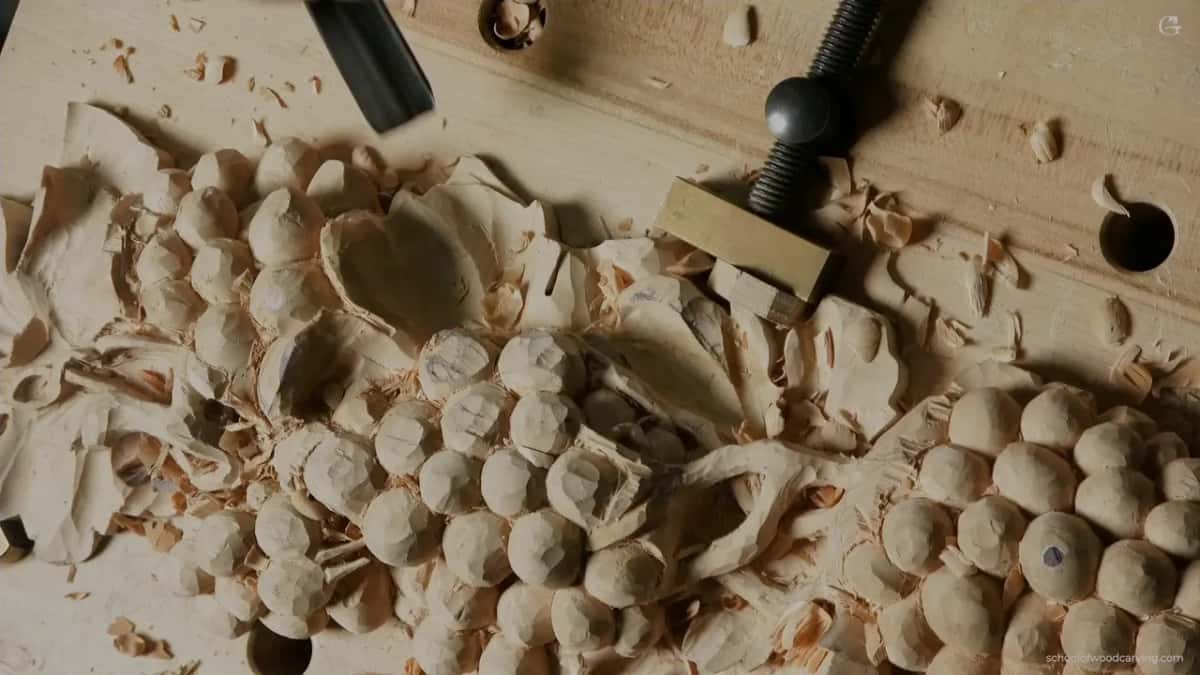
The order my small veiners went in
- Three lobes first, with a number 11, maybe 10 mm (about 3/8 in).
- A relieving cut for an extra separation, from a 2 mm #11 held flute down.
- Next a 1 mm one undercut, and the separation could be seen.
- The 2 mm came back to make that shadow bigger.
- Depth was up to me, about 5/8 in (16 mm) in one spot.
- Fix them all at once and the wood gets fragile, I said, so I wouldn't.
How do relief carving leaf separations get their shadow?
From an undercut, on my leaf. But the leaf had to be ready first. In part 2 of the lesson I had said it out loud. Don't look at the edges yet, because we still have to make the separations, and before those I need to be really happy with the movement.
Part 3 opens right there. My 18 mm number 11 came first, a little less than three quarters of an inch. I cleaned one spot with it and said I was really happy with this. After that I could start figuring out how to divide it.
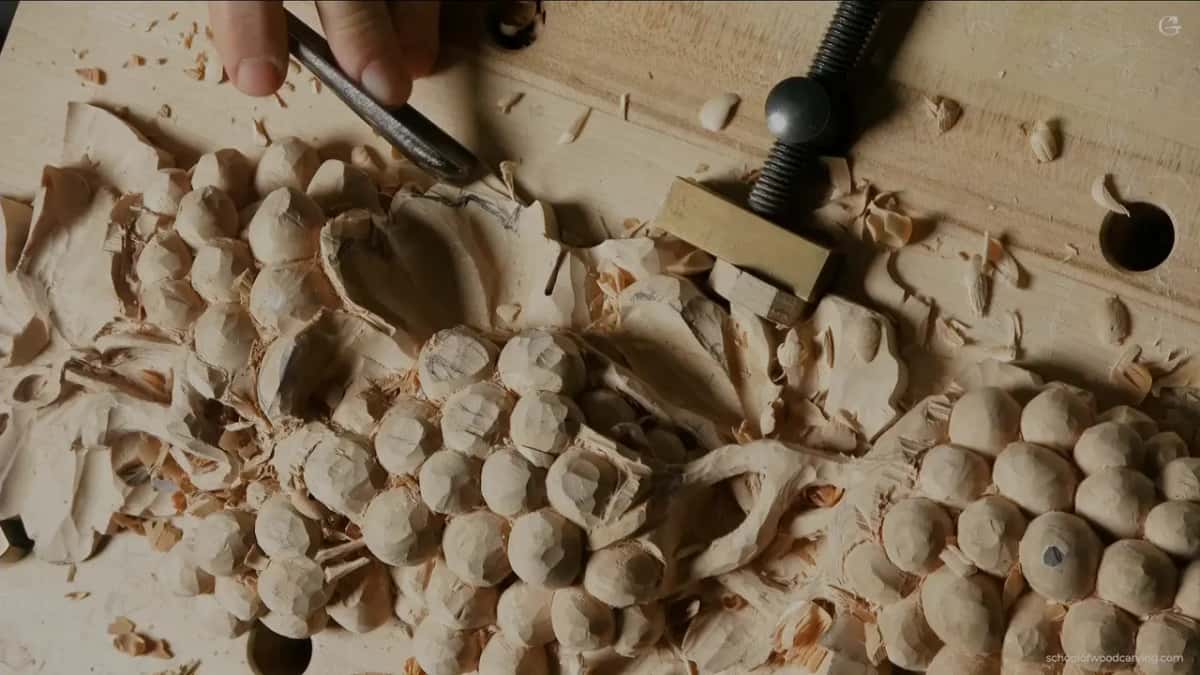
Every lobe, I reminded you, has to have three main subdivisions. I pointed them out on this leaf, number one, number two and number three. One part looked a little too much, but it was going to be one of the main three anyway. I took a number 11, maybe 10 mm (about 3/8 in), with the flute at approximately nine o'clock, and then went the opposite direction.
There were pencil marks on that leaf as well. They aren't really needed, I said. They were there for the lesson, and with fewer of them you do much cleaner work.
Lesson 8 is where I laid out how a grape leaf divides into lobes, so I'll leave that there. This page starts after that, when the lobes are in and the lines between them still hide.
Which tool sets in the extra separations?
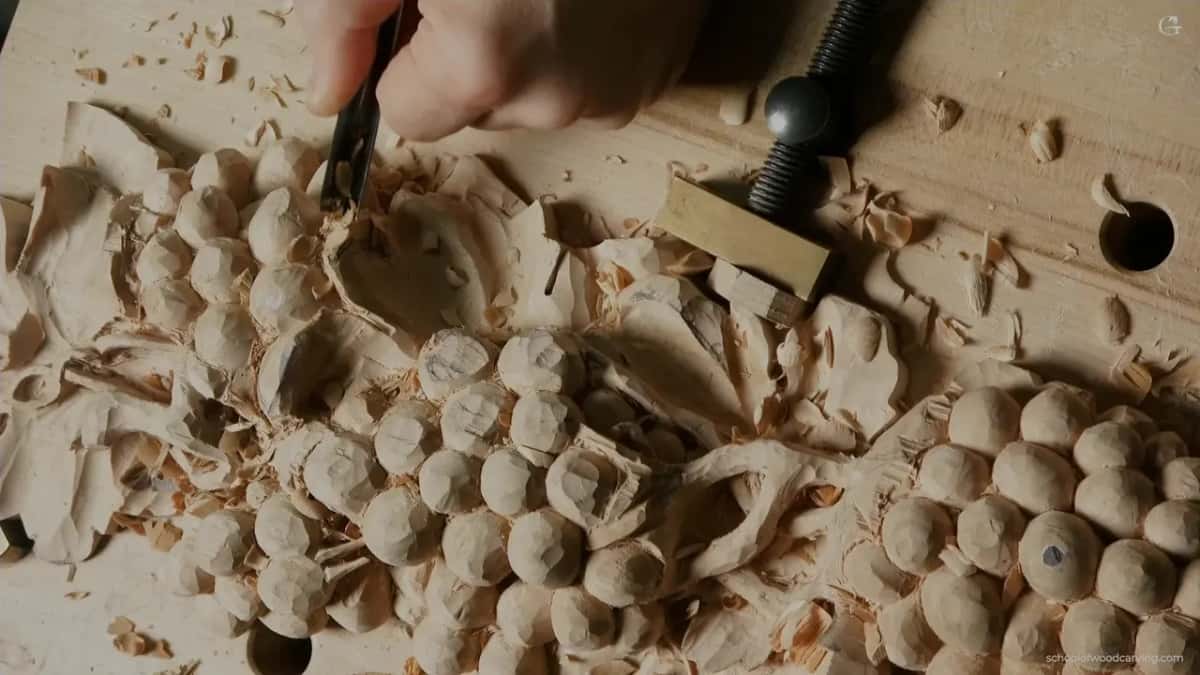
Probably a 2 mm number 11 (about 5/64 in), with the flute pointing down. Earlier I had said it was all about details now, pretty much. Inside the three main lobes I wanted extra separations pretty much everywhere, and I started with one. I made a relieving cut with it. You can already see how it develops, I said, how it looks already.
Then one more spot needed fixing. I could leave it as it was. In that case it would be okay, because that part is going to be on top. But you don't have to leave it. You can make some kind of motion there, so I did.
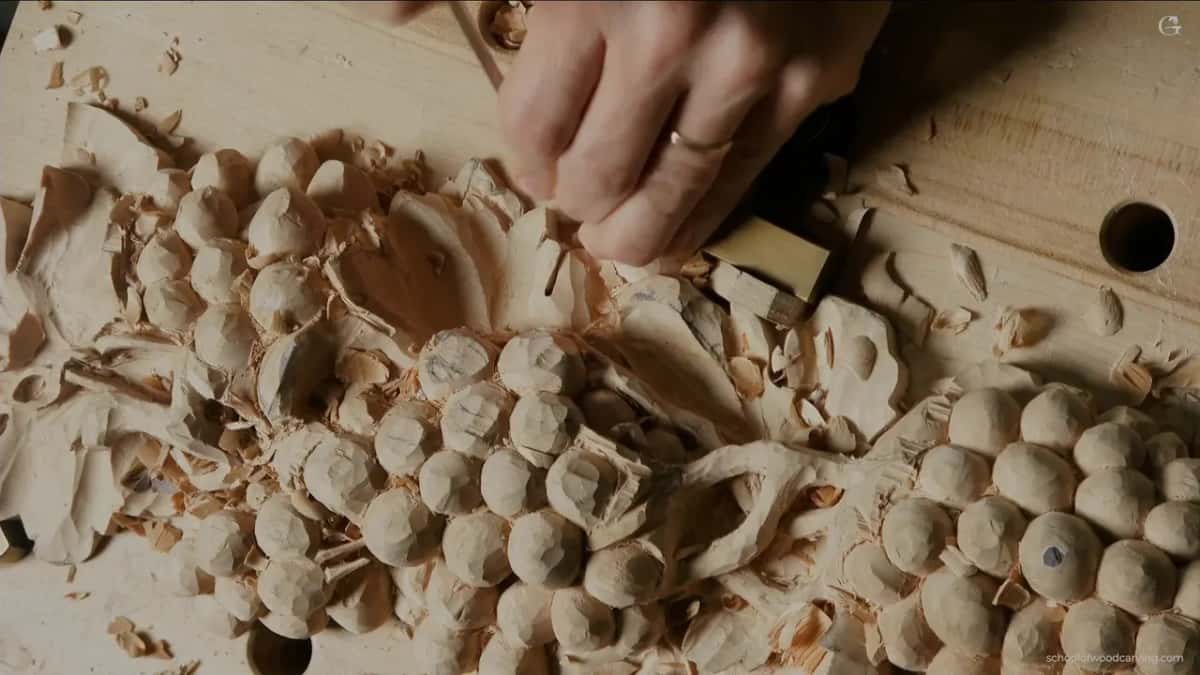
Same 11, but 4 mm (5/32 in). Follow the logic, I said, of how the veins are supposed to look. I went in slightly one way and blended it a little with my number 3. What I made there was an extra shadow spot. A small one.
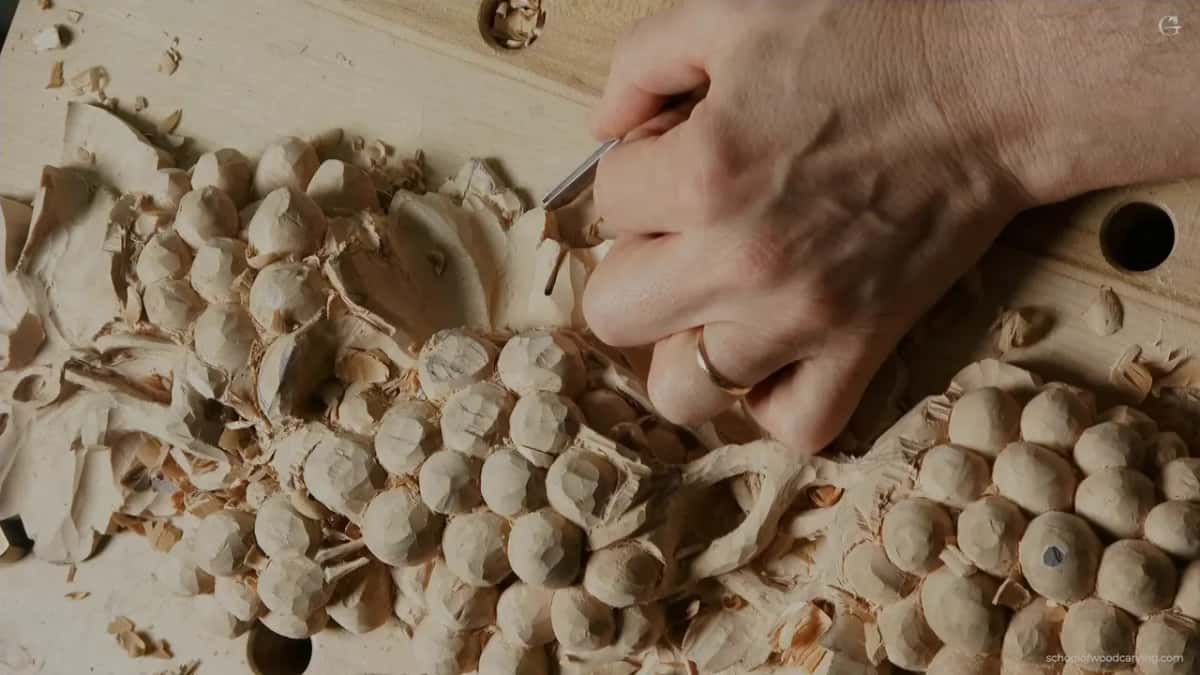
The groove itself has a name, and my Venice Room workshop 109 page says what a separation cut is. Here the groove was only the start.
Why undercut a separation with a 1 mm veiner?
To make it visible. My little 11, close to a millimeter (under 1/16 in), started the undercut right there. That way, I said, you can detect the separation. A few seconds passed. You should be able to see the shadow now.
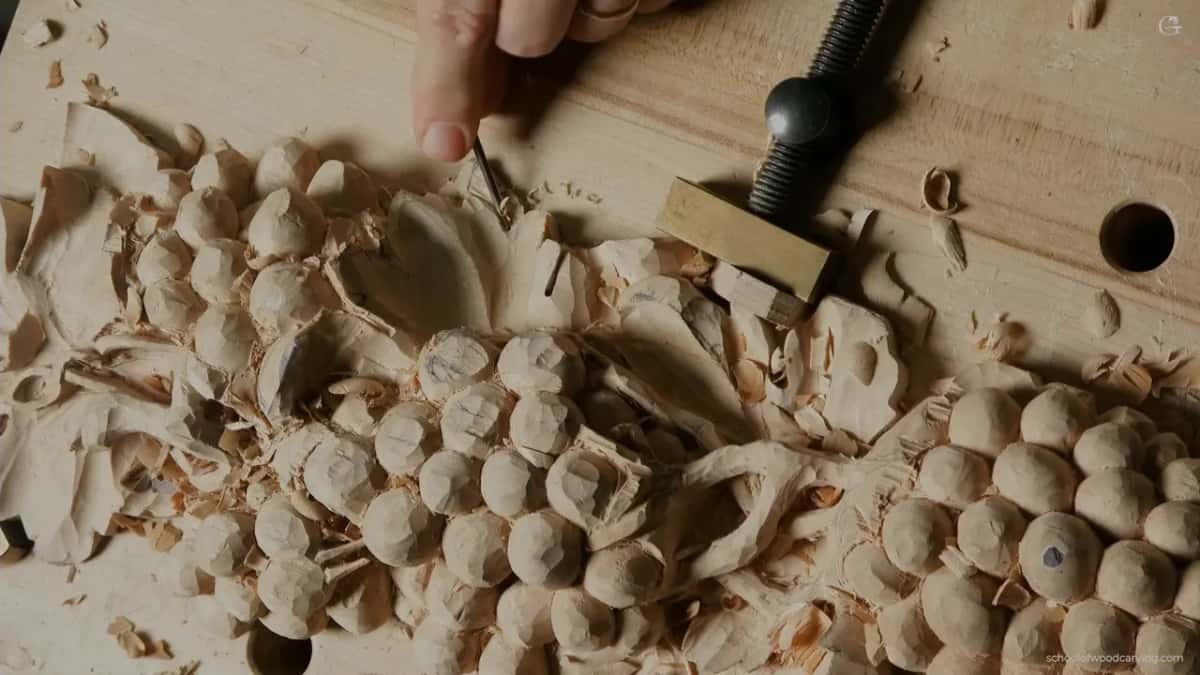
I've wanted the same thing on other pieces. On a Venice Room panel, workshop 34, an edge just blended in and was almost invisible. But I really want to see those separations, I said. My straight #11 of 3 mm looked like it would not make it, so I took a long bend number 11, also 3 mm, one eighth of an inch, and carefully excavated in.
I really need to see that shadow, I said there, otherwise it just blends too much and I'm losing the effect.
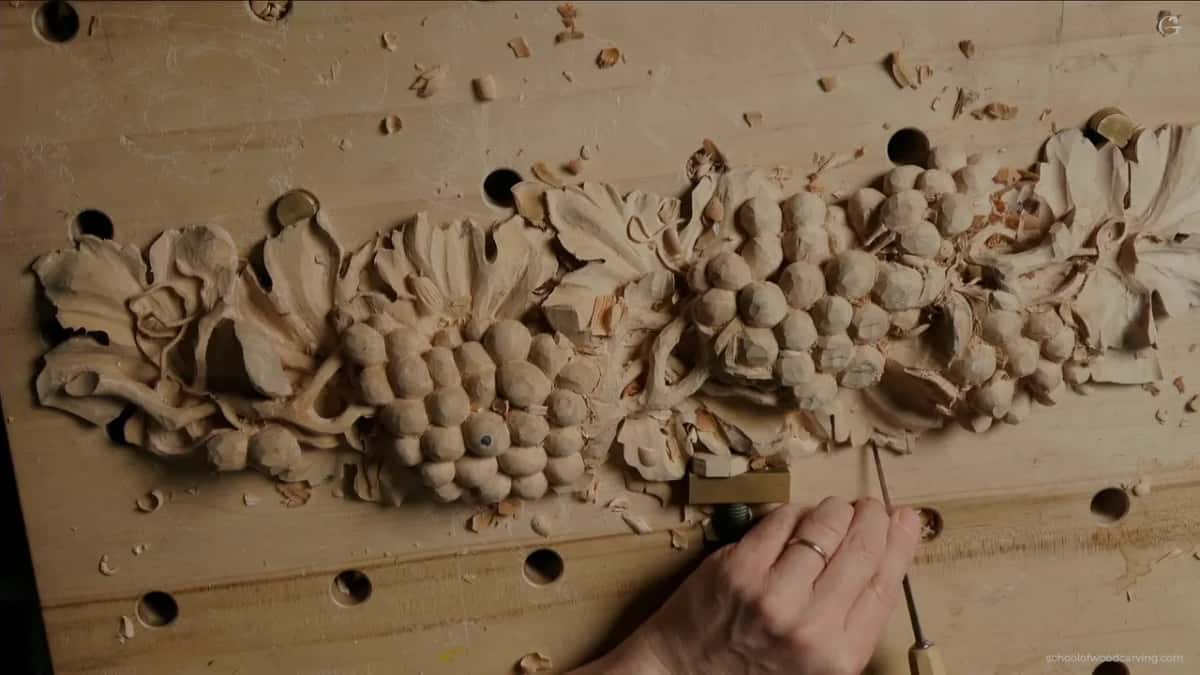
When do you go back to the bigger veiner?
When the separation shows and there is still wood to work with. After the 1 mm undercut I reached for the 2 mm again. I still had some of the material left right there, and with two millimeters I can exaggerate that motion even more. Exaggerate that shadow. We are pretty much painting with the shadow at this point.
The old painters had a word for strong light set against dark, chiaroscuro, and a carver gets the dark only by taking wood out. One spot fought me a little, but it was okay.
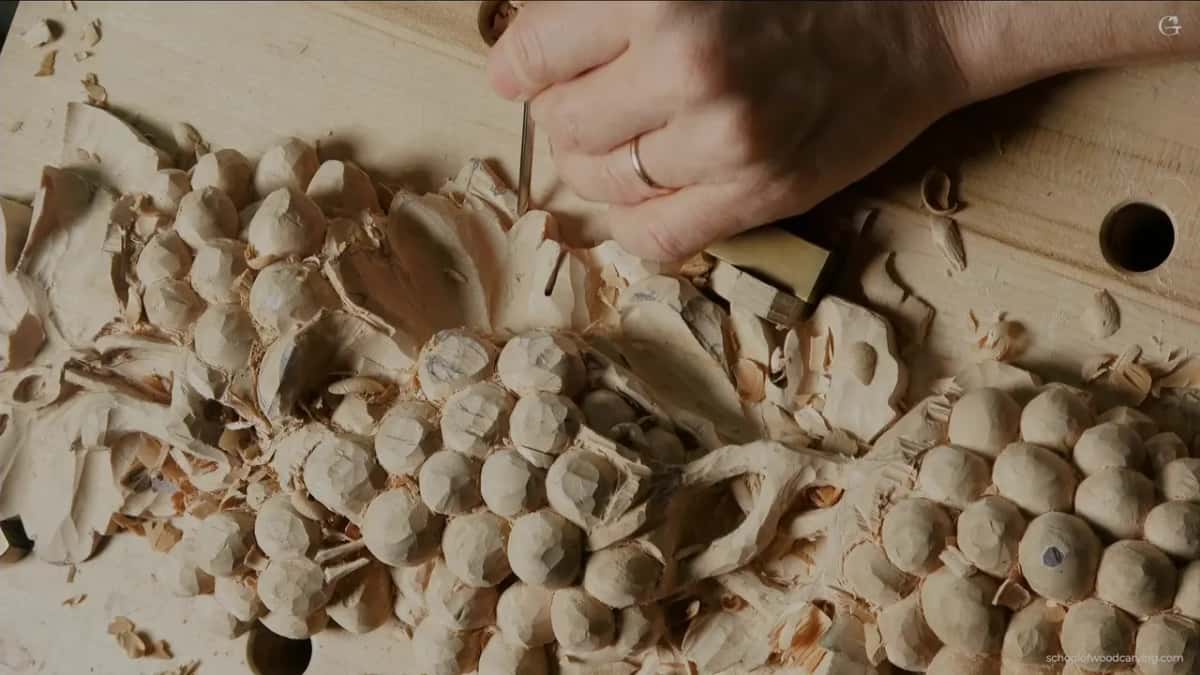
Sometimes even a small tool is too big. My Venice Room course, workshop 21, had me reaching for a small number 3 first. A number 1 will work too, I said, or sometimes even a small knife. I changed my mind. Oh, no, it's actually not going to work. I needed a micro tool to excavate 1/16 of an inch (about 1.6 mm) in, because I wanted that separation more exaggerated, more detectable, closer to the edge.
How deep should a leaf separation go?
That is up to you, and it depends on how you are going to use the piece. I told you one more thing about it in this video. More depth makes it look more dramatic, and it'll look awesome.
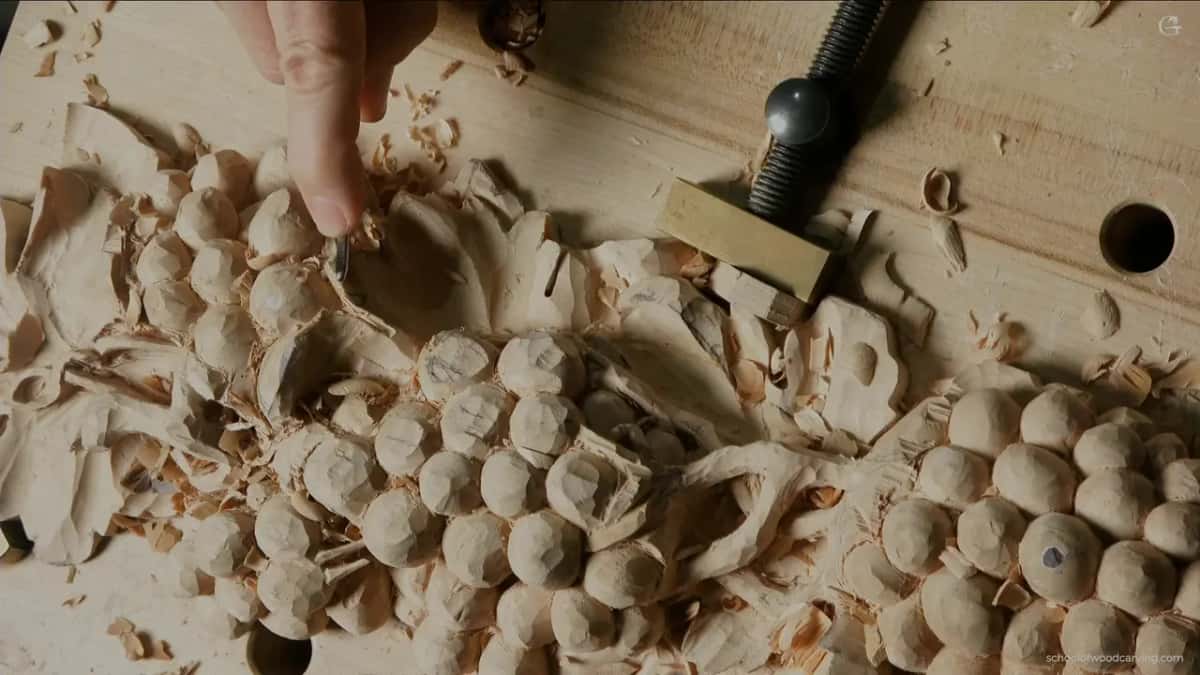
Inside this leaf I got really deep. About five eighths of an inch, I said, from one point in, so about 16 millimeters. You don't have to go that far. But why not?
Other spots got other depths. Earlier I dropped one small part almost all the way to the background. Maybe a couple of millimeters (about 0.08 in), I said. The bulge in the middle of the leaf did not need much depth. On this first layer the leaf was too flat. It doesn't have to be too deep, I said, but I had plenty of material, the whole one eighth of an inch (about 3 mm).
The gouge for that bulge had no marking. I guessed out loud, a number 5, or a number 6 maybe, and then said I guess it's a number 7 actually.

The grapes on the same panel follow a different rule. However wide a grape looks from above, that is how deep it goes, and no deeper, as I said in parts 1 and 2 of this lesson. The leaf gave me more freedom.
In my Hashemi flowers, lesson 12, I put both sides of depth in one breath. I know it's kind of deep, I said, but it's going to look really good. The deeper you go, the more shadow you create. But on the other hand, the deeper you go, the more fragile it becomes. In lesson 49 of the same course I held back. I don't want to go too extreme, I said, since going deeper makes it more complicated and harder to clean.
Separations on a hazelnut husk are their own question, and my hazelnuts course, lesson 3 covers how far those went.
Should you fix every separation right away?
I wouldn't, if I were you. Inside the separations you can make even more separations, with the relief cut again. With grapes, I said, you can do as many as you wish. An acanthus leaf is not like that, and there you have to be careful with how many you make. See how it gives me the look of the leaf, I said. Separation there, separation there.
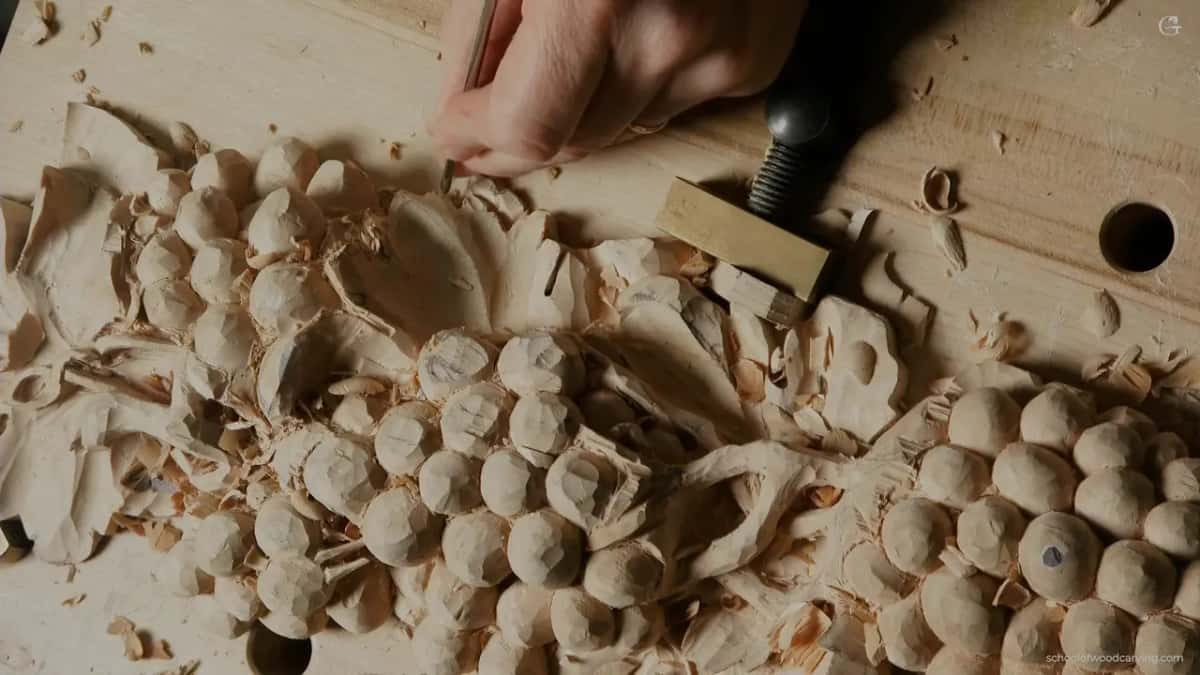
Next came a tiny tool, a number 3 of 1/8 inch, three millimeters. You could fix your separations with it. But I wouldn't do all of them right now, because it becomes fragile. On the other hand, I added, so what.
Seen from above, you can tell how it develops. A little later, you can get as crazy as you want, I said, and the 1 mm veiner (a hair over 1/32 in) went back in and cleaned all that mess on the inside.
Does every separation have to show?
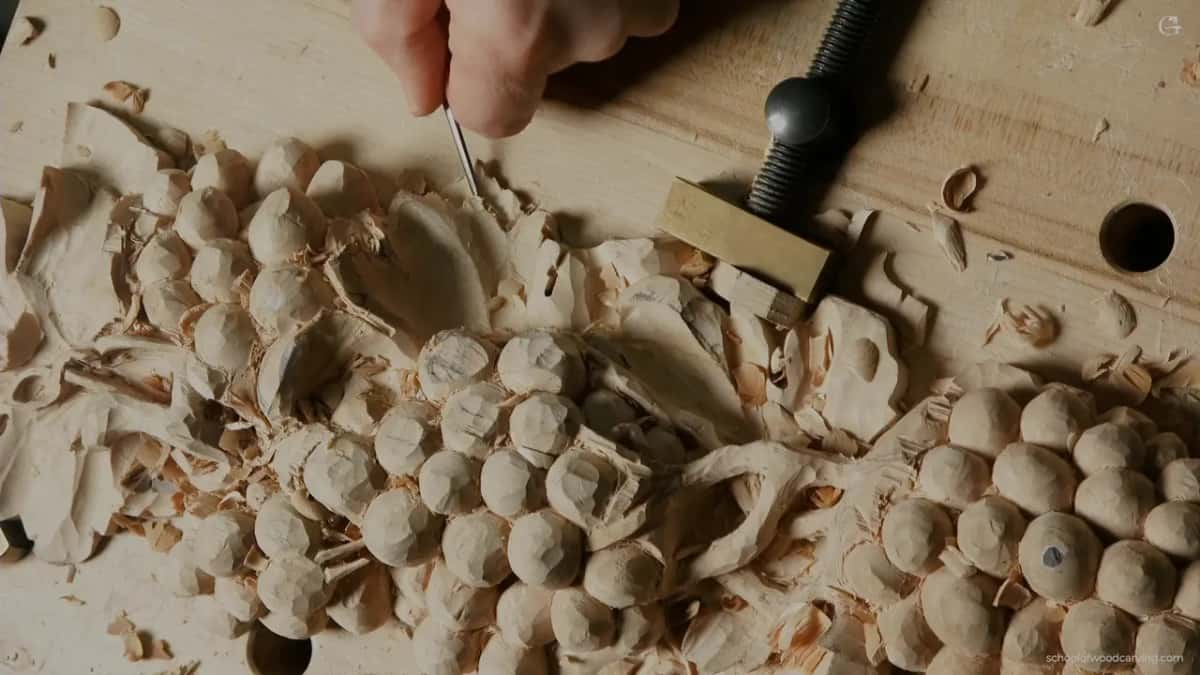
One of mine started out hidden. Earlier in the video I had a space for another grape, and I hid it right underneath the leaf. You don't really see the separation there, I said, which is absolutely okay. A smaller number 11 came next, 3 mm (a bit over 1/10 in), and I set a line in. Not too straight down, but you get the idea. And now, I said, you should be able to detect that.
On other pieces I wanted mine seen, and went to some trouble for it. Workshop 16 of the Venice Room is one case. That separation had to be chopped out right away, pretty much, or it was going to give me a problem. I could see it after that, and I still wasn't too happy. So I took one side down more, underneath, to make that separation stand out. Ask me why, I said. I have no answer. I just think it's going to look much better, and that's just my opinion. Just extra detail, which I really don't even need to do.
On my lily box I wanted to be sure one leaf was separated from the volutes beside it, and it wasn't reading yet. I want that separation, and I can't see that, I said. I needed to clean the mess beside it, and I thought a double bevel number 1, about 6 mm (about 1/4 in), straight down, would be a good idea. That way I would see it much better. This line has to continue on the opposite side too, I said.
| Where | Move | Tool |
|---|---|---|
| Grape onlay 9 | number 11 undercut, then bigger for shadow | one millimeter (0.04 in) |
| Venice Room 34 | long bend veiner reached the blended edge | 3 mm, 1/8 in |
| Venice workshop 21 | planned a micro tool near the edge | 1/16 in (1.6 mm) |
| Lily box 6 | chose double bevel number 1, straight down | 6 mm (1/4 in) |
| Gibbons Maine 17 | excavated dark spots as much as possible | no size named there |
Five pieces, and the tool changed every time. The wish stayed the same.
Where else did I make a separation show?
On a Venice Room panel, workshop 44, a separation also had to go inside. I gave it a preliminary pass, blended underneath it, and said I clearly see that separation now. Nothing stopped me from a more or less finished look right then.
Back in workshop 34 of the same room another one went in and made a spot, a beautiful spot. See that separation right here, I said. I just created an extra space for this separation, and that's just what I'm after. Later in the series, in workshop 112, I said we would do exactly the same everywhere I see a separation, just a little, and I took a number 7 for one of them.
In lesson 9 of my Byzantine acanthus course I put it as a rule for the spots where leaves meet. Wherever you see the separation between the leaves, you really have to do relief cuts, carefully. Relief first. Moments later I said I had already made a mistake. So what do you do? Redesign it. Next time I would use a smaller tool, probably. The style comes from Byzantine art.
And in my Grinling Gibbons class in Maine I said it in terms of light. I wanted one petal to go to the center and down, so I made a space between two petals. I made a dark spot, which is really important for me. With shadows and light, the separation shows. If you want that feeling of lightness, I said, excavate those spots as much as possible. I wasn't sure what term describes it, I said. The piece is still solid, but it feels lighter and lighter when you look at it. The class is named for Grinling Gibbons.
At the end of this video the leaf had plenty of shadows from above. To me it reads as a grape leaf now, one interpretation among the styles you could carve. Pretty soon after this, the details go inside the grapes.
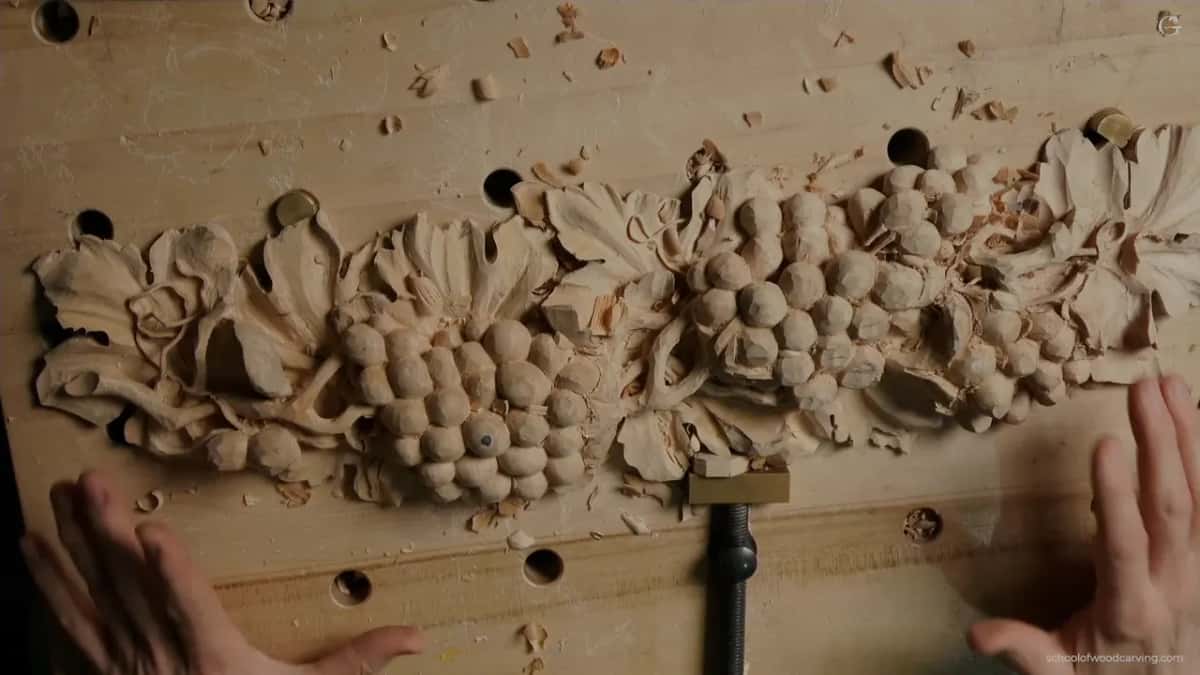
Would you like to watch that little veiner go under the line? Curious how the shadow comes up as it goes? The whole lesson is in the grape onlay course, and the plans for the library are on the Access page.
How it's done
- Settle the movement. I hold off on separations until the movement of the leaf makes me really happy.
- Mark the main lobes. A #11, 10 mm or so (under half an inch), flute at about nine o'clock, then the opposite way, gives me one, two and three.
- Set in an extra separation. Inside those lobes I make a relieving cut, flute down, with a #11 of 2 mm or so (under 1/10 in).
- Undercut with a tiny veiner. I go under the line with an 11 of about a millimeter (1/25 in) until a shadow shows.
- Push it with a bigger veiner. Where wood is left, the bigger 11 comes back and makes the motion and the shadow bigger.
- Leave some for later. I don't fix every separation now. Fixing every one right away makes the leaf fragile.
Frequently asked questions
Which veiner makes a leaf separation show?
A very small one. My grape leaf got a number 11 of about 1 mm (roughly 0.039 in) under the separation, and the shadow showed up right after. A 2 mm (under a tenth of an inch) came back after it to make that shadow bigger, since I still had some wood left there.
How deep can a separation in a carved leaf go?
As deep as you like, and it depends how the piece will be used. Inside my grape leaf I went about 5/8 of an inch, close to 16 mm, though going that far is not a must. Going deeper looks more dramatic, and on my Hashemi flowers I added that it gets more fragile.
Should you clean up every separation at once?
I wouldn't, if I were you. My tiny number 3, 3 mm (1/8 in) across, could fix them, but doing all of them right away makes the leaf fragile. With grapes you can add as many separations as you wish, while an acanthus asks you to be careful.
What to carve next