

Alexander Grabovetskiy, woodcarver, School of Woodcarving · Published 2024
How do you carve a flip on the edge of a grape leaf?
Quick answer: A grape leaf flip is an edge that rolls over, with a deep shadow under it. On my onlay a 4 mm (about 5/32 in) #11 outlined one, a 10 mm (3/8 in) #11 chopped it, and a wall of about half an inch (13 mm) stayed beside it.
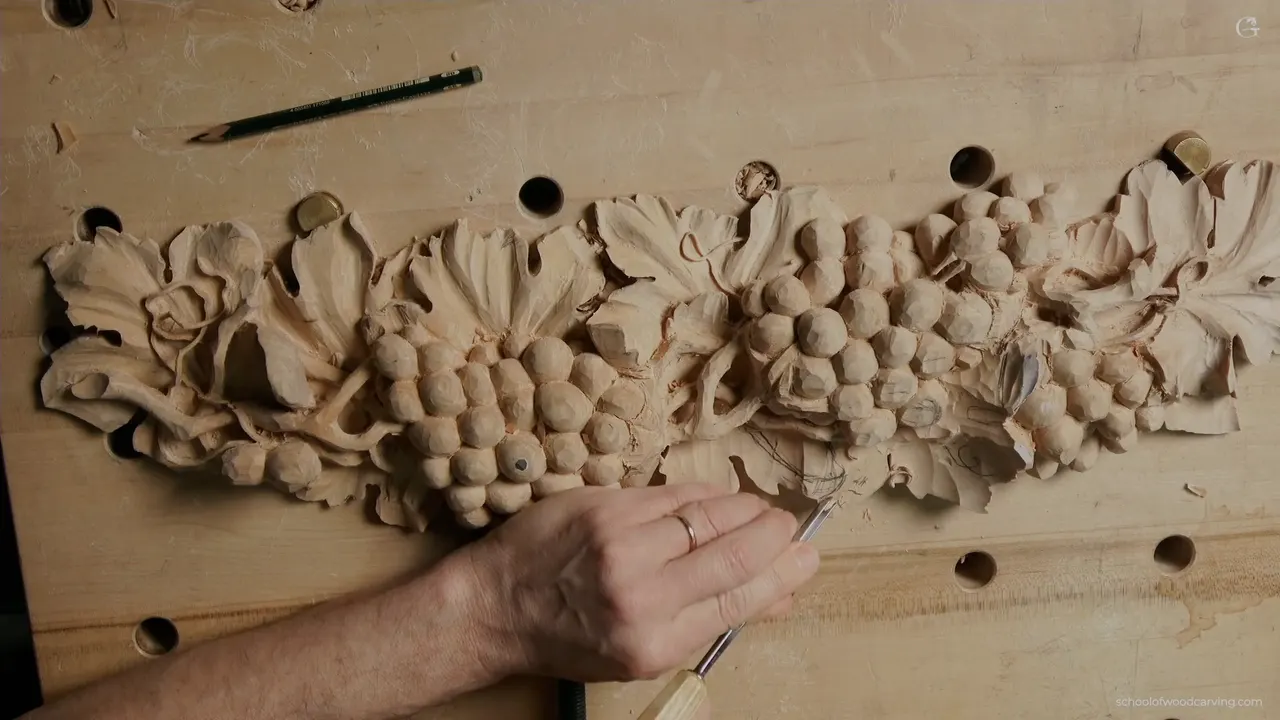
A flip on a grape leaf is a piece of the edge that rolls over, so a deep shadow sits right under it. I carved one in the first video of lesson 9 of my grape onlay, when I moved over to one side of the panel to develop its overall movement. Below is that bit of grape leaf carving the way it went on camera, tool by tool, with two changes of mind left in.
Have you carved a grape leaf that just lies there on the board? Did it look pasted on, with nothing going on at its edges? On another piece I said a flip is much better than a plain leaf lying on top. So here is how I carve one, and what it costs you in wood.
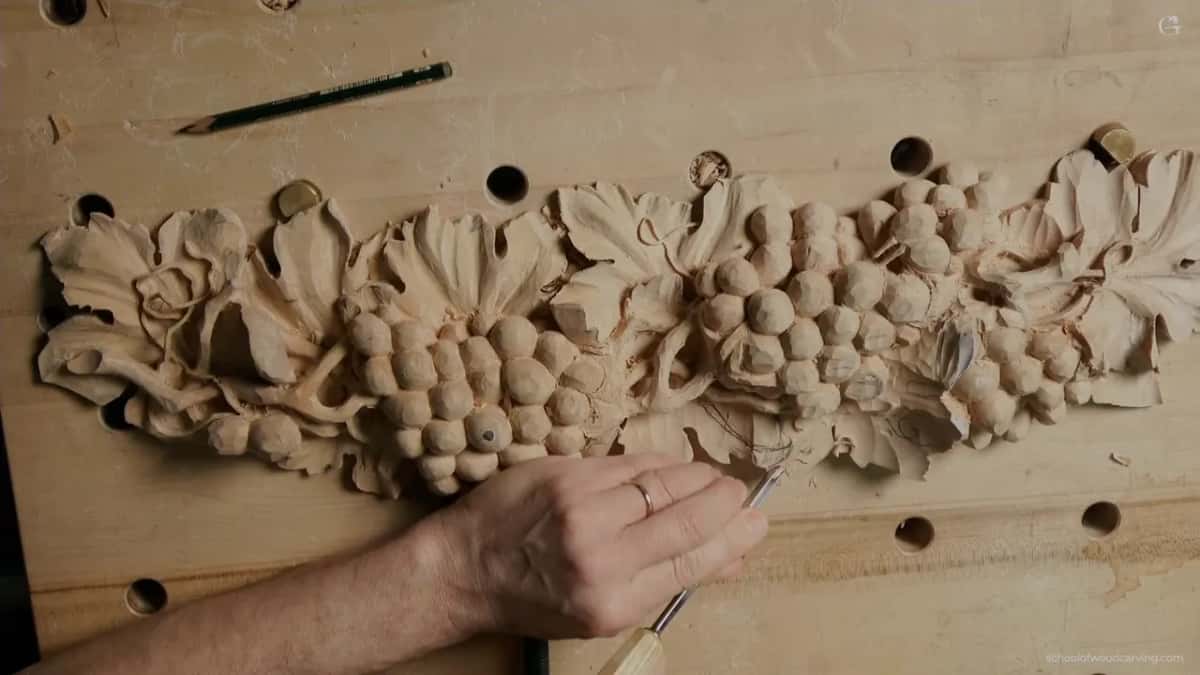
Six things I did for this flip
- A small #11 set in the outline, 4 mm wide (5/32 in), and I kept it shallow.
- Next, a bigger #11 chopped it with the flute at about nine o'clock.
- A wall of wood stayed for it.
- The first pass went 12, 13 millimeters deep (0.5 in).
- My #3 rolled it, though a #2 or a #5 would have done the same, I said.
- The next spot got pointed inward instead.
Which way should the flip go in grape leaf carving?
Uphill, on this leaf. Downhill could have worked at that spot too, but I said you don't have to do the downhill there, since the light will most likely hit it from above. Going uphill gave me one deeper shadow. My hazelnuts course works through the same light question on a husk, and Venice Room workshop 73 takes up when a curled edge is worth carving at all.
Before the tool went in I said one more thing. I had a really good opportunity there to create extra shadow, and the flip was how I would get it, right in that section. Later in lesson 9 I called this kind of relief work painting with the shadow.
The flip came out of a bigger plan for that leaf. Two major movements run through that part of the panel, the bottom part and the upper part, and you can see the arch, each one going its own way. I wanted the main line of this leaf to make the same movement going downhill, so one part became the high spot and I dropped the other. If that feels like too much, I said, you don't really have to follow those rules.
How do you outline a flip before you carve it?
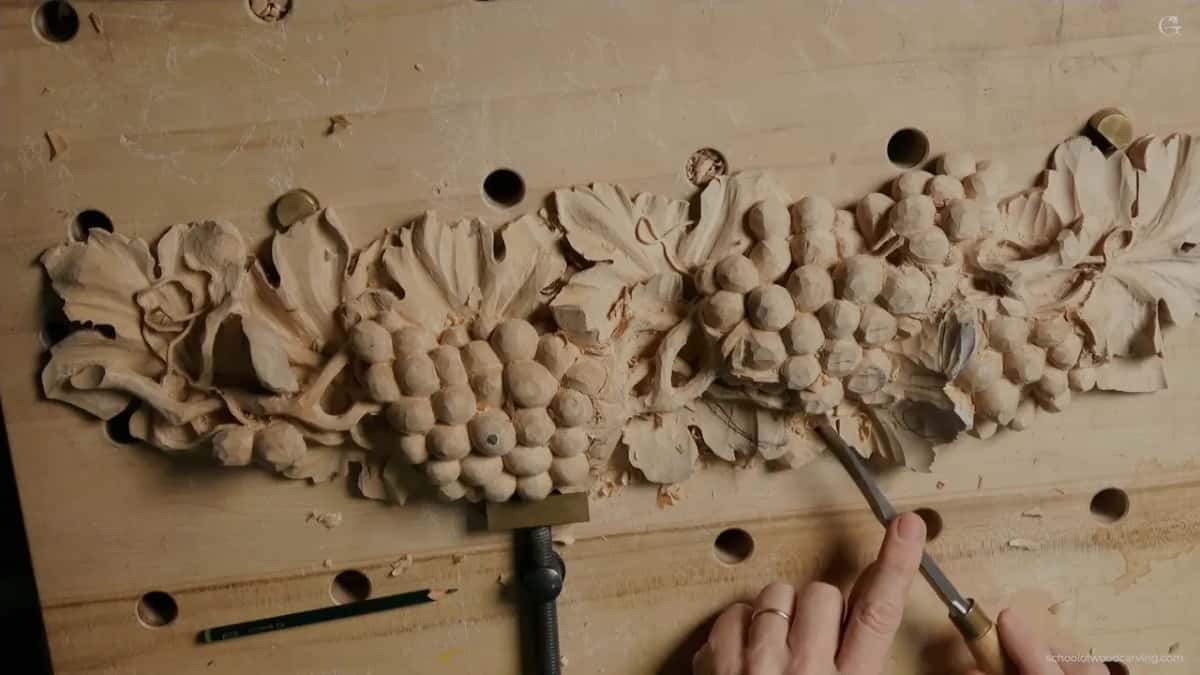
With a small #11 veiner. Tool number one, obviously, was a number 11 of 4 millimeters (0.16 in). I set it in and outlined the flip, and I told the camera I'm not going to go too deep yet.
Next came a choice about the wood beside it. I still wanted to keep some of that material, because I thought a flip there would look really good. But I didn't want to keep too much.
How much wall do you leave for the flip?
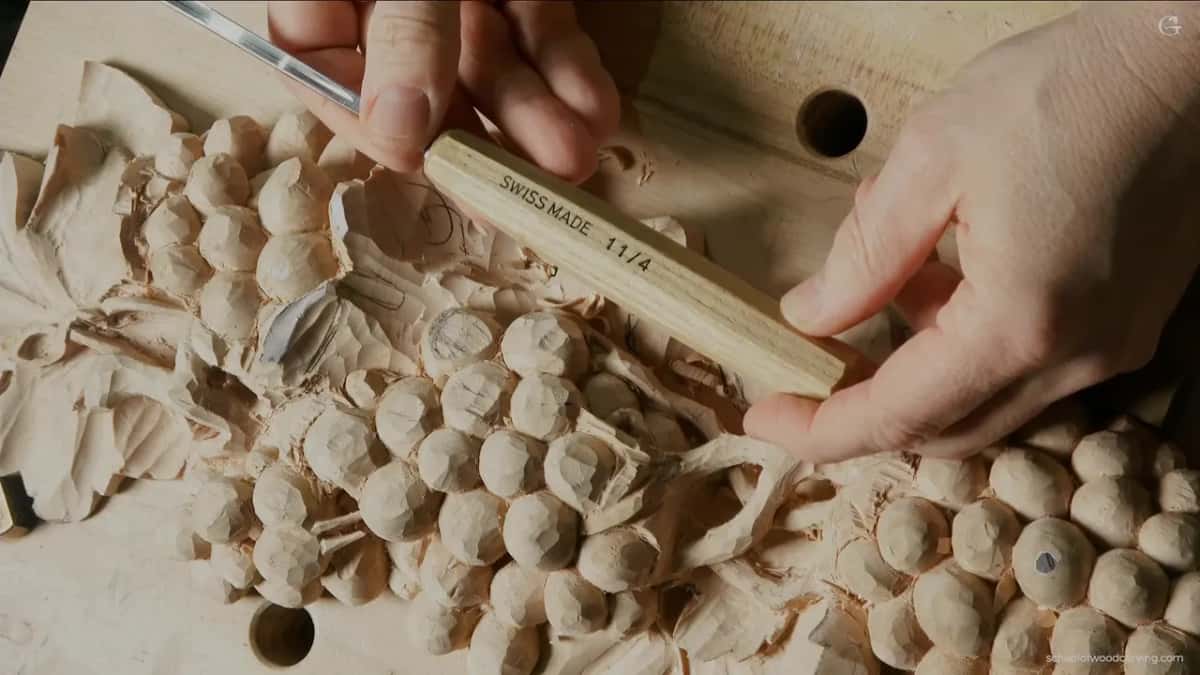
A half inch or so, about 13 mm, left standing as a wall. I picked up a little bigger #11, 10 millimeters, three eighths of an inch, and chopped with the flute at approximately nine o'clock. That wall of material is important if I want to do the flip, I said.
A few minutes later I came back to it. Half an inch right here, I said, and maybe 10 millimeters at another spot, about three eighths of an inch. So the wood I kept was not one thickness everywhere.
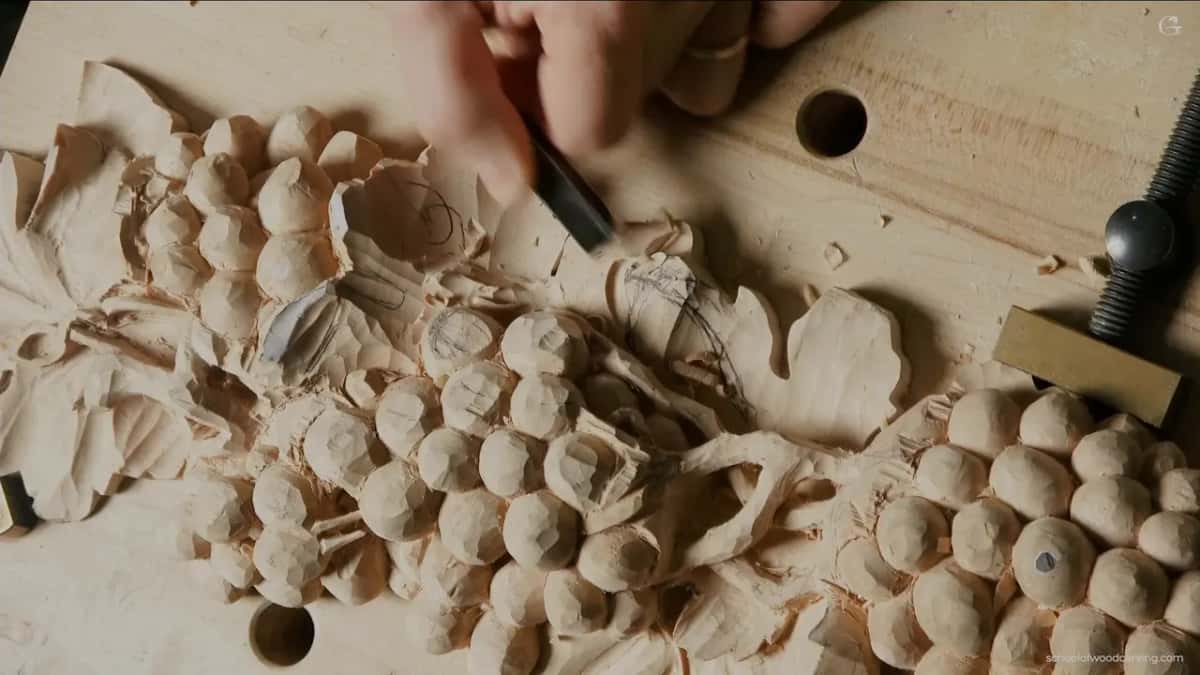
How deep does the first pass go?
Close to 1/2 in (12 or 13 mm), measured from the top of that spot all the way down. On camera I gave it as 12, 13 millimeters or so. I started with the flip itself and attacked my first contact there, then worked for a while without talking.
All I was doing was making an initial motion, I said. Initial is the word that matters here. It's the first shape, and more passes came after it.
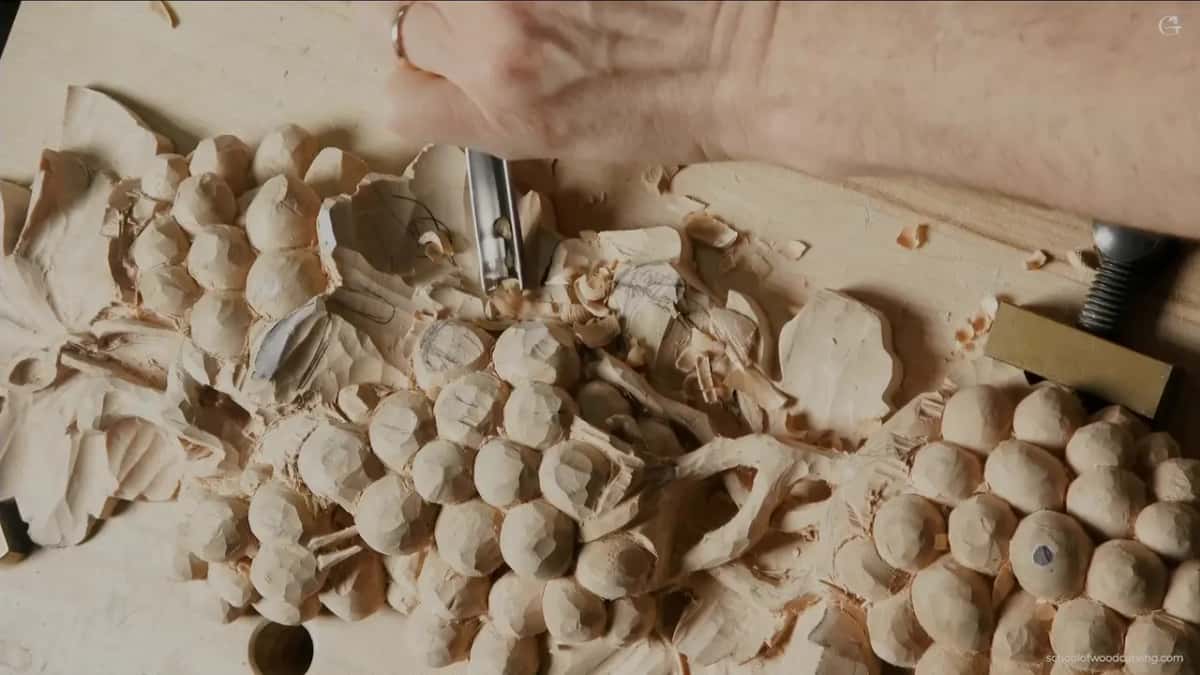
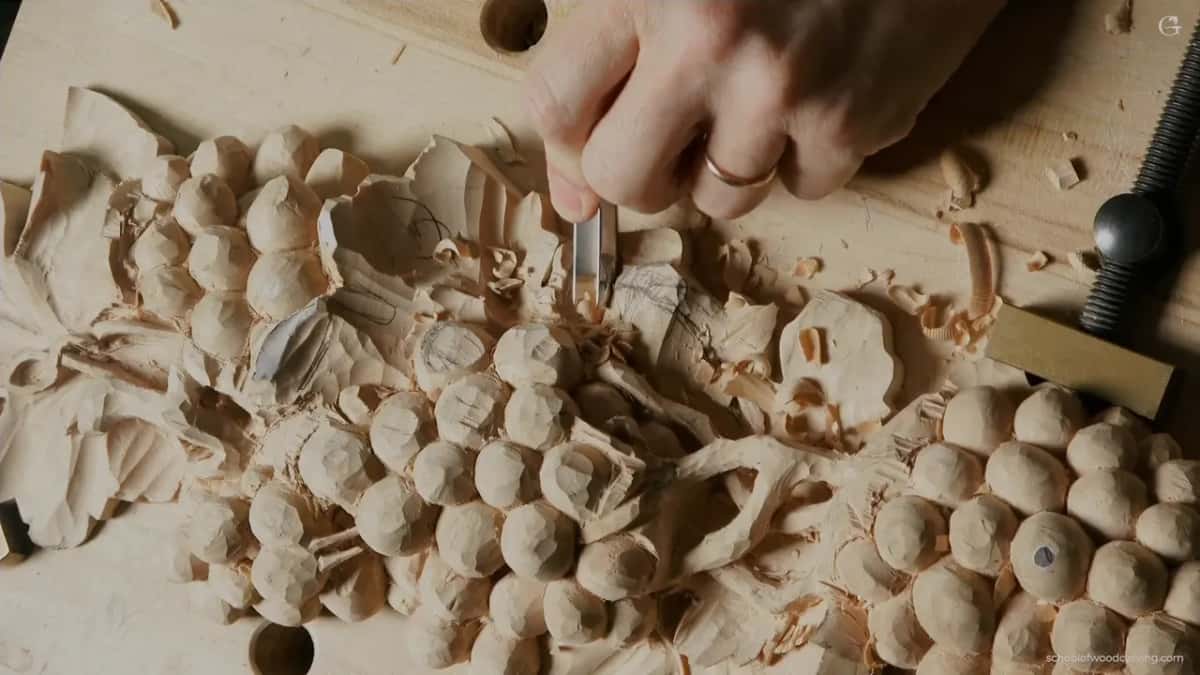
Which gouge rolls the flip after the #11?
A flatter gouge. Any tool will work, I said. I grabbed a number 3, about 12 millimeters or so (0.47 in), and began preparing the material.
From there I started rolling. That would be a number 3, I said, but it could be a number 2, and in this case I could actually use a number 5. It would still give me the same result. That gave me the motion of what I would want to see, somewhat rough.
And yes, I had a new accessory that day, a chair. I said I was still learning how, by sitting a little bit, because I have to.
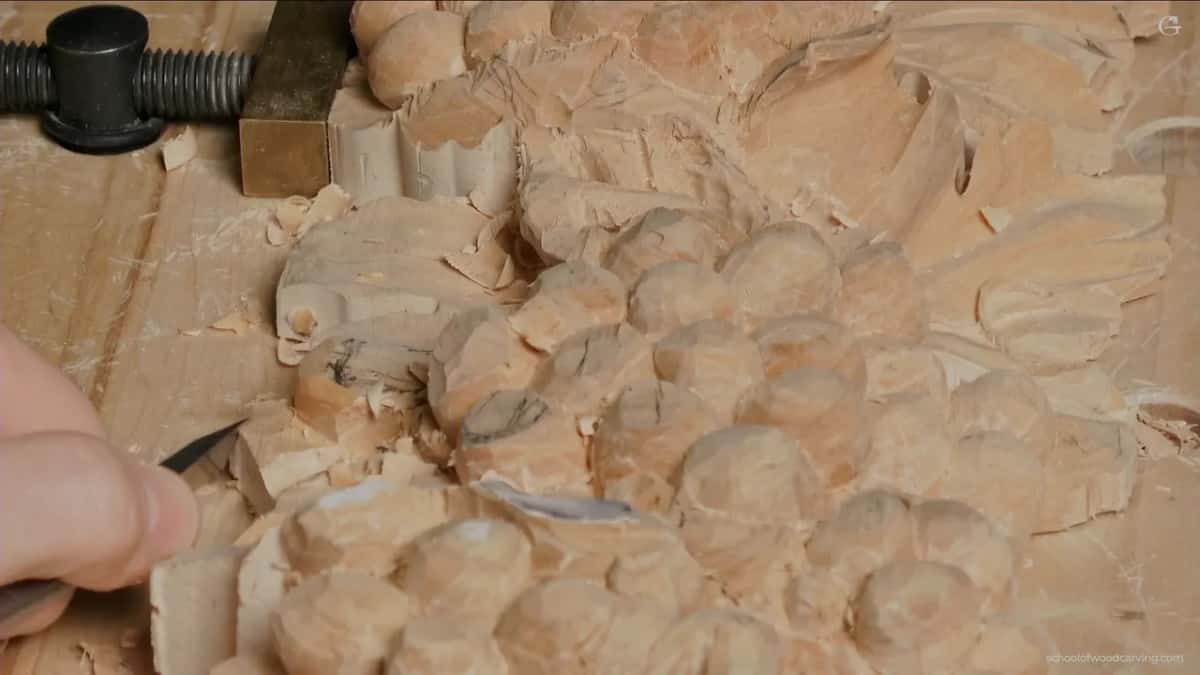
Why did my second flip turn inward?
I didn't think a flip would look good there. For the next spot I meant to do exactly the same thing. But I said I'm not sure if I should, because if I flip it, maybe it's not going to look good.
I still kind of liked the overall motion, though, so I changed it. I pointed that part inward and made the lift a little deeper, which gave me a more dramatic shadow. Seen from above, it went down, down, up and down, and I said it looked really good. I'd still get the shadow there.
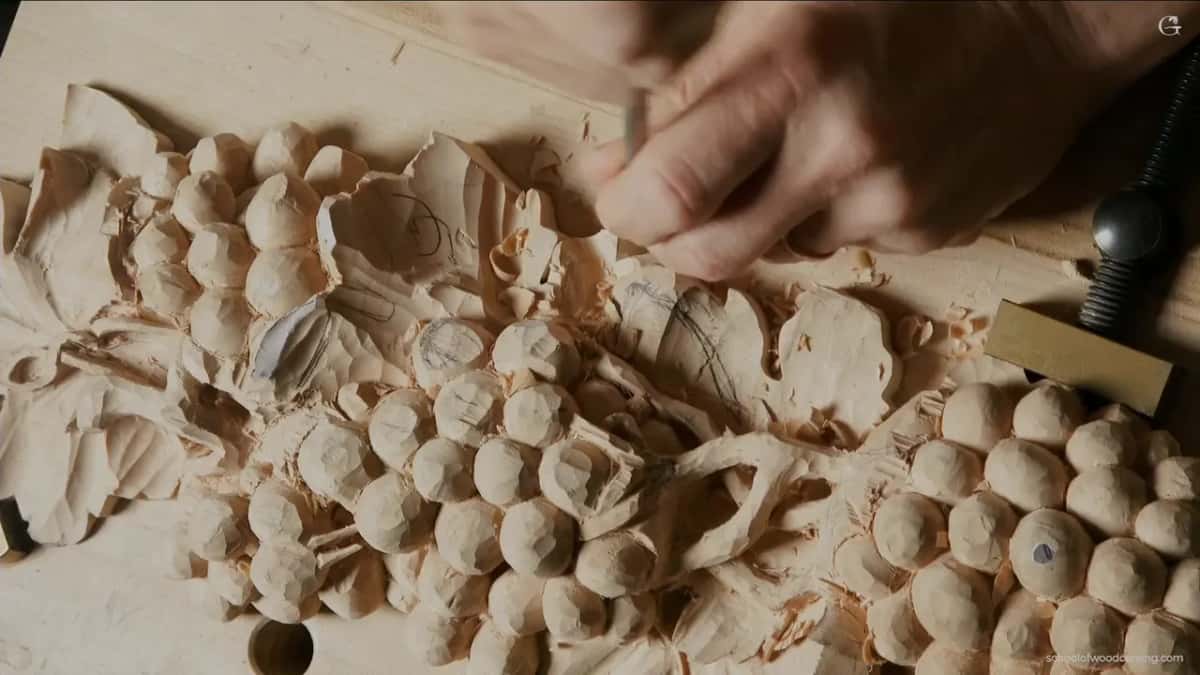
What happens to the convex next to the flip?
It gets pushed further. With the same #3 I fixed that convex, and I said in this case I could probably exaggerate it. Don't worry about the mess I left on the side, I told you. I'll take care of it a little later.
My bigger #11 came back next to exaggerate the concave. After that I looked at two convexes side by side and didn't like what I saw. Each one was a convex, but still kind of the same surface. So I dropped one of the sides slightly, my left-hand side, to get a little more shadow, and kept the convex itself.
Dropping an edge to get shadow is a big subject of its own, and my Venice Room course, part 12 spends a whole page on it.
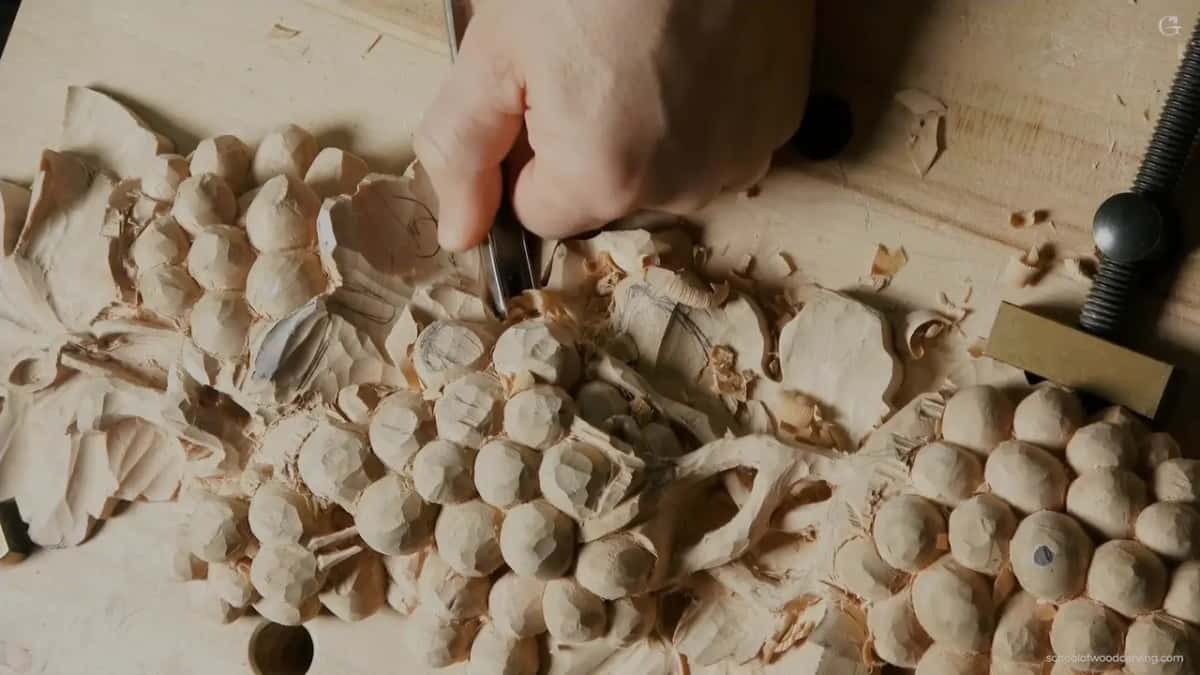
Where does the depth stop beside the grapes?
As deep as the grape is wide, and not deeper. After the flip I moved on to the next leaf, a big one with an arch, and I had to find its center first. This point, that point, and the center goes right there, I said, so the arch runs something like this. Not too much this way. Maybe I could twist it slightly.
I made an initial pass on that side with the #3 and said I'm still slicing, not a big deal. A bigger #11, Swiss made, came out to excavate. When I picked it up I called it a 12 millimeter (about 0.47 in). I had to keep an eye on how deep I went there, because I was pretty close to my workbench.
A couple of minutes later, still on the same tool, I said 18 millimeters (about 11/16 in). The depth rule came next. However wide that grape is going to be, it's got to be that deep, but not deeper, because you don't want to create too many voids you then have to deal with. The course page has more on that rule.
Right after that came the shadow. Here you go, I said, see that beautiful, beautiful shadow. The video ends about half a minute later with a maybe, one more motion I could create there, following the direction of the movement.
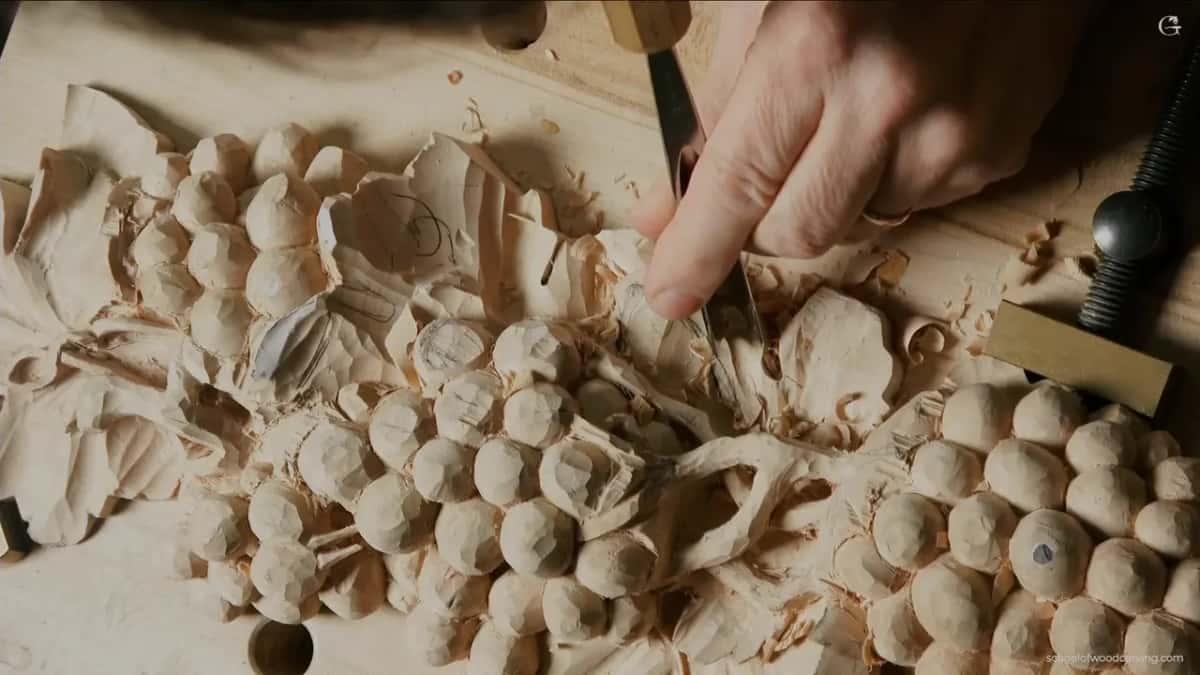
How big should a flip be?
About as deep as it is wide, on my tray. The Tray of Blessing is my Cabernet Sauvignon grape tray. I planned the flip itself at about 20 millimeters, about three quarters of an inch, with a #9 of 20 mm (about 3/4 in) as the tool I said I'd use pretty much all day.
How big a flip, I asked there, and called it the easier question. If I have three quarters of an inch (about 19 mm) this way, it's more pleasing to make three quarters down also, like a full barrel. From that point downhill I was safe to excavate that deep. I stayed away slightly from the line itself, because I can always carve right to it later. At that point I was just blocking in the overall idea.
To roll it I set the outline first with a number 2 of 10 mm (0.39 in), then rolled it underneath slightly. Some people do struggle to roll it, I said, and they can grab a smaller tool and start undercutting. Even with the number 2 I wasn't pushing. Still slicing, with the tool at about 45 degrees to the line I was carving, which makes it more accurate and much cleaner. And if it fights you, turn the work and attack from the opposite direction.
I gave a warning on that tray too. Don't undercut too soon, before you see you do have a full barrel, a full block. Otherwise it's going to be too squished. It won't look bad, I said, but it won't look like full 3D. I liked that flip because it gave me a really good shadow right there.
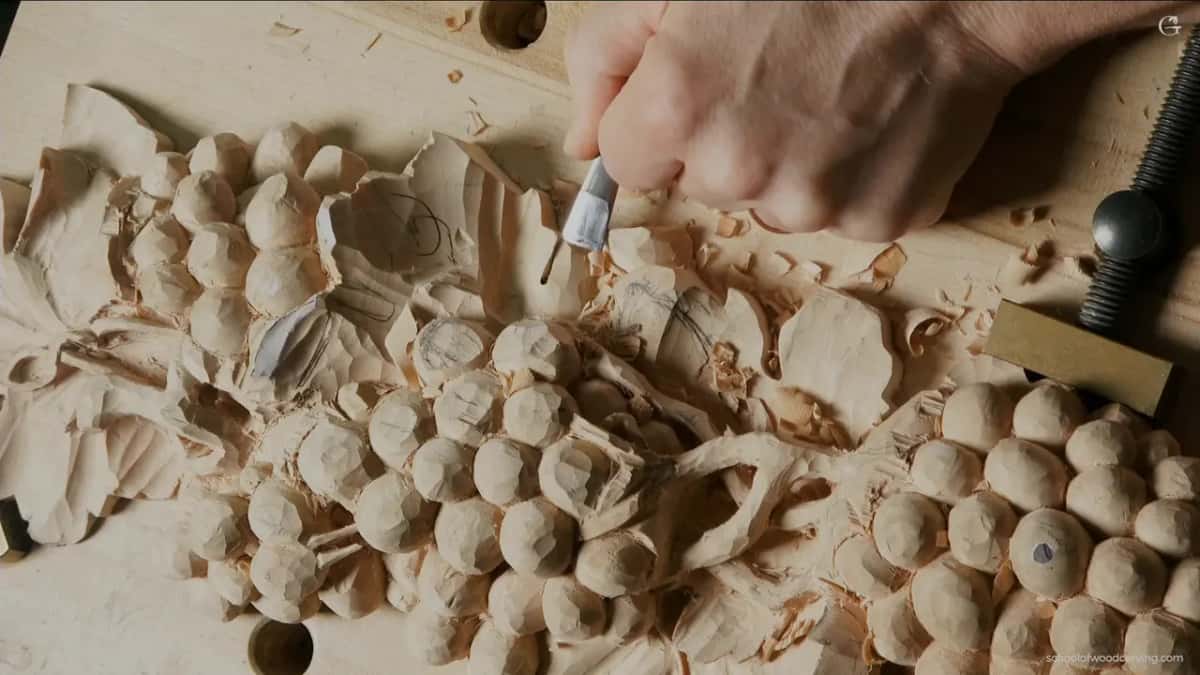
When do you undercut a flip?
Later, and slowly. Back on that tray I said don't excavate too deep yet, because later on you'll be able to clean it underneath. For now you should be able to see how it rolls.
For a Hashemi flowers panel, workshop 17, I took a 2 mm (about 5/64 in) #9 spoon gouge and worked my way in, and I said I wanted it to flip for real. That meant going in to undercut, carefully, to excavate as much as I could from underneath and make a shadow line. That shadow was what I needed for it to read as a flip.
The grain ran one way on that piece, so I took the wood out with the grain, less fight for me. A quarter inch (about 6 mm) #8 went in next with almost no pressure at all. Sharp tools are just a must there. Little by little, so I don't have to force it. Just take your time. I know it takes some patience.
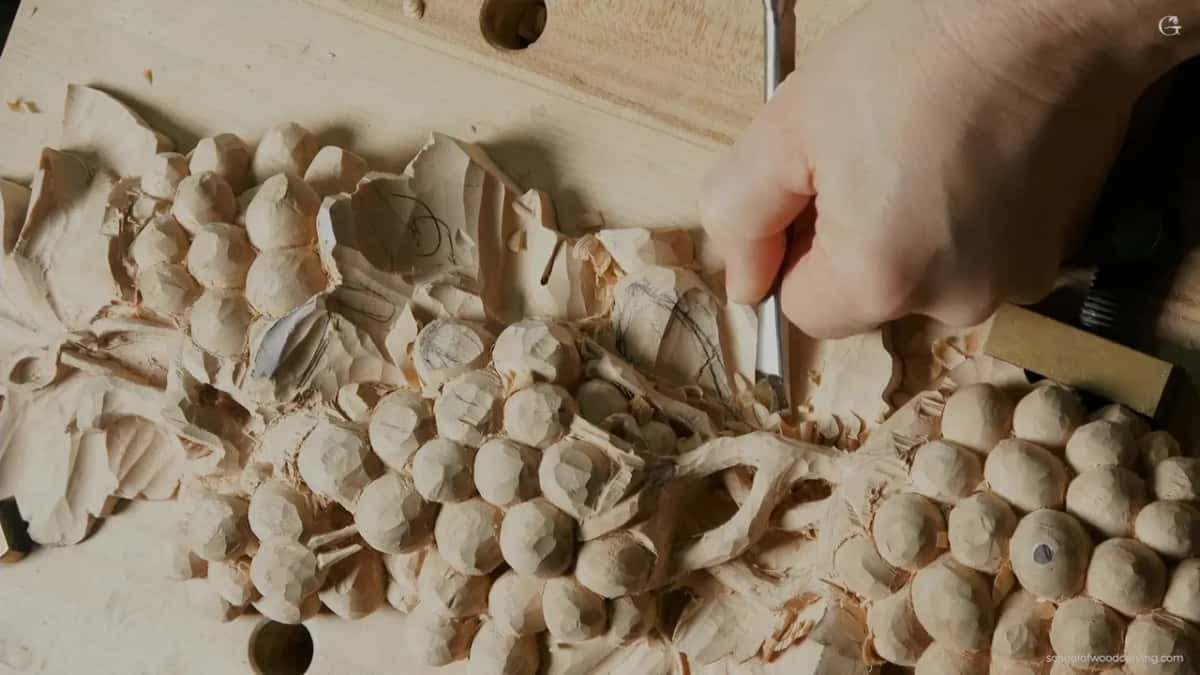
One part of a Venice Room panel, workshop 11, had not developed the way I liked. Maybe I should do a flipping, I said. Double flipping. Let me try, and if I don't like it, it's too late. A moment later I said it's actually going to work out really good, and that I do love those flips. I think they look awesome.
That flip couldn't sit below, it had to go in. A #11 spoon gouge of maybe 5 mm (3/16 in) excavated right below it, and I still had to have some space there, because the flip goes on the inside.
Can a petal flip the same way?
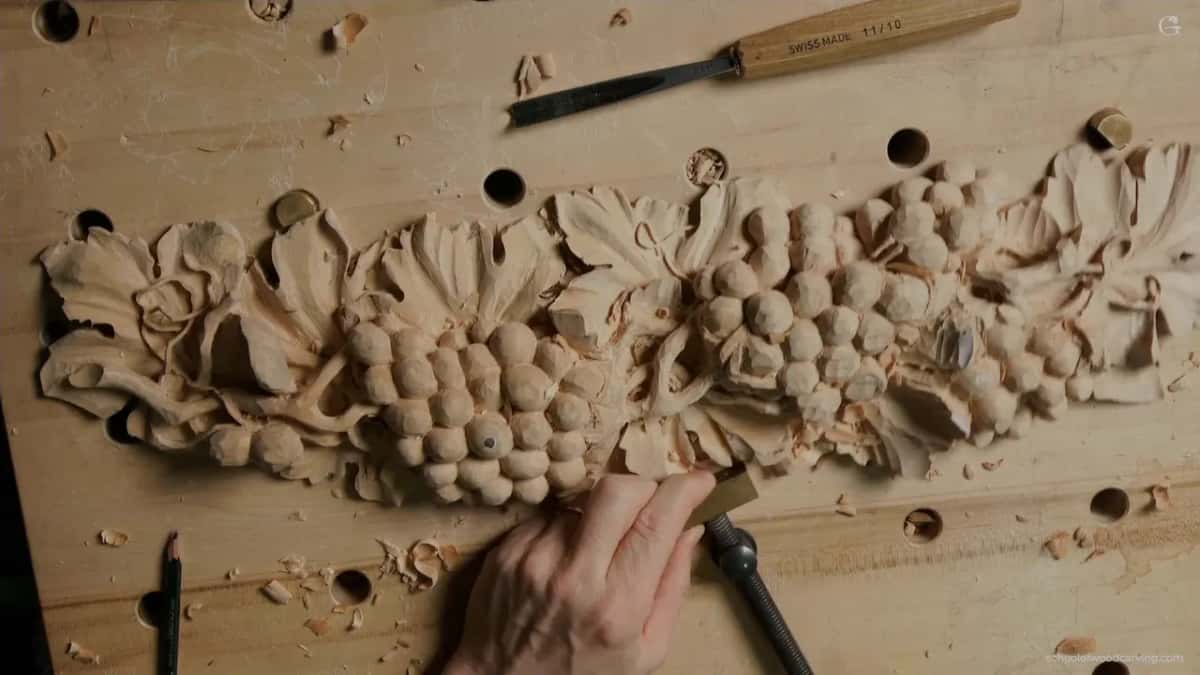
It can. In my Grinling Gibbons class in Maine, lesson 7, I rolled the edge of a petal with a number 2 as a first step. For the other side the plan was to excavate inside and create a flipping motion, so the petal would flip over.
A #9 of 10 mm (about 3/8 in) dug that area out first, as a preliminary. Deeper could come right away, I said, if I needed it. The class is named for Grinling Gibbons, an Anglo-Dutch carver known for his work in England.
What did each of my other flips need, piece by piece?
| Piece | What the flip got there | Tool, or the size I named |
|---|---|---|
| The grape onlay | kept a wall, then rolled it uphill | 4 mm (0.16 in) #11 first |
| Tray of Blessing | a full barrel first, then any undercutting | flip about 20 mm (3/4 in) |
| Hashemi flowers panel | undercut slowly, with the grain, for shadow | 2 mm (5/64 in) #9 spoon |
| Venice workshop 11 | tried a double flip and dug below | maybe 5 mm (3/16 in) #11 |
| Gibbons Maine class | rolled the petal edge, then excavated inside | a #9, 10 mm (0.39 in) |
The sizes in that table run from a 2 mm (0.08 in) spoon gouge up to a flip of about 20 mm (0.79 in), and each one went into a different piece.
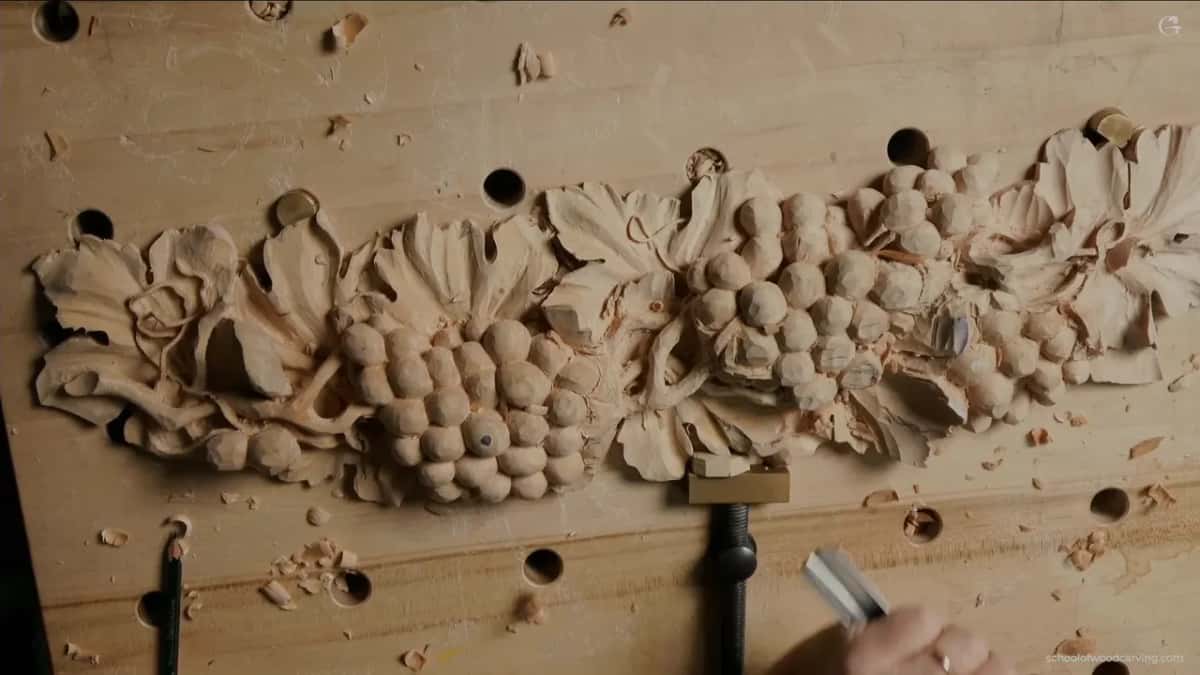
On my onlay each leaf shares the panel with a grape vine and its grapes, all of it wood carving done by hand.
Painters have a name for that play of light and dark, chiaroscuro. In wood the dark part has to be carved, and on this leaf the flip is where I got it.
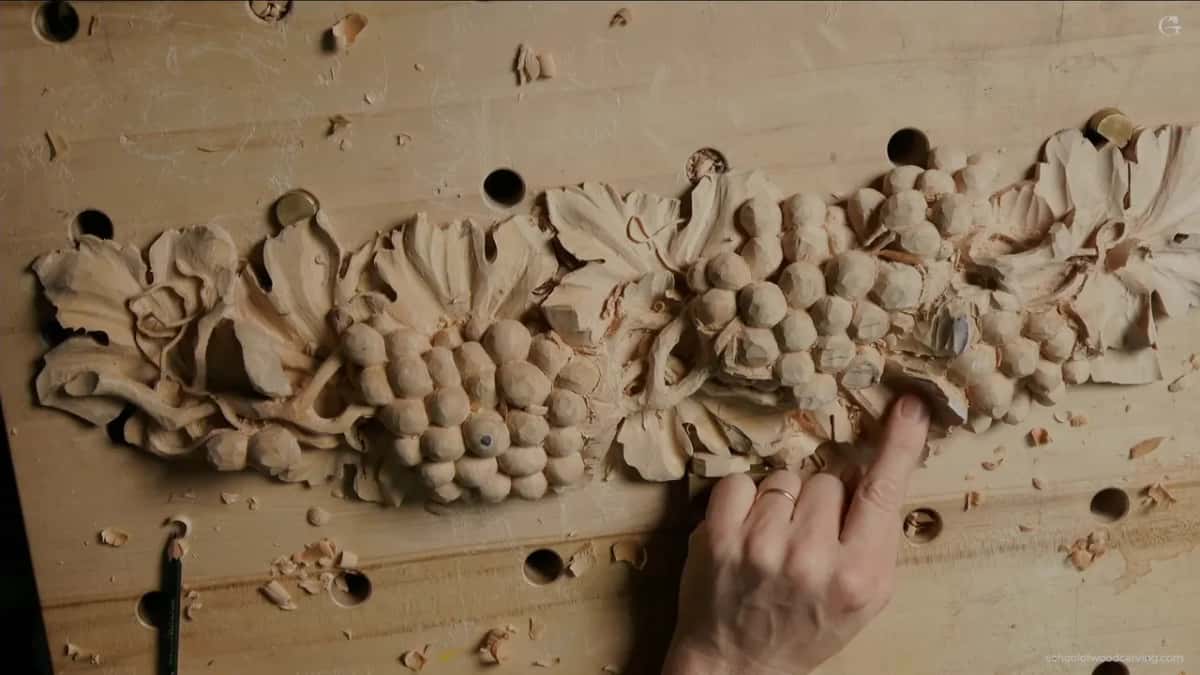
Would you like to see that flip go in, pass by pass? Can you picture where your own leaf could roll over? Lesson 9 has all three videos with the tools in my hand, lesson 10 picks up after it, and the plans for the whole library are on the Access page.
How it's done
- Outline the flip. I set in the outline with the small #11 and keep it shallow for now.
- Chop and keep a wall. I chop it with a bigger #11 and leave some wood standing beside it for the flip.
- Make the first motion. Starting on the flip itself, I make a rough initial motion.
- Roll it. My #3 prepares the wood and rolls the shape.
- Decide the next spot. When I doubted a second flip, I sent the part inward and lifted it a little deeper for more shadow.
- Push the concave. The bigger #11 exaggerates the concave. Where two convexes read as one surface, I drop one side slightly.
Frequently asked questions
How thick should the wall be for a carved leaf flip?
A half-inch wall, about 13 mm, stood on my grape onlay, and I told the camera that wall is important if I want to do the flip. Another spot had maybe 10 millimeters (about 0.4 in). I kept some wood there, just not too much.
Which tools carve a leaf flip?
Two #11 veiners and a flatter gouge did it on my leaf. The small one outlined it, the bigger one chopped it, and a #3 rolled it. Any flatter tool will work for the rolling, I said. Later the bigger #11 came back to exaggerate the concave beside it.
Should a leaf flip go uphill or downhill?
On this grape leaf I chose uphill. Downhill could have worked, but the light will most likely hit from above, so uphill gave me one deeper shadow. At the next spot of the same leaf I skipped the flip and aimed that part inward, which still made the shadow more dramatic.
What to carve next