
Alexander Grabovetskiy, woodcarver, School of Woodcarving · Published 2021
Can you draw wood carving patterns on an iPad?
Quick answer: Drawing carving patterns on an iPad is faster than paper once a client starts asking for changes. I draw in Procreate on a canvas set in real inches, scale the file to the millimeter in SketchUp, and have a print shop run it full size. My 10 foot sheet cost $27 at FedEx.
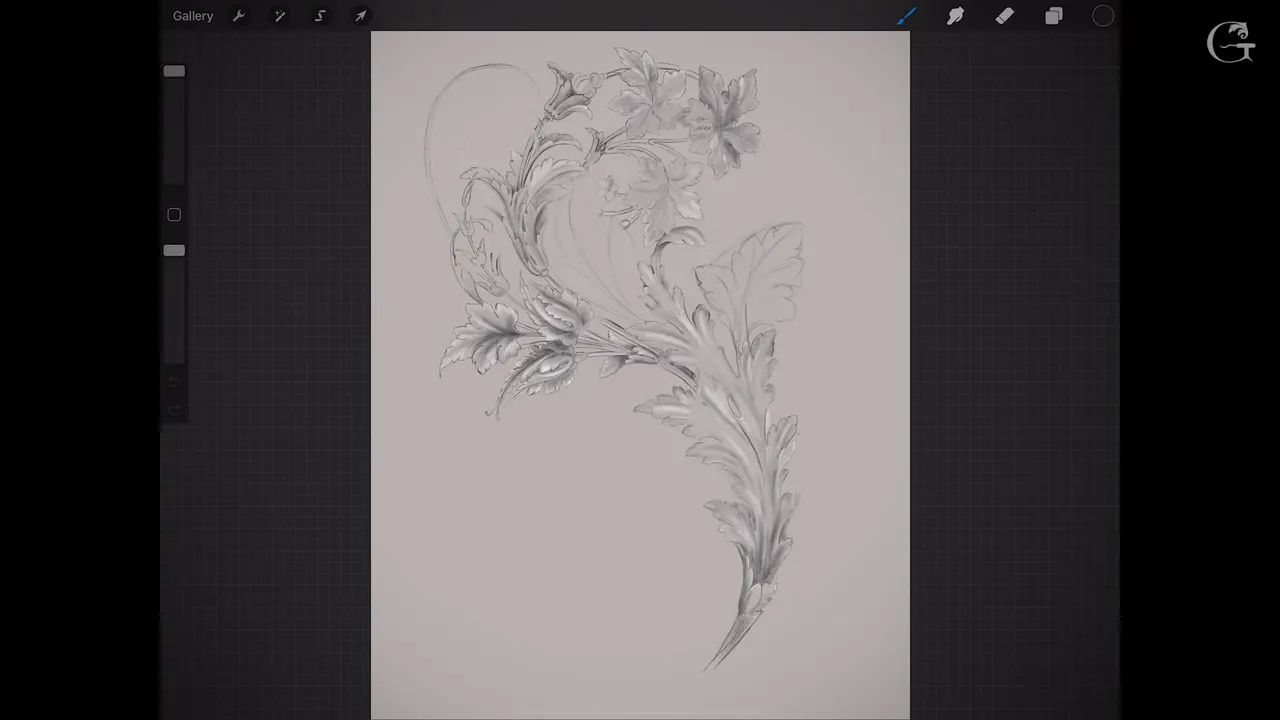
An iPad is where I draw my big carving patterns now, and it saves me hours on every change. A change that used to cost hours with a razor blade is one tap on undo. When the drawing is done, it prints full size, one to one, ready to trace onto the board.
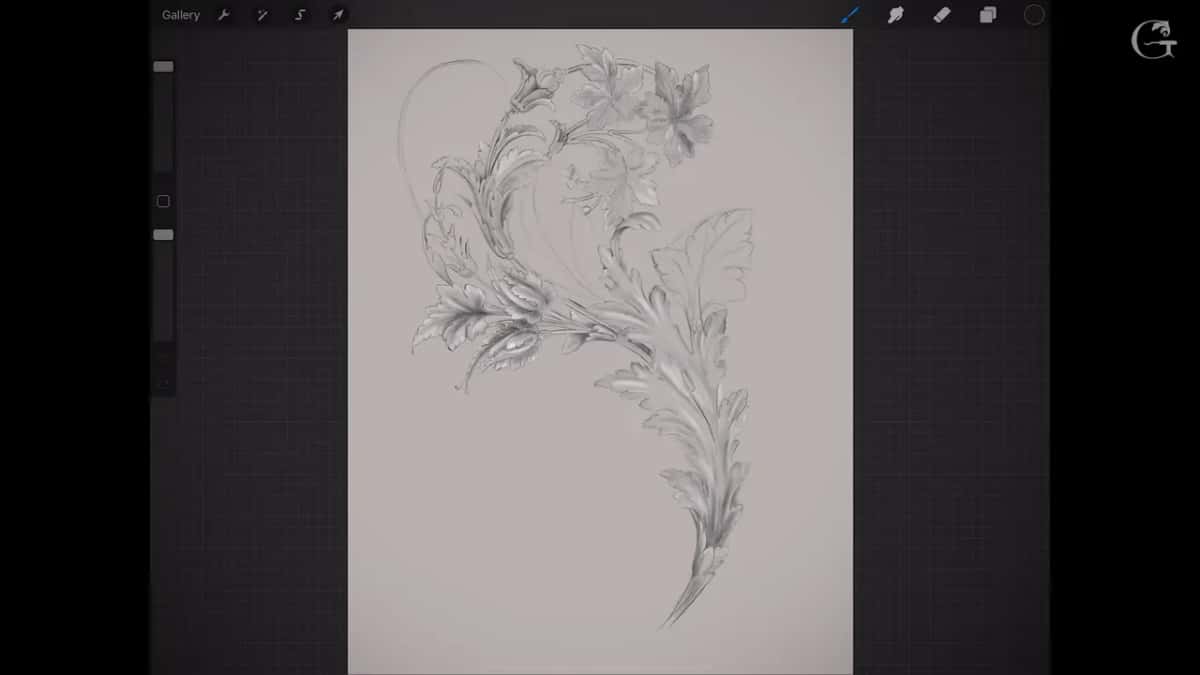
Have you ever redrawn an acanthus leaf because a client wanted it higher, and then again when they wanted it moved to the right? Is there a tablet somewhere in your house doing nothing? Then this trick is for you, and it works for small pieces too, though big ones are where it really pays, since getting a big idea onto the board is the hard part.
My iPad pattern method, start to finish
- Procreate on an iPad, though an Android tablet works too.
- A canvas set in real inches, as big as the job itself.
- 300 DPI, or 400 at the very most.
- The Peppermint pencil.
- A JPEG goes into SketchUp, gets scaled to the millimeter, and comes out as a PDF.
- FedEx printed my 10 foot sheet for $27.
- Carbon paper for the first board, clear plastic for the board on the other side.
Why draw a carving pattern on an iPad at all?
Clients change their minds, and paper punishes you for it. A few years back I would stretch a big sheet of paper and draw everything by hand. If the other side had to be the same, I flipped the sheet and drew the detail all over again, and that took me a long time. Lately I use technology, and some of you, not all of you, probably have an iPad already.
Say you have a huge project, 36 by 120 inches, 3 feet by 10 feet, and you really don't want to pencil it on paper. Paper is a problem on a job like that, because the design keeps changing.
Let me tell you a story. Maybe ten years ago, maybe more, I had a project about 10 feet long and about 36 inches high, like a headboard. I don't even remember if iPads existed yet. Either way I used no technology at all, only a long piece of paper, and it took me about two weeks to develop every detail and every acanthus leaf on it.
I sent it to the client. He looked at it and asked, "Would you change that acanthus leaf? I want it higher." Yes, I can. So I took a razor, erased everything I had spent hours and hours drawing, redrew it and sent it again.
Then he called back. "I like it, but I would like to move it toward the right." Okay, no problem, I'll redraw it. Back and forth, back and forth, like dancing.
That is normal, by the way, since I work with high end architects, and sometimes they just like to make changes. I call it the dancing stage. On paper that stage is a waste of time, and if you have no technology you have no other choice. With an iPad I change a leaf in a second, and if I don't like it I hit undo, or redo.
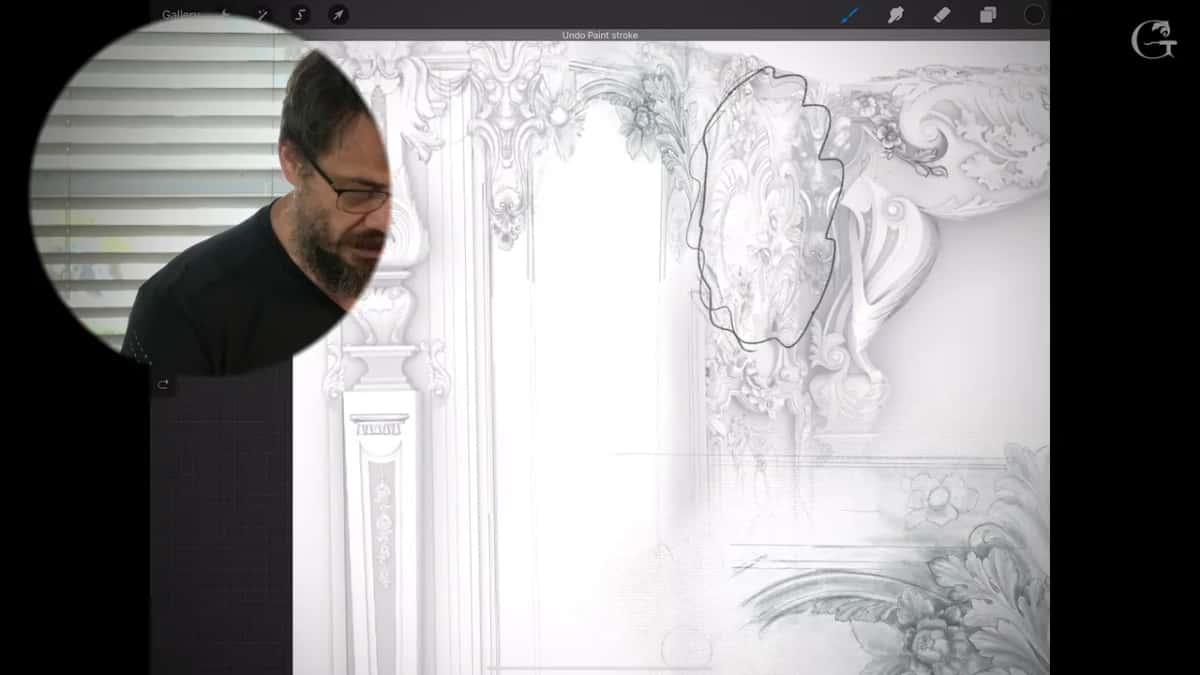
What I like is how easily the drawing gets to the board. I print a sheet of paper and transfer it, and that is no big deal at all. You can do the same on a computer, of course, or on any other device. Personally I really like the iPad, because it is so easy.
What was I drawing in this lesson?
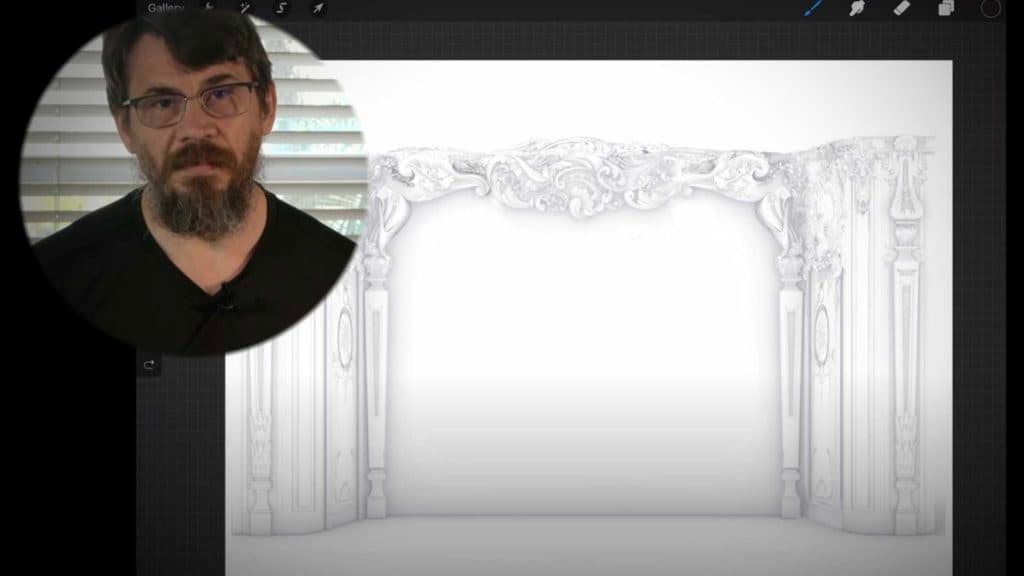
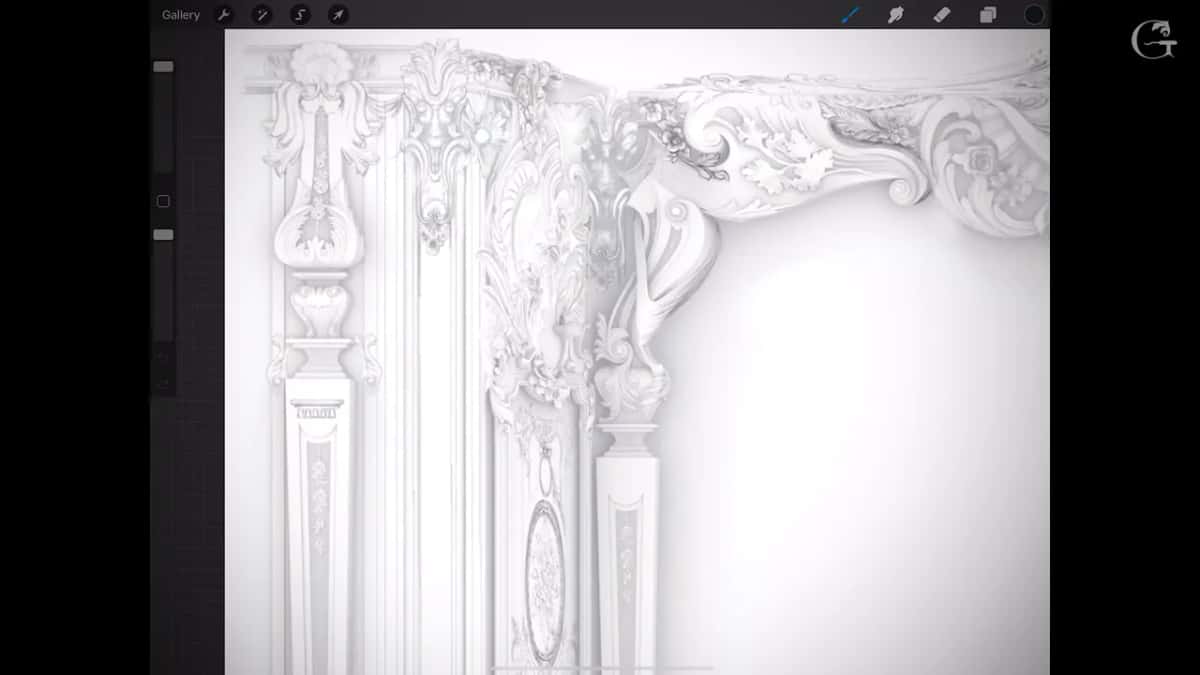
A section of a big wall, carved in pieces. The board on my bench is about two feet wide and an inch and a half thick, and the whole detail it belongs to runs about 10 feet long. I divided the design into several parts, and this board is one of them. I marked the area for you on the iPad in a different color, so you can see where this board goes.
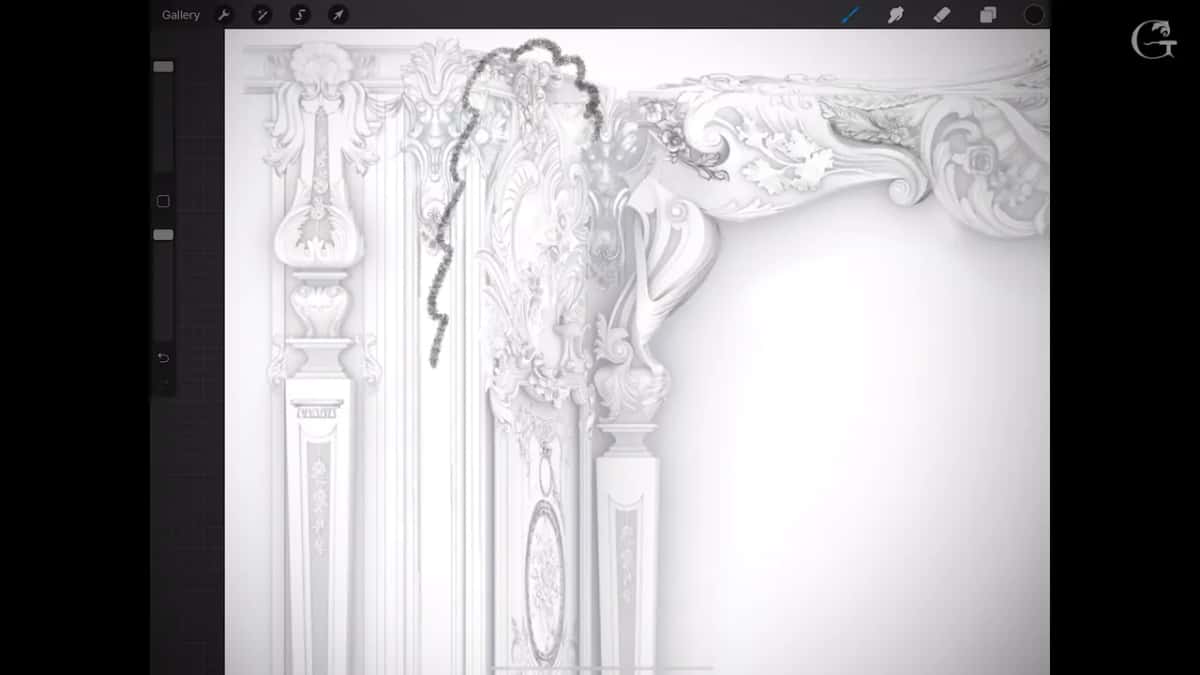
The original is not just a drawing, it is a real 3D model I created. Then the client asked me to add some details and expand the design. Building the 3D model again takes so long, and I did not want to do it, so I thought, why don't I just pull out the iPad and draw those details?
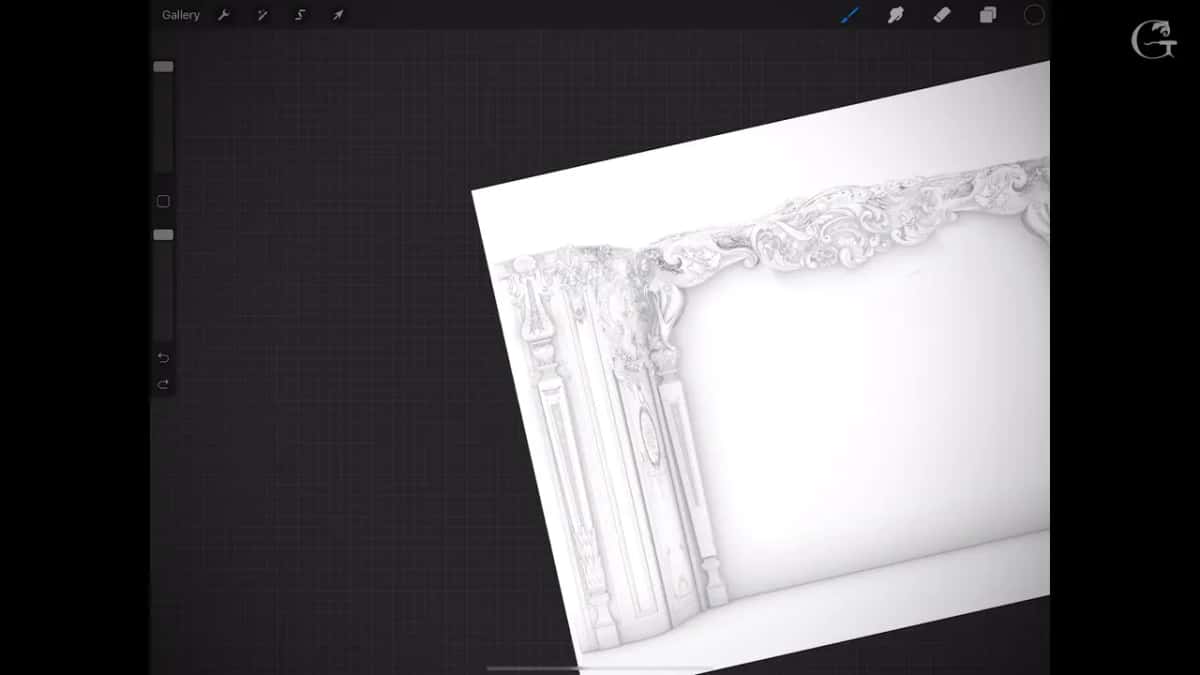
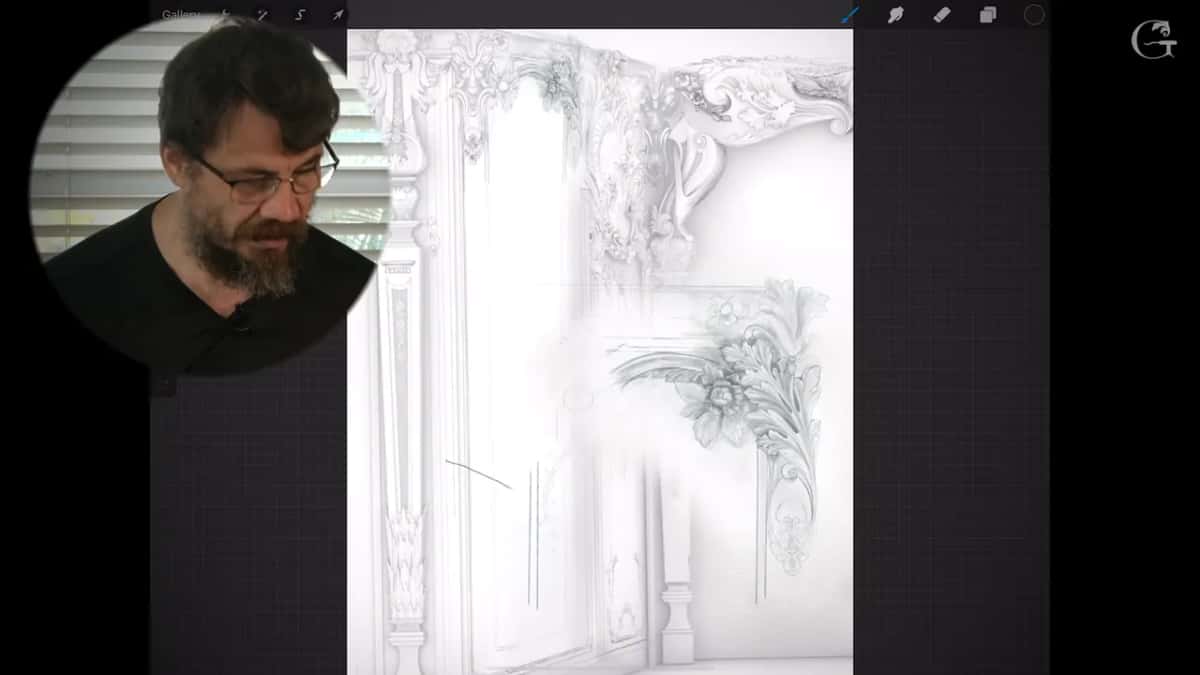
In the beginning my drawing did not have certain parts, so I had to add some stuff. I drew the new parts right over a picture of the model. The piece I added first is the one going on this board, and later I will add another part. These same two videos are also workshop 104 of the Venice Room course, the series where I carve this room. Same video, so watch it in either place. Once a pattern is on the wood, depth becomes the next question, and the pillar page for those workshops is about exactly that.
Which app do I use to draw carving patterns?
Procreate. Plenty of programs will do the job, but Procreate draws to scale, which is huge. You can print the drawing right to scale, at 1:1. The file takes very little space.
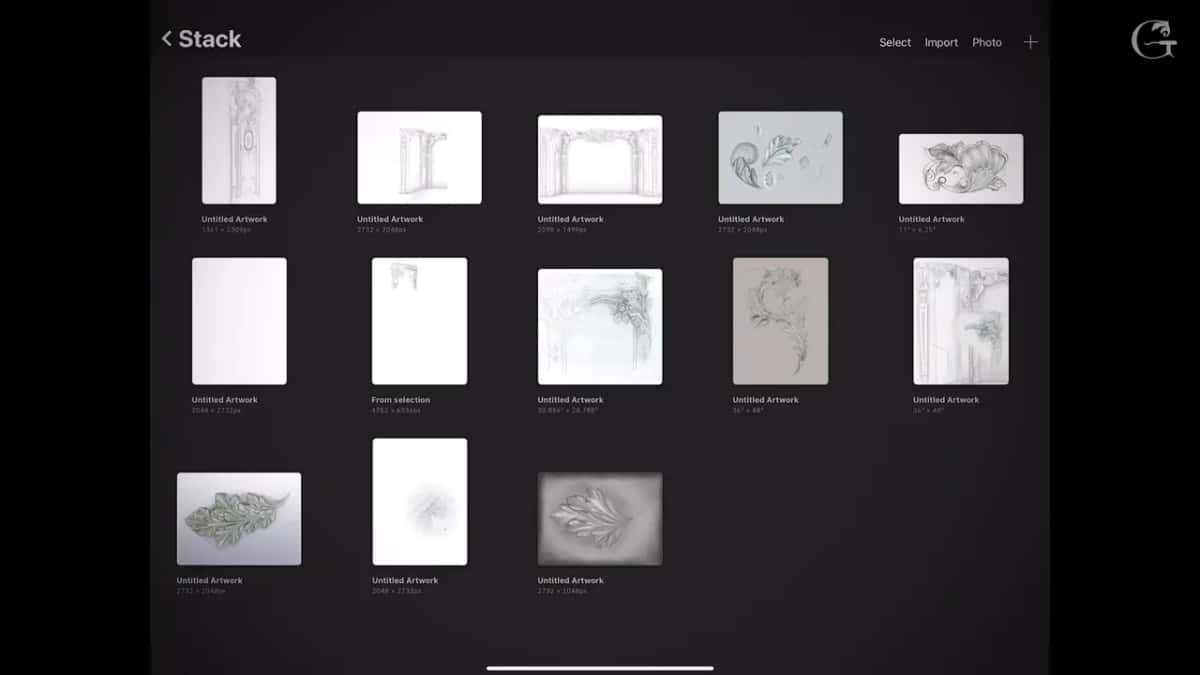
I keep a whole stack of drawings in it, ideas I developed along the way. It works in imperial and in metric, so you can draw in either one.
An Android tablet will work also. The steps below are the ones on the iPad, in Procreate.
Can a Procreate canvas match the real size of the job?
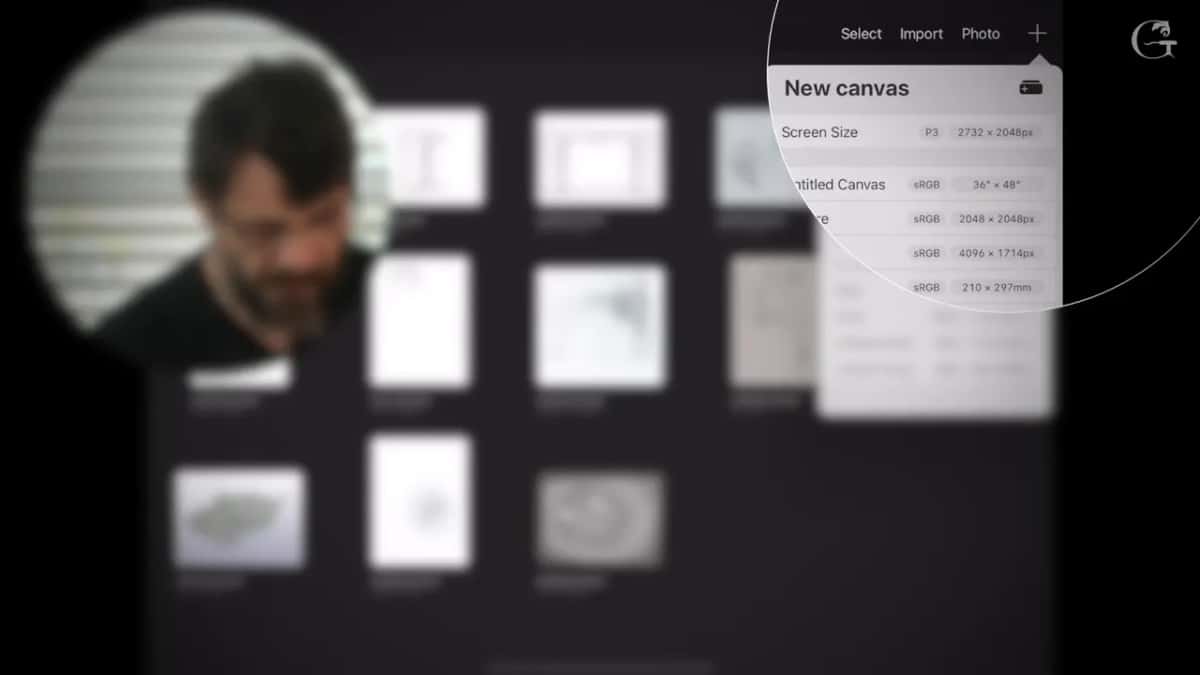
I don't want to mumble. Start from the plus button in the upper right corner, then tap the smaller plus right underneath it. Now look at the upper right of the new canvas. Mine was set to 1920 by 1080 pixels, which is a normal size for video. At that size and 300 DPI, Procreate offered me 250 layers.
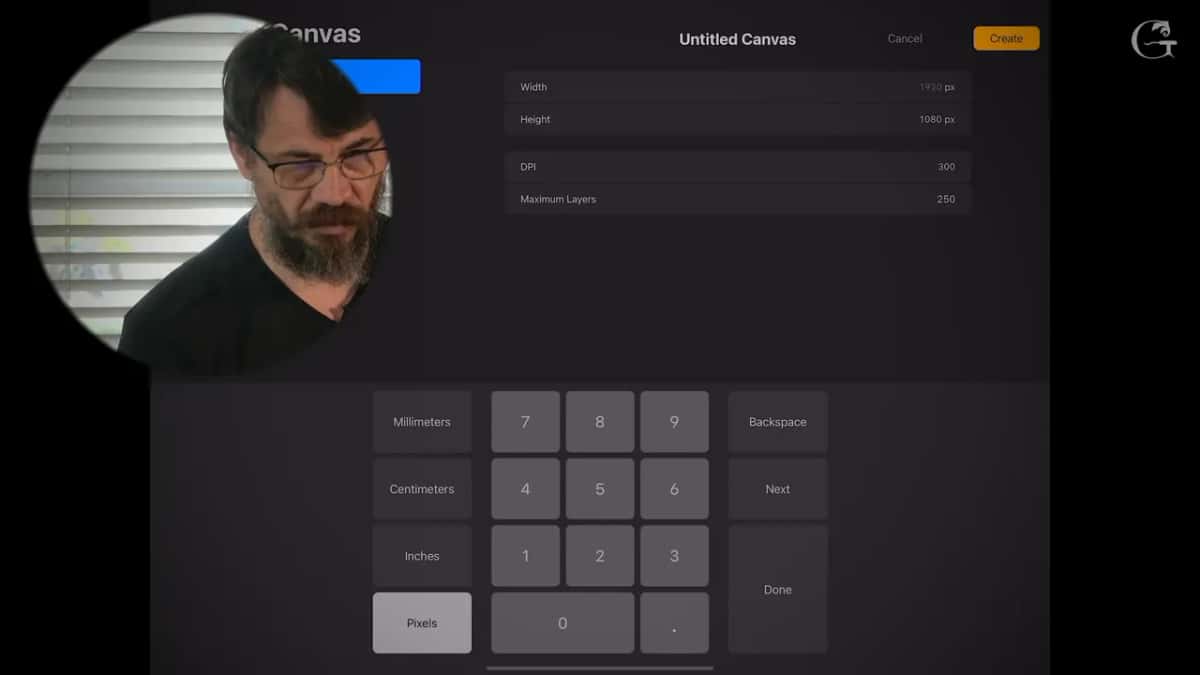
DPI is next. 300 is actually pretty high for print, and you can go higher, to 400. I wouldn't go past 400 DPI.
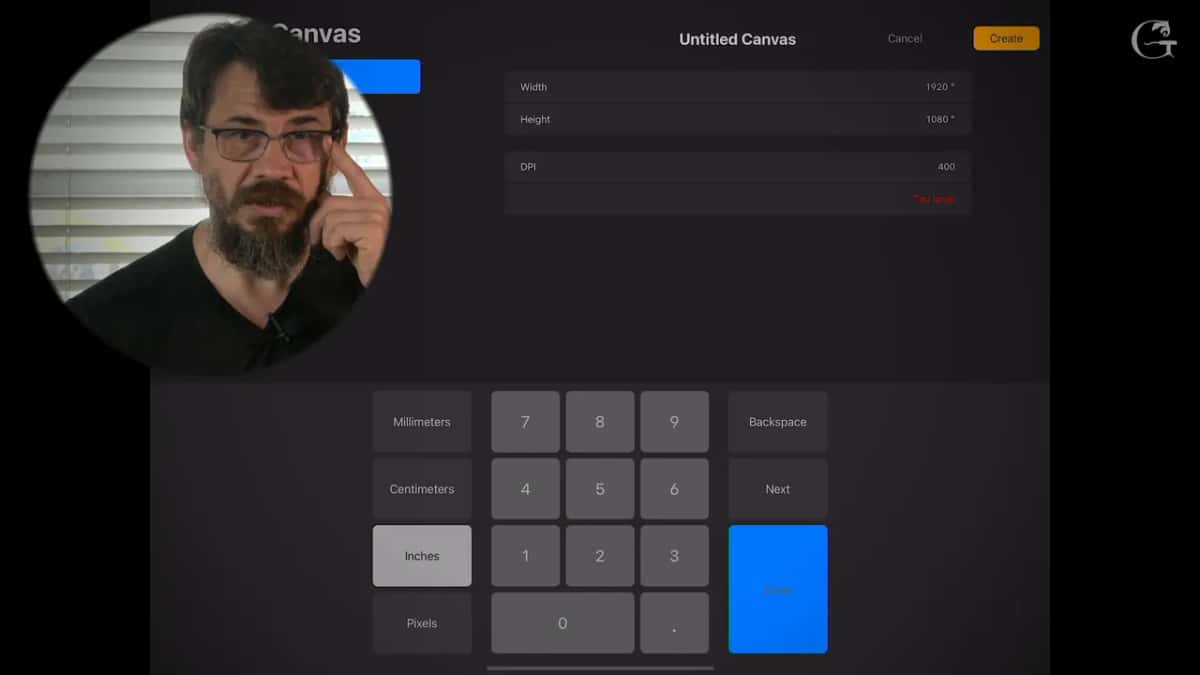
On the left side you choose the system of units. I hit inches, typed 36 for the width and 120 for the height, and it said too large. Don't worry about it. I've done it, and it made the canvas anyway.
From there you get a big canvas with layers, and I just draw whatever I wish, whatever development I want. A smaller job needs a smaller canvas, of course. My list of canvases already had one at 36 by 48 inches, right next to an A4 sheet of 210 by 297 mm. I keep that one ready, and when I hit print, it prints 36 by 48. I hope it makes sense. Tell me if you want the whole process in more detail, and maybe I will make a separate video of it.
Here is how the three ways I have drawn a job compare.
| Method | What happens when a client wants a change | Getting it onto the wood |
|---|---|---|
| Paper, drawn by hand | Erase it with a razor and redraw, hours every round | It is already full size |
| A 3D model | Too slow to build a second time for one change | I drew the new parts over a picture of it |
| A computer | Works fine, just less easy for me | Printed the same way |
| Procreate on an iPad | Undo, and it changes in a second | JPEG, then SketchUp, then a PDF for the print shop |
Which brush feels like a pencil?
Peppermint, in the sketching set, is the one I use. You don't have to stick with it, and you can adjust a brush however it feels best to you, but Peppermint just feels normal in my hand.
Where do you print a 10 foot carving pattern?
At a print shop, and it costs less than you think. This job never printed from the iPad itself. The drawing had to fit the board perfectly, to the millimeter, because everything has to be perfect once it goes up on the walls.
So I exported the drawing as a plain JPEG to my computer. Then I opened SketchUp, made a new project and scaled the picture to perfection, since hitting the right lines and the right distances really matters here. How that scaling works is its own lesson, SketchUp for wood carving, in this same course.
In that lesson the drawing is a small scroll about three and a half inches across, and it has to come out five inches on the block. I draw a square box around the sketch with any tool that has a true 90 degrees, photograph it with an app called Office Lens, scale the picture in SketchUp and print it at its real size. Glue that on top of the block and you are ready to carve. I put the same square box around chalk drawings on a blackboard, too, when I teach at a woodworking school.
SketchUp runs on Windows and on Mac. I have the Pro version, which comes with a layout program, and I use it for building furniture as well. For printing at an exact scale, that layout program is the most accurate way I have found.
SketchUp saved it as a PDF. I took that to a FedEx store, and they printed the whole sheet, all ten feet of it. If you ask me how much I paid, I paid $27. That is a huge piece of paper, and it printed exactly what I drew on my iPad.
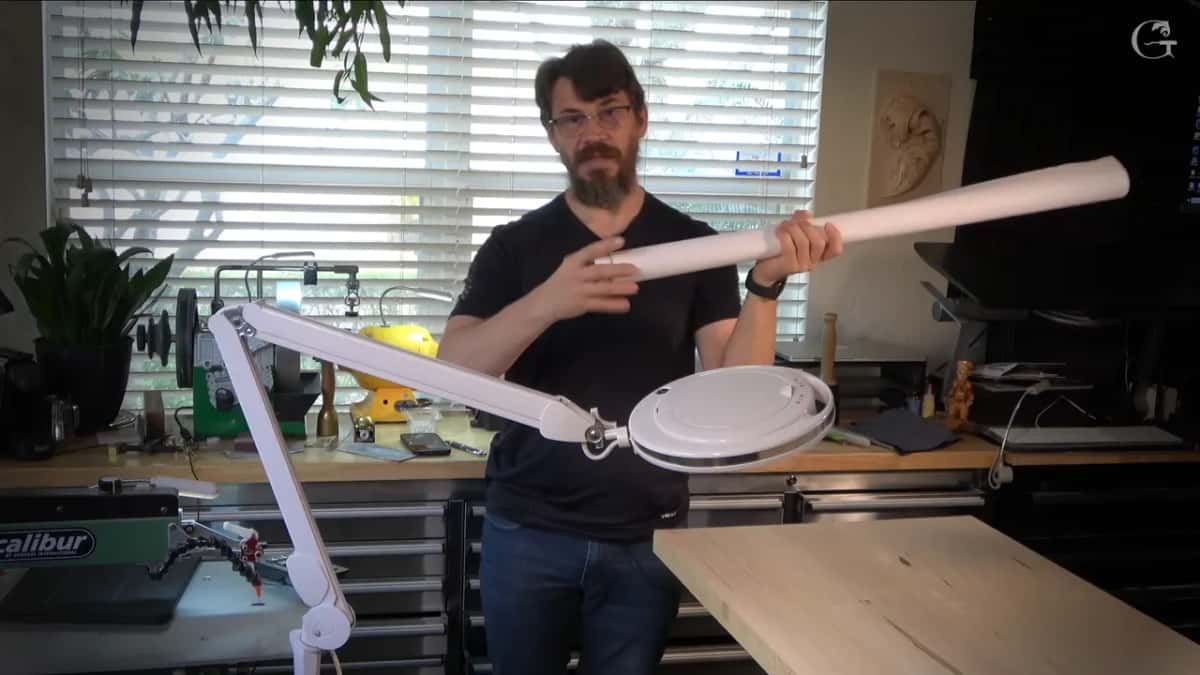
Before that I was thinking about buying a plotter, the big printer, so I could print those huge pieces myself. I really don't need it.
A UPS store or any other print shop near you does the same, and ten feet of paper for $27 is not much. Some places may charge a little more. Companies that print layouts for construction can be a little cheaper.
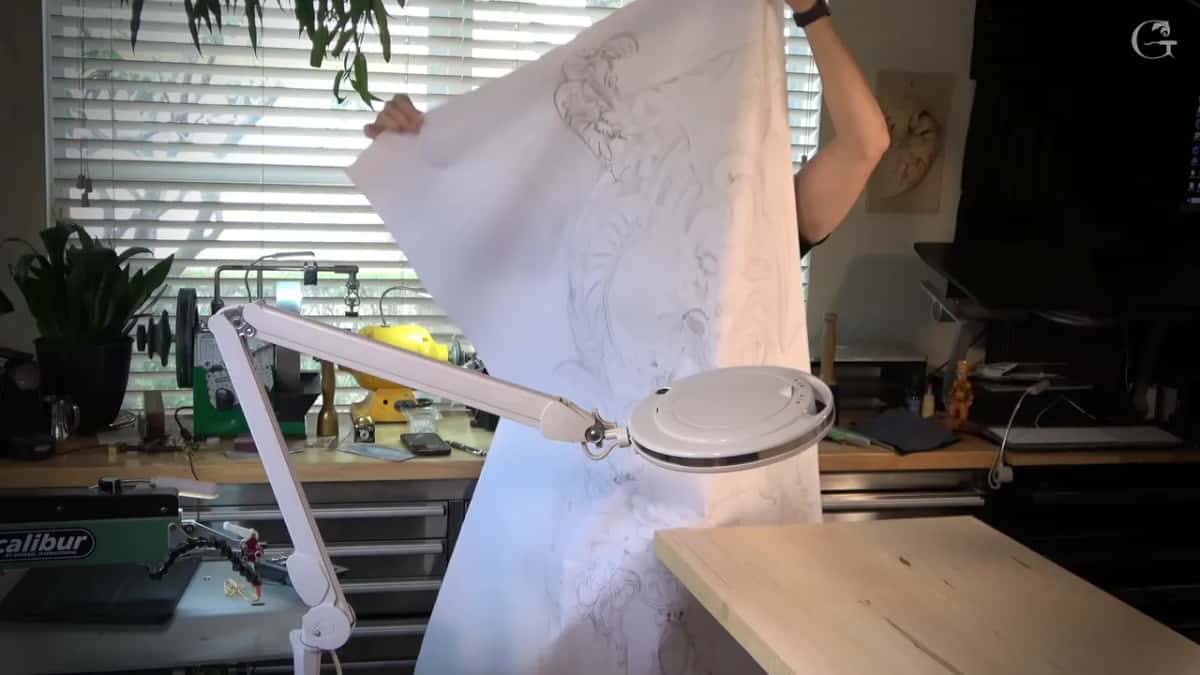
A small pattern goes the same way, and in the SketchUp lesson I print one on an ordinary letter sheet.
How do you get a printed pattern onto the wood?
Lay the print on the board, and I should not unroll the whole thing, but anyway. Trace it with carbon paper underneath. Graphite paper works just as well.
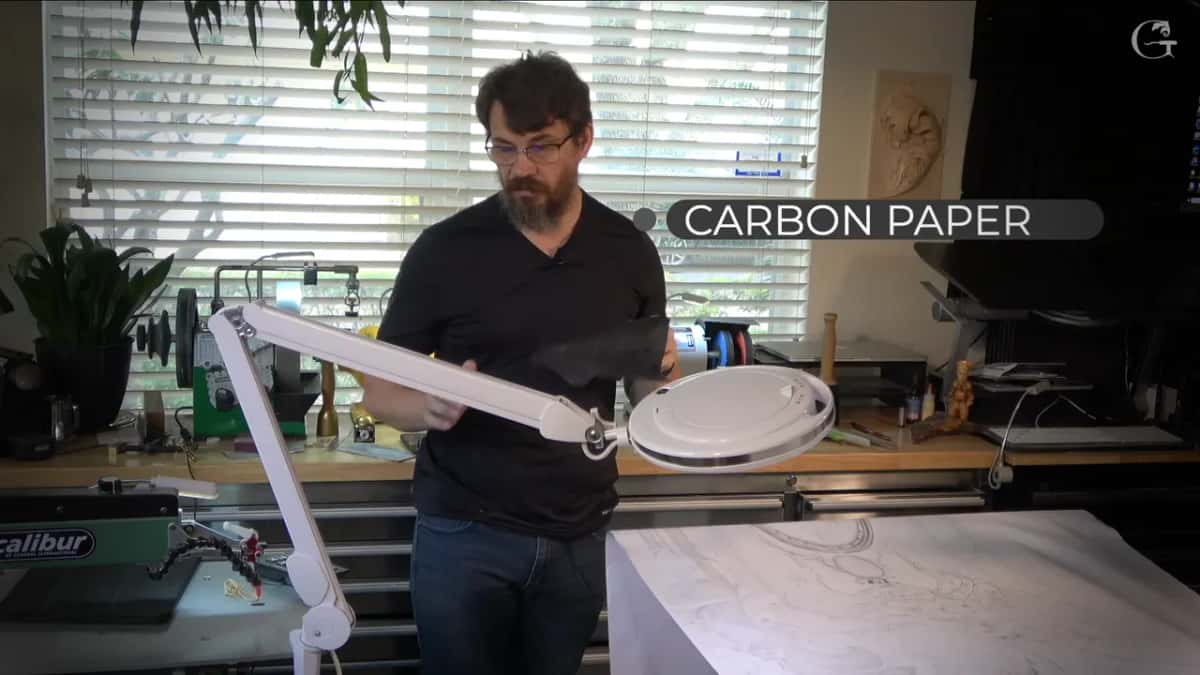
This job has two sides, so I need a second board with the same drawing on it. For that one I lay clear garden plastic over the print, redraw the lines on it, and transfer them to the other board, and then I keep that plastic. The whole transfer takes a few minutes instead of hours and hours of work.
Most of my carving starts from a full size paper pattern. The first Venice Room course saws the outline right through one. A Greek acanthus starts as a drawing glued to a lime block, and on a furniture panel I glue white paper over the whole board before I draw anything.
A copy like that is traced. When a panel must match its twin in depth as well, I measure with a pointing machine instead.
After tracing, the board gets cut out with a jigsaw. I showed that before, so I won't show it again here.
If you are about to buy a jigsaw, buy a good one and not a cheap one. I tried Bosch, I tried DeWalt, I tried several other brands. For me the best was Festool, because it gives me an absolute 90 degrees.
Where are the drawing lessons?
Drawing has its own lessons in other courses of the school, and the iPad does not replace any of them.
How I draw a leaf on a grid is in Roman acanthus 1, and the flowers for a panel are in designing a furniture panel. The laws behind a whole composition are in the design course. For the Roman acanthus I print the drawing twice, glue one copy to the wood and keep the other one close, so a line I carved away can always be found again.
All of those lessons, and every workshop of the Venice Room, are waiting inside the school.
What does this board turn into?
A wall. There are going to be two of these, one on each side, and then more pieces on the walls. One part becomes a door, and another part is also a door, with carving in it.
Really unique, really beautiful. An absolutely gorgeous project. I love it, I love it, I love it.
First I have to trace everything, maybe fix a few drawings, and then we start developing this part. More tips like this one live on the techniques course page.
I hope you like the idea, and I think it is a good tip. Is your next pattern bigger than your printer? Is the tablet charged?
How it's done
- Open a new canvas. Tap the plus in the upper right of Procreate, then the small plus beneath it.
- Set real units. Switch to inches or millimeters and type the true size of the job, three by ten feet for this one.
- Pick the resolution. Stay between 300 and 400 DPI.
- Draw on layers. Sketch with a pencil brush such as Peppermint, and undo as often as you like.
- Scale it exactly. Export a JPEG, bring it into SketchUp, size it to the millimeter and save a PDF.
- Print it full size. Have the shop print the PDF at full size.
- Transfer it. Trace through carbon or graphite paper, and redraw on clear plastic for the second board.
Frequently asked questions
What is the best iPad app for drawing carving patterns?
Procreate is the one I use, since a drawing made there can be printed at its true size. You set the canvas in inches or millimeters, draw on layers, and the file stays small. Other programs can do it too, I simply like this one.
What DPI should a printed carving pattern be?
Three hundred DPI is already high for printing, and I set 400 at most. Procreate may call a huge canvas too large. Mine, three feet by ten, opened anyway.
How much does it cost to print a full size pattern?
My sheet was three by ten feet, and a FedEx store charged $27 for it. A UPS store or a local print shop can do the same job, and shops that print construction drawings may cost even less.
What to carve next