
Alexander Grabovetskiy, woodcarver, School of Woodcarving · Published 2024
How do you burnish a wood carving?
Quick answer: Burnishing a wood carving is rubbing the carved surface with a scrap of the same wood until the fibers are pressed flat and the surface shines. No metal tool is needed. It softens small facets and shows every flaw, which is why it belongs under gold leaf and mostly stays off bare wood.
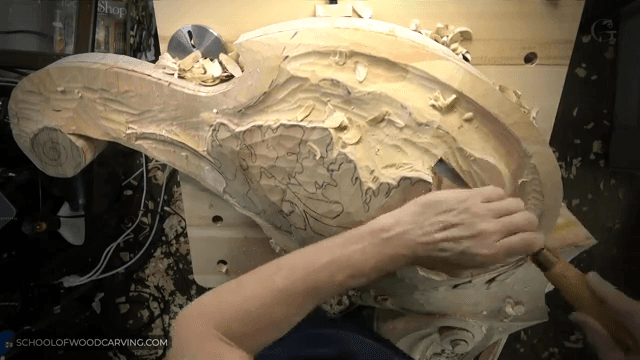
To burnish a carving, take a chip of the same wood and rub it hard over the surface you just carved. The pressure pushes the fibers down, and the wood turns shiny, almost as if a finish went on. I don't own a metal burnisher for this job. And most days I don't burnish at all.
Did somebody tell you a carving is not finished until it has been sanded smooth? Or that burnishing needs a special steel tool from a catalog? A viewer asked me exactly that during a live broadcast, while I was working on a big scroll. Do I have a burnishing tool made for it, or do I make one from a piece of wood?
The answer takes less than a minute to show and a little longer to explain, because the real question underneath it is when burnishing belongs on a carving at all.
Key takeaways
- No metal burnisher. A chip left over from the carving does the job.
- Rubbing presses the fibers flat, and flat fibers shine.
- Small facets fade under it. Big ones stay put.
- I rarely burnish, because I love the finish that comes straight off the chisel.
- Under gold leaf, the surface has to shine.
- Shine shows every mistake.
- The steel burnisher you see in catalogs is for card scrapers.
Do you need a special burnishing tool?
No. For burnishing I don't use a metal burnisher at all. I use the wood itself. Pick up a chip you already made from carving, rub pretty much wood against wood, and you can see it become really shiny.
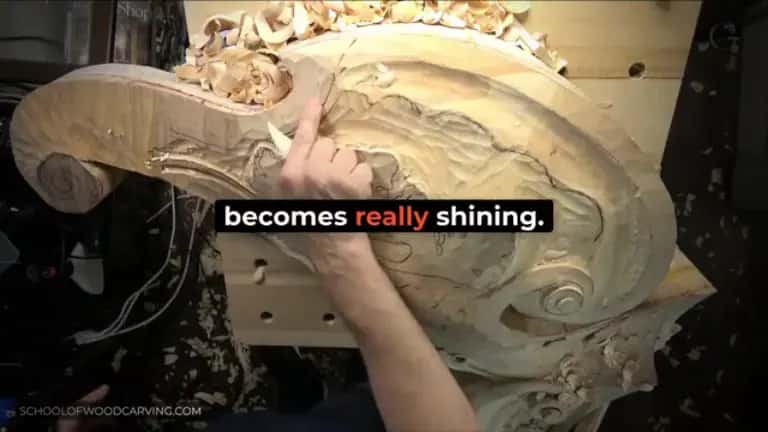
That day my cameras were not pointing the right way to show it up close. It becomes shiny anyway. That's how I burnish. And then I added that I usually don't burnish at all, by the way.
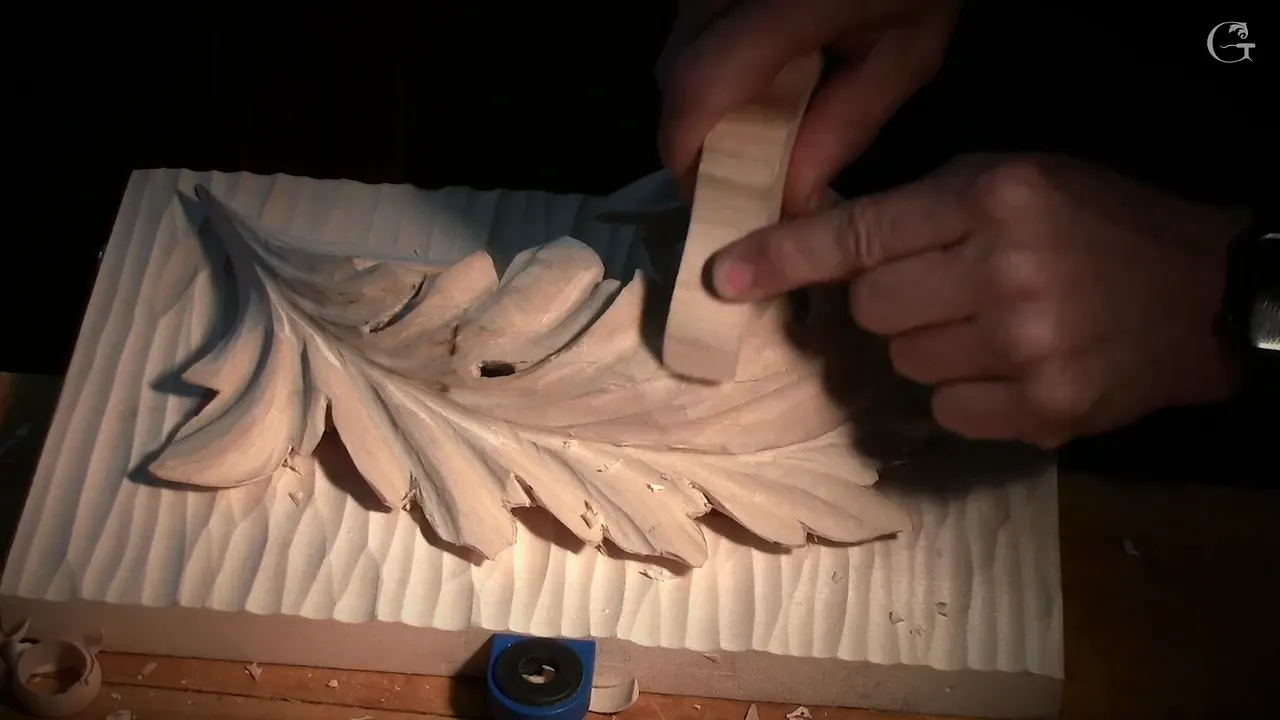
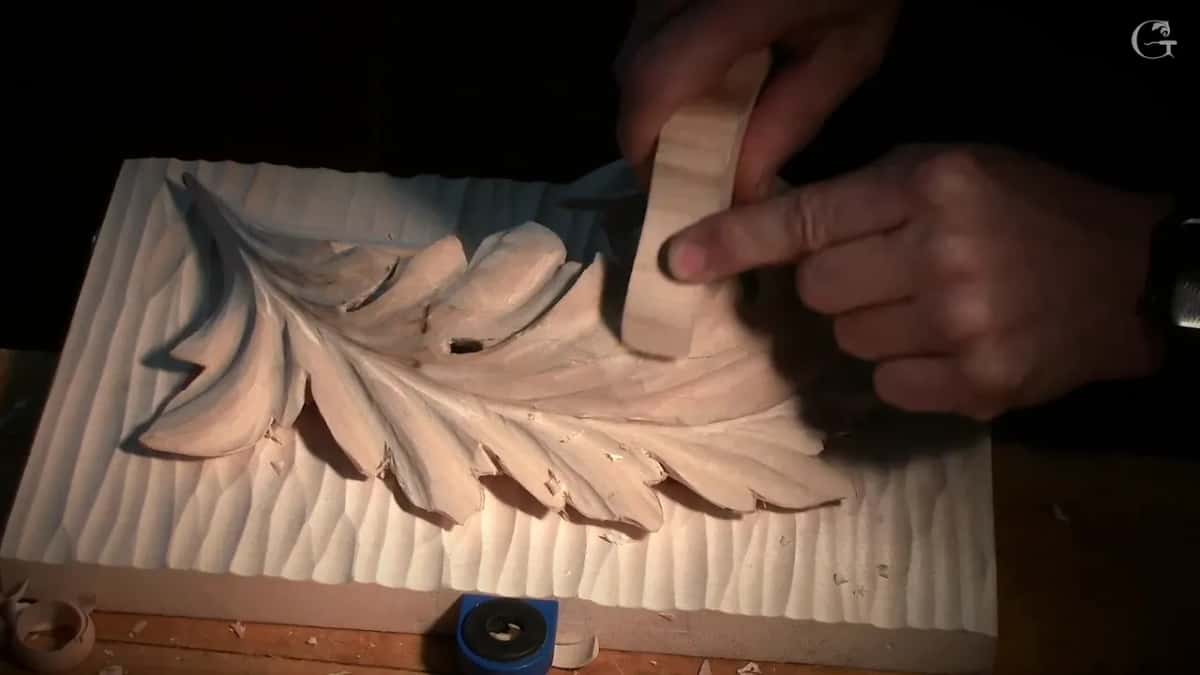
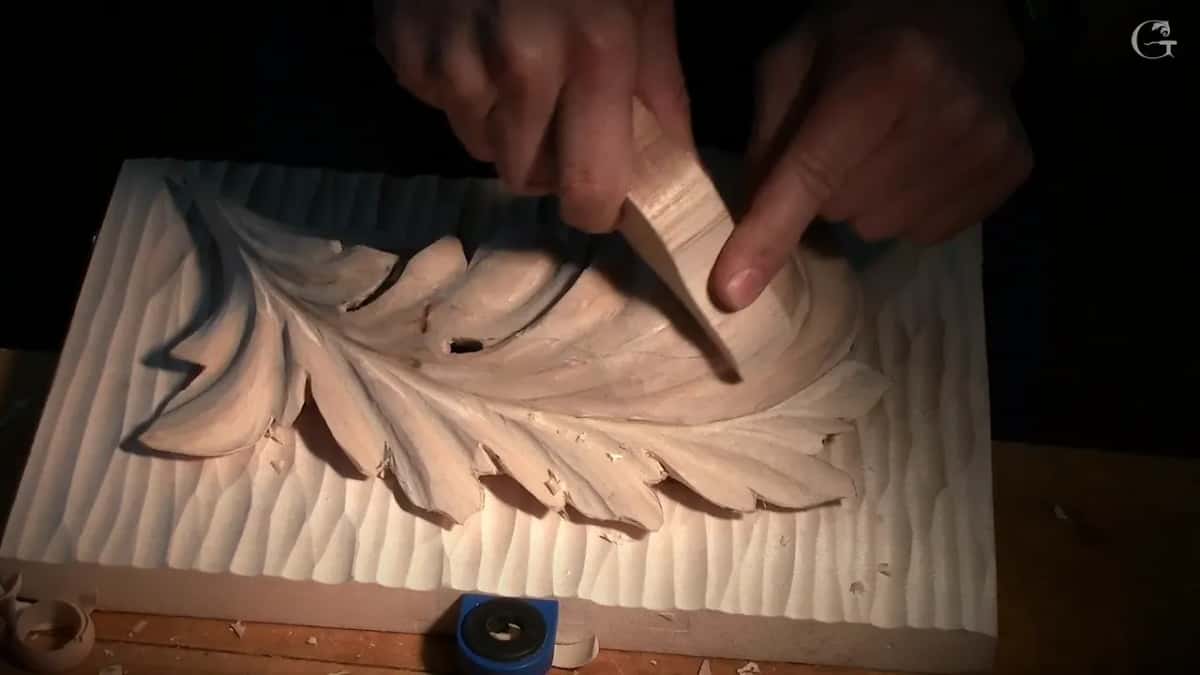
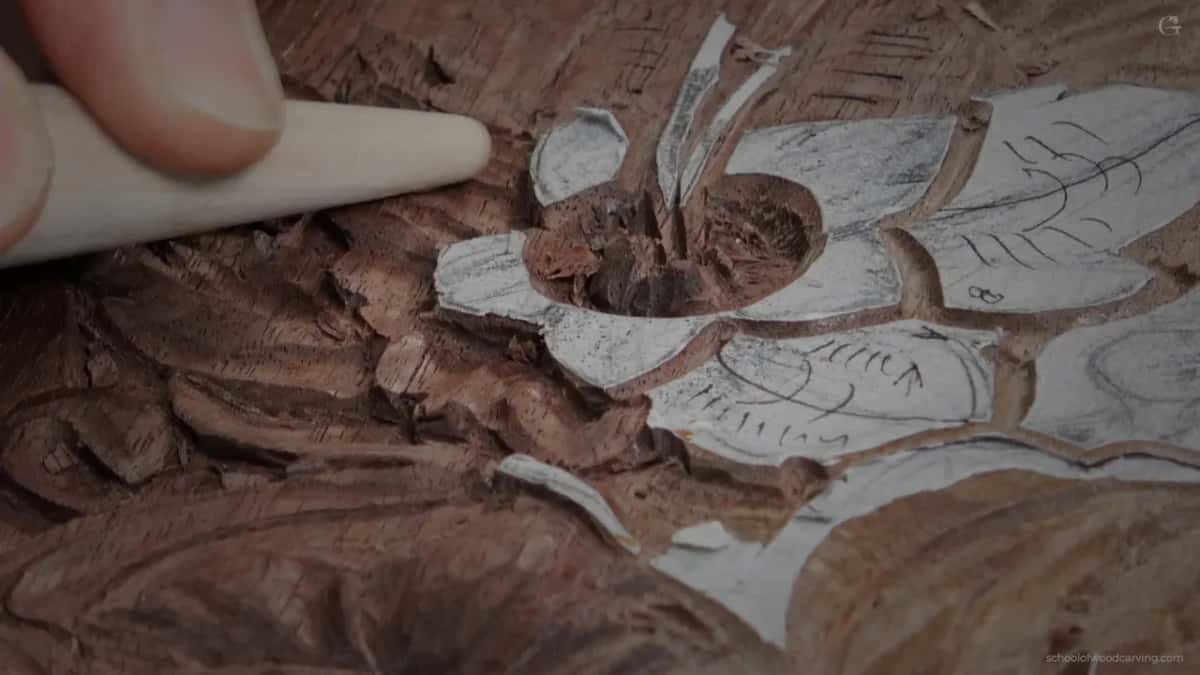
The chip is not magic. The rule I follow is to burnish with the same species of wood you carved, so on a basswood carving I grab a basswood scrap. On the Byzantine leaf in the next picture I went looking for the burnisher in the same wood the leaf came from.
What does rubbing wood with wood actually do?
You are pushing down on the fibers. Pressed down like that, they turn really shiny, almost like you applied some finish on top.
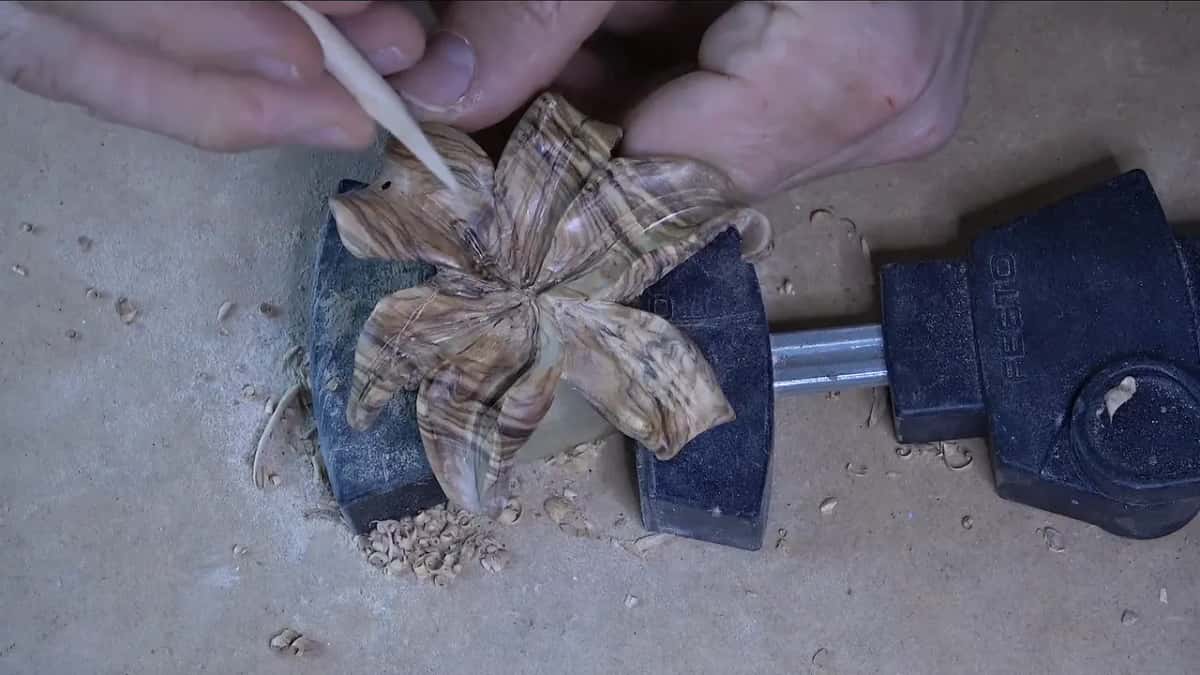
On an olive wood lily I described it more roughly, after a break in the recording. First of all, you look at the piece, and it's shiny, because I took a scrap of wood and burnished it nicely. You are smashing those fibers in, and that gives the shiny look. Both ways of saying it mean the same thing.
It also smooths. Some of the small facets disappear on their own while you rub, and that is another technique for getting rid of them. Only the small ones, though. On that Byzantine leaf the facets were a little too big, and rubbing was not going to erase a cut that size. A facet like that comes off with that same gouge, turned sideways and swept over the wood, the way I do it in the lesson on why a carved acanthus leaf is never sanded. The burnishing itself happens in finishing an acanthus leaf and its background.
Why do I skip it most of the time?
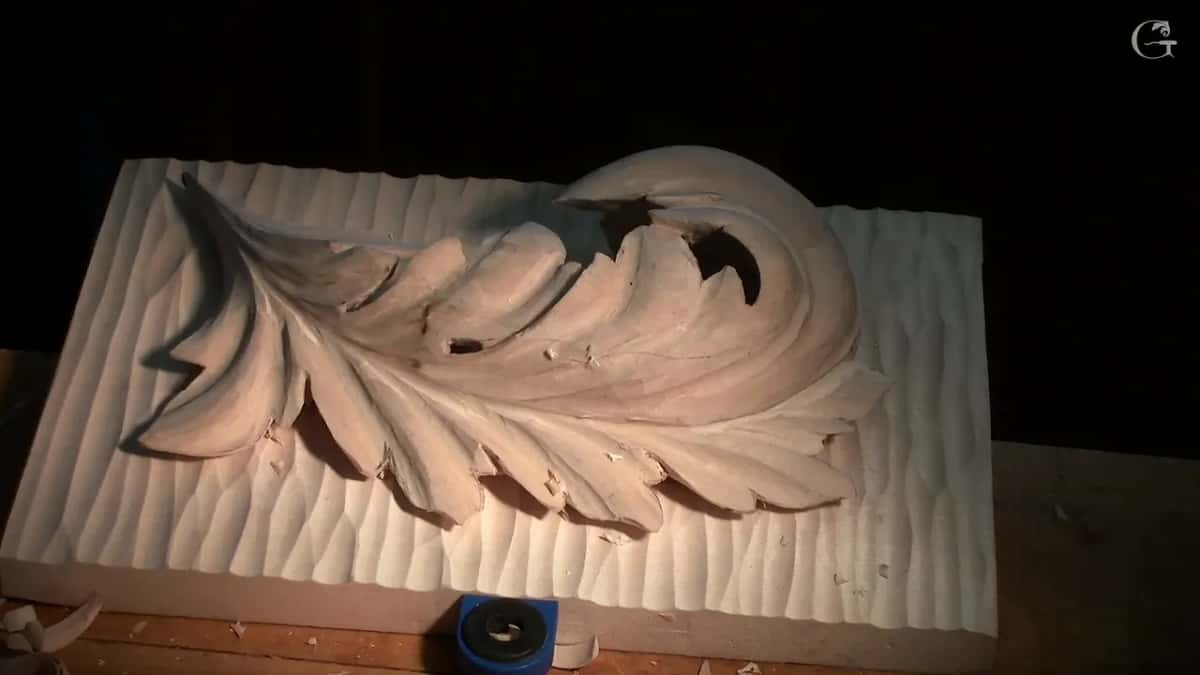
I love the out of the chisel finish. On a carving that stays bare wood, every facet the tool leaves is part of the surface, and burnishing is a way to make small facets disappear. So on that kind of work I leave the chip on the floor.
People ask me how I take care of those facets. First of all, I don't really worry about cleaning too much, because once you apply some finish, it makes the surface a little smoother anyway. I look at the facets as a painter's brush.
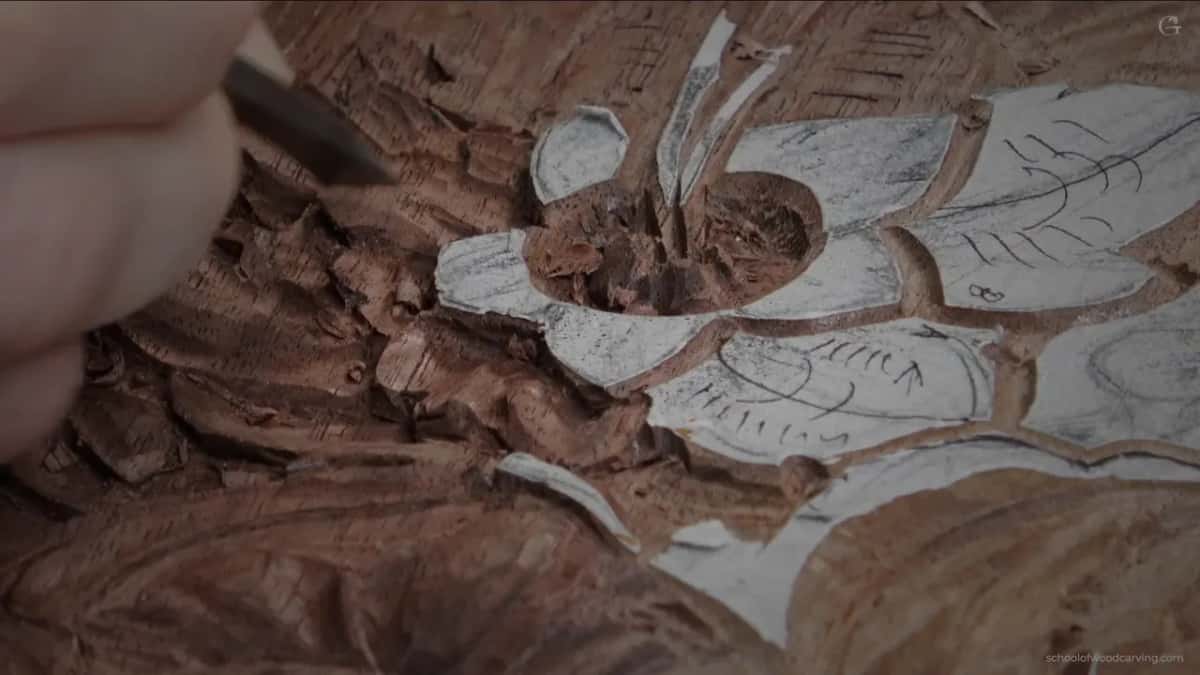
If they bug you, there are three ways to deal with them, and I showed all three on one furniture panel. Turn your tool upside down, a number three at a quarter inch, six millimeters, and ride it over the facets in a small circular motion. Or scrape with that same tool. Or take a little block of wood and burnish. Burnishing is only one technique of the three.
Sanding raises the same question, and there is a whole page on whether to sand a carving when it is finished. When I do sand, and which grit, is in the grape onlay final assessment.
When is burnishing worth the trouble?
My opinion is that it all depends on the finish that goes on and how it will be applied. Gold leaf is the big one. Before gold leaf goes on, the surface has got to be shiny, otherwise it is not going to look good. Scraping and then burnishing is how you get that shine without sandpaper.
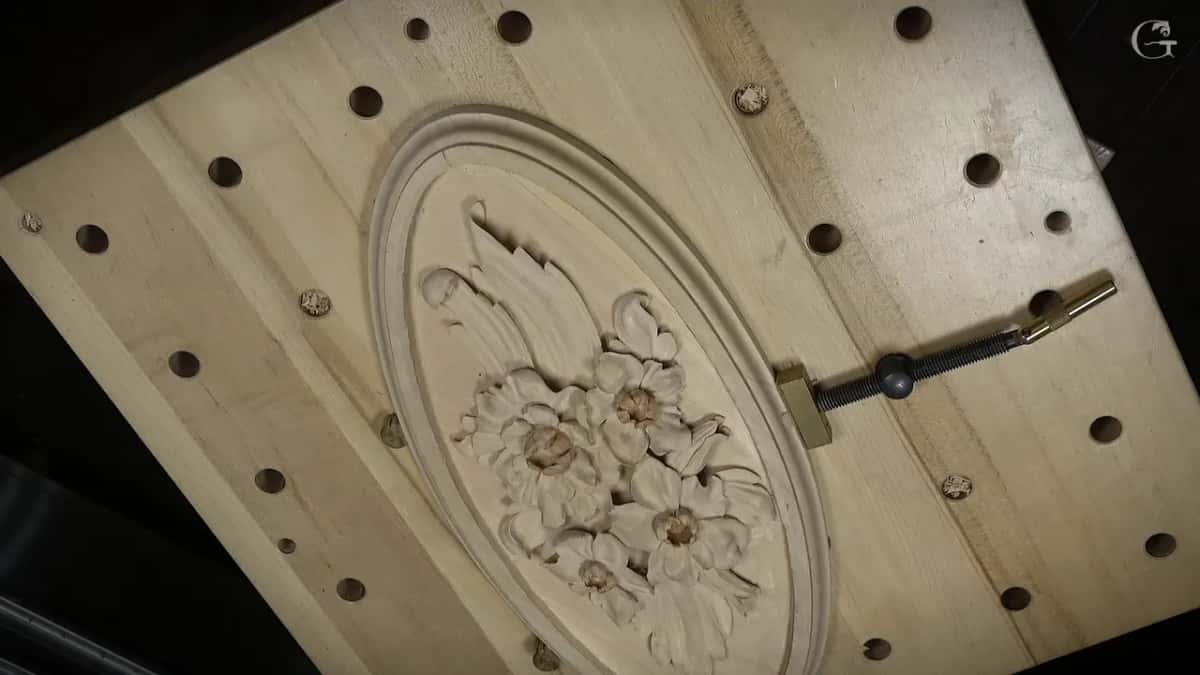
Paint is the other case. That rosette is mostly flowers, and I really love carving flowers. On that Venetian rosette, meant for paint, I tried an experiment, for those of you who like the idea of sanding. A little sandpaper on the high spots only, then a chip rubbed over it, and it came out almost shiny. I did not sand it all the way. In my opinion it looked good, and the plan was to paint it just to prove the point.
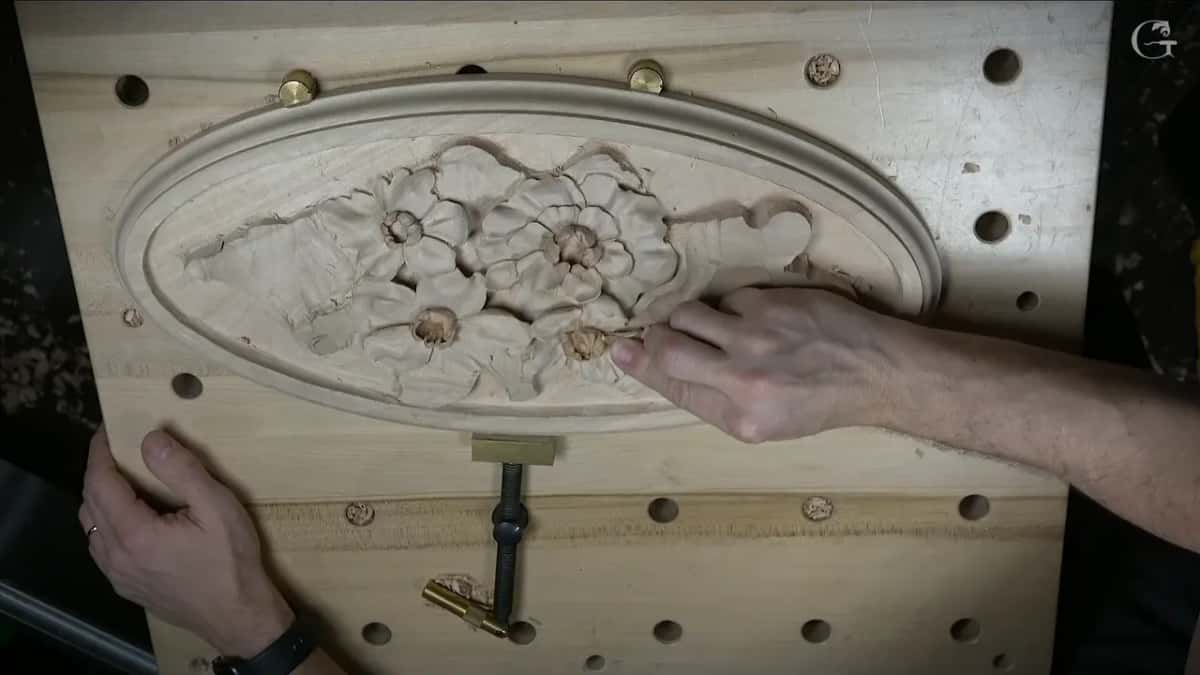
Put those together and you can see the pattern. Bare wood keeps its tool marks, gold gets a shine first, and paint grade work can go either way. That experiment is in the Venetian flowers rosette course.
How did the old gilders burnish?
They burnished twice, and it was not like today's technique at all. First they carved, then they covered the carving with red clay, the layer gilders call bole, and burnished that clay. It took the facets out until it looked almost sanded. They did not sand it, of course. Sometimes they used a pumice stone just to make a nice surface.
Then came another really thin layer of that clay, then oil, and then the gold leaf itself. It sticks perfectly for years, so well you can barely get it off. Then they burnished again, right on the gold. That makes small cracks in the leaf, the red color comes through them, and the ornament stands out even better. If the cracks got too big, another layer of leaf went on top.
The shapes help. A Byzantine leaf runs convex, then concave, with a dome in the middle, and all of it is easy to gild, even with thicker leaf. With a really sharp V cut, that smoothing would be impossible. I kind of like that old way of gilding, and the shapes are in Byzantine acanthus 5.
Should you scrape before you burnish?
Scraping is one of the techniques they used all over Europe, because in the Baroque there was no sandpaper. Some people used the skin of a shark, but not everybody lived close to the ocean. In England they used reed rush, Equisetum hyemale, the plant carvers smoothed with before sandpaper existed, and even Grinling Gibbons used it. You can buy it in music instrument stores, it works about like 400 grit, and I use it myself sometimes. Some fifteenth century carvers took a piece of glass and scraped with that.
You don't need glass. A plain carving knife scrapes the whole surface and gives a really good result. In the eighteenth century they did a lot of scraping, and on my furniture panel the same tool I carve with does it beautifully, in furniture panel 33. Then a little block of wood burnishes it.
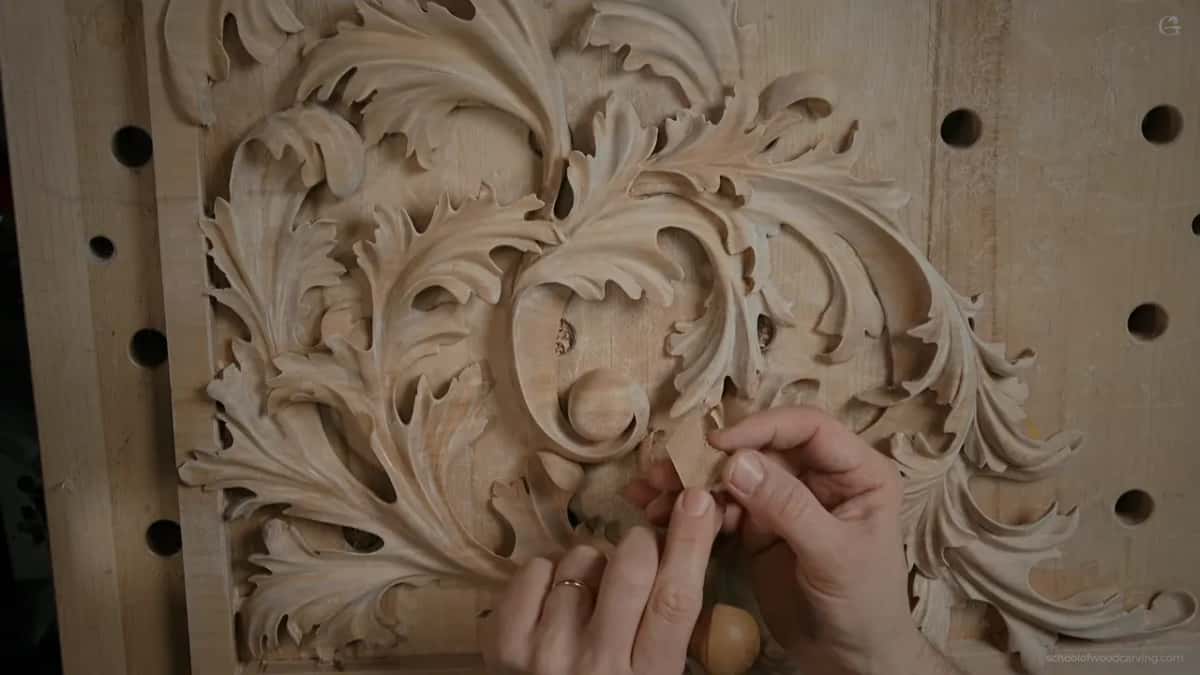
After the scraping, burnish it with the same species. In the sandpaper lesson I was working American basswood, which is pretty much the same as European linden or lime. Rub it, and the surface turns really shiny, which is the surface gold leaf wants under it.
What do I do for gold leaf today?
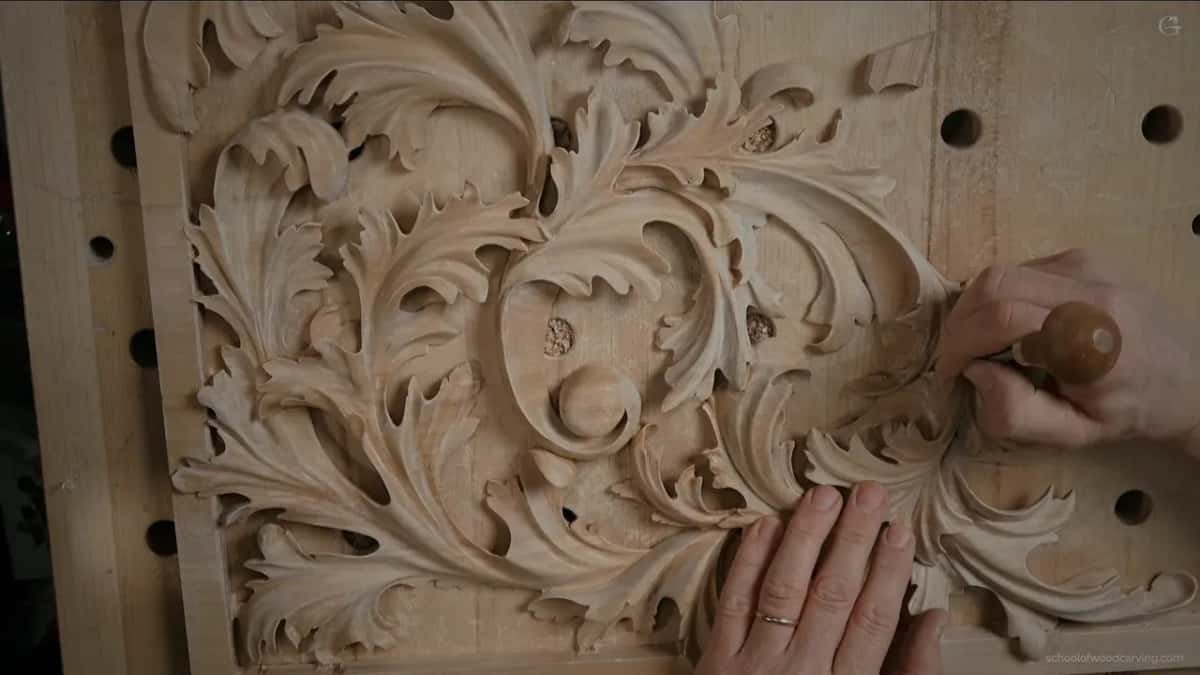
Honestly, I sand some. The acanthus panel in these pictures is a shade for a pipe organ going to New York City, where it will cover the pipes. It is mid German Baroque, and all of it will be water gilded. Acanthus changes with the region and the shop, north, mid or southern German, English, French, and this one is mid German. For water gilding the surface has to be stabilized. The panel is pierced, too, because an organ shade has to come out about half wood and half holes. Two pieces will meet on a miter, which you can see on the back.
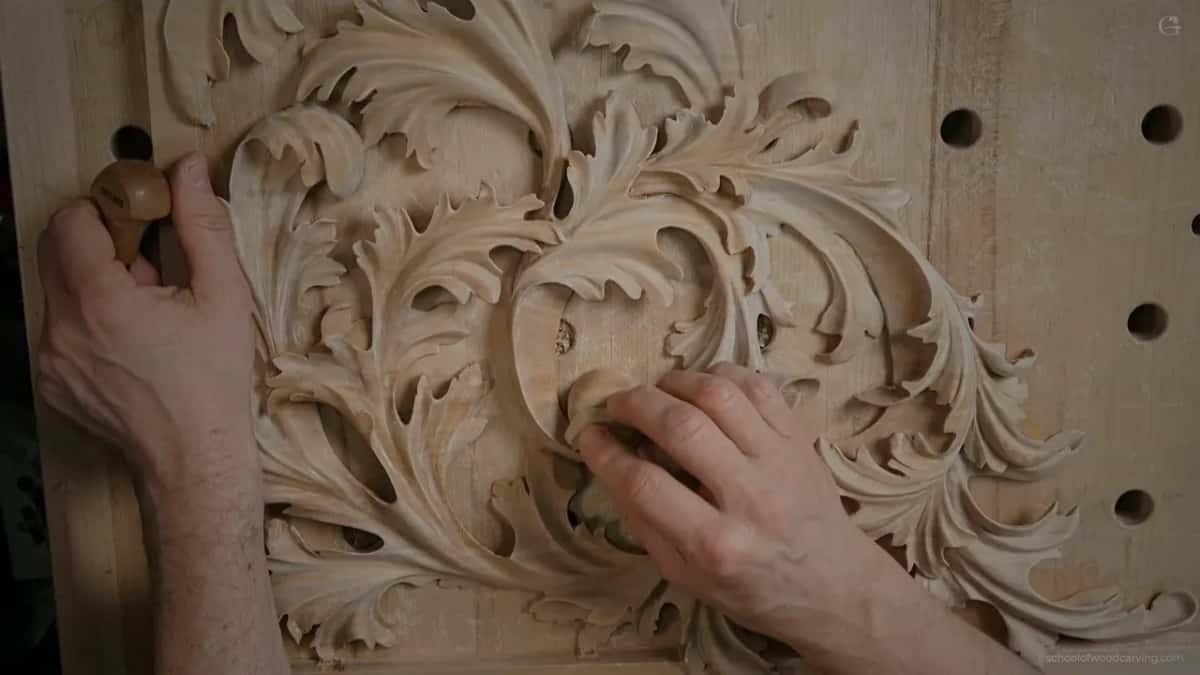
As much as I love a finish straight off the chisel, for gold leaf I still use some sanding. I am a big fan of the mesh abrasive by Mirka. It has holes, so the dust goes right through it and not much abrasive gets left inside the wood. Wood that was stabilized by air drying is hard to find nowadays, and most kiln dried wood moves and puffs up a little, so before I sand I like a light coat of sanding sealer. The final step is 4,000 grit, and it gives a shiny, gold ready surface. You have to be really careful doing it.
Gold also changes the carving itself. For gold leaf you don't put in too many small details, because gilding them would be a nightmare, and this shade will hang really high on a huge instrument anyway. So to answer the emails I get, yes, it is absolutely okay to sand a carving that is going under gold.
Why burnish inside a concave?
Burnishing there shows you what you did, but first, why the concaves are there at all. A real lily petal has a really deep concave running all the way to the center. Lots of carvers take a V tool and make a V cut there, and some take a gouge or veiner and make a U cut. I carved the deep concave instead.
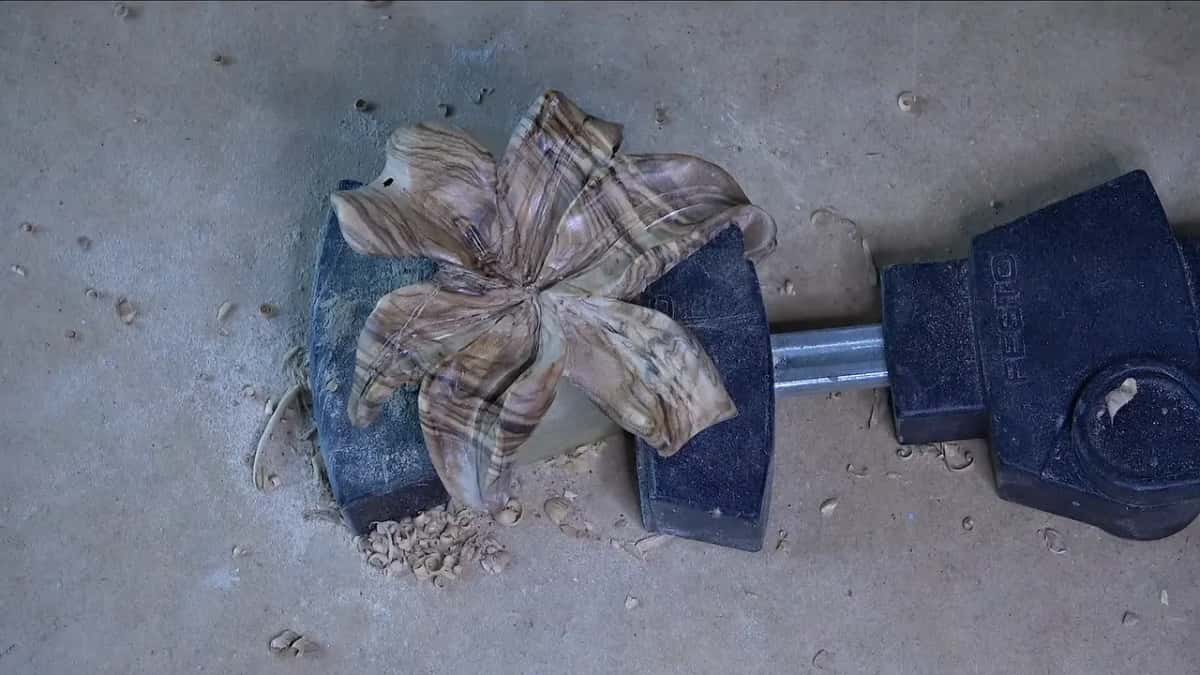
The olive wood lily went through sanding on purpose, just that piece, because I wanted to see that beautiful grain, finishing with a 4,000 grit pad by Mirka. Then I took a small scrap to burnish inside those concaves.
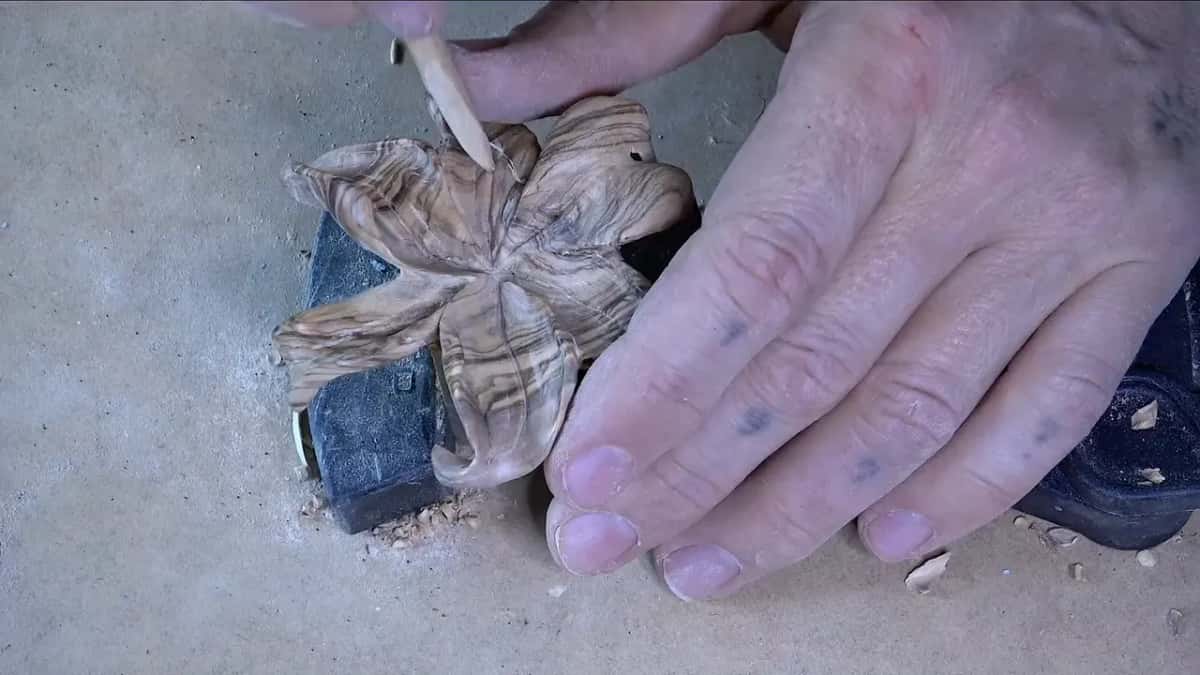
And now I could see all the imperfections. A shiny surface hides nothing. I can hit those spots again with the micro tools if I need to, and that side was pretty much done. Olive gives you grain nothing else matches, it is crunchy, and it can hide voids inside, and the lily box course works with it from the first cut.
Where does a steel burnisher belong, then?
It belongs on a card scraper. A scraper needs a hook turned outward along its edge, and to create that hook you need some kind of burnisher. A special tool works. Sometimes I use a screwdriver.
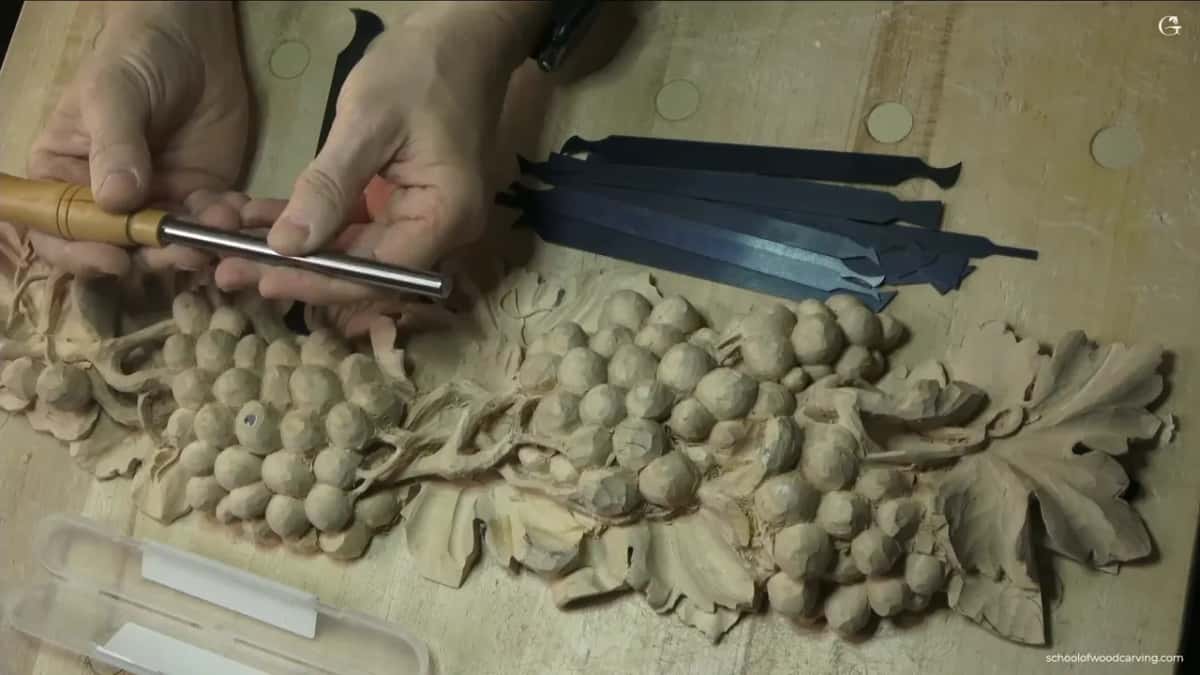
It doesn't have to be expensive, but it has to be good steel. Don't hold the scraper in your hand for it. Put it in a vise and push until you can feel a burr form. The set I showed has twelve cards of spring steel in all different shapes, each with two profiles, including tiny ones that reach inside small areas and bigger ones for the outside. They are sold as cabinet scraper cards, but I think they work even better for what we do, and out of the box they were actually not that bad at all. On grapes they still make the surface smoother, same as on any cabinetmaking project, and the whole set is in the lesson on scrapers.
Which surface gets what?
| The surface | What I rub it with | Why |
|---|---|---|
| A tool finish on basswood | Nothing | The facets are the finish, and burnishing would soften them |
| Anything headed for gold leaf | The same species, as a chip or a small block | It has to shine first |
| A paint grade rosette, sanded only on its high spots | Lightly, with a chip | It came out almost shiny, ready for paint |
| Old red clay under gilding | Burnished, then the leaf burnished too | Small cracks let the red show through the gold and the ornament stands out |
| Olive wood concaves | A small pointed scrap | Every imperfection shows, so you know where to recut |
| The edge of a card scraper | Good steel, or a screwdriver | It turns the hook that does the cutting |
If you want somebody next to you while you learn which surfaces to leave alone, that is what we do inside the school. The rest of these short answers live in the techniques course, and more of my bench is on YouTube.
Is there a chip on your bench floor right now? Pick it up, rub it on your last carving, and watch the light.
How it's done
- Finish with the tool first. Carve the surface as clean as you want it before any rubbing starts.
- Pick up a chip. Use a scrap of the same species, basswood on basswood.
- Rub with pressure. Press the chip hard and work it over the surface until the fibers lie down and shine.
- Reach into the hollows. A small pointed scrap gets inside concaves.
- Read the shine. Look for the flaws it reveals, and recut them with micro tools.
- Decide on the finish. Gold leaf wants a shiny surface underneath, while bare wood usually keeps its tool marks.
Frequently asked questions
Is burnishing the same as sanding?
No. Sanding cuts the surface with abrasive, and some grit can stay in the wood. Burnishing presses the fibers down with a chip of wood instead.
What wood should you burnish with?
Use the same species you carved. A basswood carving gets a basswood chip, and American basswood is pretty much the same as European linden or lime.
Does burnishing replace a finish?
It looks almost like a finish went on, but on my pieces paint or gold leaf still follows it.
Why does burnished wood show mistakes?
What to carve next