
Alexander Grabovetskiy, woodcarver, School of Woodcarving · Published 2022
How do you paint a wood carving?
Quick answer: Painting a carving is a job done in layers. On my Venetian room pieces a really thick primer goes on first, maybe twice, soaking right into the thin petals. Chalk paint follows, thick and matte, laid on by brush rather than sprayed, in pretty much one color, white. So the carved shadows still matter.
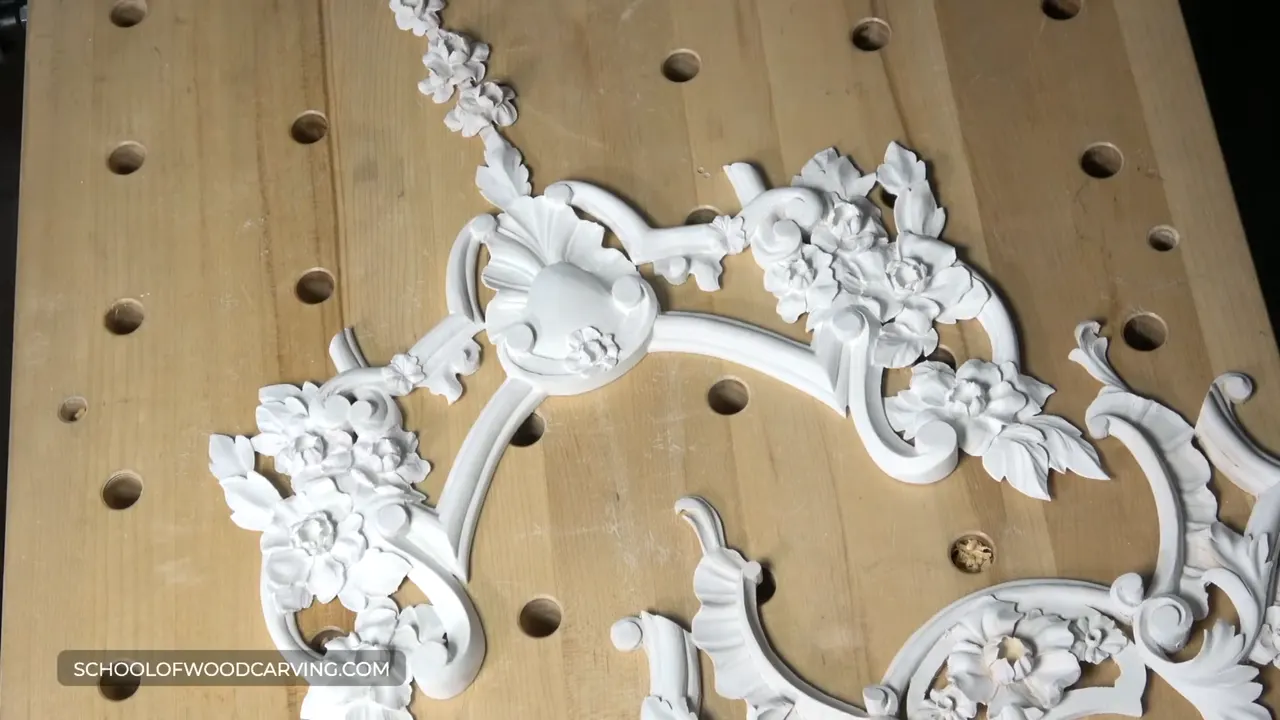
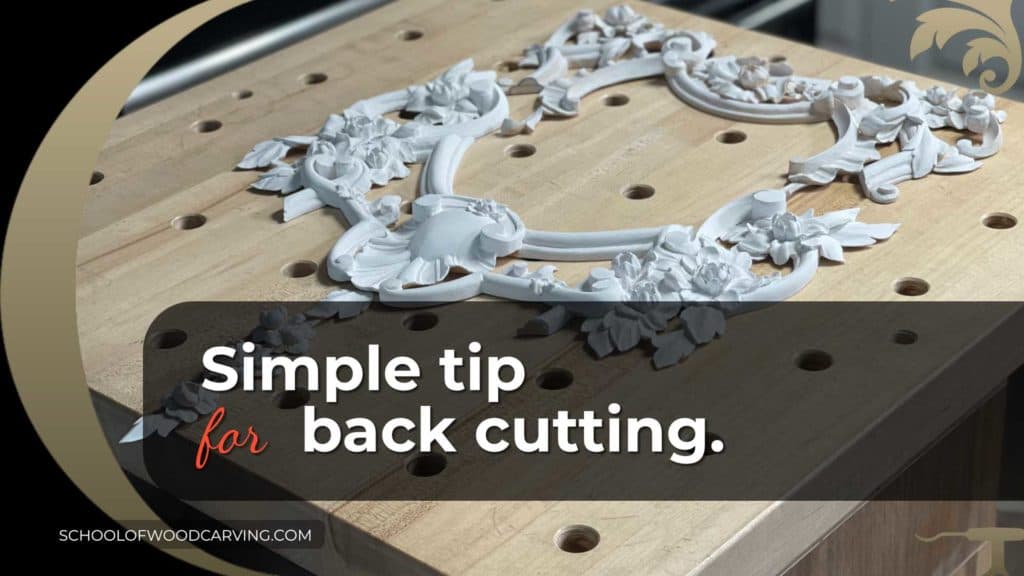
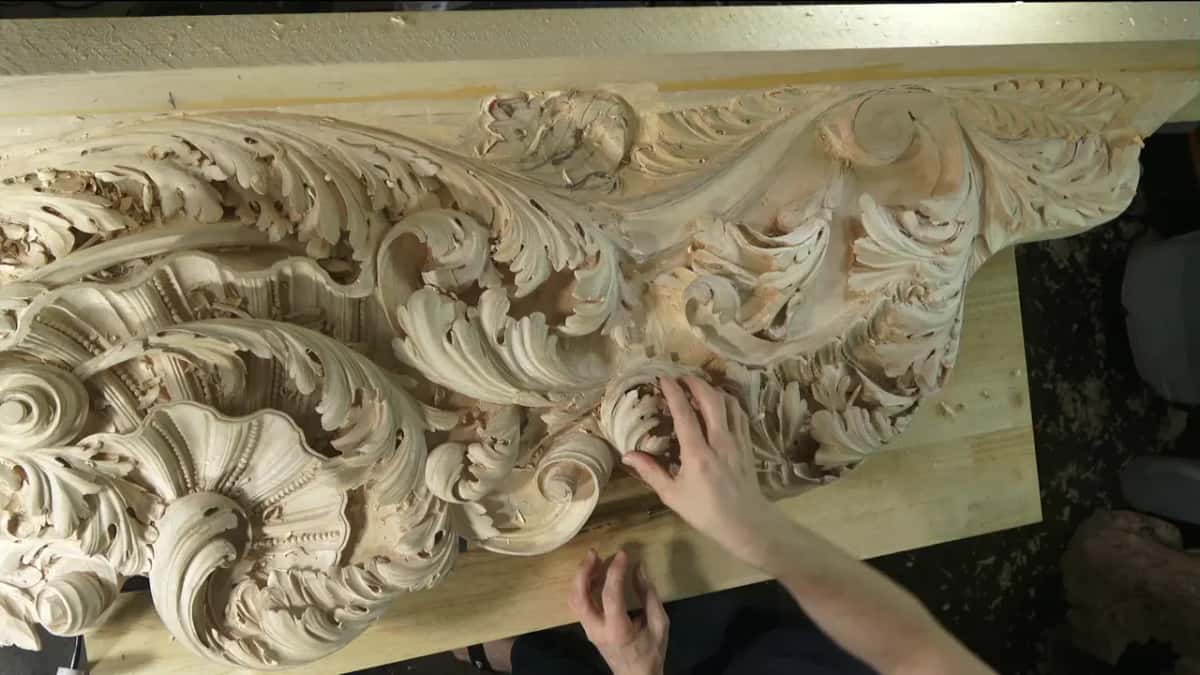
Painting a wood carving is, on my Venetian room work, a thick primer first, maybe two coats of it, and then a thick chalk paint put on with a brush, in one color, pretty much white. On my April 2022 livestream two pieces of that room sat on the bench. One had its first coat of chalk paint. The other had only its first coat of primer, and that one, I said, is going to be white, of course.
Did you spend weeks on a carving that is going to get paint? Are some of its petals thin enough to worry you? Then the paint needs the same care the gouge got.
So here is how to paint a wood carving the way I do it, from the primer to the last brush stroke. Painting wood carvings came up in a lot of my lessons over the years, and I name each one, so you can open it and watch my hands.
My order for a carving that gets paint
- Thick primer goes on first, maybe two times, and gets down inside the thinnest petals.
- Most of the little facets disappear under that primer.
- Then chalk paint, also thick, really matte, with no sheen in it.
- For the Venice room I brush it on and never spray it, since that client wants strokes.
- Deep spots get a small brush.
- A single color, white, which makes the shadows really important.
Where the paint stood on my April 2022 livestream
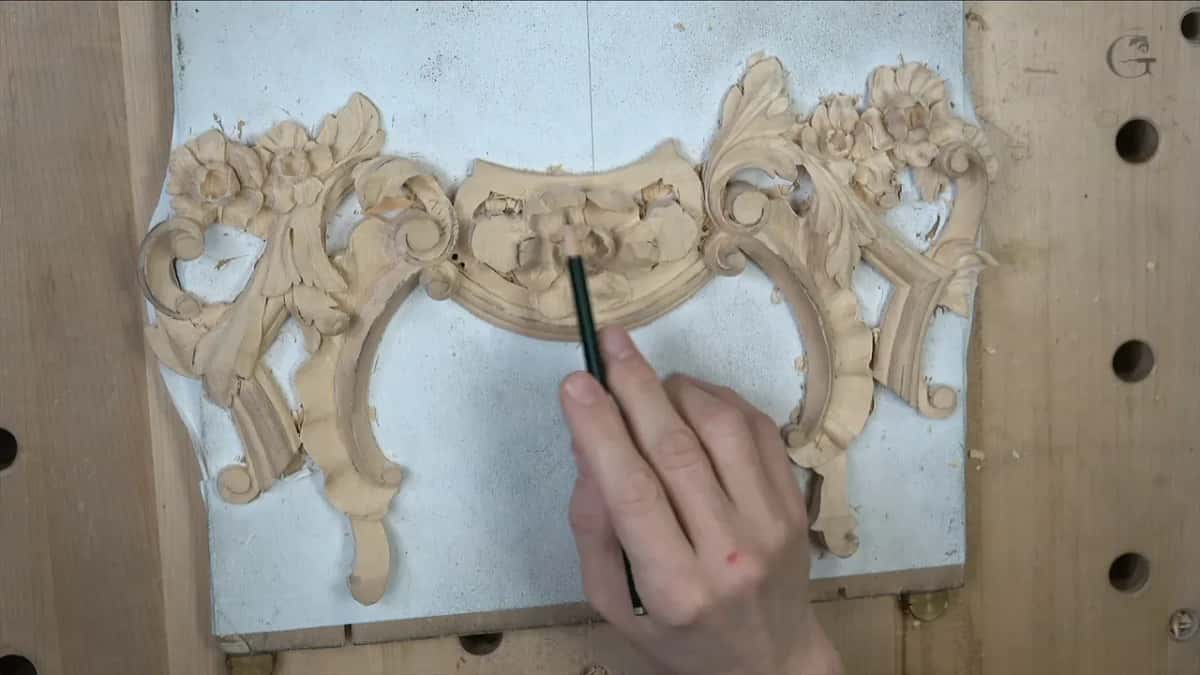
That stream was short. My audio gave me a problem that morning, and I had to connect four times just to get that short video. Still, I showed where the work stood. One piece already carried chalk paint, a first layer with more coats to come, and another wore primer only.
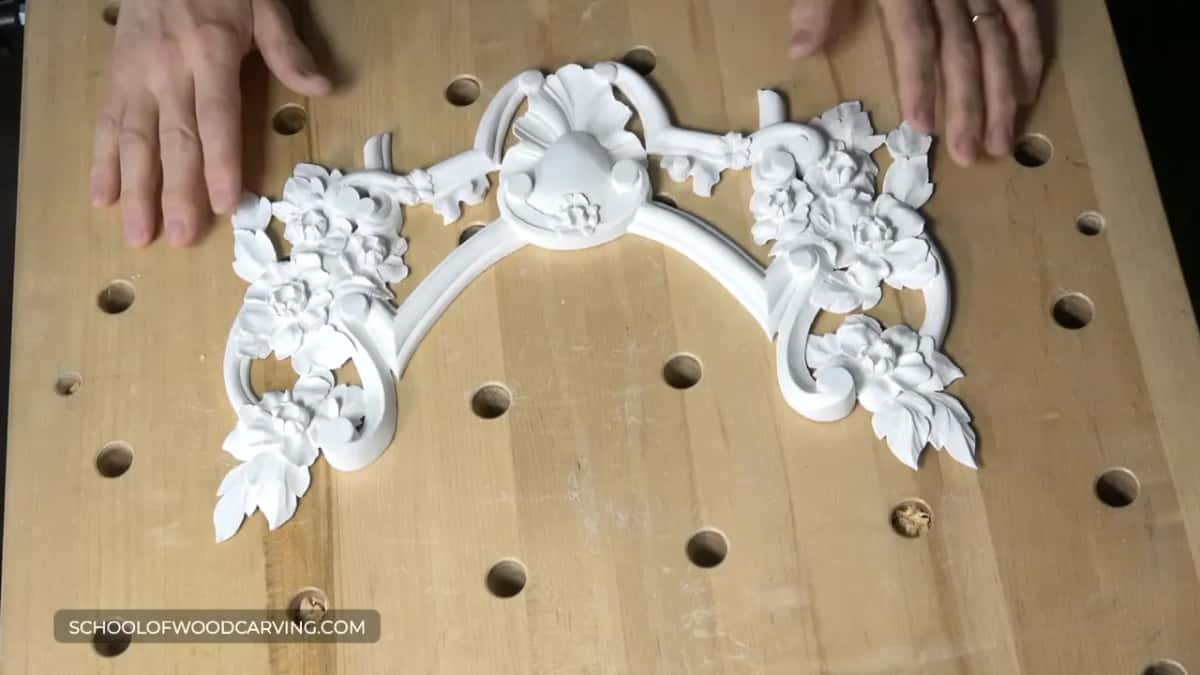
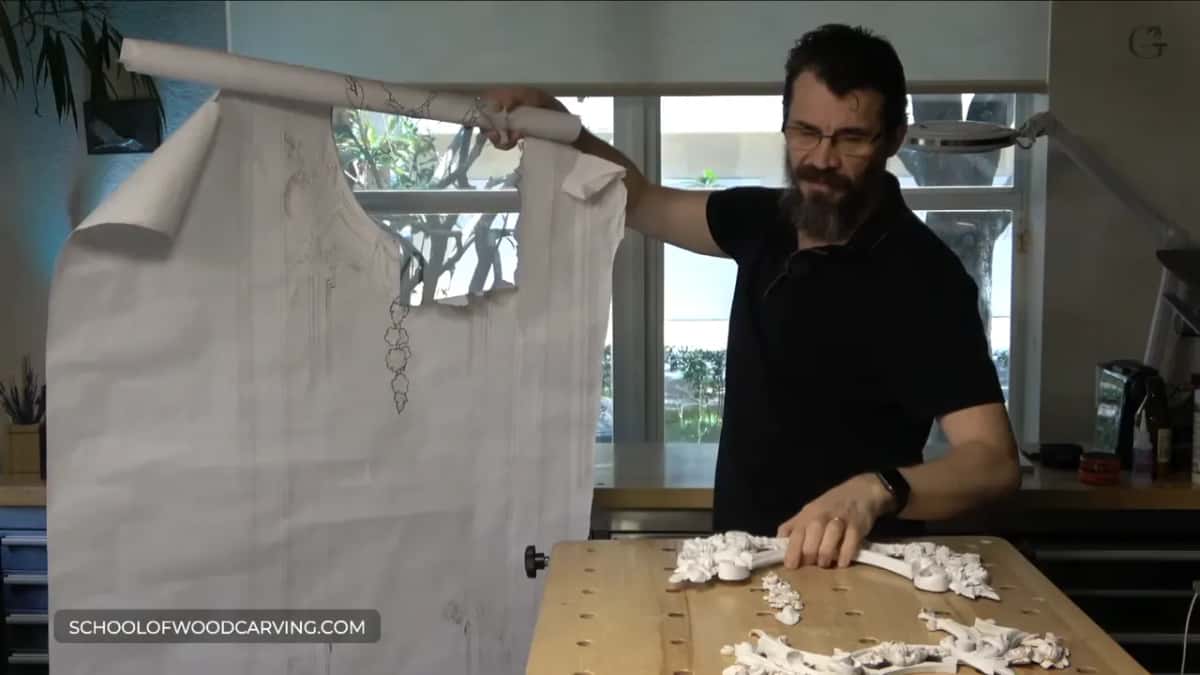
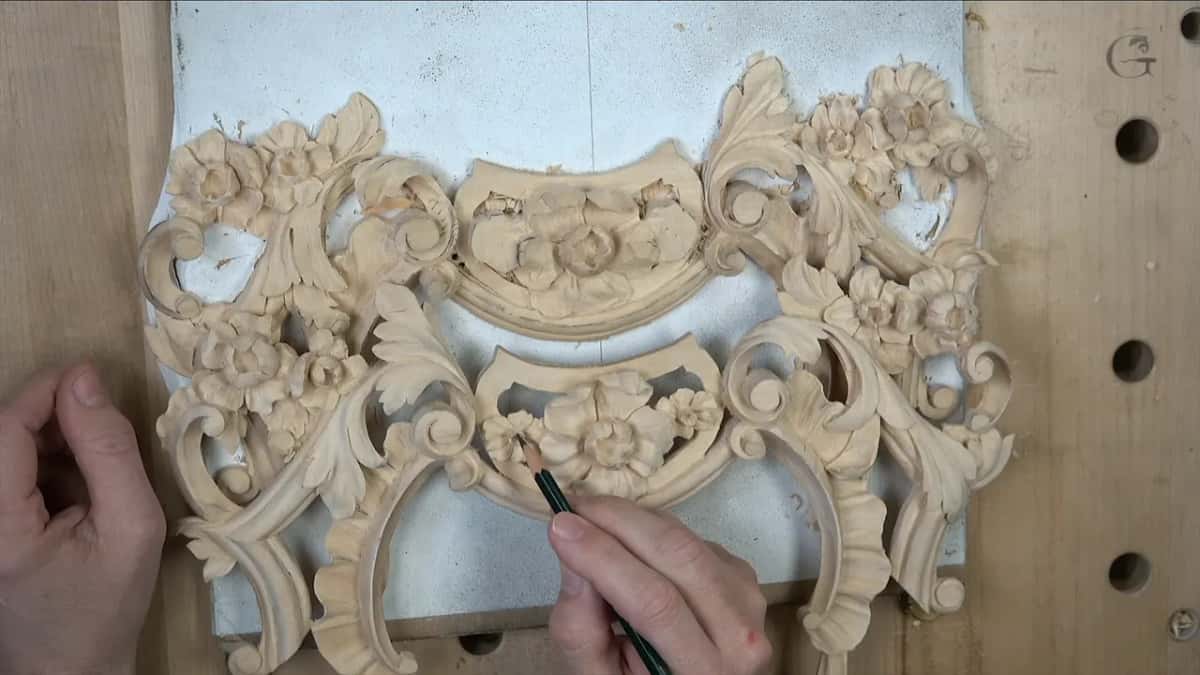
Both belong to a big Venetian style project for a whole room, and what you see is just one panel of it. The cutouts I use as a template show where each piece goes. A second piece sits on the same panel, a third one has small flowers, moldings come later and a couple of rosettes sit below. If you don't know what those rosettes look like, my earlier videos on YouTube, Facebook or Twitch show them. The lower part of that panel was still waiting, and it is not that complicated.
Those pieces still needed their last parts. I told the members of my school I didn't think I'd record them, because it's the same idea I showed before, and maybe I'd make a picture later on. And I'd try to connect a little more often, I promised. But right then I had to get back to work.
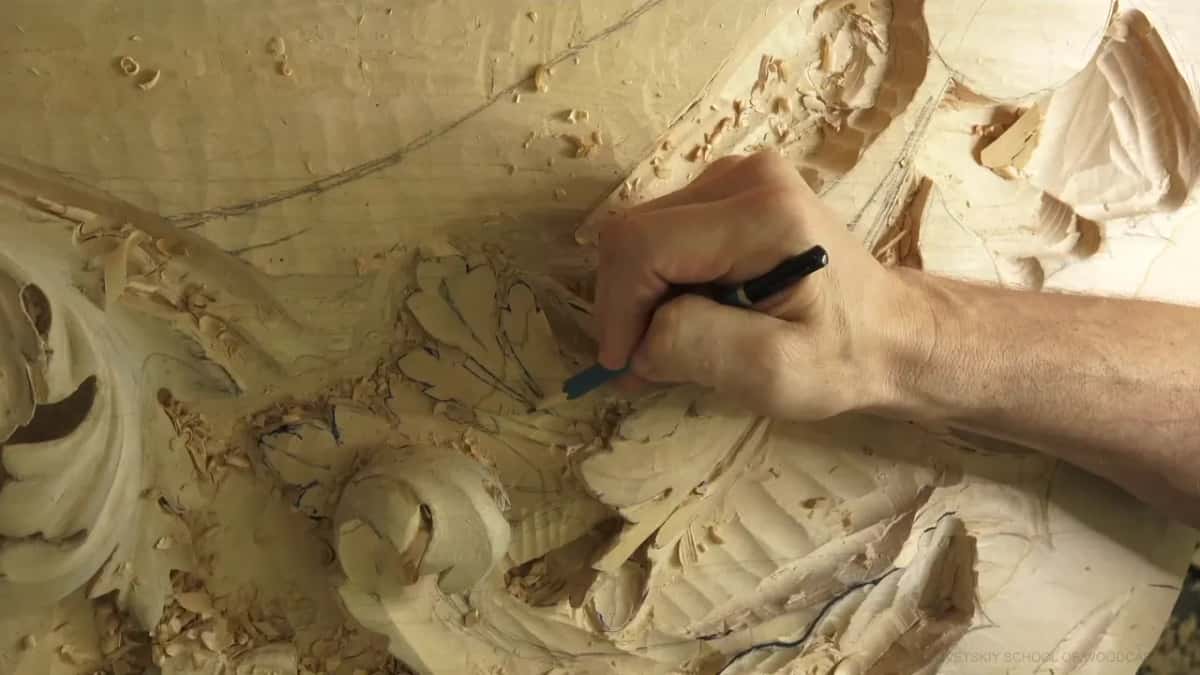
Most of that stream went to turning fragile pieces over to carve their backs, and that tip has its own lesson in my Techniques course. This page stays with the paint. One line from that morning belongs here, though. All wood carvers, me included, really like undercutting, and from above you could see it, a deep shadow on one side, casting right onto my bench. Wood carving, I think, is all about the lights and the shadow, and even on paint grade work I still create those shadows.
Do you need primer before chalk paint on a carving?
For my floral and molding panel I did, and I wanted a really thick primer, maybe even two times. It goes inside a room, really close to the level of a shoulder, where people could damage it. So I wanted the primer to penetrate completely, as much as possible.
And it isn't getting a penetrating paint. It's getting chalk paint, which means a lot of the facets you see will be completely covered. So with that project I really don't have to take it to the extreme, the way I did on some pieces you saw in magazines and all over online.
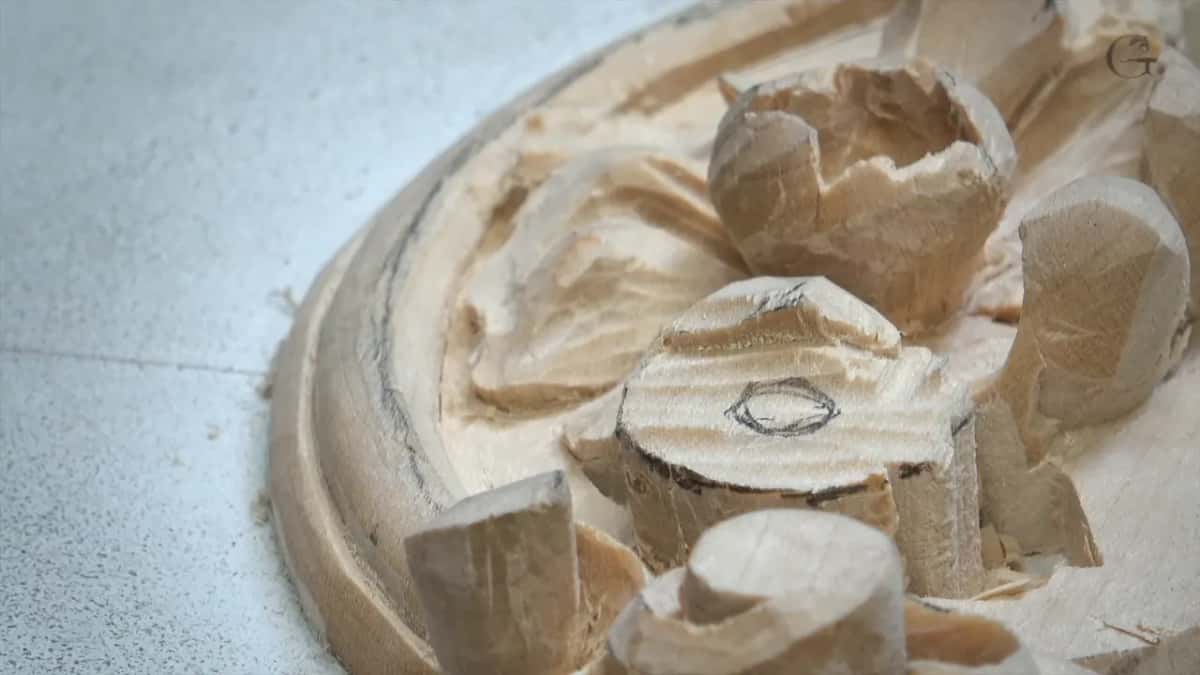
The tiny petals get soaked all the way through with it. A really good primer is thick, almost always, though not all of them are. And that thick coat already covers most of the facets my gouges leave, so on that panel I don't need to clean those too much.
How clean a paint grade carving should be before any of this is its own question. I answer it in workshop 74 of the Venice Room, and I won't repeat it here.
Why chalk paint on a carved panel?
I like the look. It's really matte, with absolutely no sheen in it, just really chalky. Like the primer, the chalk paint goes on really thick.
It costs you, though. In the United States, where I live, chalk paint is not that cheap, and I said so on the floral panel right after I called it beautiful.
For the Venice room I called it authentic 15th century paint in workshop 52. Sounds really complicated, but it isn't. It's just a chalk paint, which was really common and is still common in some parts of Europe, using chalk as the medium. The floral panel is no different. I started to call it somewhat Venetian, then corrected myself on camera. It is Venetian style, from Venice. Next, a pipe was going in there, so I had to get my concave.
How did people paint with chalk before the modern kind?
With chalk in water, brushed straight on. Go to Italy, to Germany, to the Eastern European countries, and you find chalk was used all over. Whole houses were covered with it. In Ukraine and in Russia some houses, inside and outside, were just covered with chalk.
The method was a little different from today. They would take chalk, put it in water, dilute it and brush it on. That chalk and water coat wasn't that efficient, and the rainy season would wash a lot of that stuff off.
Today's chalk paint has some additives, chemicals that hold the chalk particles together, so it's waterproof. Then I caught myself. Not really waterproof. Put it in water for a long time and it gets damaged, but it doesn't wash away the way it used to.
Should you brush or spray paint a carving?
On the Venice room it's a brush, and the client decided that. During workshop 14 I told you I have to paint that piece, like I said before many times, and the client wants to see brush marks, the strokes. So I paint it just with the brush. I'm not going to just spray it, and some of it will give me that feel, like a stroke.
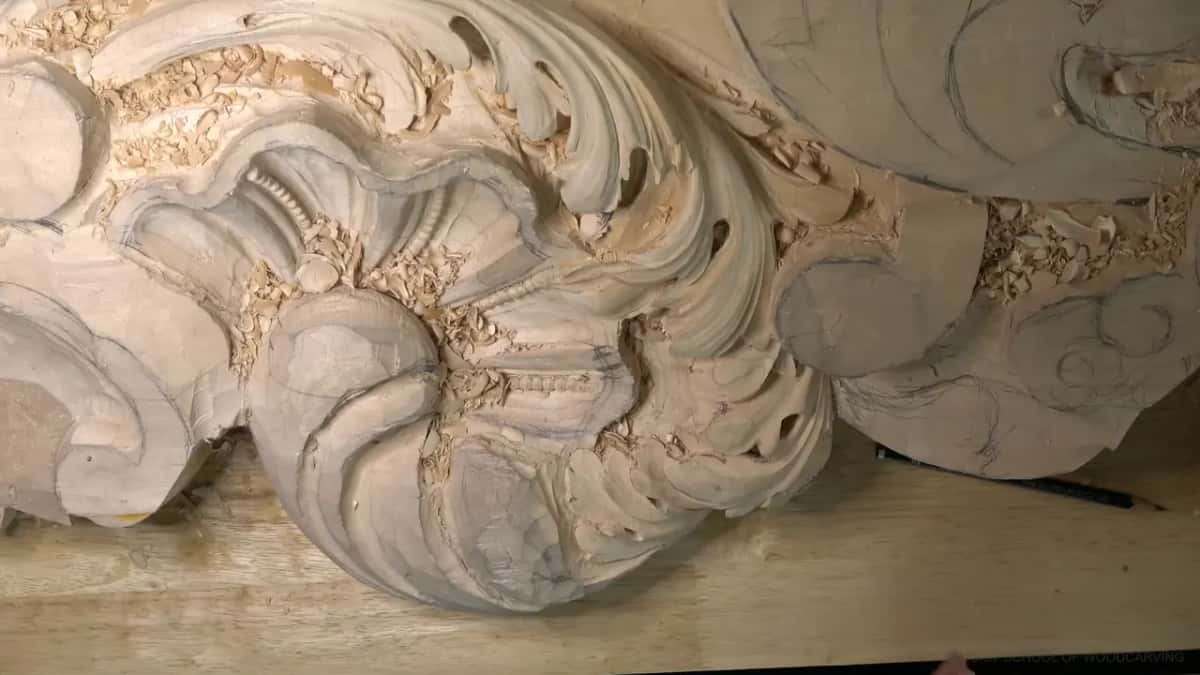
Just before that, looking at the wood, I said I actually even like the lines there, and I really like those tool marks.
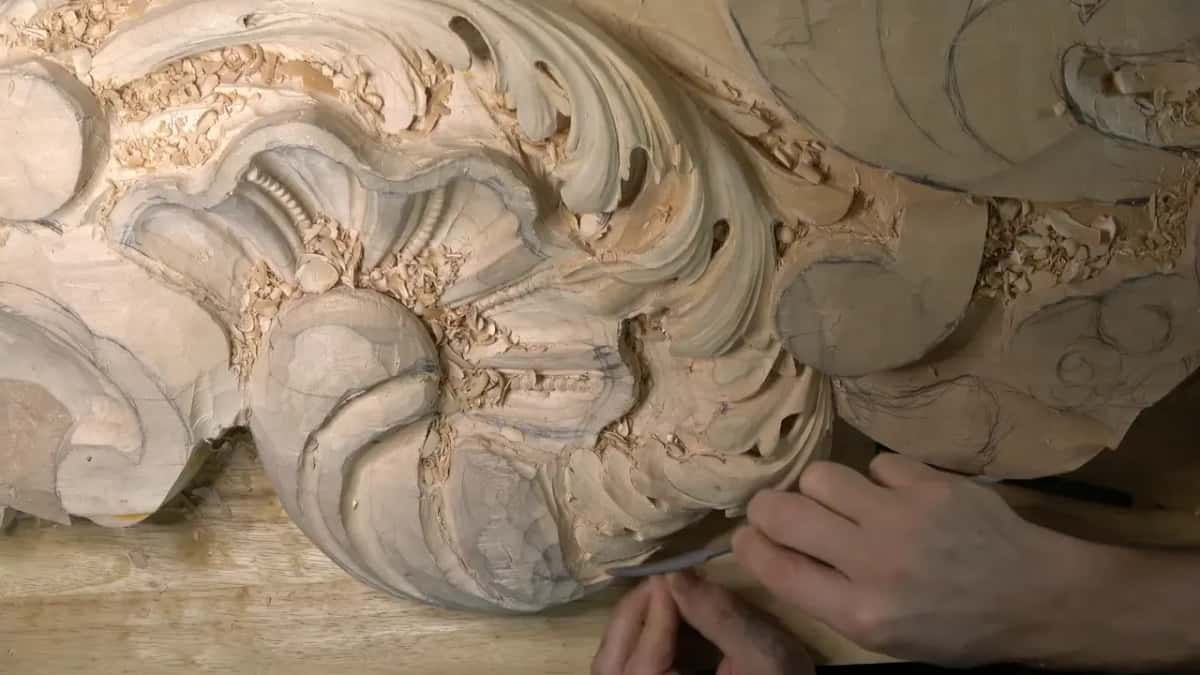
Later in that room, in workshop 82, I came at it from the other side. The paint will be brushed on really thick, so I'm still going to have brush marks, because chalk paint gives me some texture anyway. So why not leave some texture right on the carved surface? A minute earlier I had a shape I could leave as it was, and I picked up rifflers instead, to get a nicer shape and a beautiful transition, just because it's paint grade, so why not? And I said I'd probably use a lot more of them.
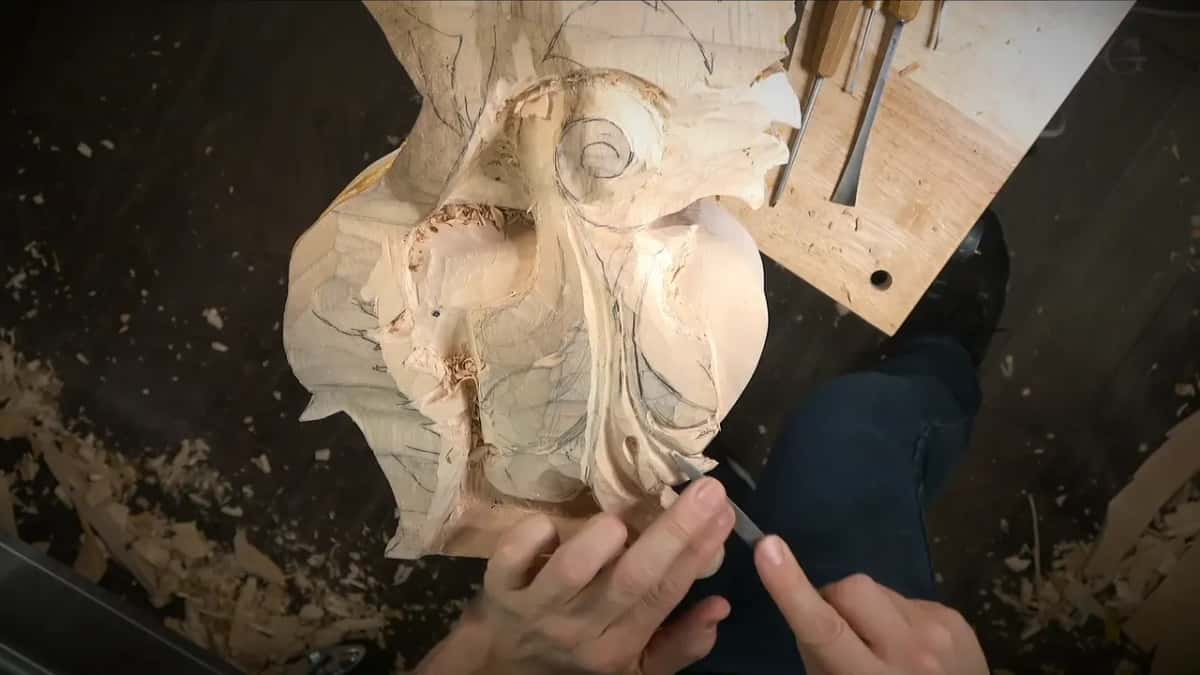
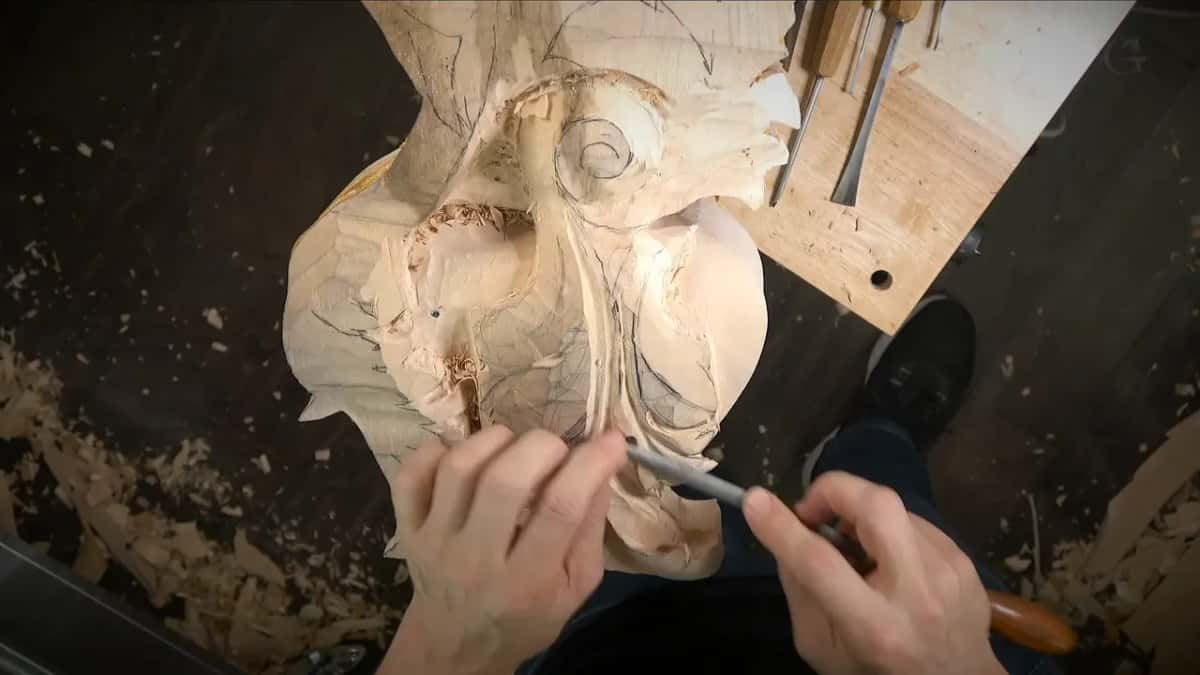
Not every client wants strokes. On the Hashemi flowers I told you some customers ask me to make a carving really smooth and sand it, and they even paint over my carving. Nothing wrong with sanding, I said there. It's a different culture and different traditions. What can you do? As long as they pay, I'm okay. But honestly, in my opinion it looks better with tool marks.
What brush gets into the deep spots?
A small brush, of course. That was workshop 76 of the Venice Room, while I was opening up the eyes on one part of the room.
I took a back bend, a number five, and excavated in one direction for an even lighter, more airy feel. The back bend rides above the opposite side, so it doesn't damage it, and that lets me make really deep excavations inside those eyes, anywhere I need to undercut. That's why I love those back bends. I can remove the waste and open it up even bigger inside, and it casts an even deeper shadow. A little later I said I have to be mindful how I'm going to paint it.
Right after that I wanted the same effect underneath the next part, going the other direction, with a smaller back bend, maybe a number seven. No mallet there, because the main body of the carving was already done, so I tried to excavate a little deeper by hand. A plug cut wouldn't work in that spot. I hooked out what I didn't need with a one millimeter spoon.
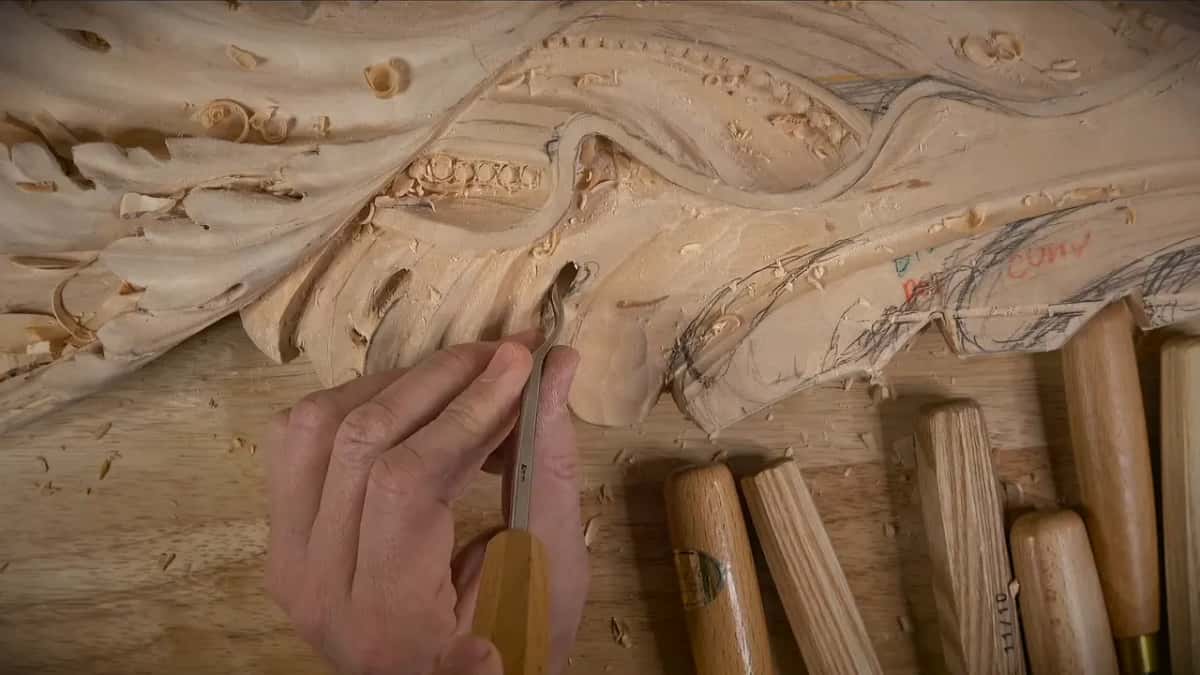
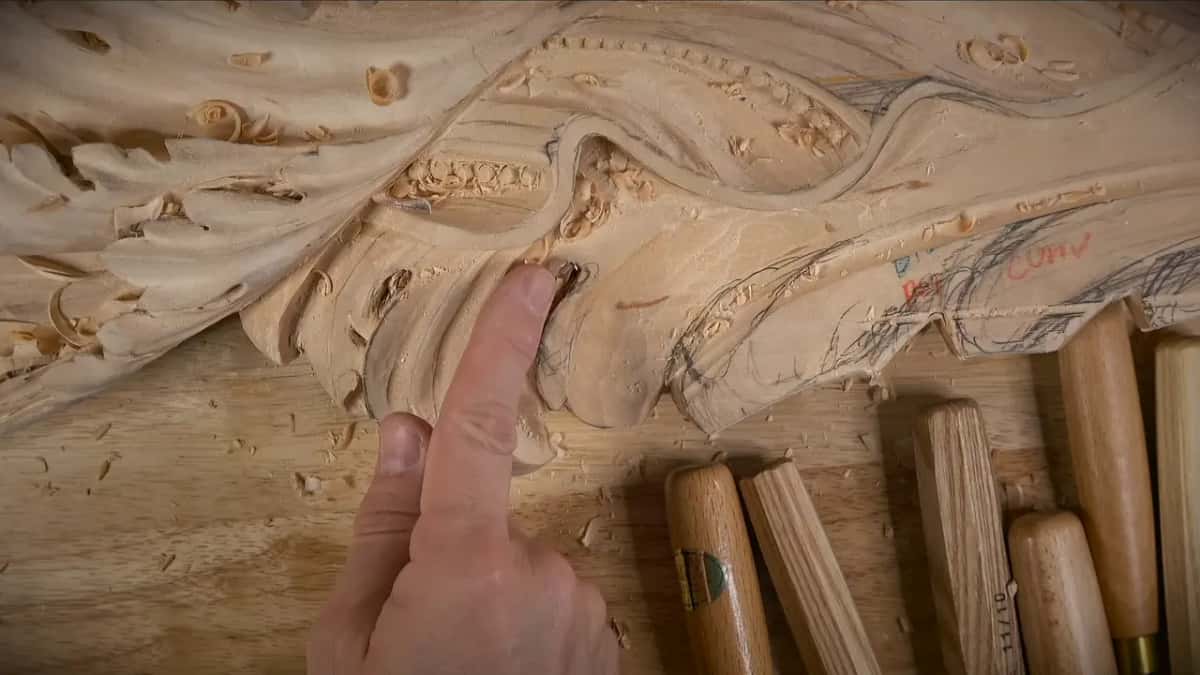
What does one white color do to the shadows?
It makes them really important. Just before I took that back bend, I asked on camera whether I have to do it. Oh, no. Absolutely not. But I like shadows, especially when the piece will be painted with one color, just pretty much white.
Deep holes take a little paint and dust. In workshop 144 I was undercutting a little, not much, and hooked the junk out with a half millimeter number 11, a micro tool. I didn't take that hole to the extreme, because it gets painted, and some of the paint will get in, some dust too, so not much of it will show. But at least I could get a really deep shadow. I attacked it from both sides and made a beautiful hole.
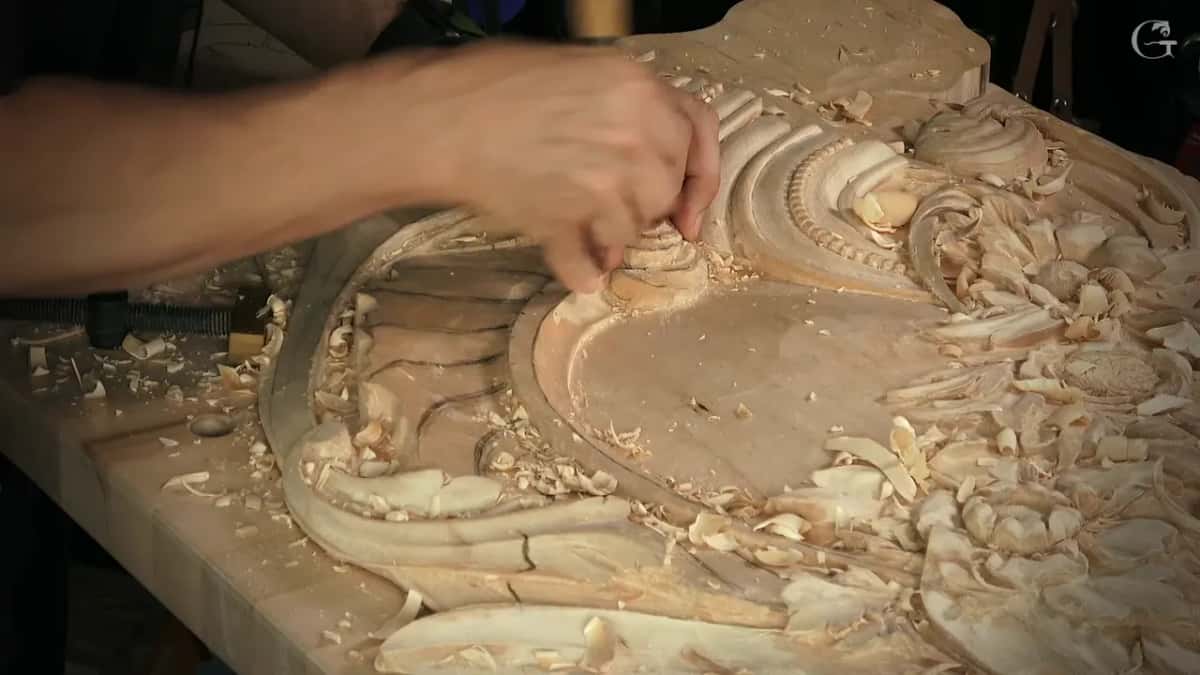
Over in workshop 103 I took a one millimeter tool to go even deeper and said there's no limit, you can get it as detailed as you wish. A moment later came the white paint. This project will be painted with it, I said, so lots of details will probably be covered, and I don't need to worry about some of that stuff. A number eight by Dockyard was the gouge in my hand.
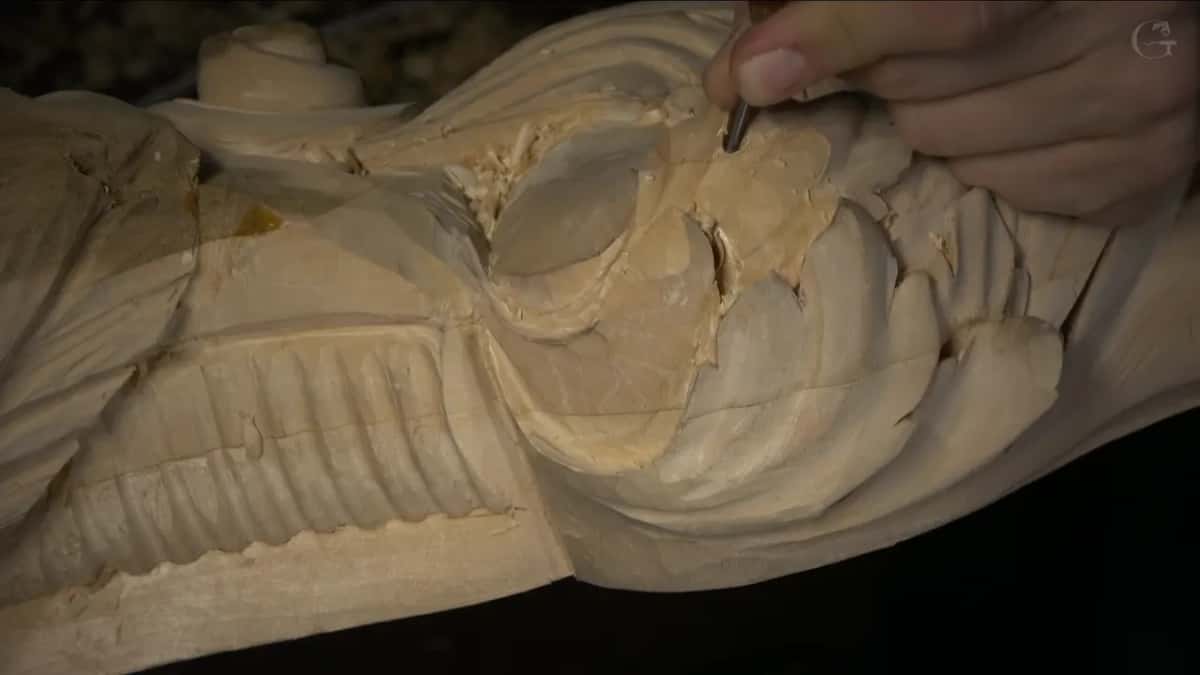
Want color instead of white? I talk about colorizing on the acanthus over moldings panel, lesson 7, and there I said I wouldn't do bright green.
Which wood do you carve for a painted piece?
Basswood, or limewood, which is the same wood. My moldings panel with the acanthus gets white paint, of course, and basswood works fine. Furniture can take walnut or cherry or any other woods.
Some people think poplar is okay if the piece will be paint grade. I highly suggest not to use poplar. It's okay, but it will be a little harder to carve, and maybe it's just my own opinion, but it doesn't feel good when you carve it. Much better to use cherry or even oak.
Where else has chalk paint gone in my work?
On a livestream in April 2020 I showed a head of acanthus, a movement just rotating like this, with a really deep excavation inside. The whole thing was one solid piece, and it was paint grade, with only chalk paint planned for it.
Go to Orthodox churches in Bulgaria, Romania, Russia and Ukraine, and you'll see similar work, taking roots in the Byzantine. Pretty much, the Venetians adapted that style. But in those churches it is gold leaf, inside and outside.
Gold leaf on the inside is another story. Carve from a solid piece and you're not going to be able to gold leaf in there, so the makers of that church work had their own way of doing it, and I planned a school project to show you the idea. Mine was done with spoon gouges, a really deep excavation going all the way through in the middle, in a solid piece with nothing glued down.
On another stream that April I showed a board and asked you not to pay attention, it's dirty. On it I had just tried different finishes, and the authentic one was a chalk paint. Then we went back to the knife.
Each layer, and the lesson I said it in
| Layer | Said | Where |
|---|---|---|
| Thick primer, twice | soaks right through the tiny thin petals | Floral and Molding panel, lesson 13 |
| Thick chalk paint | matte and chalky, with absolutely no sheen | same panel, and it costs you |
| Brush, never spray | the client wants to see the strokes | the Venice Room, in workshop 14 |
| The small brush | into the eyes a back bend opened | workshop 76 of the Venice Room |
| One color, white | and those shadows become really important then | Venice Room again, same workshop 76 |
| Basswood, not poplar | poplar is a little harder to carve | Acanthus over Moldings, in lesson 1 |
Where you can watch me do all of this
Each lesson I named sits in one of my courses, and the livestream sessions have their own. If you want to carve the pieces that get this paint, the tuition page is the way in.
How it's done
- Prime it heavy. Prime heavily, maybe twice, so the primer penetrates the petals completely.
- Leave the little facets. A good thick primer covers most of them, so there is no need to clean those too much.
- Brush the paint on. Lay the paint on thick, no spraying, and let the strokes stay.
- Go small in the deep spots. Inside the deep eyes, switch to a small brush.
- Plan on more coats. My livestream showed one layer of chalk paint, and I said more coats were coming.
Frequently asked questions
How many coats of chalk paint go on a carving?
More than one, going by what sat on my bench in April 2022. One piece wore chalk paint and I said some more coats were coming, while the other had primer alone. An exact count I never gave on camera, so you won't get one from me here.
Is chalk paint waterproof once it dries?
Mostly, thanks to modern additives that bond the chalk particles, as I explained on the panel with the flowers and molding. I caught myself right after saying waterproof. Leave it sitting in water a long time and it gets damaged, yet it no longer washes away the way plain chalk in water used to.
Can a carving stay bare, with no finish at all?
Yes. In one Venice Room workshop I put it at 300 years with no problem, finish or fresh wood. Pieces I carved about ten years ago never got any finish, and their colors just develop naturally. So it's up to you, and for that room I picked chalk paint.
What to carve next