

Alexander Grabovetskiy, woodcarver, School of Woodcarving · Published 2020
Do you need to put a finish on a wood carving?
Quick answer: Finishing a wood carving is optional, and the old carvers prove it. Grinling Gibbons gave his limewood no wax and no shellac, and it looks good three centuries later. Oak carvers mostly rubbed in beeswax. My own bare limewood pieces, carved a decade before I said this on a live stream, simply took on their own color.
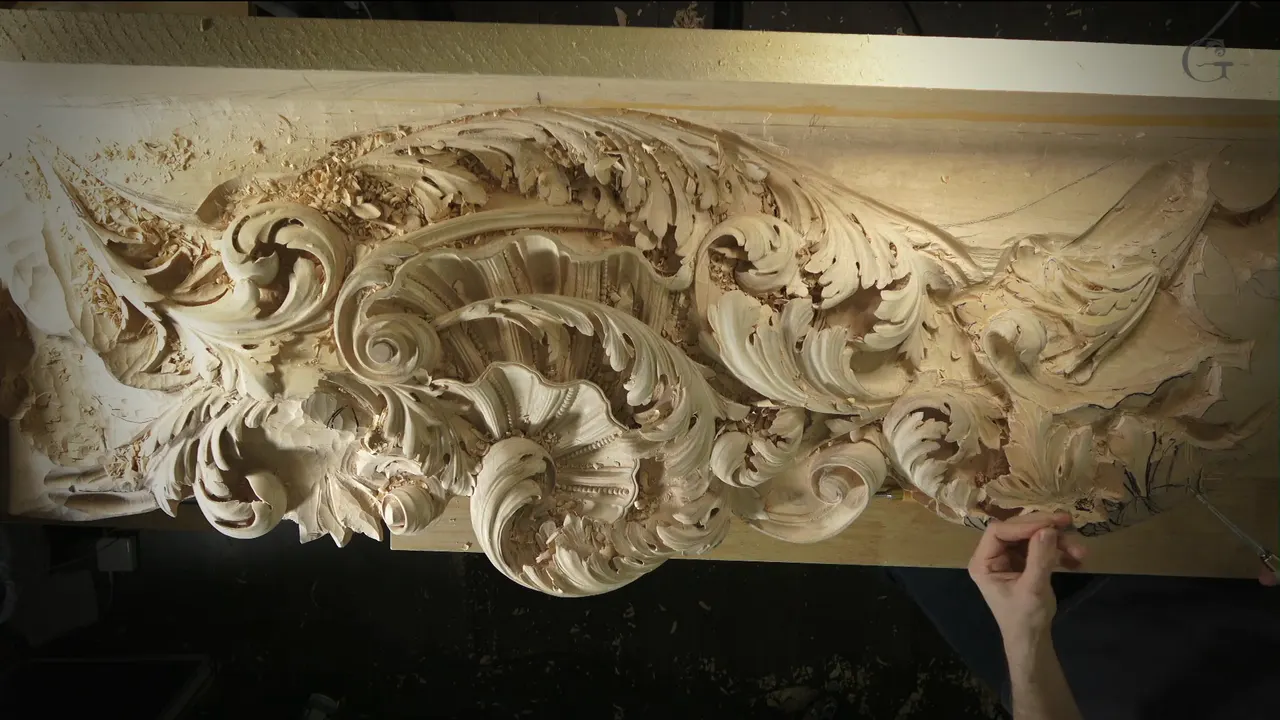
A finish on a wood carving is your choice, not a law of the craft. Somebody on a live stream asked me how to conserve their work, and before I said a word about a can, I told them a story about limewood and oak. If you came to learn how to finish a wood carving, that older question comes first, whether the piece needs anything at all.
That stream was one of seven I ran in March 2020, the first live streams I ever did. All seven show one commission, a Venetian style room for a real customer, carved in limewood. One section alone is about 10 feet (3 m) long, and the carving climbs right up to the ceiling.
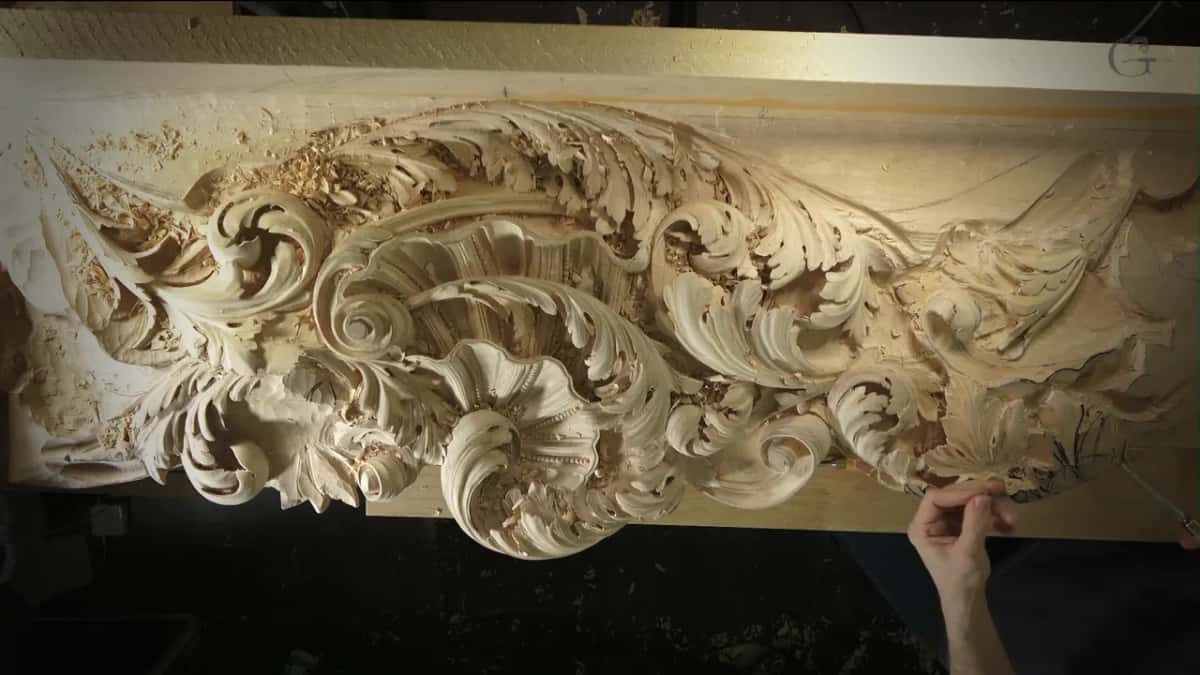
Have you ever stood over a carving you just finished with a can of finish in your hand? Did the label make big promises about protecting it? Some of the finest carving in England never got a single coat. Read where that comes from before you open the lid.
Almost everything below is what I said on camera, in this lesson and in a few of my other courses, and I'll tell you where each part was filmed.
What old carvers and my own shelf say about finishing
- Grinling Gibbons left his limewood bare, with neither wax nor shellac on it.
- Carvers who worked in oak mostly rubbed in beeswax to preserve it, and shellac came in later.
- Bare limewood holds up for centuries, and my own unfinished pieces took on their color naturally.
- Very deep, three dimensional work like flowers I never finish, because a finish can't get into everything you dug.
- When I do want color, the plan is oil first and shellac over it.
What did Grinling Gibbons put on his limewood?
Gibbons put nothing on it. He never applied any type of finish, he used neither wax nor shellac, and he left the wood bare. That is what I told the chat on the third of those March streams.
The question was a good one. How do you conserve beautiful work, and what kind of finish should go on it, a lacquer or something else? I pointed the person who asked to England, to Hampton Court Palace, where you can still see the work of that famous carver. Gibbons was born in Holland, though his parents were English. I still can't say his name right, because of my accent.
Before he came, English carvers used pretty much only oak, English brown oak, and that's a beautiful wood. I've carved some of it, and I love it. He brought them limewood. The wood was common in Europe, and in Germany carvers had worked it back in the 15th and 16th centuries. The tree grew right there in England too, I said, but the carvers there didn't see how beautiful it is.
One of those German carvers was Tilman Riemenschneider, and he used exactly the same wood I'm using. He and Gibbons are the two carvers I really honor, and I have a book about the German limewood carvers. Go to the old churches in Germany and you can still find some of his work, and see how complicated his carvings are and how he put them together. The way he carved is just awesome.
The V&A says the same of Gibbons in its note on him. His limewood carvings were unpainted and unvarnished, made to hang against oak paneling. Later, some people did try wax on his work. He didn't do it himself, as I said in workshop 23 of the Venice Room. I've worked in his style for a long time myself.
What did carvers put on oak instead?
Beeswax, most of the time. The carvers who worked in oak rubbed in bee wax to preserve it, and shellac came in later on.
So the English picture splits by the wood. Gibbons kept his lime raw, and the oak carvers waxed. Brown oak, by the way, is a little softer than white American oak, and red oak is really hard. Germany went its own way again. German carvers did stain their work, I said in the Roman acanthus course, and in another workshop I showed how they boiled walnut shells into a stain. In England they did not.
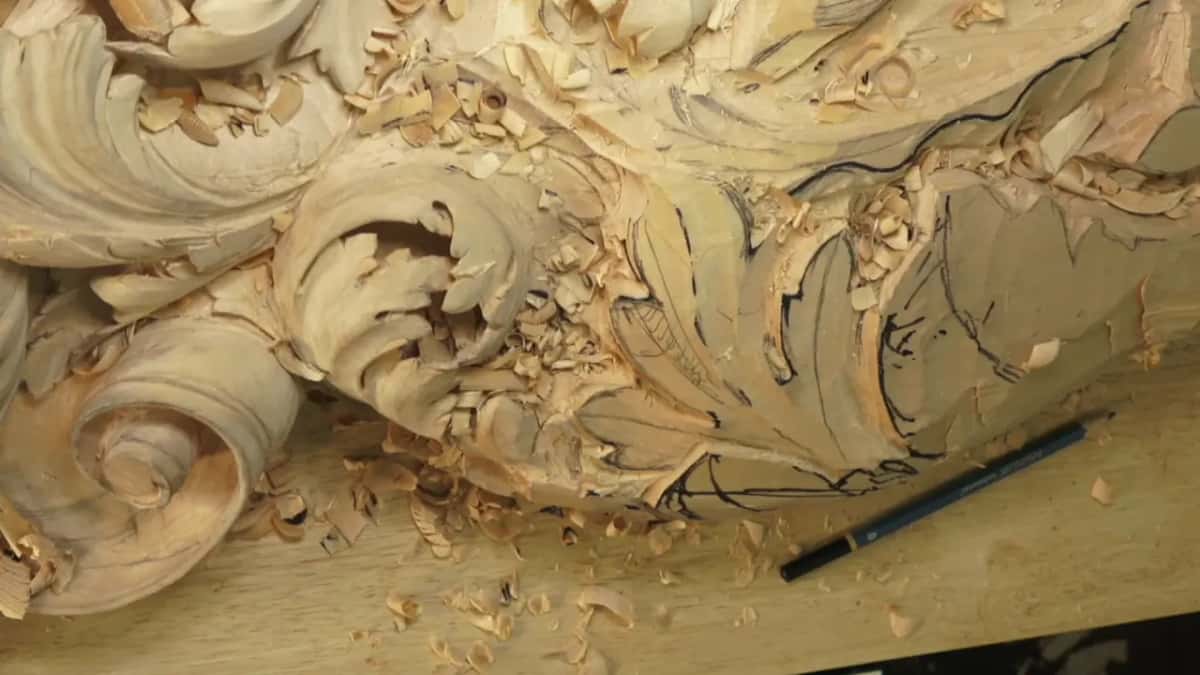
Now go and look at both today, oak and lime, three centuries on. You'll be surprised. This is my own opinion, and I called it controversial on the stream, but I see a lot more aging on oak than on limewood.
Do you need to finish a wood carving at all?
Not for it to last, in my experience. Without any finish, 300 years later, Gibbons' work still looks beautiful and nice.
Finish or no finish, I told the stream, a carving like that is going to stay for centuries with no problem. Then I gave them my own proof. I have some pieces I carved roughly ten years before that stream, and I never put any finish on them. They're naturally developing their colors, and they look really, really nice.
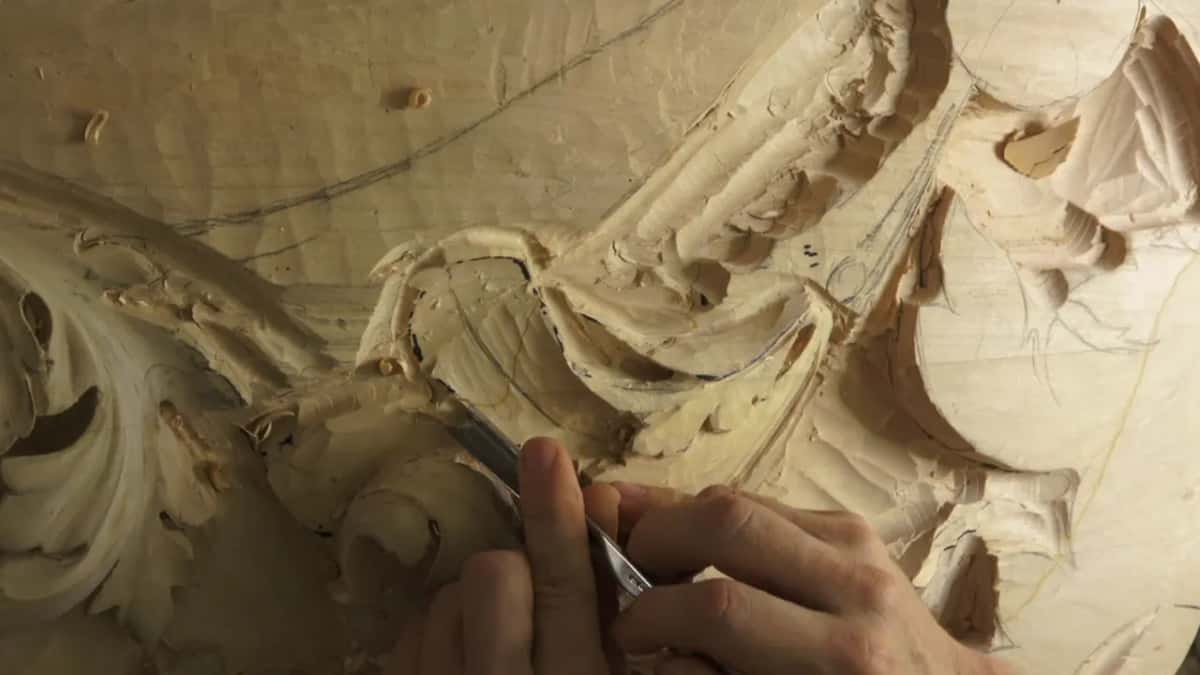
Limewood makes that easy. I call it the queen of woods. Its color is about the same as maple, and the grain is there but it doesn't distract you with stripes. You can stain it to any color you like, and the grain still shows, quietly. It isn't the best wood for furniture that gets used every day, I said, but for big pieces like this room, or for a hobby, there's no better wood.
A couple of weeks later, on a stream in April 2020, a viewer asked whether I protect a finished section from dust and hand oil while I carve the next one. It depends on the project, I said, and on how I'm going to finish it. If it's paint grade, or I plan to stain, I'm not doing anything. Dust isn't a worry, because I only use hand tools and there's no dust in my shop.
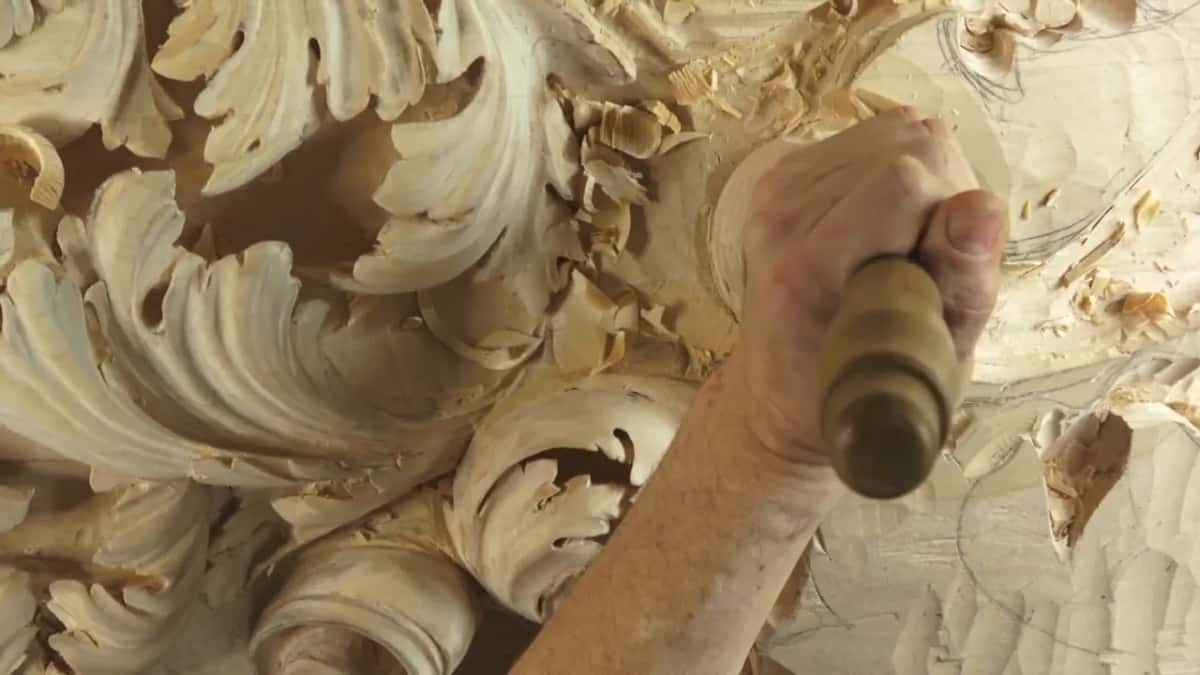
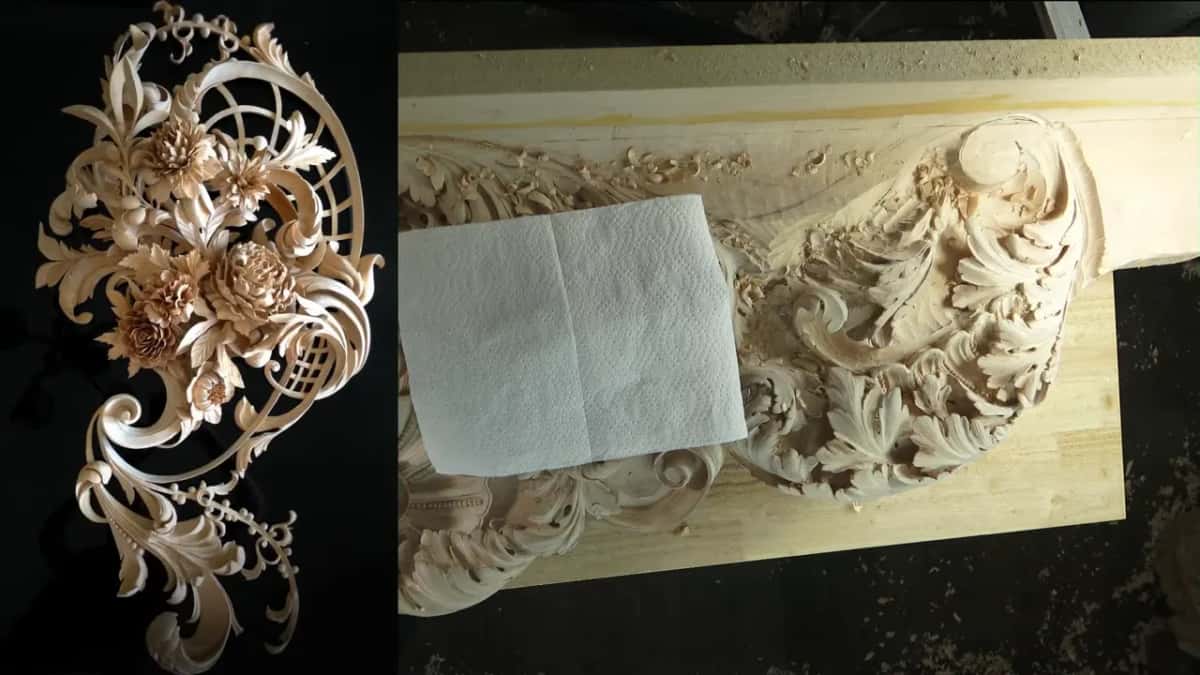
Then I showed a piece that had never had a finish, and I said I had to protect that one while I worked. A cloth or a paper towel laid over each section you finish does the job, and you keep carving right next to it. The choice to leave it bare, I told the first person who asked, is up to you.
Why decide on a finish before you carve deep?
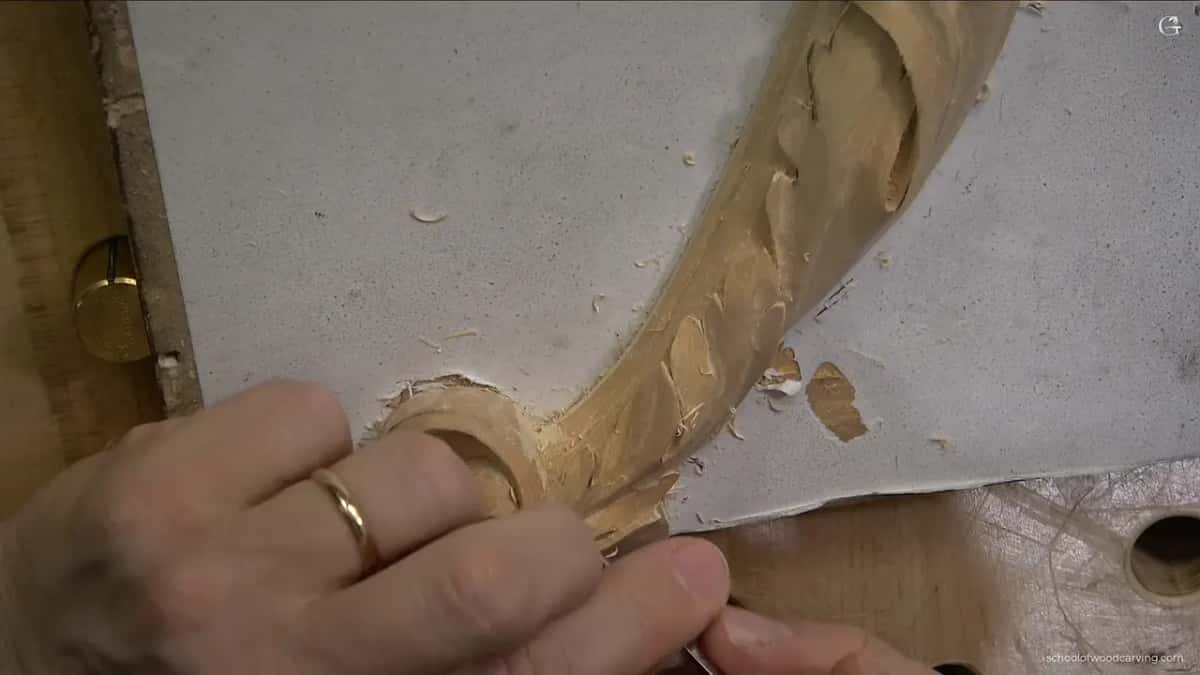
A deep hollow is hard to coat. If you have to finish a piece somehow, with a stain, a paint or even a clear coat, you can excavate too much, and then you can't get to it. That is not so good.
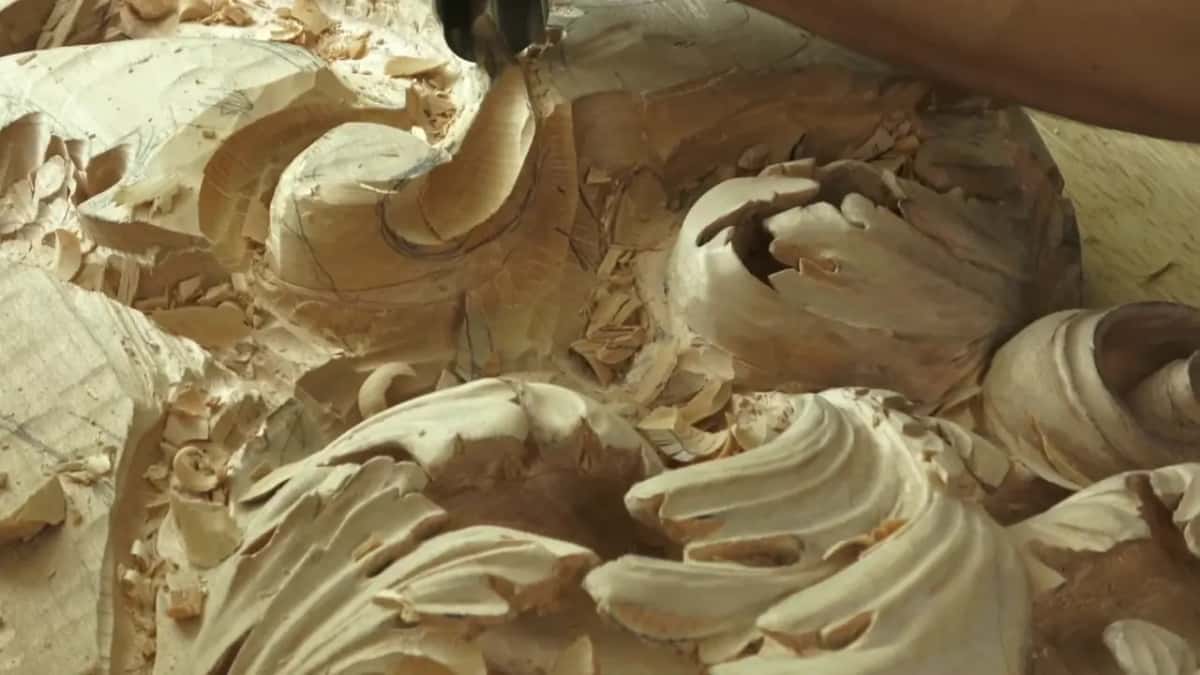
I said that in workshop 23, just before I turned a number 5 gouge upside down to get close under an edge. You always have to think about how deep you excavate if you plan to finish. Flowers, really complicated stuff with really three dimensional excavation, I never finished.
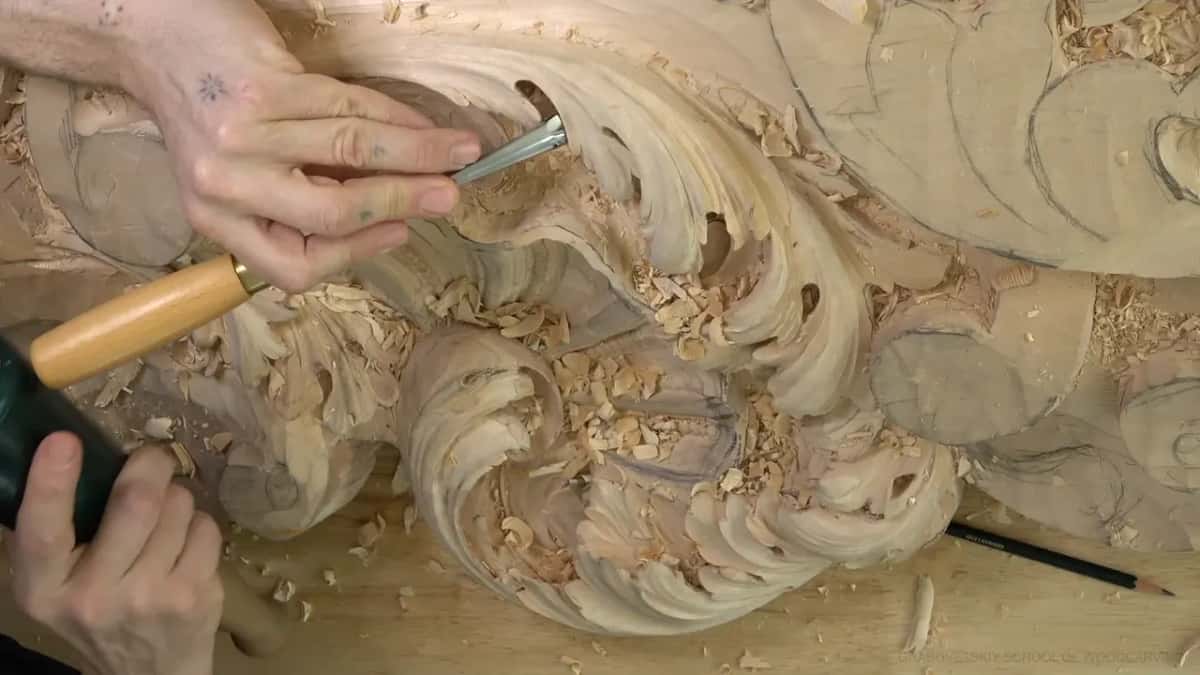
The other side of the same rule came up in Acanthus over Moldings 10. I was undercutting beneath the place where one part of a leaf overlaps another, and the deeper you zip in there, the more pronounced the shadow. Remember what type of finish you are going to put on, I said, because with no finish coming you can go as deep as you like. Right there I was about 2 mm deep.
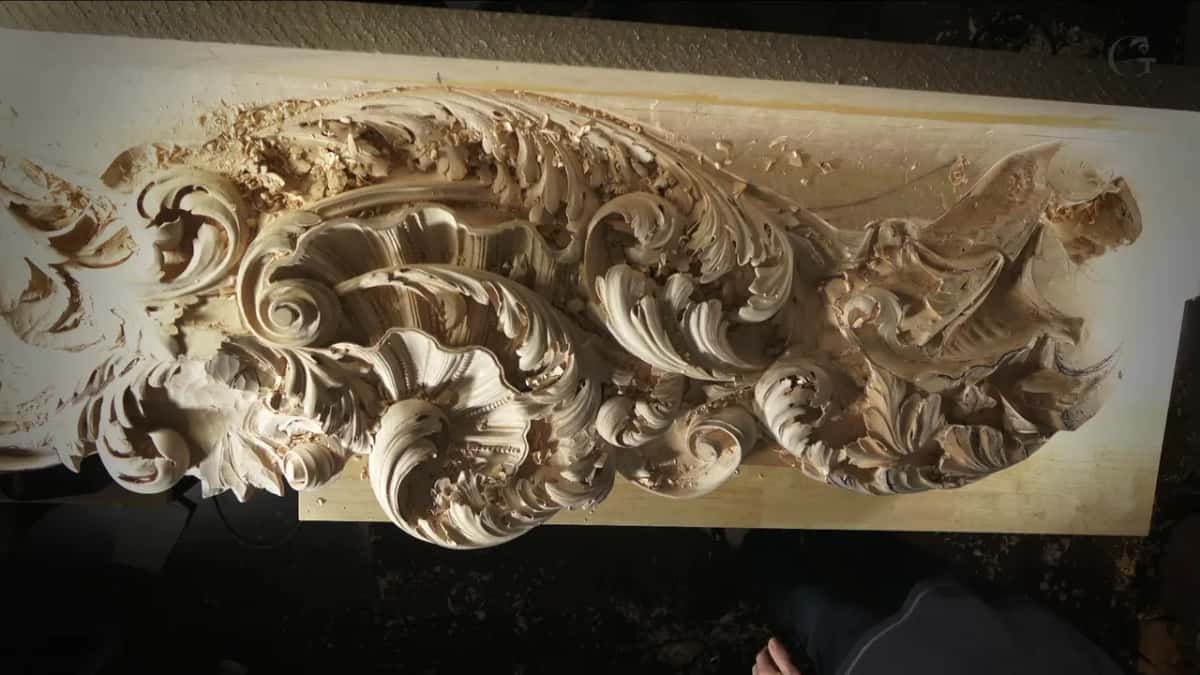
The Venetian room in this lesson has excavations of about an inch, 25 mm, and about 50 mm, two inches, in the deeper spots. One spot goes about two and a half inches, around 70 mm, and that depth is what gives the piece its lightness. That room is going to get a 15th century chalk paint. It sounds really complicated, but it's not.
Ask who will touch the piece too, because this one is going close to the ceiling. People won't handle it much, only the cleaning crew, with a vacuum cleaner or a duster, and even so I still have to watch how fragile I make it.
How does a bare carving show its shape?
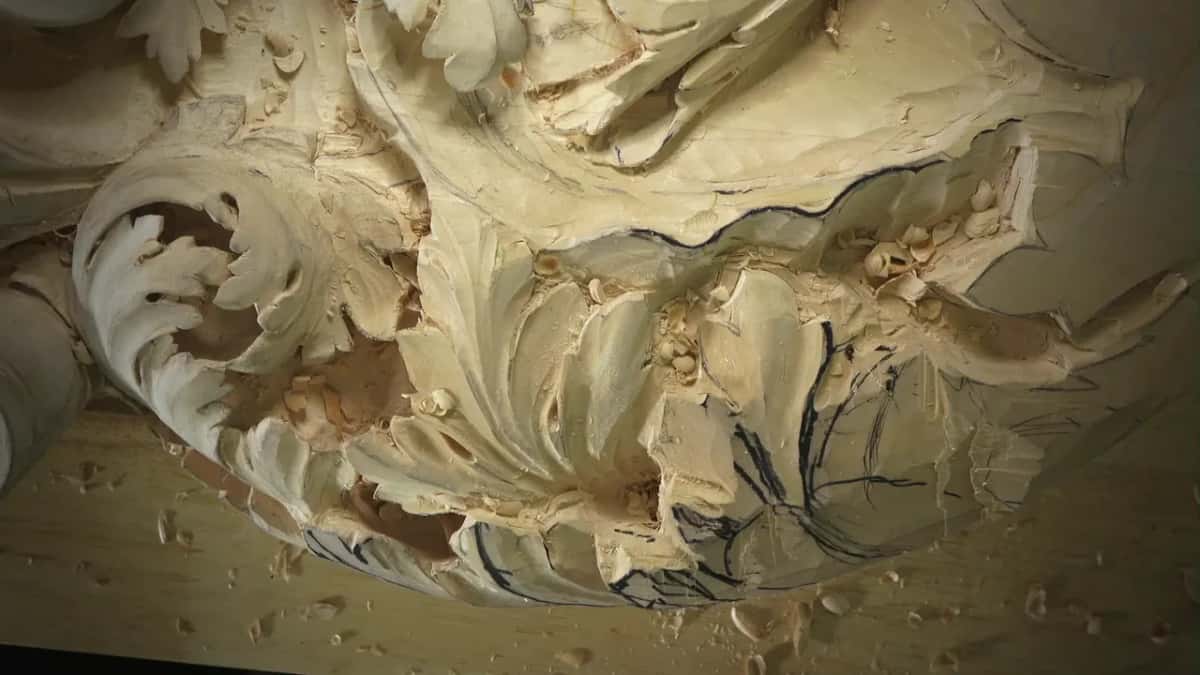
Light and shadow show it. Carving is actually all about the light and the shadow, especially if you're not planning to put any finish on it, or any stain or glazing. I said that over a Corinthian leaf while I undercut it, with the shadow line already showing.
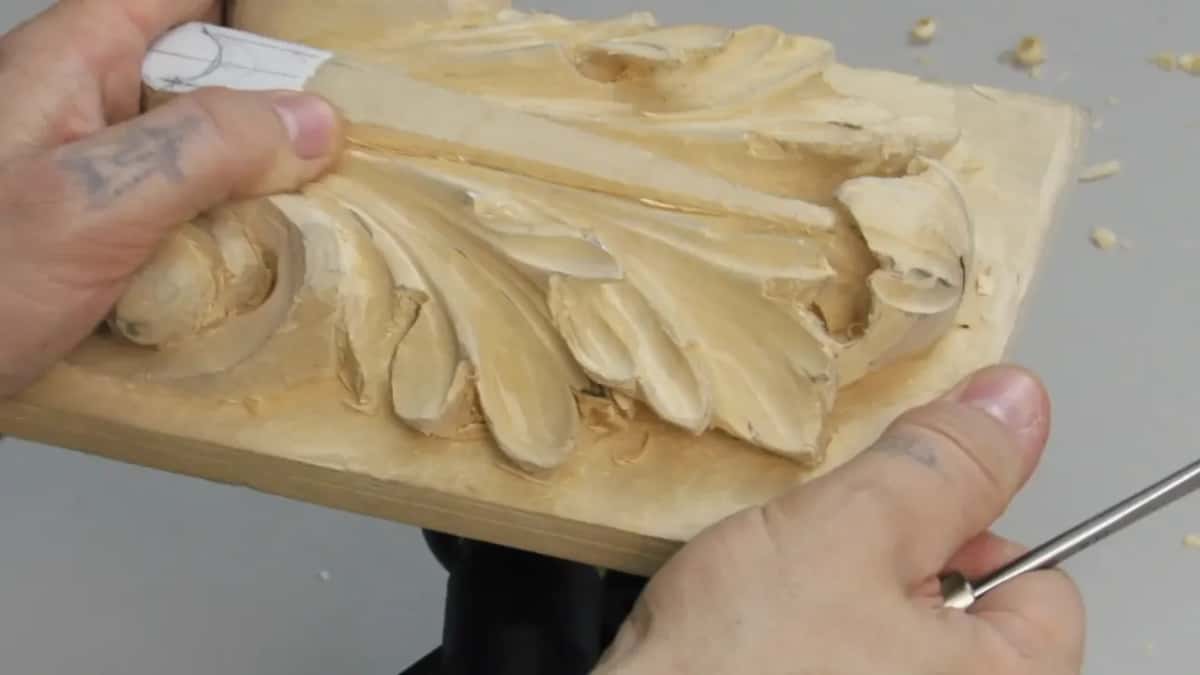
In the Roman acanthus course I explained the idea behind Gibbons' white wood. The shadow development and how the light is going to hit it, that is the idea. I kept turning that leaf in the vise to see how it would look under different light.
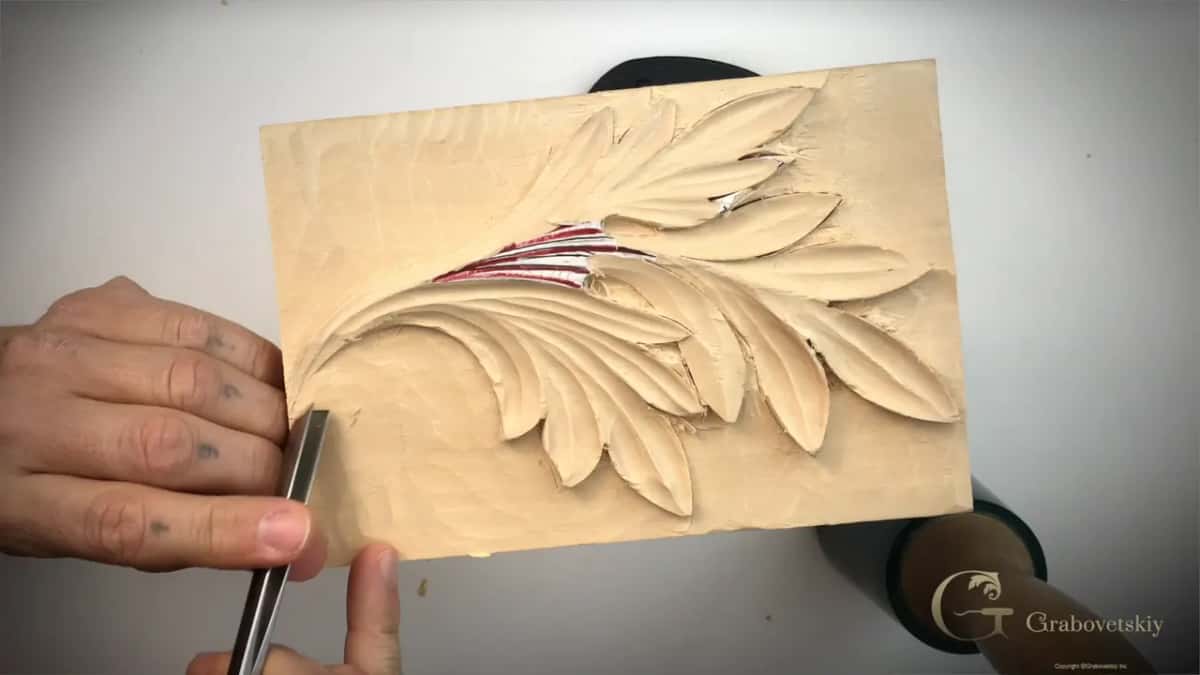
Put a bare leaf in a frame on a wall, with the right lighting on it, and it creates a beautiful effect. Even without a finish, plain wood is going to look really nice. That one comes from Roman acanthus 11.
During the evening stream on the Venetian room I moved my lamp a little, just to show it. Deeper excavations make darker spots. It's like painting in a three dimensional world, darker spots and lighter spots, and where you put the light changes the whole look.
Dark wood is another story. On a furniture panel I said that on dark wood the carving is almost impossible to see before a finish goes on, and once it does, you see every tool mark.
What goes on when I do want color?
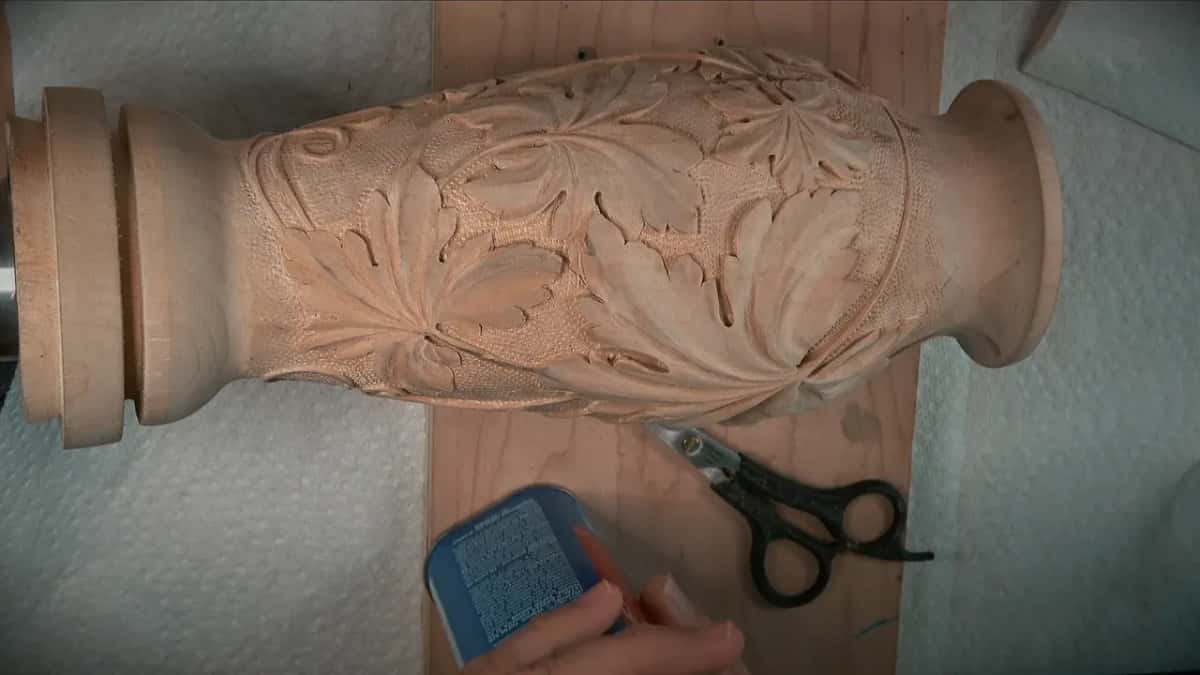
Oil first, then shellac over it. That was the plan I spoke out loud on the carved vase with grape leaves. The color itself went from a true lamp black at the base into a transition, with lavender in the mix for a reason. Those tints mix with water, with a lacquer base or with an oil base. I've used water many times.
Once the color is on comes the oil, Danish oil or tung oil, and I said I didn't know yet which one I'd use. Either gives a really beautiful amber and a good transition. Then shellac goes right on top of the oil, and after the shellac a high gloss finish, maybe lacquer, maybe something else.
Texture changes how a coat lands. On the dining table apron I gave the background of a low relief a dotted texture, and if you stain it or finish it with lacquer or shellac, that background takes the stain differently. It goes darker, and the carving looks deeper and much nicer.
Some woods hardly need color at all. In April 2020 I told the story of clients who hired me to carve grapes on old mahogany doors for the wine room in their dream home. You can tell that kind of mahogany by its finish. Put shellac on it and it goes really dark, so you don't have to stain it. Some other mahoganies don't get that dark.
Then my gouge went in. The mahogany was only about 3 mm thick, one eighth of an inch, veneered on top of pine.
A carving in the Gibbons style can take a coat, too. I told my Maine class they could use lacquer or shellac, or even wax, but it has to be liquid wax. A Byzantine acanthus was never left bare, finished or stained at all, because it was always gold leaf. Paint is a different job, and it gets its own answer in Livestream April 2022. A board you eat from is different again, and on my cutting board it was butcher block mineral oil.
Which wood got which treatment in my lessons?
| Wood or piece | What went on it, in my words | Which lesson |
|---|---|---|
| Gibbons' limewood carvings | Nothing at all, he left bare wood | Third stream |
| English oak carvings | Bee wax mostly, and shellac came later | Same answer |
| My limewood pieces | No finish for ten years, color developing | Right after |
| Venetian room panels | Chalk paint from the 15th century, planned | This lesson |
| Grape leaf vase | Color, then oil, then shellac, then gloss | Vase course |
| Old mahogany doors | Shellac alone turns that mahogany really dark | April 2020 |
Two of those rows are bare wood, and one of them has stayed bare for over three hundred years. The vase is the only piece in it with a full stack of coats.
Where to watch these March streams
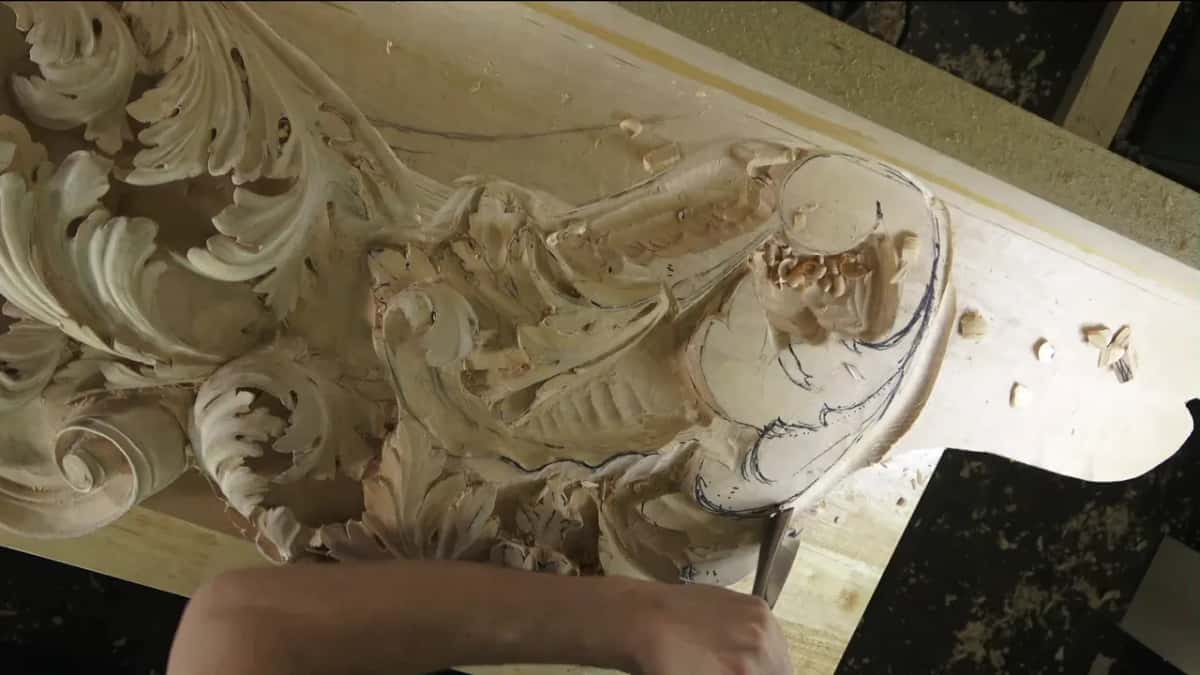
All seven March streams sit in the Livestream events course. A good part of every stream is me greeting people in the chat. The rest is the Venetian room turning from big chunks of limewood into acanthus heads, eyes and pipes, with deep shadows under them, and the stain question has its own workshop, Venice Room 65.
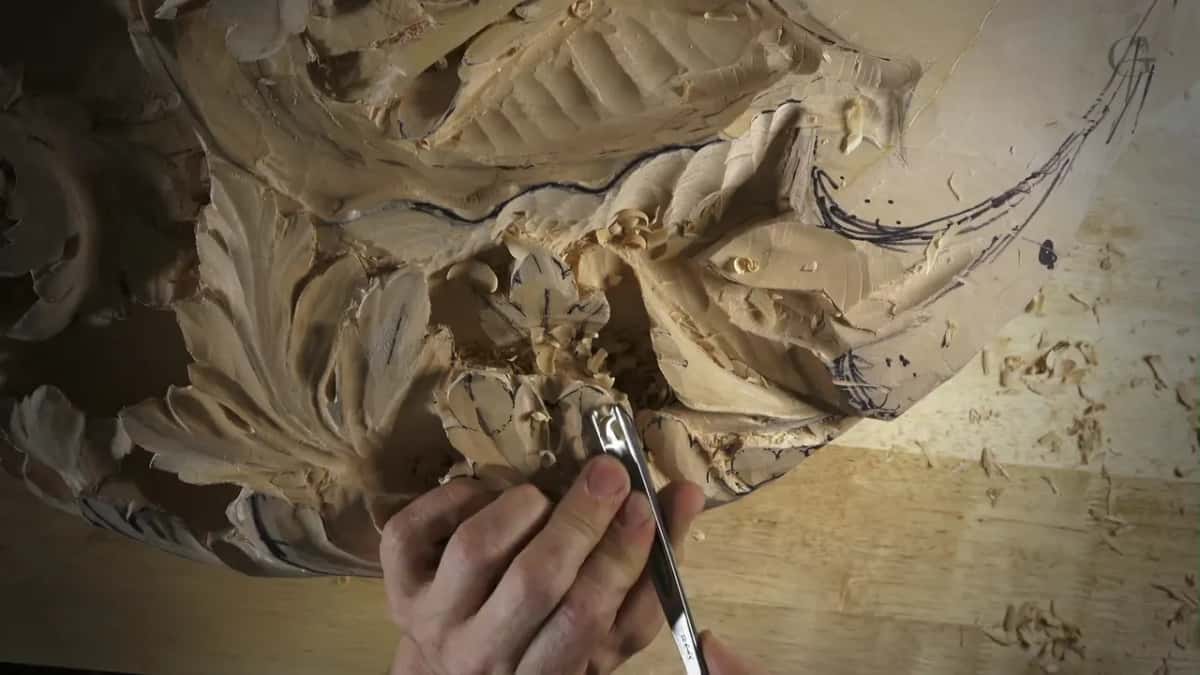
Would you like to see that limewood before any coat touches it? Every stream, the Venice Room and the rest of the courses sit behind the tuition page. Come carve with me.
How it's done
- Ask where the piece will hang. Think about how it will be used. A leaf framed on a wall under good light reads well with no coat at all.
- Settle the finish before you excavate. Any stain, paint or clear coat has to reach every hollow, so decide how far to excavate with that in mind.
- Dig deeper where it stays bare. Nothing coming means you are free to go deep, and extra depth throws a darker shadow.
- Turn it under different light. Rotate the carving in the vise and see how it looks under different lighting.
- Leave limewood raw if you like it. Bare lime keeps for centuries and develops its own color. That choice is yours.
- For color, oil and then shellac. Danish or tung oil goes over the color for amber, shellac over the oil, then a gloss if you want one.
Frequently asked questions
Did Grinling Gibbons ever wax his carvings?
He never did it himself. Gibbons left his work raw, with its beautiful natural color, and later on some other people tried to put wax on it. The V&A describes his limewood carvings as unpainted and unvarnished, made to hang against oak paneling.
Does limewood change color if you leave it unfinished?
Mine did, and I like what happened. Some pieces I carved about ten years before that March stream never got any coat, and the color kept changing by itself. I called them really, really beautiful on camera. Limewood's own color, as I said in the same stream, is about the same as maple.
Why did old carvers put beeswax on oak?
To preserve it, most of the time, the oak carvers in England rubbed in bee wax. Shellac came along afterward. Gibbons applied nothing to his limewood at all, and in my opinion it shows less aging than their oak today.
What to carve next