

Alexander Grabovetskiy, woodcarver, School of Woodcarving · Published 2020
What tool gives the cleanest undercut in wood carving?
Quick answer: The cleanest undercut on my Venetian ceiling flowers is the one a number 11 veiner gave me, at 4 mm. Its U left a clean movement underneath that repeats the shape of the tool. A 35 degree V tool, number 16, stayed off that piece, and a number 8 back bent made a dome that left a shadow.
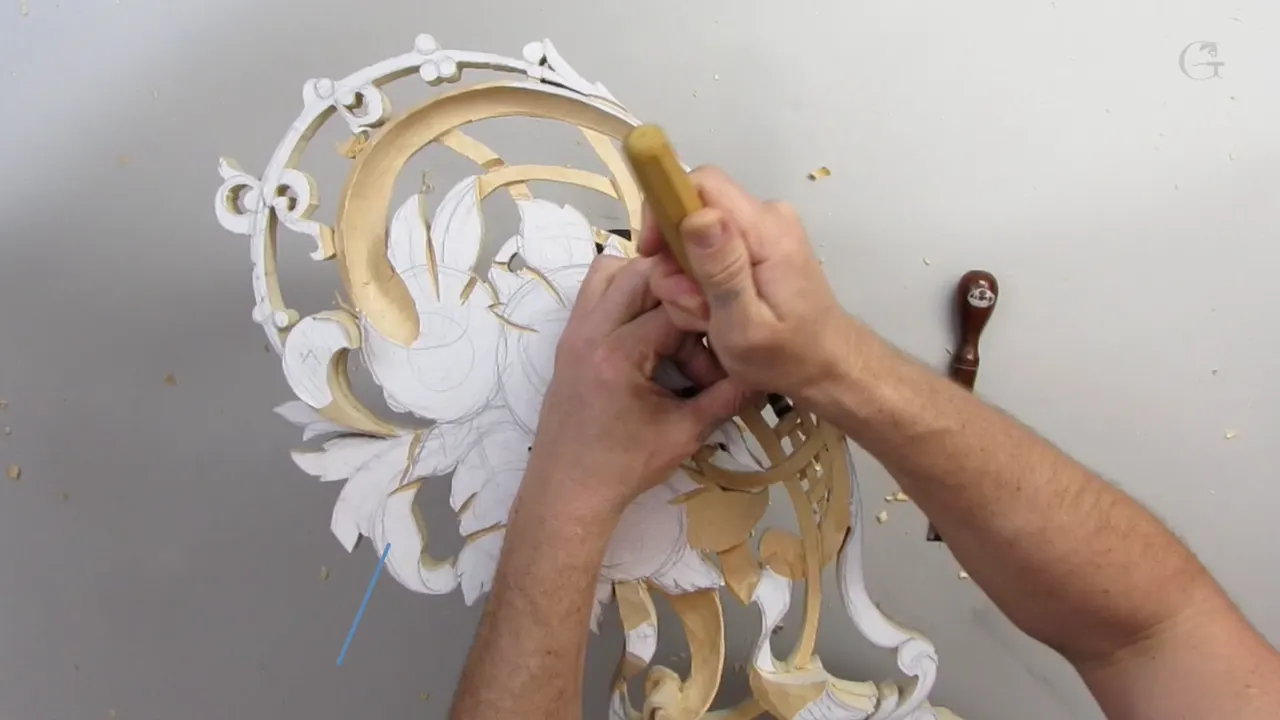
The tool that gave me the cleanest undercut on one Venetian ceiling piece is a number 11 veiner, a U shaped tool I use a lot. I said so live on a June morning in 2020, with the carving right there on my bench. A viewer had asked what I use for undercutting wood carving this deep and this beautiful. I gave three answers. Only one of them won on that ceiling, and part of the reason was history.
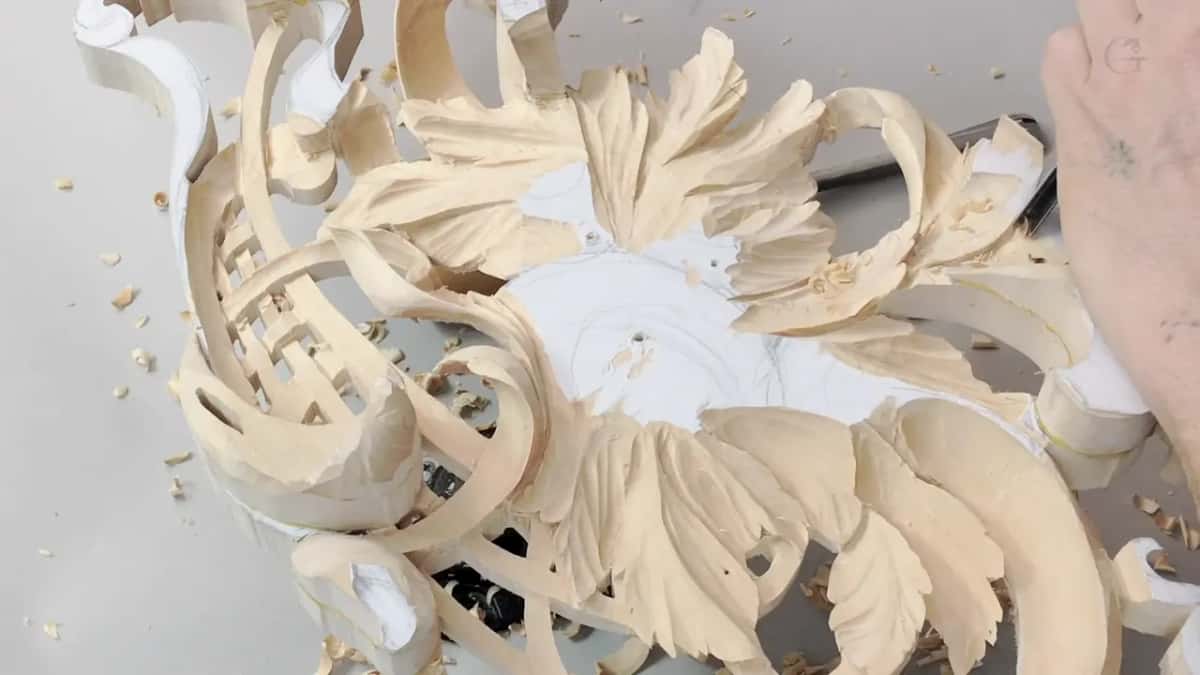
Have you ever stopped in front of a carved leaf and looked at the shadow under it? Did you wonder how far under the edge the tool went? Three tools on my bench could put that shadow under these flowers, and I weighed them out loud.
What follows is what each one did, and why one of them never touched that piece at all. I'll keep it to that one carving. That's the piece I said it about.
Three tools for undercutting wood carving, weighed on one ceiling
- The 11, a veiner, was the way I preferred on this piece, 4 mm wide, with a 2 mm one if I wanted it.
- Underneath, the 11 followed its own U, and the inside came out clean.
- The narrow 16, a V tool at 35 degrees, never went near the ceiling, since the old Venetian carvers had no V tools.
- A V tool can break in a very deep undercut.
- Laid on its side, the 8, a back bent, hollowed a dome inside, and that dome threw a shadow line that showed even under a bright, bright light.
- One of three more undercutting tools, worked on a pull, took one spot about 5 mm (3/16 in) under.
What was on my bench that June morning?
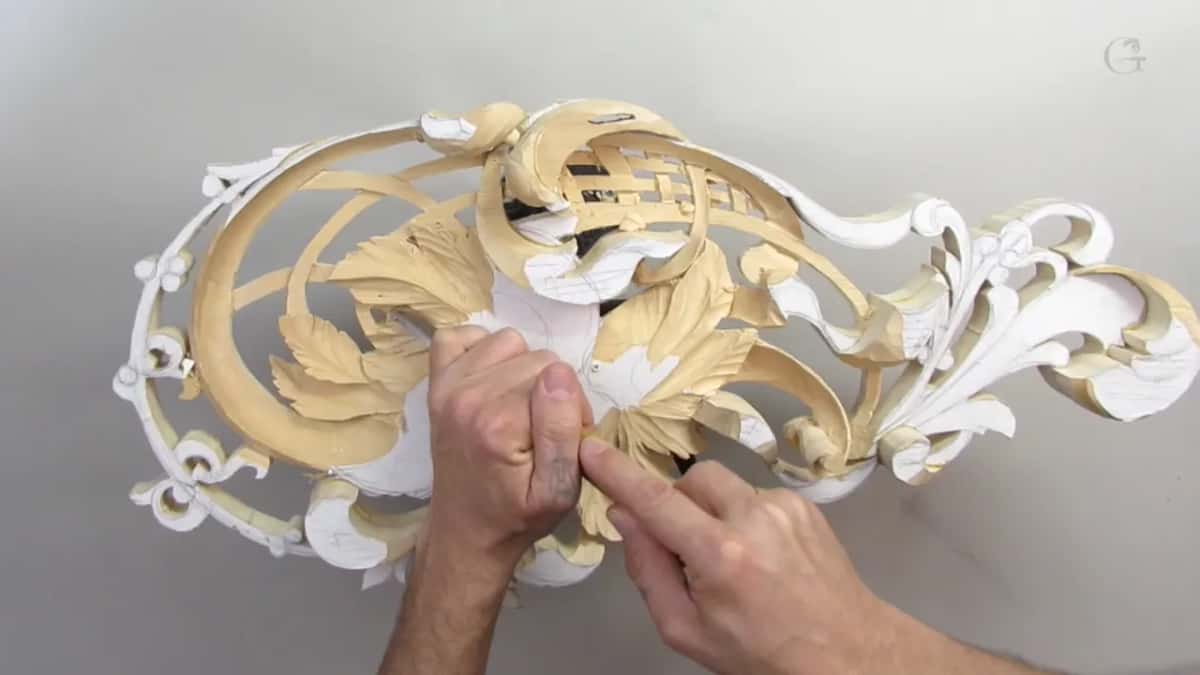
A ceiling piece. It's for a real client, and I don't mean just a high end client, I mean the top of the top, with architects and other people working for them who really know what they're looking for. Some of what I showed was the work I'd done that week. It's a huge project. The piece I was working on, I told the viewers, is only one part of it, about ten feet long, roughly 3 meters.
The week before, I'd been teaching in Tampa, at the Florida School of Woodwork. From my side of Florida it's about four hours of driving, and that week it took me a while, with such a heavy rain. Those flowers will live overhead. Somebody will stand under them one day, staring at the ceiling to see those flowers.
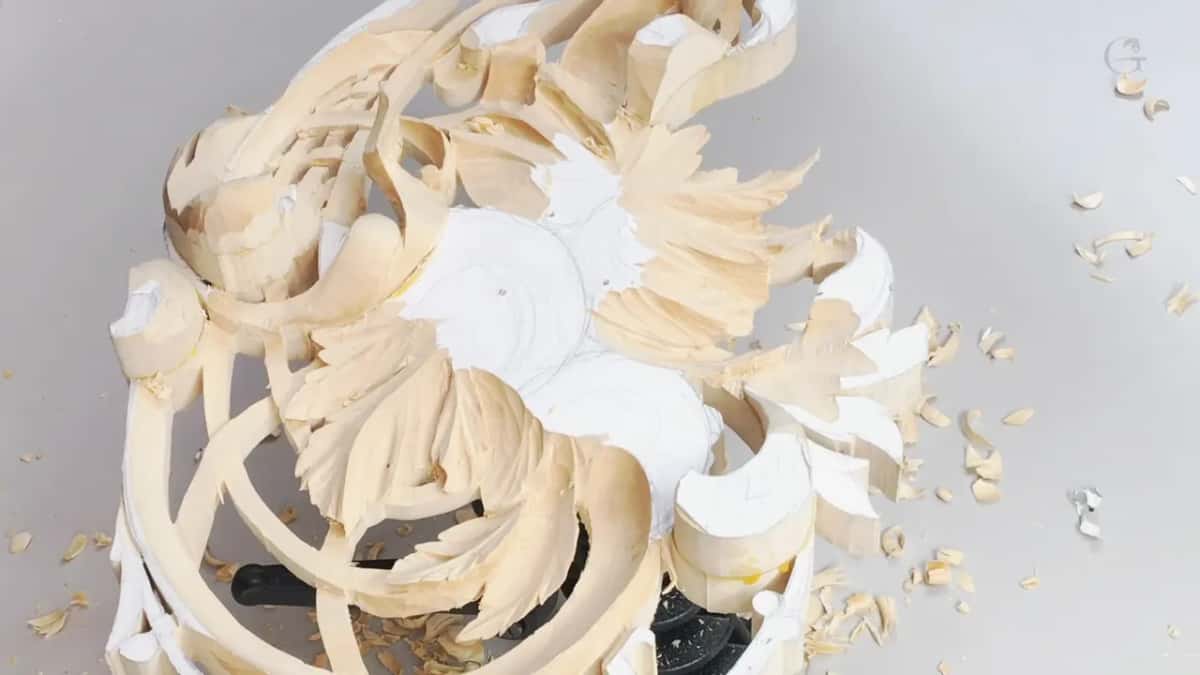
The wood is American basswood, and the flowers are solid, if you wanted to ask. I love this kind of work. I've carved sculpture and faces and animals too, but flowers I really love. I don't know why. And I'd say they're just as complicated as any other form of wood carving. I love complicated stuff.
I'm going to be honest with you about one more thing. In one area I left a couple of rough spots, kind of unclean, and I did it on purpose. You'll see why below. That morning I'd missed a lot of questions in the chat, and the undercut one was among them.
Which tool did the cleanest job under these flowers?
The 11 did. I called it my preferred way of undercutting on this project, the second of the three methods I named, and I use the 11 a lot. It's a U shape.
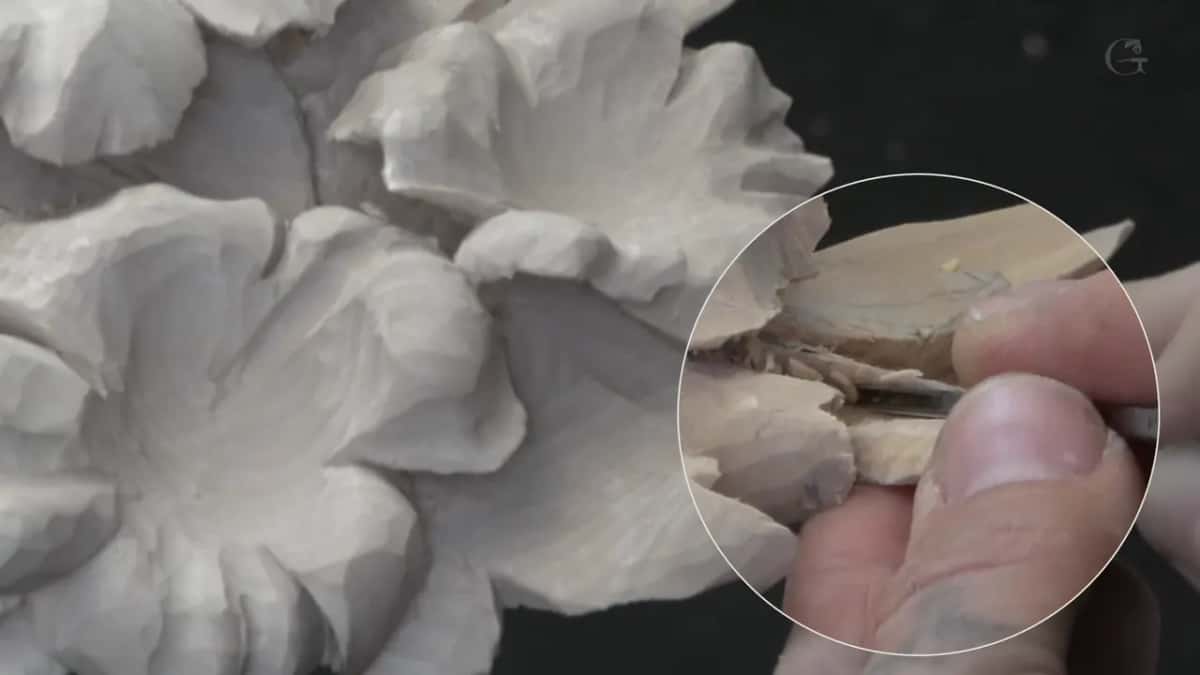
At that moment I had a 4 mm one in my hand, about 5/32 of an inch. It gives me about the same result as a V tool, the parting tool, I said. The difference is what happens on the inside. Underneath, it gives me a really, really clean movement, and that movement just repeats the shape of my tool. I wasn't sure I could show it closer to the camera. That should answer the question of how to get a really clean undercut, I told the viewer.
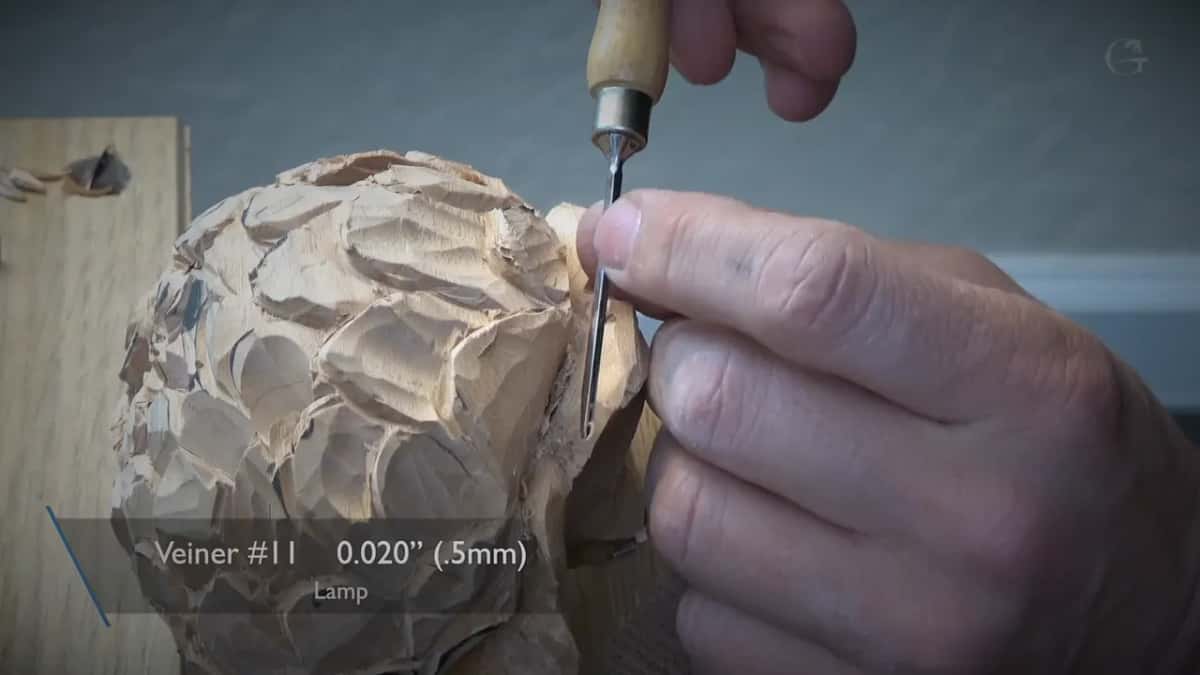
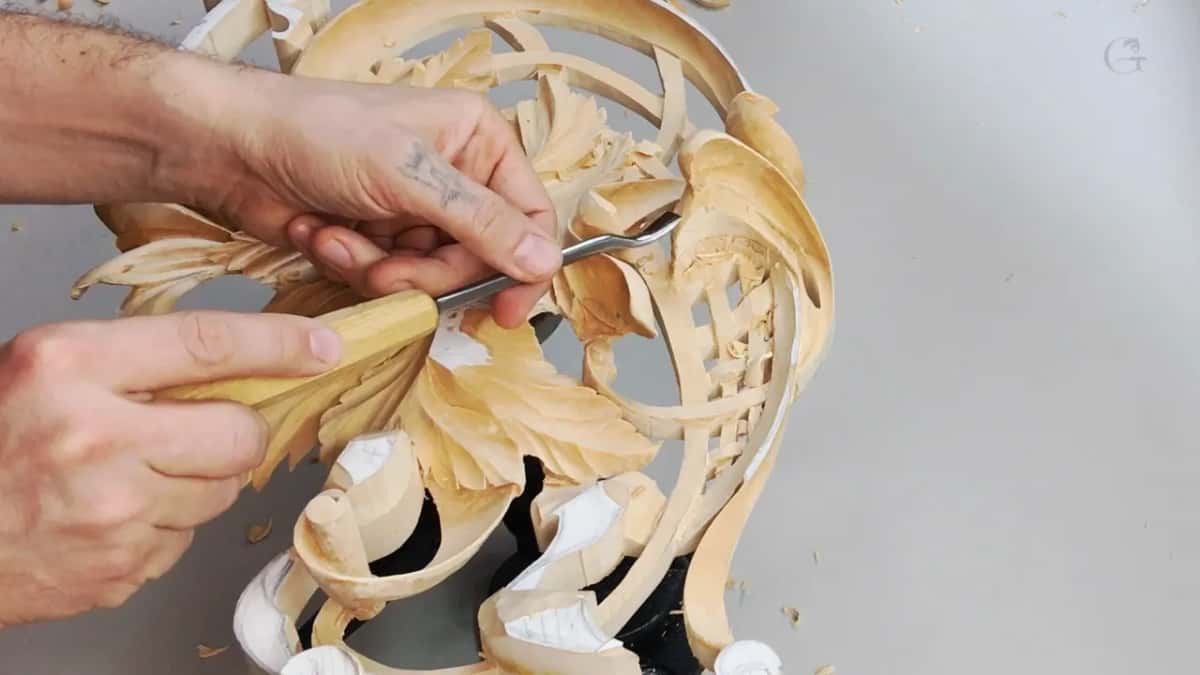
Four millimeters isn't the limit either. I could go with 2 mm (5/64 in) if I want to, and I held one up, a 2 mm number 11. That one is not a gouge, I said, it's a veiner. With that U you just get underneath and dig as deep as you wish.
And again, it's just about patience.
Why did the V tool stay off this piece?
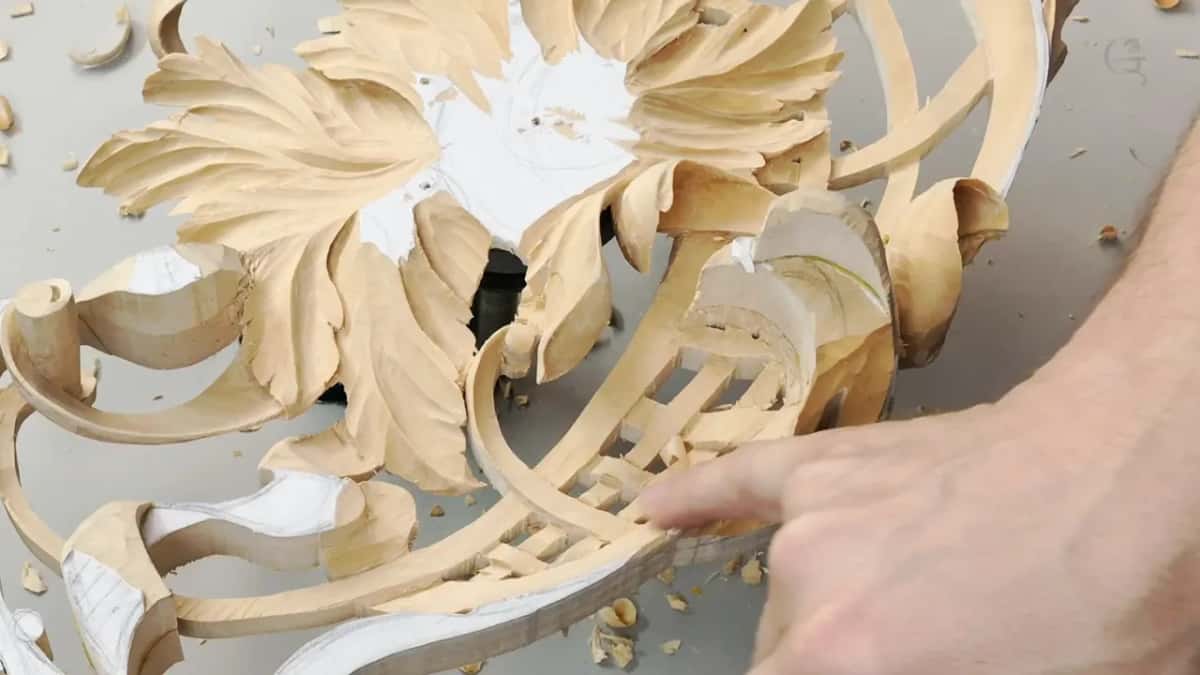
They didn't have V tools. For me this is an authentic project to the Venetian era, the Venetian period, and they just didn't have them, so on that project I don't use any V tools at all. Sometimes I can cheat with other tools. On this one I can't.
The people who will look at this piece are professionals, real professional people, and they're going to examine all the tool marks. That's why I left those rough spots, like they would have done it back then. Otherwise I'd probably make it much cleaner. When they look at it, I want them not to see any difference in when it was made. The only difference would be who's better, me or the people who used to live back then.
I came back to the Venetian V tool question in a later talk about my Pfeil and Ashley Iles tools.
What does a number 16 V tool do under an edge?
There are lots of different ways to undercut, and I developed pretty much a few of my own. On other projects the V tool is an excellent tool for undercutting, and it was the first method I named. Mine is a number 16 by Pfeil, Swiss made, and it's my favorite little one. It's really narrow, only 35 degrees.
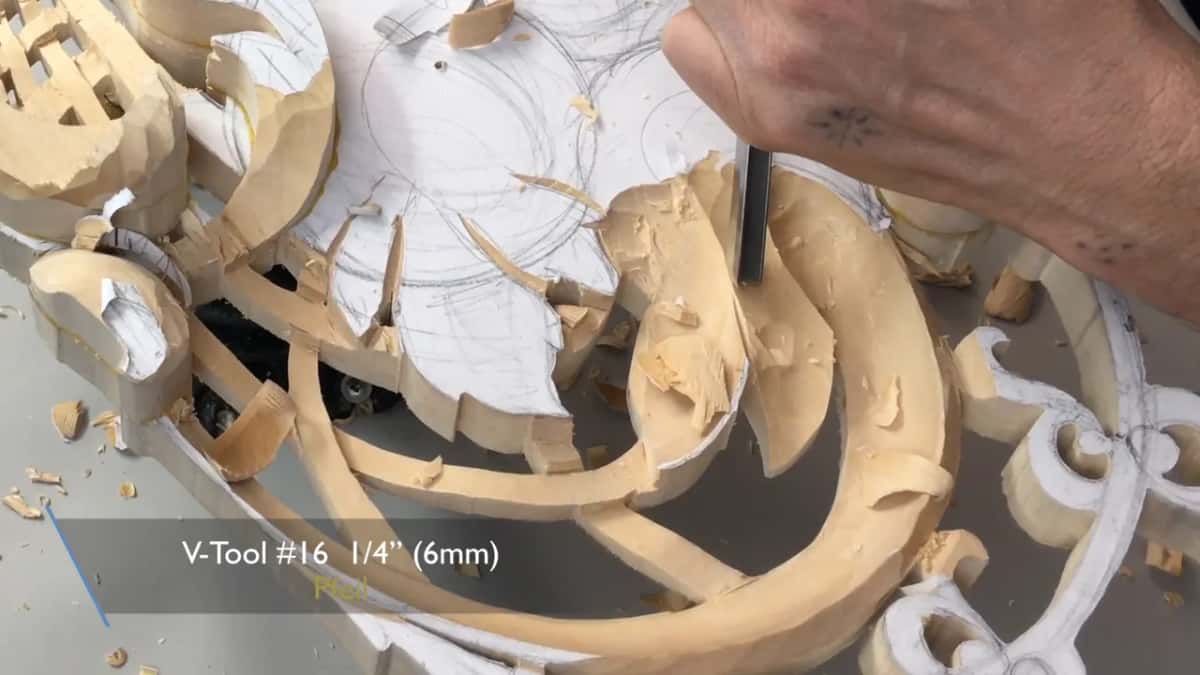
You can lay it right on the side of the tool and start undercutting, and you can get really beautiful results that way. It gets you right to the edge. Then you just get underneath and excavate, little by little, little by little. Later in the stream I came back to it. For clean results, I said, just use a really, really narrow number 16, a Swiss made one at 35 degrees.
People call it a parting tool too, because you're pretty much parting two parts apart. The angle of a V tool gets a page of its own.
Can a V tool break in a deep undercut?
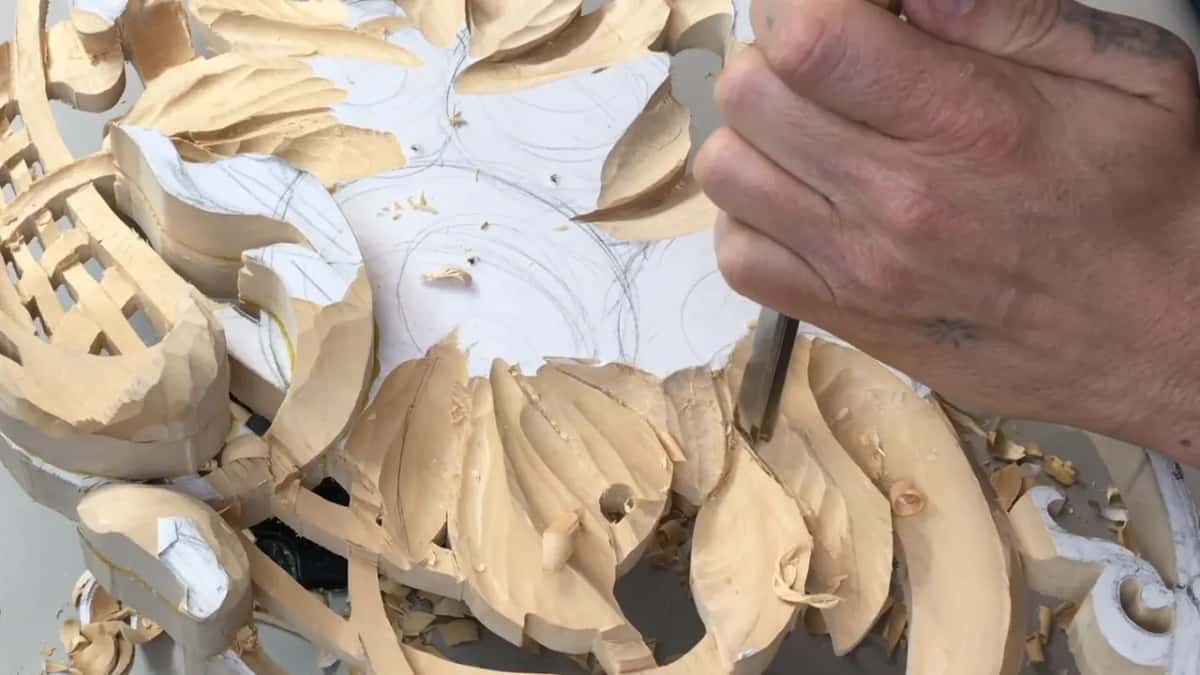
It can, and I said so right after praising it. You have to be really careful with it, because when you get really deep you can break the tool.
Don't ask me how I know. Yes, I did. I broke some tools, and I still do.
Snapping a tiny veiner is another page.
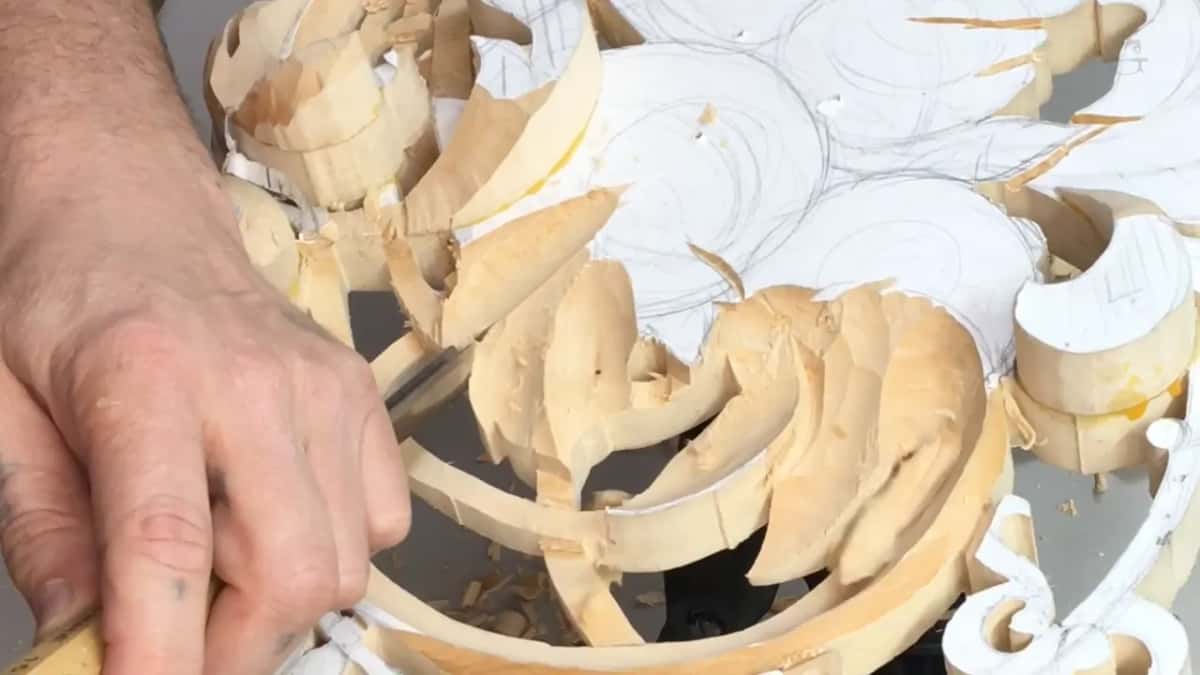
What does a back bent gouge leave under a carved flower?
A dome inside, and a shadow. Back bends were my third way, and one of my preferred ways for undercutting. In this case it was a number 3. There are lots of different back bends, and another one I held up is a number 5 sweep, which means we're talking about the curvature. A skew was in that group too, and yes, I modified that one. I really like that idea. I can just push, and it's already slicing on the inside. It gives me a really beautiful result too.
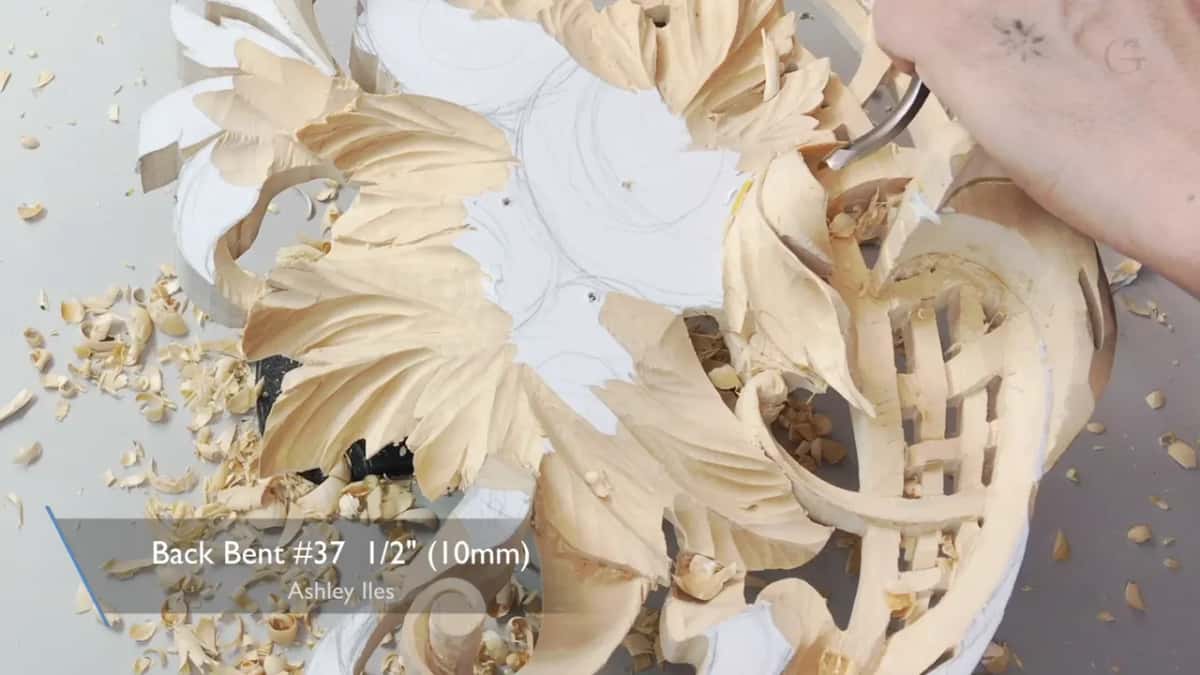
Then there's the number 8 back bent, and its shape is really, really pronounced. I can place it on the side, like that, and create a dome effect on the inside. It just follows the tool.
I'm not sure if you're able to catch it, I said, so take a look. There's a bright, bright light over my bench, and still there's a shadow underneath, a really deep shadow. The camera position wasn't showing it, so I tried to block some of the lights. And there it was, the line, right there. That shadow is there just because I created a dome inside.
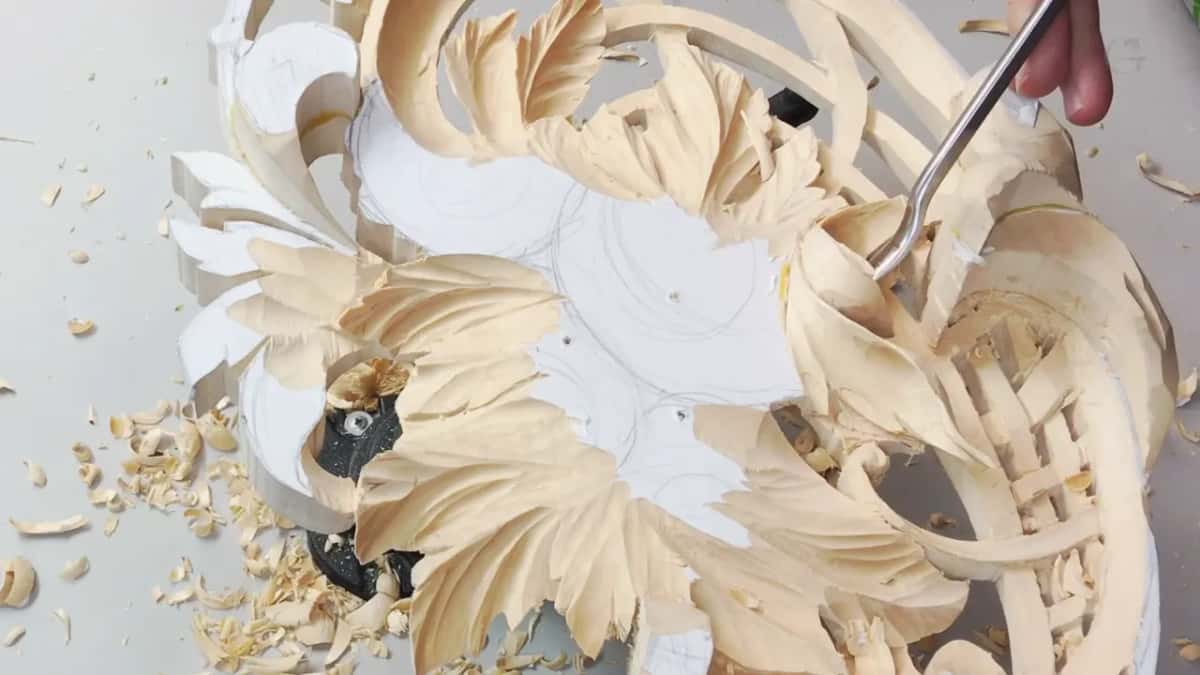
With that third way I can excavate really deep. Again, it's all about patience. Then, getting underneath with the background, I said I can make a leaf like that really paper thin, and really clean.
My camera was blinking once in a while that morning. I use SDI cables, and about once in three months those cables turn into junk.
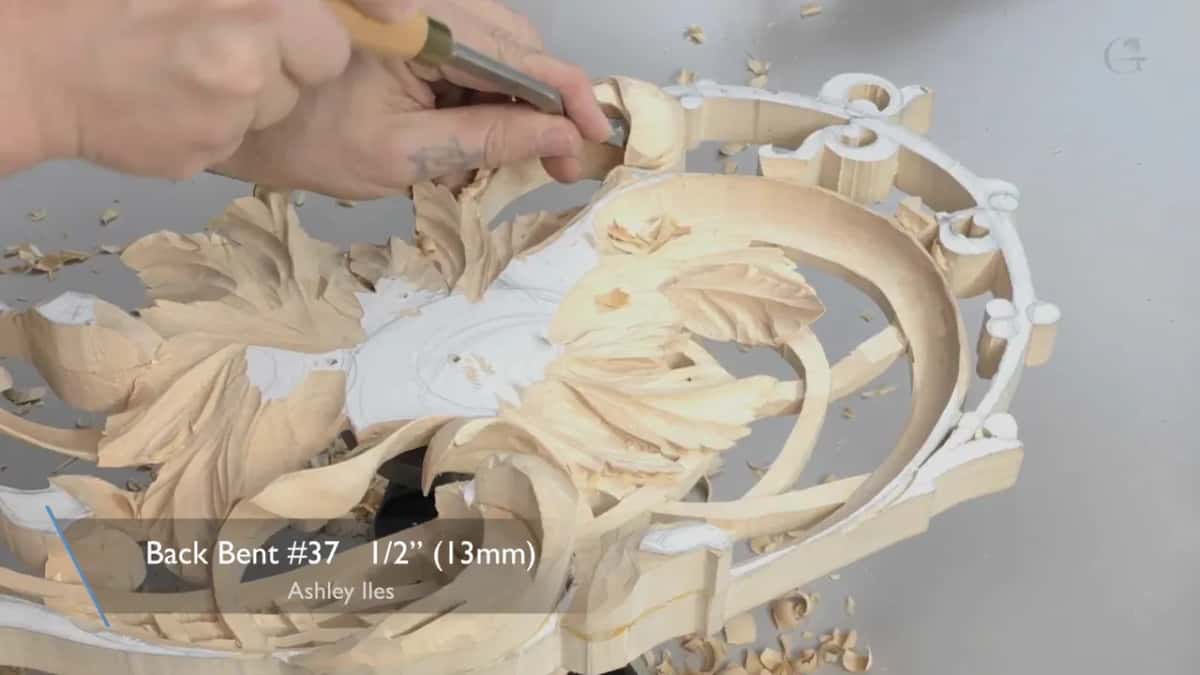
The dome under an end grain edge has its own lesson, and so does the back bent itself.
Did the old Venetian carvers have back bent gouges?
A viewer asked me that, live. And I said, you'd be surprised, I didn't know what tools they had back then. What I know for a fact is that they did not have any V tools.
I caught myself talking as if I lived back then, and apologized. But look at the work of the 15th, 16th and 17th century, and it looks like they had back bends. Look especially at the work of Grinling Gibbons. When you see his work, I said, it's obvious you can't get results that good without back bends.
As for where tools like that come from, I'd say you come up with them yourself. You carve more and more and more, you see the limits of normal straight tools, and you start making the tools you need. I've done it. When I have to do some unique work, I bend my tool, or do a skew, and just modify it, and it makes sense.
Were there more than three ways to undercut on that ceiling?
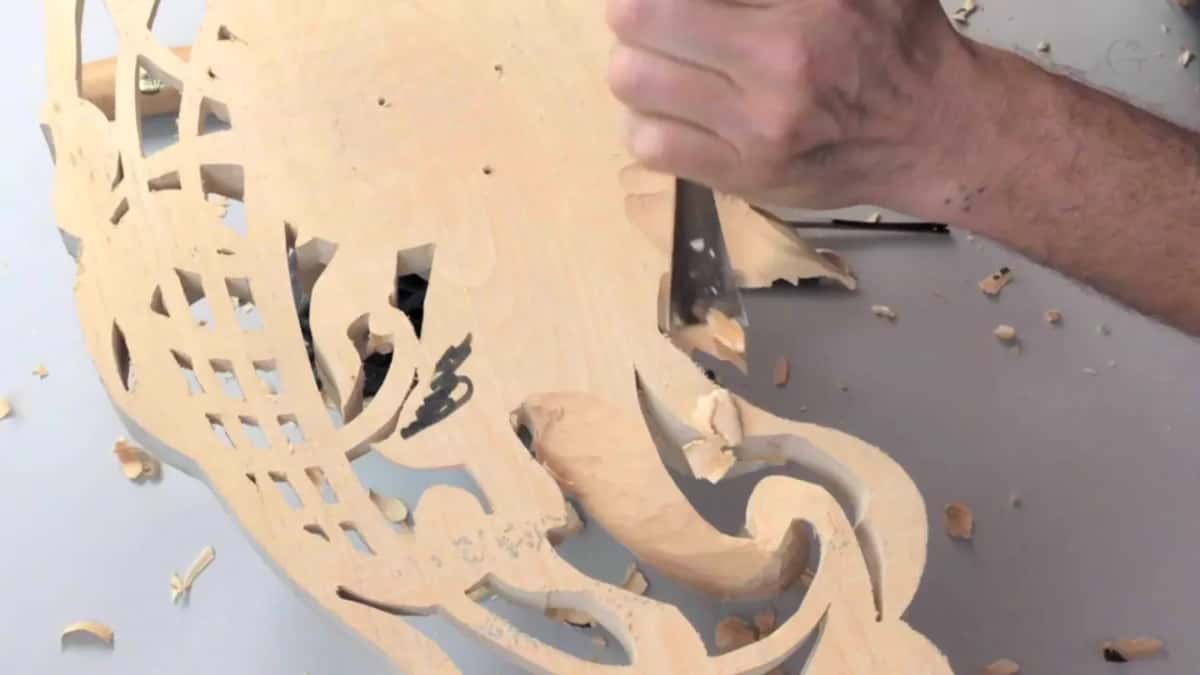
More than three, I said, and I showed three more undercutting tools: a straight one, one for the right hand and one for the left. They're unique tools too, and Ashley Iles makes them.
You work this tool on a pull. Especially in an area like the one I showed, you can get really, really good results that way. Get inside and make the first pass, then change the angle and make a second pass, and repeat it. I took the chip out with just that same tool, and it left a really deep undercut, about five millimeters, I'd say, close to 3/16 of an inch.
How deep did the number 11 go on this carving?
Later in the same stream I held up a 3 mm number 11, an eighth of an inch, and said that with three millimeters you can actually go and undercut much deeper. A half inch one had come out just before it. You can achieve really good results with it, I said.
Near the end I showed one more spot on the ceiling, 15 millimeters or so, like five eighths of an inch underneath. But you have to be careful. It has to be solid. You don't undercut so much that you can break it.
How far to take it on your own work is a separate question.
How did the three tools compare on the ceiling?
This is the short version, in the order I talked about them.
Tool | What it did on my ceiling | What I said |
|---|---|---|
A Pfeil number 16, narrow | Never went in, since the Venetian carvers of that era didn't have them | Excellent on other projects |
The U shaped 11, 4 mm, or 2 mm | Went under the flowers, and the hollow underneath took the form of its U | My preferred way |
An 8 sweep back bent | Gave the inside a dome, and a shadow line with it, lying on its side | One of my preferred ways for undercutting |
Three undercutting tools, straight, right and left | Worked on a pull, took one spot roughly 5 mm, or 3/16 inch, under | Ashley Iles makes them |
On other carvings the V tool stays an excellent tool, and I said so. The 11 won on one ceiling, for one client, in one style.
Where do I show how those flowers get carved?
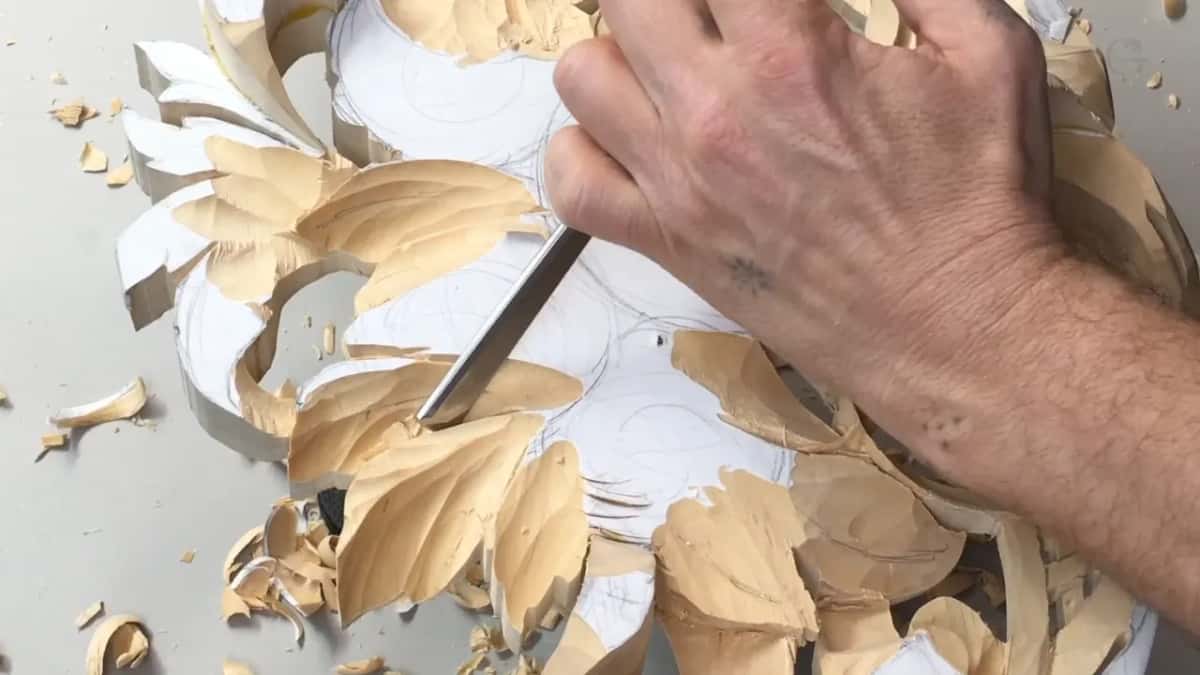
The way I carve flowers like these is in my Hashemi flowers course. I'm working there flower by flower, and you'll see how I get those results and how I do the undercuts. I didn't show it on the free stream. That would be unfair to the people who are part of my school and already have access, and quite a few of them were watching.
In one spot of that ceiling I had to carve against the grain, since there was no way to come at it from the opposite side. With complicated carving you really have to break the rules sometimes, and then the answer is really, really sharp tools.
In my classes I spend a lot of time on how to sharpen and buff these tools and get them ready, and the sharpening course holds that part.
Each course is open with Access, and the lessons map shows where everything sits. This stream belongs to the livestream events course, beside April 2020 and October 2020.
I carve pretty much every day, and I told the viewers I had to catch up on my work, with that big project on the bench.
Got a flower drawn and an 11 on the bench? Get underneath it, slowly.
How it's done
- Leave the V tool off the Venetian ceiling. On my authentic Venetian ceiling the V tool stayed out completely, since that era had no V tools.
- Set the 11 under the flower. Use the U of the veiner and get underneath, the way I did with a 4 mm one, about 5/32 in, and the inside came out clean.
- Drop to a 2 mm veiner when you want to. Four millimeters can drop to two, as I said on camera, and then you dig as deep as you wish. Take your time with it.
- Lay a number 16 on its side on other work. Where a V tool is welcome, lay the narrow 35 degree number 16 on its side, start undercutting and get right to the edge, a bit at a time.
- Watch the V tool once you go deep. Careful there. A V tool can break when you get really deep.
- Lay the 8 on its side. Placed on the side, it makes a dome effect inside, and the dome leaves the shadow.
- Block some light to read the shadow. From the camera's spot the line didn't show, so I blocked a little of the light, and then it appeared.
- Keep the flower solid. Even 15 mm under, don't undercut so much that you can break it.
Frequently asked questions
What are the three tools for undercutting a carving?
On my Venetian ceiling stream they were a V tool, number 16, with a 35 degree angle, an 11 veiner and a back bent gouge. I called the V tool my first method, the 11 my second and the back bents my third. On that one piece only the last two went under the flowers.
When can a V tool break during an undercut?
Going deep is the risk, I said right after telling the viewers it gives a really beautiful result. Take it really deep and it can break, so be really careful with that one. Don't ask me how I know. I have broken some tools myself, and I still do.
Why did a number 11 win on the Venetian ceiling?
Two reasons, both said on camera. Venetian carvers of that era didn't have a V tool, and the job was authentic to it. And beneath my flowers, the 11 gave a really clean movement that copied its own curve. At 4 mm it gave about the same result as a parting tool.
What to carve next