
Alexander Grabovetskiy, woodcarver, School of Woodcarving · Published 2021
What would a professional carver change on a standard carving gouge?
Quick answer: Changing a standard carving gouge, the way I did for a set made to my spec, is mostly small work. A leather insert between ferrule and handle against mallet vibration, a finger rest from old English handles, a low bevel, a rounder heel on one angled chisel, and steel that went two weeks without a strop.
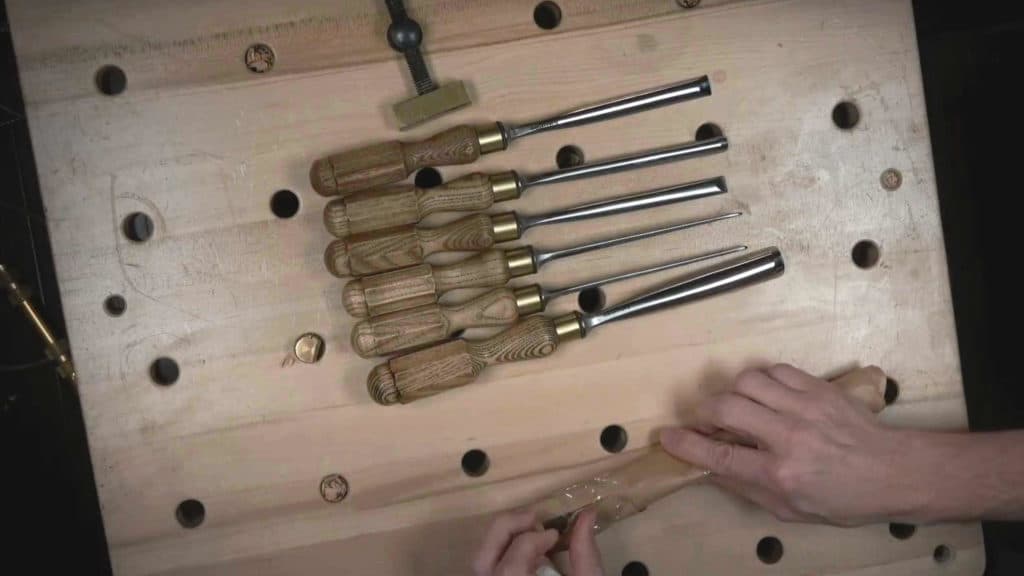
A high quality carving gouge, the way I asked for one in my own line, is a perfectly straight tool that balances on one finger and holds its edge, with a thin leather insert behind the ferrule. On a live stream in December 2021 I opened a big package on camera. Inside was the first set of high quality wood carving tools made to my own specifications, and I went through them one by one.
The changes are small, mostly. A piece of leather. A place for a finger to sit under the handle, and a heel with some roundness on it. But a small thing on a tool you hold all day, every day, stops being small. I'll go through each change, then a skew question a viewer asked me about two weeks later, and then what became of the line.
What I asked the makers to change
- Three tests come first: straight, balance on one finger, and steel that holds the edge.
- A leather insert behind the ferrule takes the mallet's vibration off your hand.
- The handle keeps a finger rest from an old Marples tool and the eight flat sides of a European one.
- The bevel comes low out of the package.
- My version of an angled chisel got some roundness at the heel and more steel, on purpose.
- A skew style tool with a sharp inner bevel stays hidden away in my shop, unused.
Why did I have carving tools made for my classes?
People in my wood carving classes had trouble finding the right ones. I teach online, and I teach in person, and for the in person classes I require some tools. Lots of times people can't find them in the stores. They are usually sold out. So the first set in that package was based on those classes, whatever style we work in, Grinling Gibbons style flowers too.
Antique tools from the old makers I like too, and the ones by Addis are some of the best in history, I'd say. Still, I'm working every day, all day long, and I expect the quality. I hid the brand on the first box, then showed it. My own line. I had waited for that steel a long time, and on air I thanked the two people behind it, because they listened.
What three things make high quality wood carving tools?
Straight, balanced, and an edge that lasts. Those are the three main things when I look at a tool. Number one, it has to be perfectly straight. Number two, it has to be balanced: place it on the finger, without the holding, and it should sit there perfectly. Number three, and the last, is how it holds the edge, which comes down to the steel that goes into it.
I'm going to be honest with you. I can work with whatever tool, I mean, I can still manipulate it. But when we're talking about quality tools, those three are what I'm really looking for. The steel in this line is high end, not beginner steel. I tested that steel for a long time before we went ahead, and it is one of the best steels on the market.
Why put leather between the ferrule and the handle?
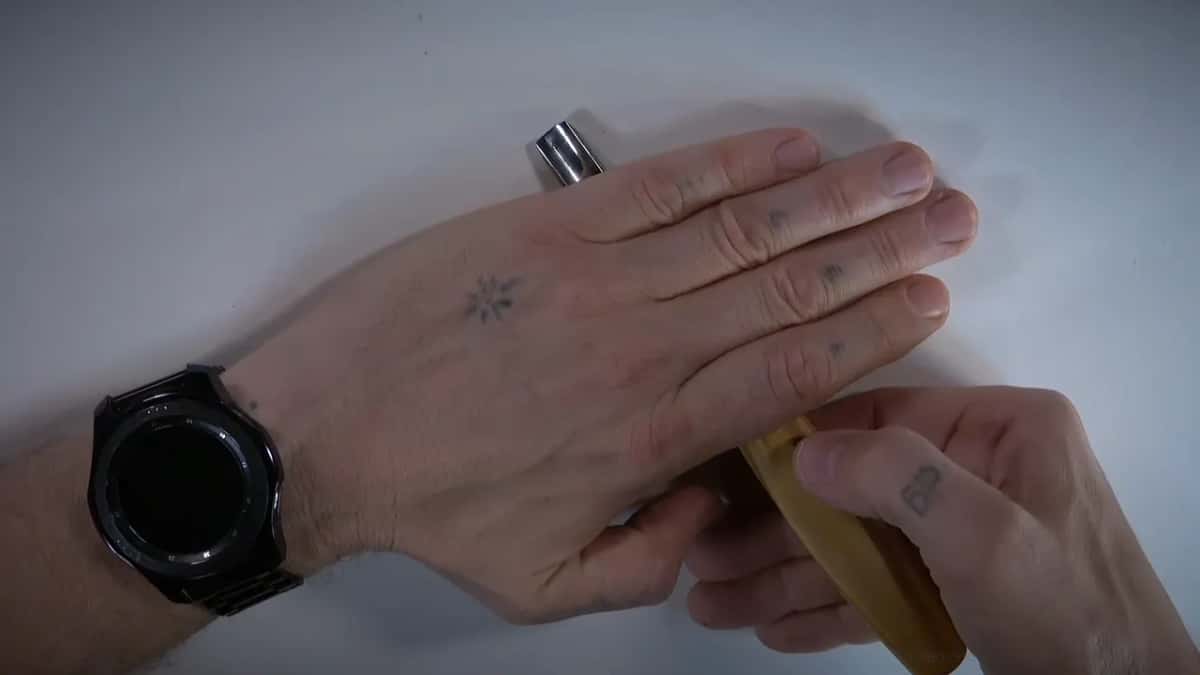
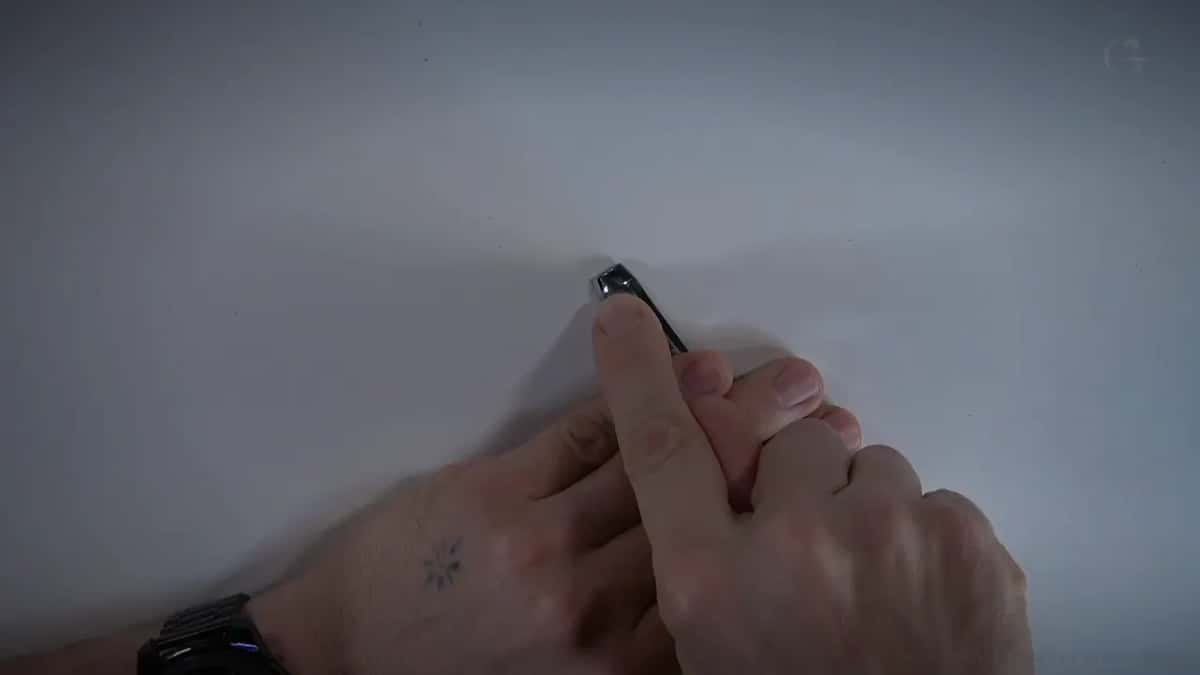
To take the vibration out of your hand. Use a mallet for quite a long time and you get that vibration in the handle. That's a lot of stress on the hand. Just a little piece of leather, set in right after the ferrule, takes that stress away.
As far as I know, nobody else in the world does it. Well, maybe I don't know everyone who makes tools. I still think it's a really wonderful idea. I also showed the earlier version they sent me, with exactly the same ferrule, so you could see how solid that thing is. The ferrule comes first, then the leather, and then the handle starts.
What does a finger rest on a gouge handle do?
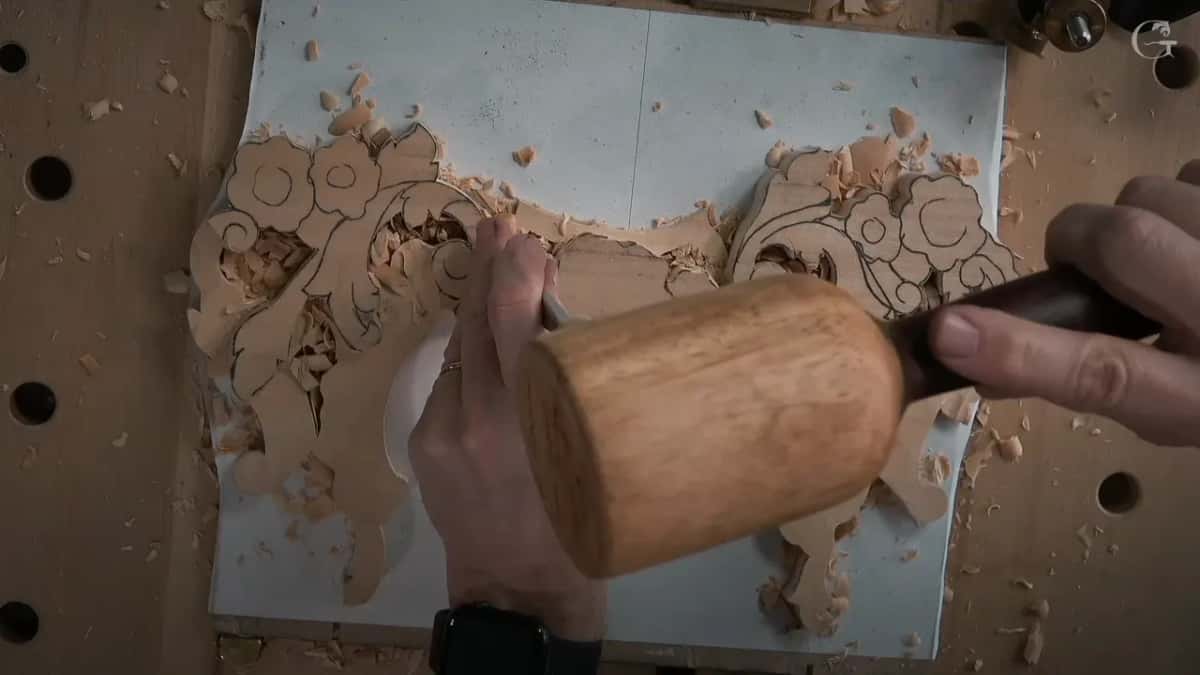
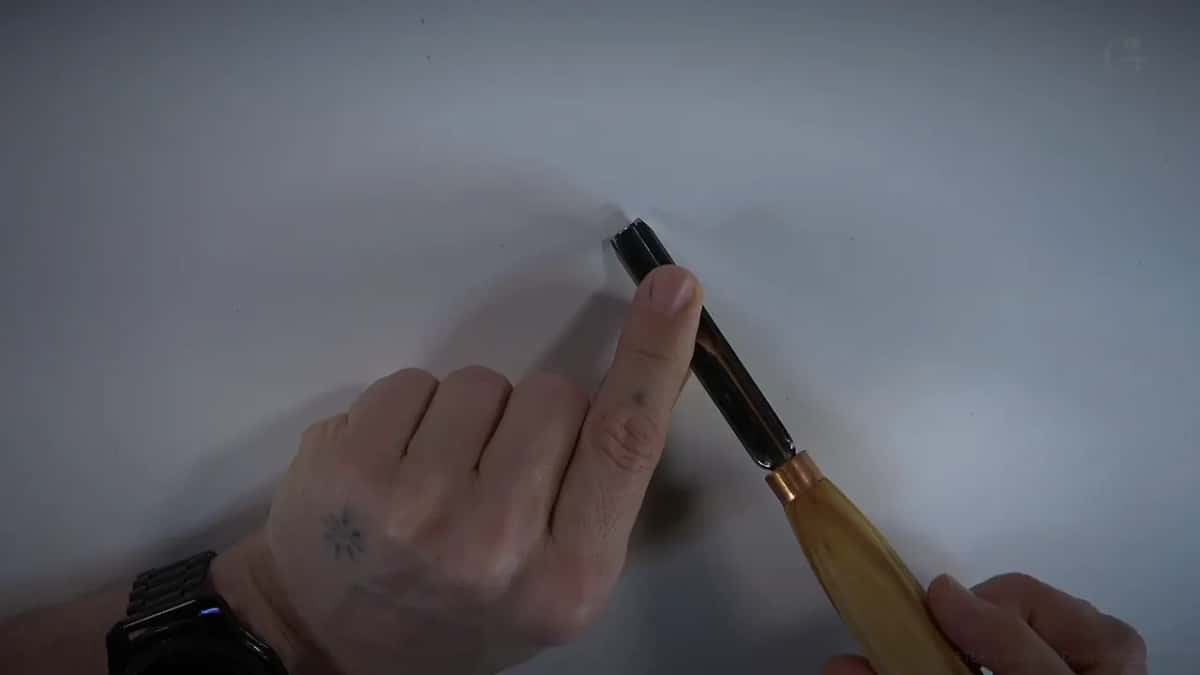
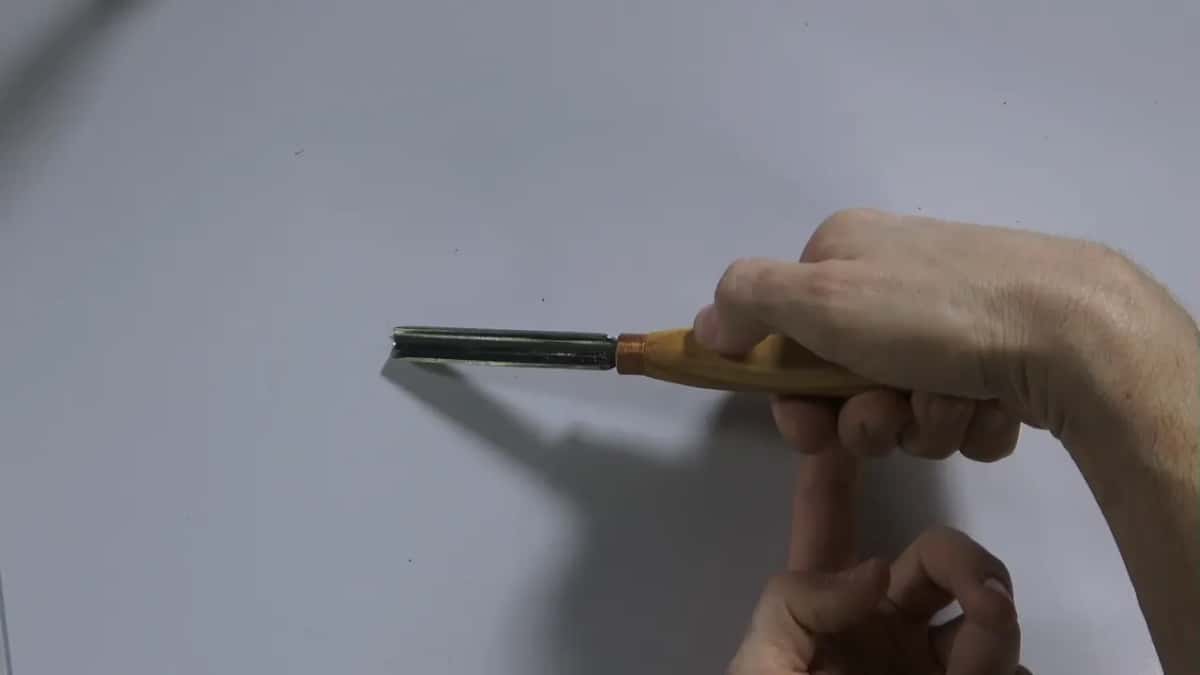
It gives one finger a place to sit, so the tool just sticks to your hand. The idea is old. I found a traditional English tool to show you, made by Marples and Sons, so you could see the shape I mean. We kept that on my tools, because it's really, really handy when you place your finger underneath. It's almost like a marriage between you and the tool. You feel like one.
Even if you hold it differently, with the middle finger right there, you can still move the tool around really easily. We also kept the European style, which is octagonal. It keeps the tool on the workbench and stops it from rolling. On some of the tools I sanded down the edge, because when you hold one all day long, the part that butts against your hand gets to you after a long day. In the middle of my hand it's a perfect size. My finger holds perfectly in that cavity. I love it.
How I check a ferrule, a tang and a handle on tools other people made is a different story, and the August 2021 live stream walks through it.
How low should the bevel be on a new gouge?
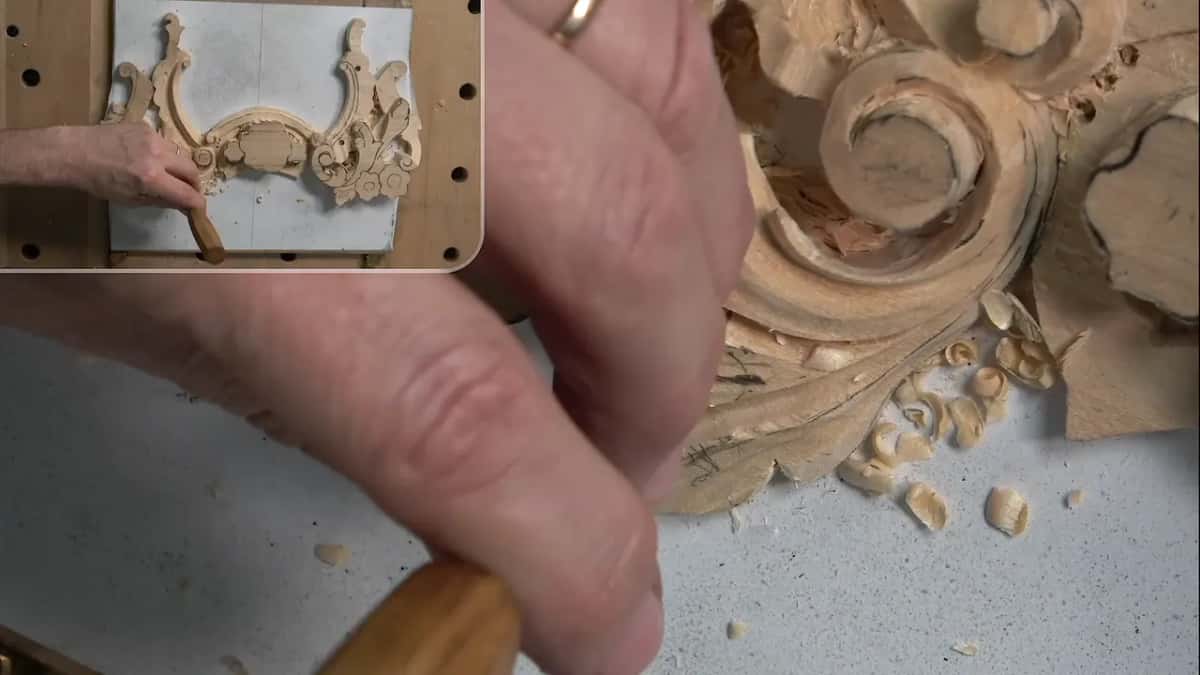
Low enough that my knuckles barely fit in under the tool and it's already grabbing the material. That's how the bevel came on these, perfect out of the package, really low. When I'm carving I don't want to raise my hand high. I want to be relaxed, shoulder down and elbow down, when I'm placing my tool.
The people who made them listened to that. The bevel for hard wood has its own lesson, on the bevel for hardwood.
Why give an angled chisel a rounded heel?
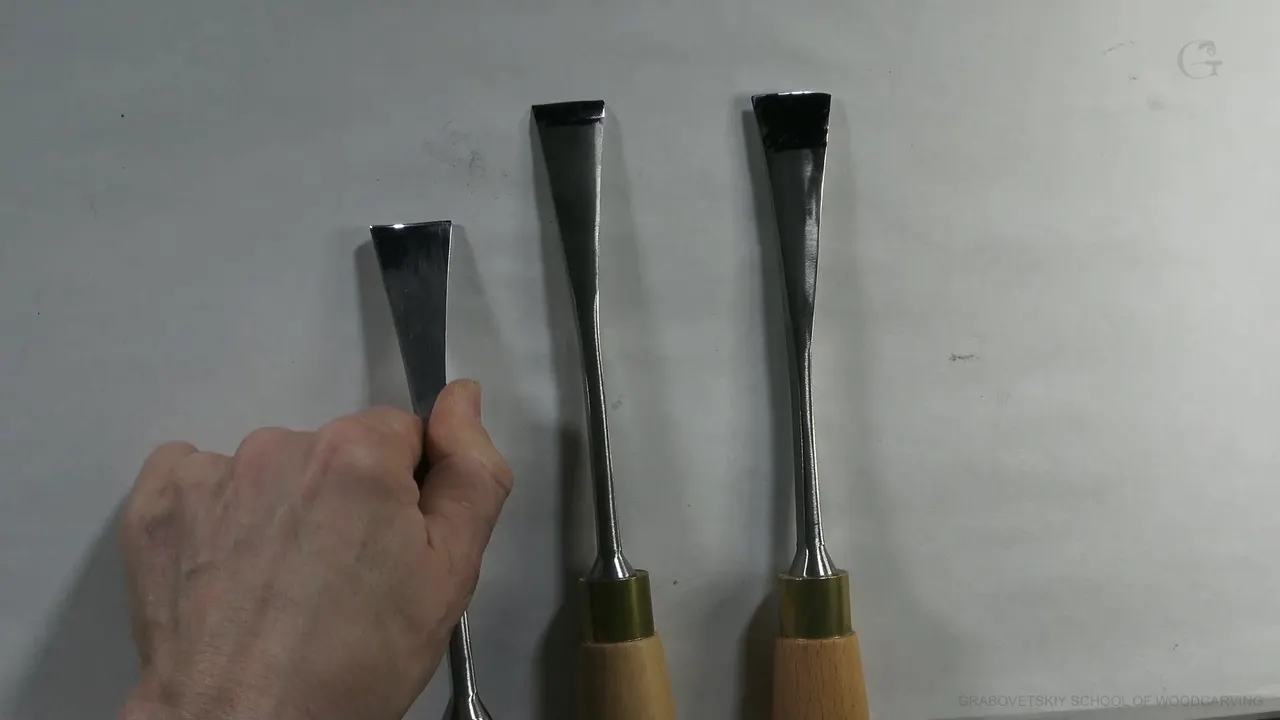
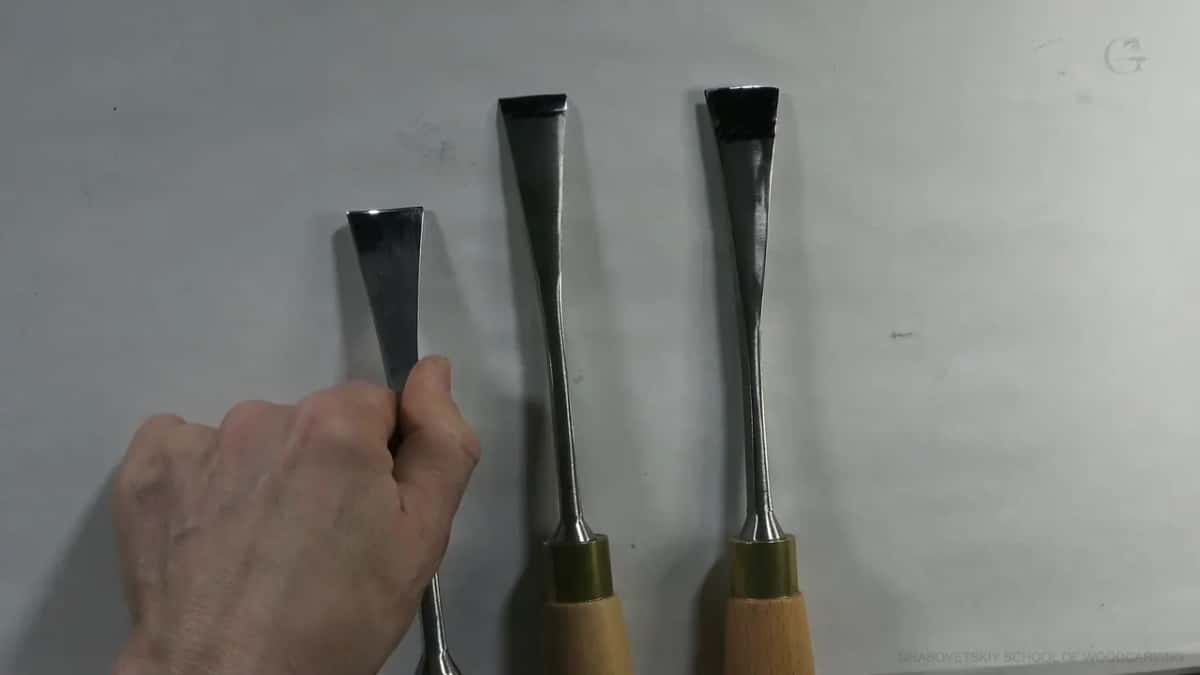
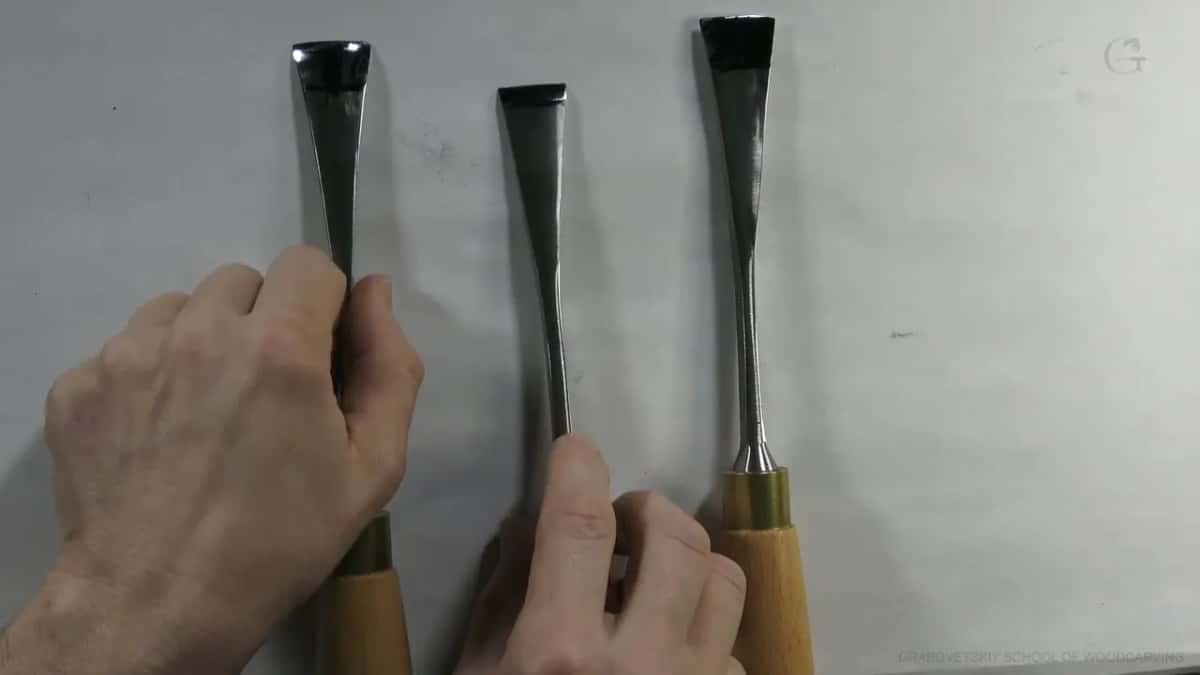
We wanted it a little nicer than the tool it was based on. One tool in that package was not part of the set. It was my own version of an angled chisel I use a lot, one of my favorite tools, made again the way I specified it. On the original you see something like a straight 90 degree end. We decided to create some kind of roundness right there at the heel part, and we made it beefier too. That is also made on purpose.
It came in two versions, a bigger one and a smaller one. It also got a different name, because it's not the true original and we didn't want to get in trouble. Someone in the chat asked why it sits outside the set. My answer was my in person classes. The set is what I require there, and the more tools we add to a set, the more expensive it's going to be.

Is a skew with a bevel on the inside safe to use?
I would not recommend one to anybody. A viewer on a later stream, about two weeks after the package, asked how to sharpen the inside bevel on a skew type tool like the angled chisel. On mine, if I can catch the light, you can see a bevel on one side, a second one opposite, and absolutely nothing on the inside. The original has two sides and nothing inside as well.
So the viewer probably meant a different tool, one I really don't use. I have both versions of it and I never used them. It stays hidden away. That one has an inner bevel, and it works on the pull, like Japanese style, pulling toward yourself. Pushing with it is absolutely okay, no problem. But it was designed with that inside bevel to work on a pull.
That pull is not that comfortable, first of all, though you can get used to it. The bigger problem is this. Most of the time you're pushing, and every carver I know, myself including, sometimes uses fingers to help and presses right on that part of the tool. It's a really good idea not to have that part sharp. Press a finger on that one and you're going to slice it. I know a person who sliced all the way through his finger, just because he didn't think about how sharp that is, and he pushed that thing.
That's why I don't use it, and I've said so on my live streams many times. Nice looking tool, don't get me wrong. But it's dangerous. I would just go with the better version, or the original, which is really smooth on that side, so you can push it.
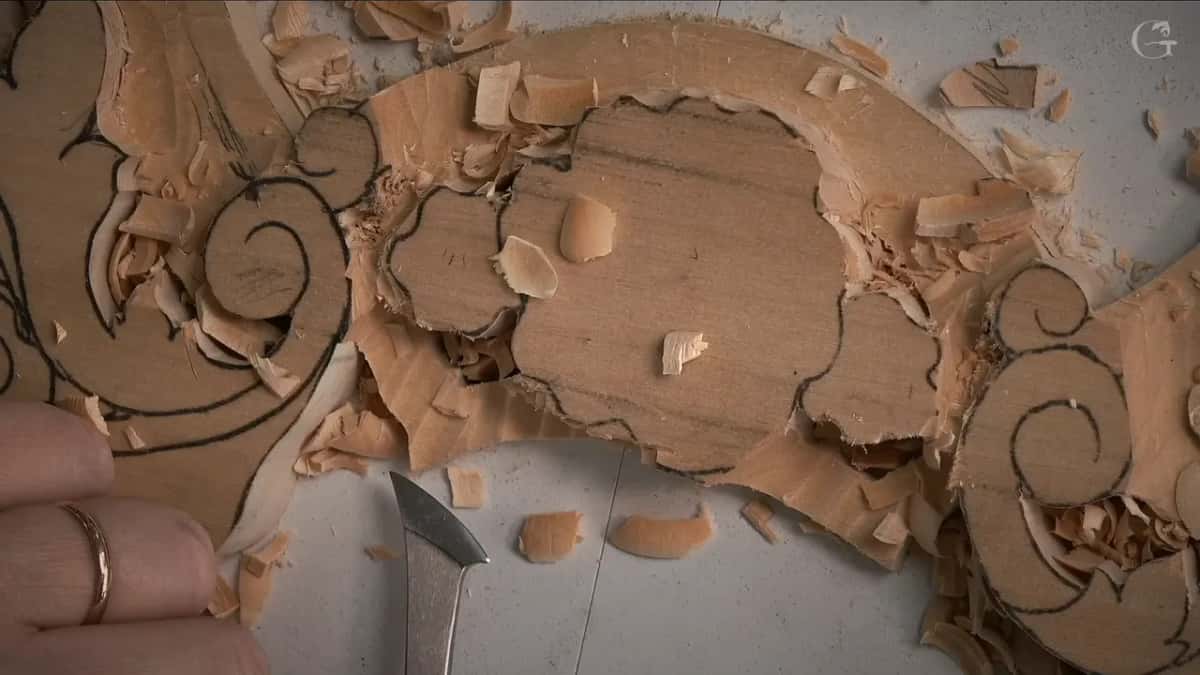
On my version we kept that side smooth. And we did the notch. The original has almost a 90 degree corner there, which is absolutely okay. Aesthetically, though, I like to see the curvature on the inside of the tool. Of course, it's my preference. With that small corner I can get inside somewhere, and it feels beautiful. I also changed that angle slightly, so I can already reach the border of a detail and go almost all the way in, and still carve it. A little improved version, I'd say.
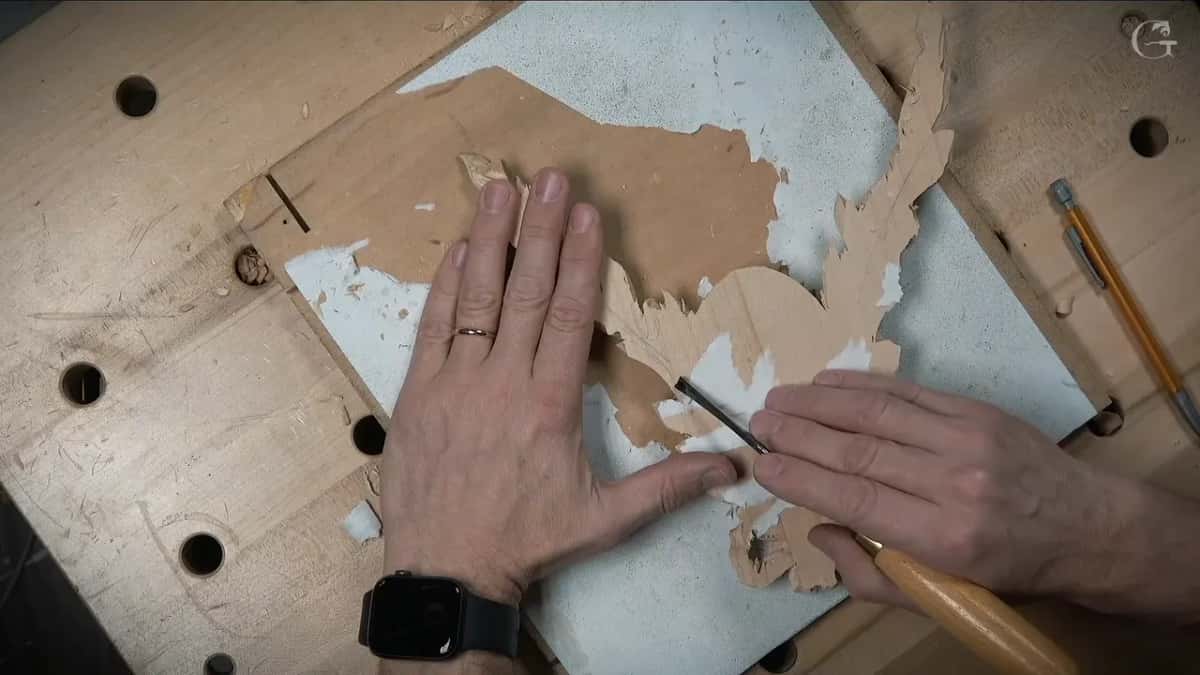
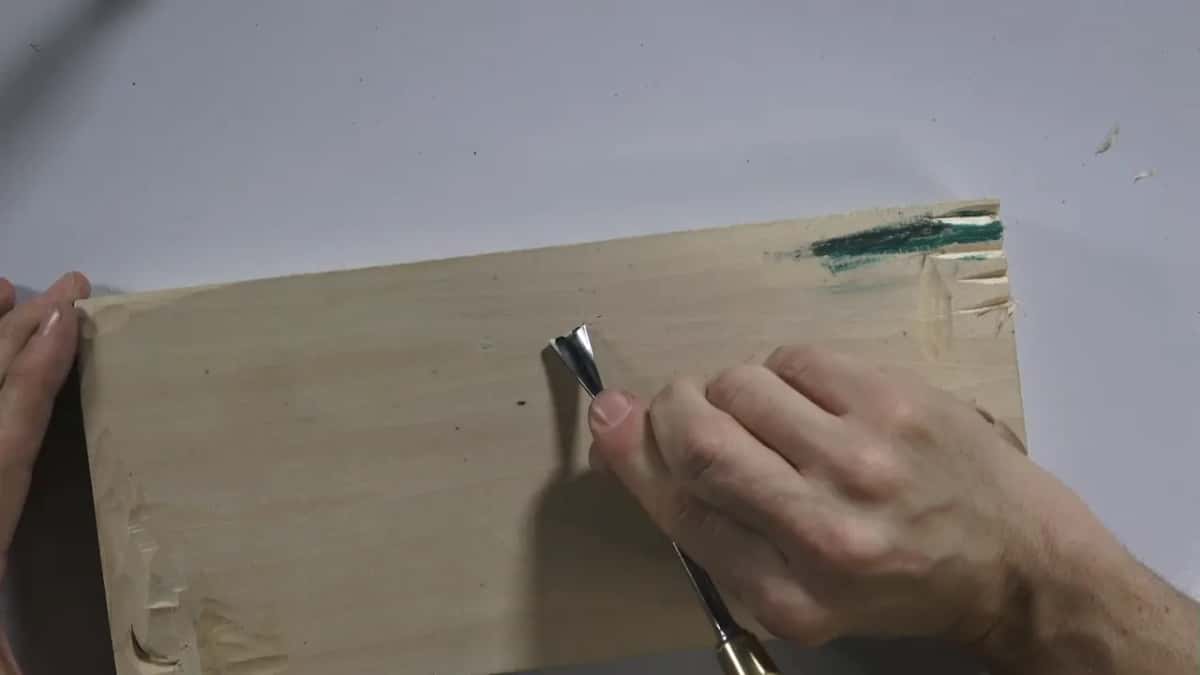
As for sharpening it, I do it the same way I sharpen all my tools. You can even do it by hand on a stone: a slip stone, or a soft Arkansas, and an Arkansas stone is novaculite. Find the bevel, hold the tool and go with the direction, then flip it and work the opposite way. I use machines, and then I just hone it. An angled edge on a bent tool has its own skew sharpening lesson.
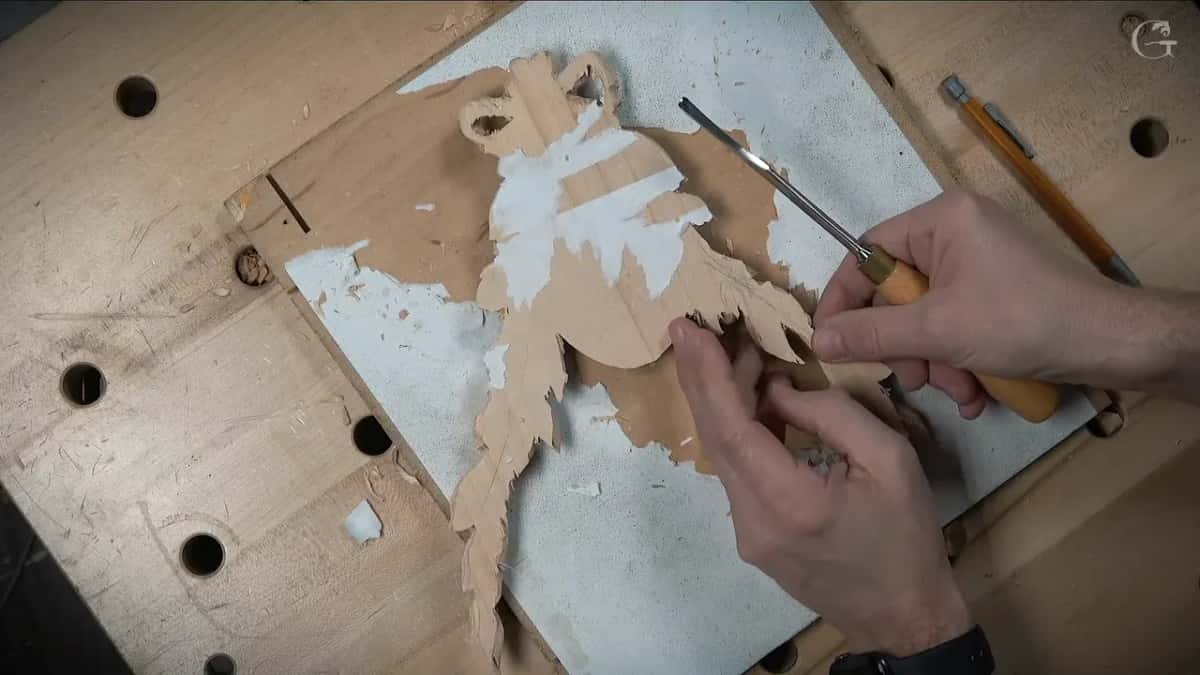
How long should a new carving gouge hold its edge?
Mine carved for two weeks without a strop. On that later stream I had been using the first set for half a month, exactly two weeks, and I had not stropped those tools once. I hadn't sharpened them either. They were not the only tools on my bench, but I used them as much as I could, because I really wanted to make sure they hold the edge. They did, really well.
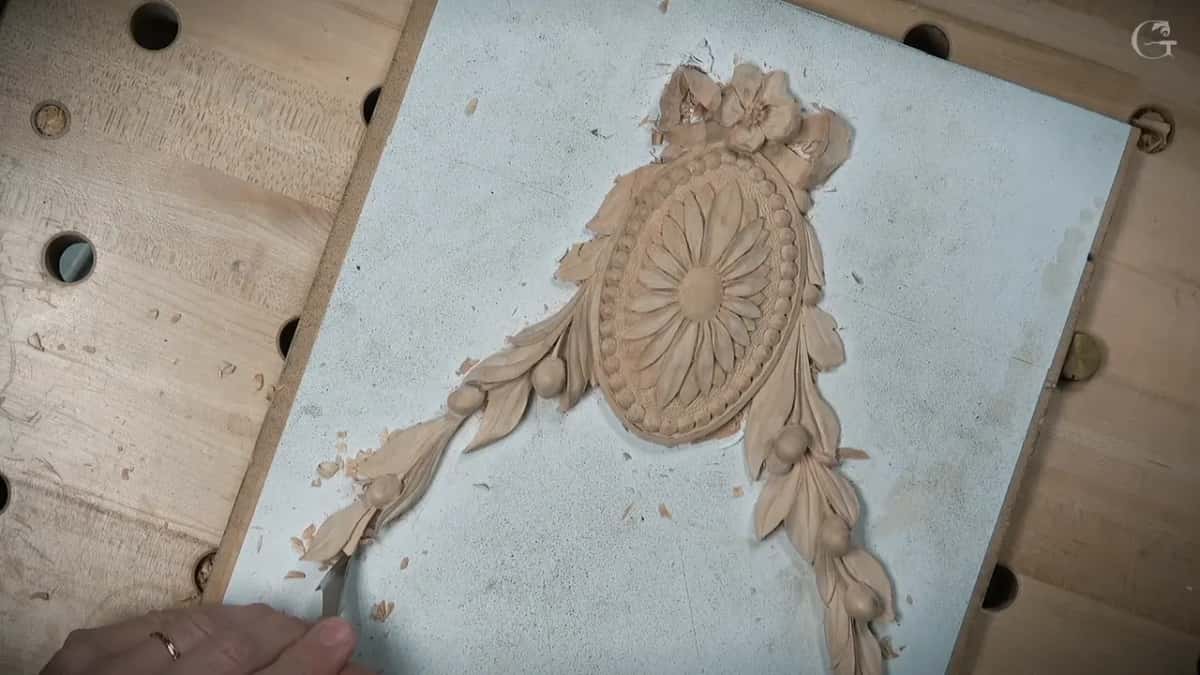
That day I was carving a detail for a Venetian style room, late 15th and early 16th century in style, when Venice was the first place to do that kind of work. The detail is one part of a big composition, an applied piece for a door. Nearly all of that project I filmed for the school, in the Venice Room workshops, though not this one detail. I made a pass for the camera. Really clean. You could hear it, and you could see how shiny the surface was.
The steel is all forged, with some machining, and the tools are polished by hand. It's not beginner steel. It holds really well.
What makes a handmade gouge take a whole day?
The sides. Look at the octagonal shape, even at the end of the tool. To get those sides on just one chisel or one gouge takes one person the whole day, because it's all done by hand, all the grinding. No joke. It's not a full scale manufacturer, I said. We're talking about high end tools, and each set is handmade.
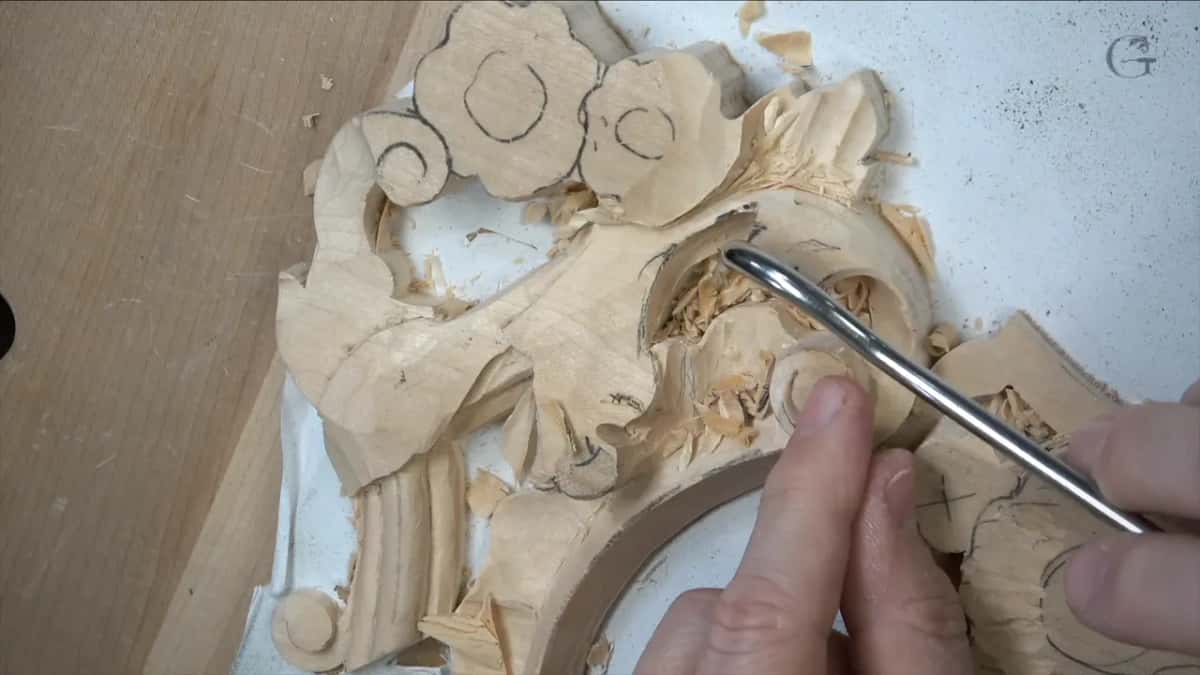
Then I checked the small ones. A number 11 at 1 mm (about 1/25 in), and I wanted to see if it's a true U, like the English letter U. It is. Only a couple of makers make true U veiners, and now we have one more. The rest of the box held a number 7 at 14 mm (9/16 in) and a number 9 at 10 mm (3/8 in), polished by hand. There was a number 9 at 20 mm (about 3/4 in), and number 11s at half a millimeter (about 1/50 in) and at 3 mm, one eighth of an inch. I use lots of number 11s.
Compared with full size tools from other makers, those guys didn't save on steel, I said. Which maker I reach for more often, Pfeil or Ashley Iles, is its own lesson in the tools course.
| Change | Purpose | Tool | Origin |
|---|---|---|---|
| Leather behind ferrule | Takes mallet vibration out of my hand | Whole line | As far as I know, nobody |
| Finger rest kept | Your finger underneath, the tool sticks there | Those handles | Old Marples and Sons English handles |
| Octagonal handle shape | Stops the tool rolling on the bench | Line handles | European style, the one I kept |
| Low factory bevel | Knuckles barely fit, and it already grabs | New gouges | The two makers listened to me |
| Rounded heel part | Rounder heel and beefier steel, on purpose | Angled chisel | Original had a straight ninety degrees |
| Notch and curve | Changed angle reaches the border of details | My version | My preference, the original is fine |
Did those carving tools ever go on sale?
The line stayed a plan. On that second stream I was finalizing the last stage, and I was adding a couple more tools to the set, based on what tools Grinling Gibbons used. Those were for really tight spots, like inside of those eyes, because not every tool can get inside and excavate. I kept them a secret. Later, in Floral and Molding lesson 11, I said I was still trying to make the line happen, but because of what is going on in Russia and Ukraine, I can't do that. Hopefully it's going to change.
So none of this is something you can buy from me. What stays useful is the list. Straight, and balanced on one finger, with an edge that holds. A handle your finger fits that won't roll on the bench, and a bevel low enough to keep your elbow down. And where your finger presses, the steel should not be sharp.
The pictures on this page come from other lessons of mine, among them the Chamomile and Bow Rosette and Floral and Molding for the Panel courses and the tools course, not from that stream. All my live sessions sit in the Livestream events course, and the sharpening is in the sharpening course. Full access is on the tuition page.
How it's done
- Wipe the oil off. New tools came oily from the maker, so wipe each one before you look at it closely. One had grease and needed a solvent.
- Look for a straight tool. Straight is test number one, and a crooked tool can still be worked with, but a quality tool is perfectly straight.
- Balance it on one finger. Lay it across a finger with no holding at all, and it should sit there, perfectly balanced.
- Place it on the wood. When the tool goes down to carve, a good bevel is low, so the knuckles just slip in and the edge already grabs the material without lifting your elbow or shoulder.
- Check a veiner for a true U. A number 11 should be a true U in profile, like the English letter U.
- Carve with the set for two weeks. Use the new tools as much as you can and leave the strop alone. Mine still held the edge after half a month.
Frequently asked questions
Why do some carving tools have leather near the handle?
On the tools made for me, a thin leather insert sits where the handle meets the ferrule. Use a mallet for quite a while and the handle starts to vibrate, which puts a lot of stress on the hand. The leather takes that stress away, and nobody else does it that I know of.
Is a skew chisel with an inside bevel dangerous?
In my opinion, yes, and I would not recommend one to anybody. The inner bevel is made for pulling toward yourself, but most carving is pushing, and carvers press a finger on that spot to help. I know a man who sliced through his finger on one.
How do you sharpen a skew type tool by hand?
Same way as my other tools. A slip stone or a soft Arkansas stone works. Find the bevel, hold the tool and move with the direction, then flip it and go the other way. At my bench I use machines first and then hone.
What to carve next